scherzo1928
has wood for you
As Promised. I've been restless this past week. I knew I'd get a bit of a break, so I planned the whole week to advance the build as much as possible. In fact I'm going 100% as planned so far.
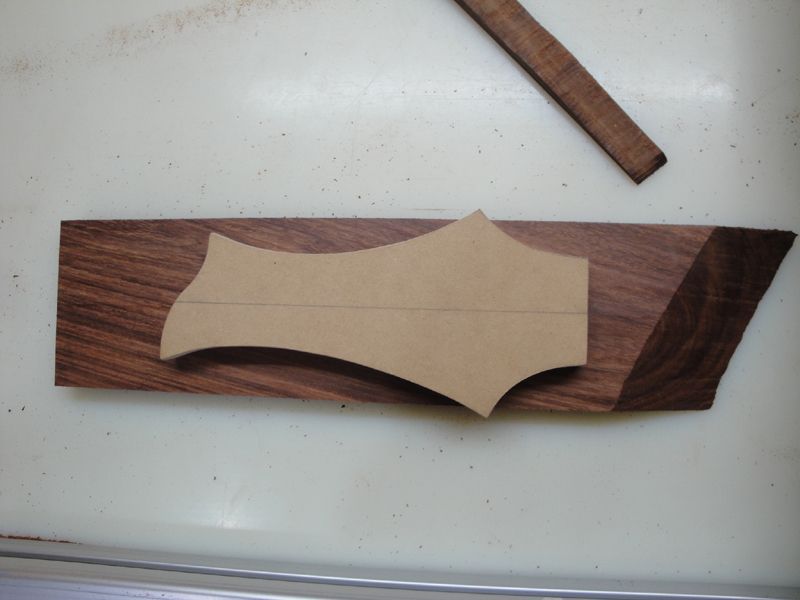
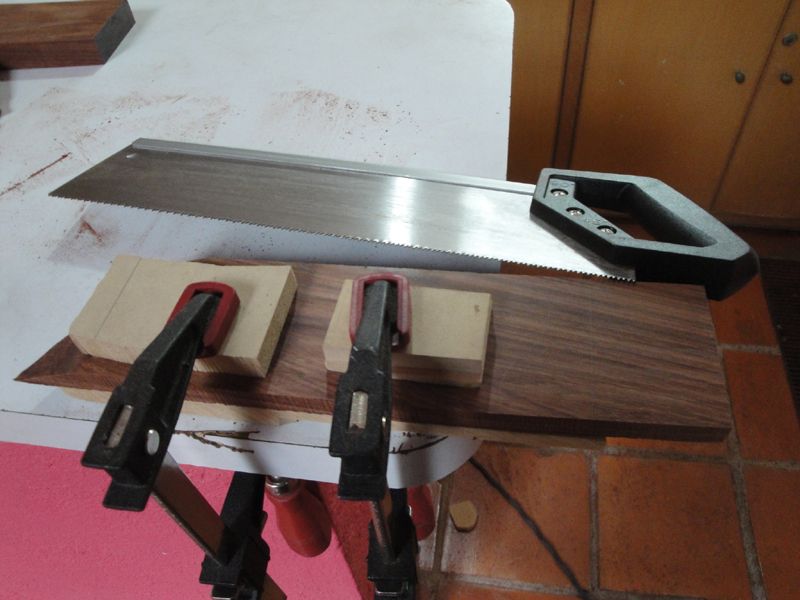
It begins the way it always begins with me... A hand saw. (ok, it always begins with a sketch)
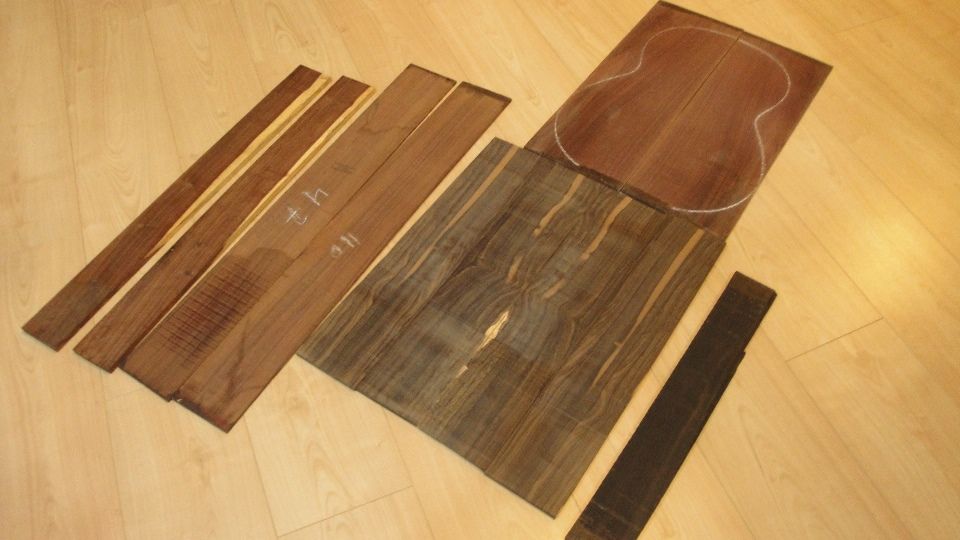
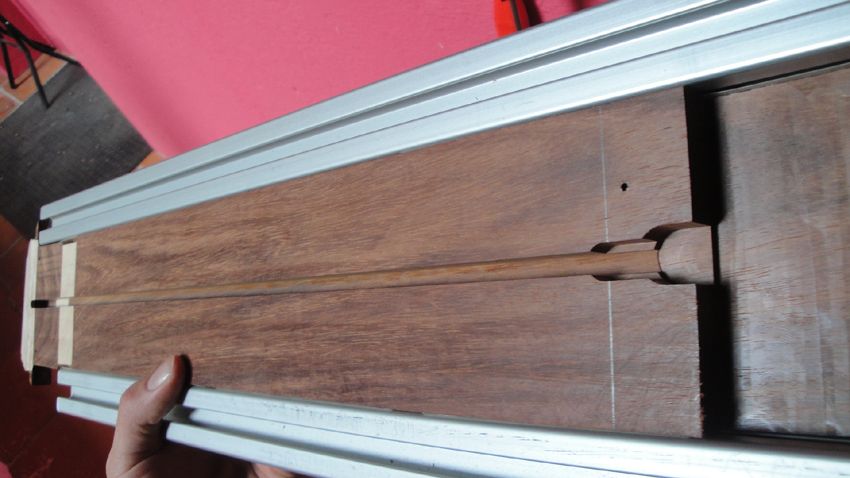
Cutting granadillo boards such as this is friggin HARD! Also, I should mention that I know I won't saw it straight because it's so hard, so I give my self a margin of error and make sure I saw sideways in the direction that won't affect me so much
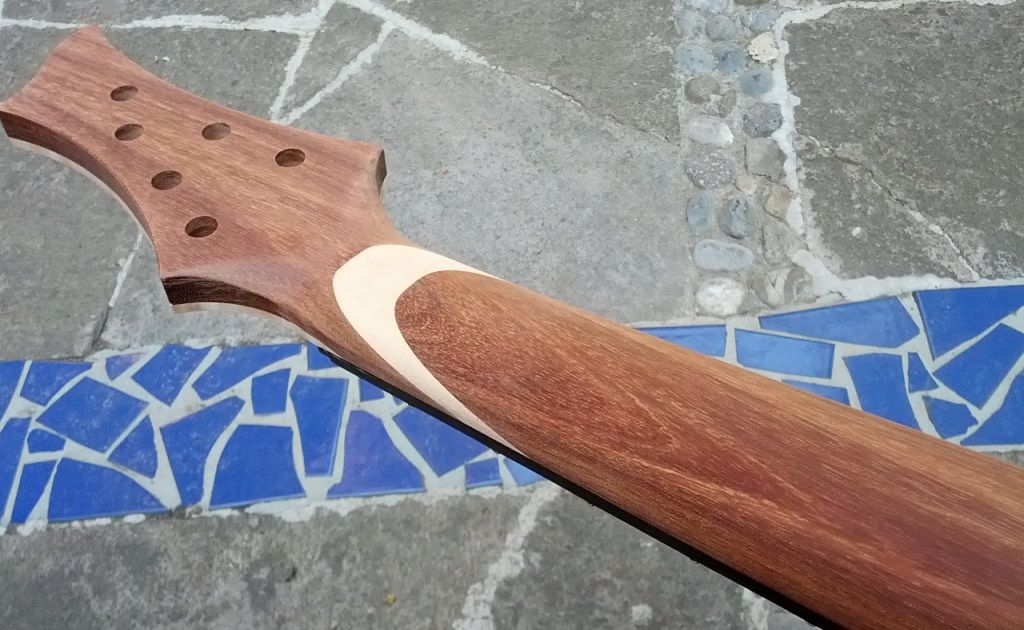
Ok, this will be the neck. As with my previous build, 1 piece granadillo neck + scarf joint and flamed maple accent at the joint.
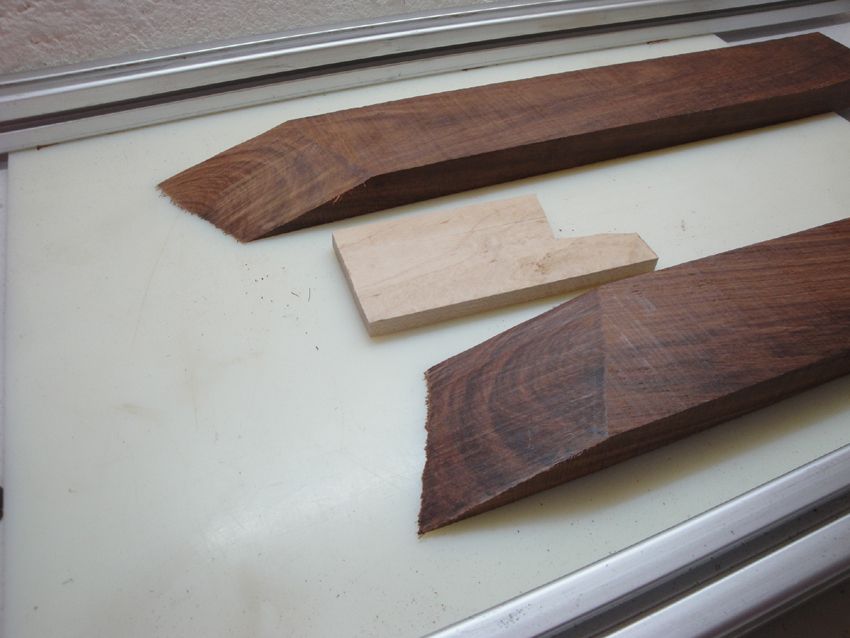
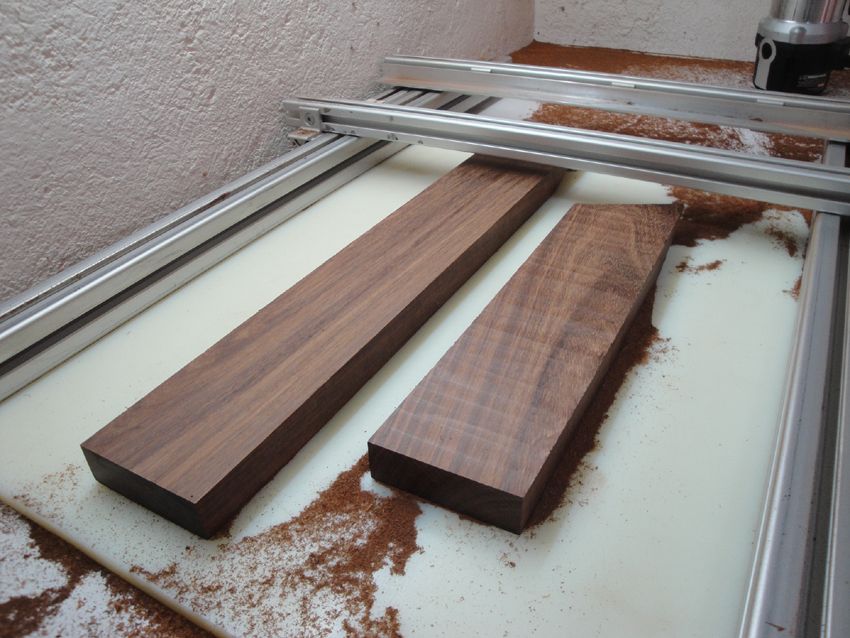
After cutting them, I planed them down.
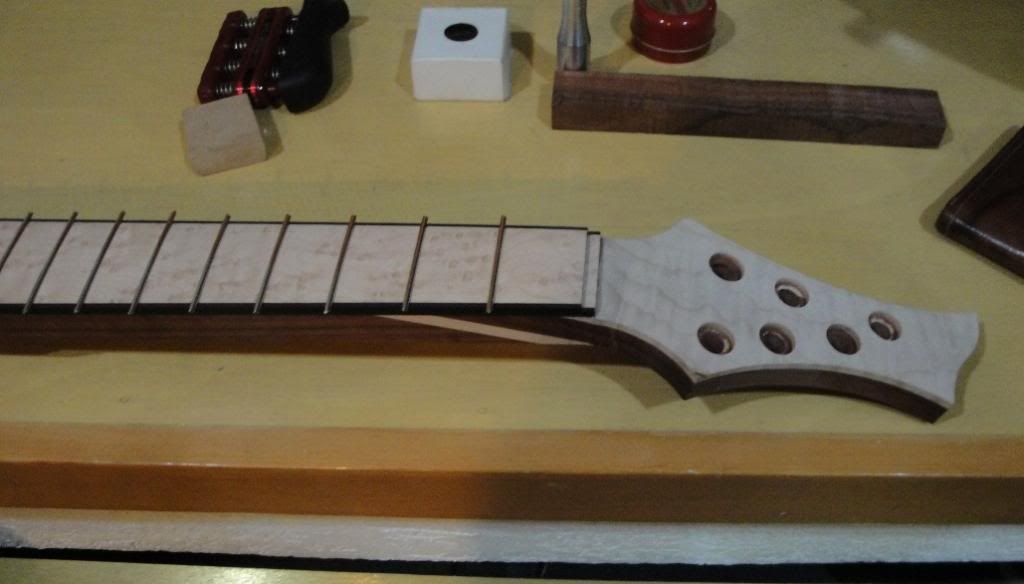
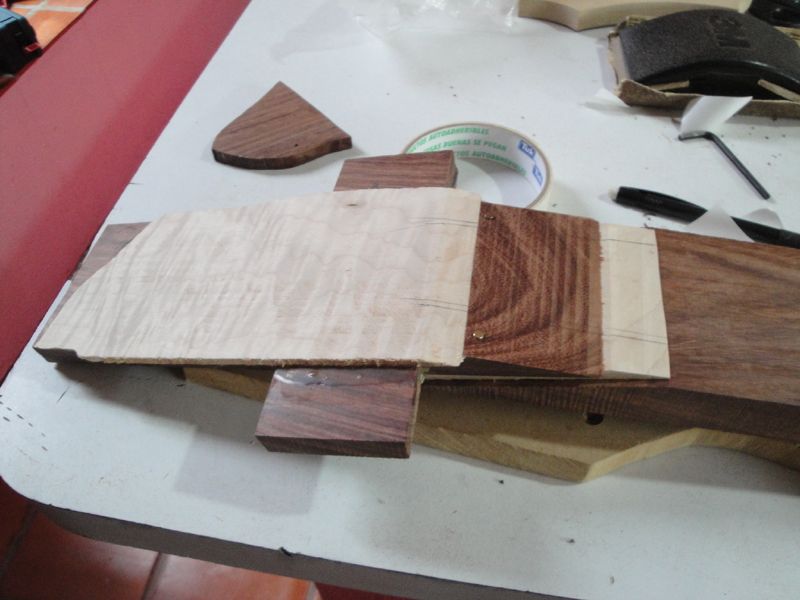
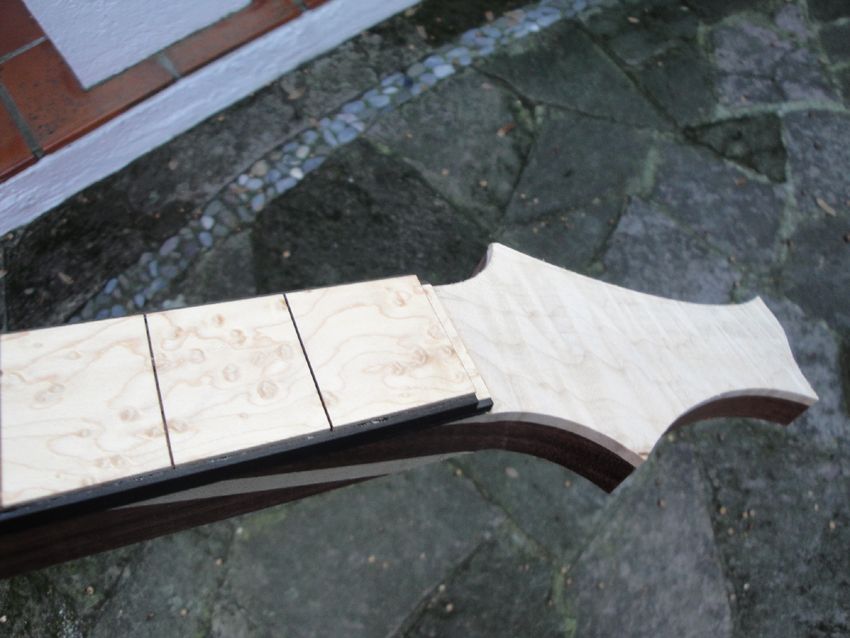
I'm using the same headstock I used on my walnut axe (and the redwood one) again. I've started to grow fond of it. It's unobtrusive, and has straight string pull. UNFORTUNATELY, the granadillo board isn't wide enough to fit it, so I had to get creative.
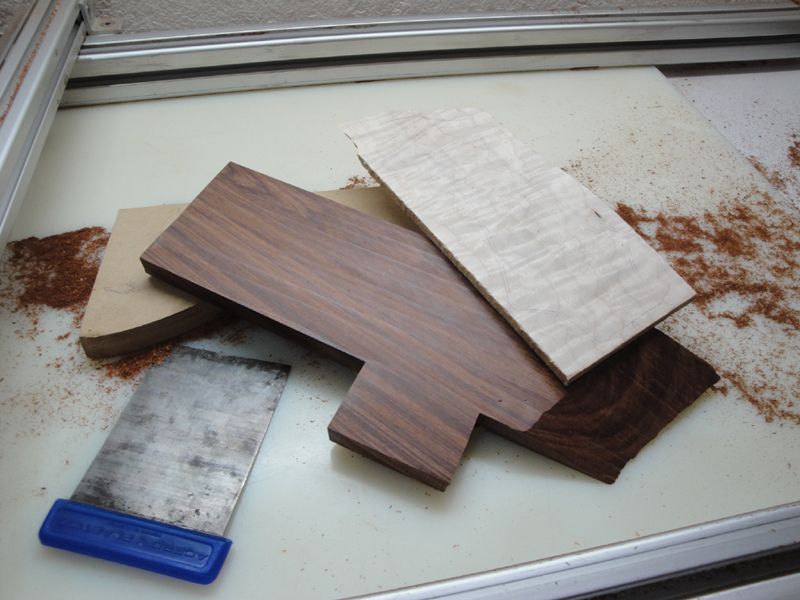
I cut off the excess from the headstock, split it in half, machined it's sides and glued them as ears
The grain ended up matching rather well.
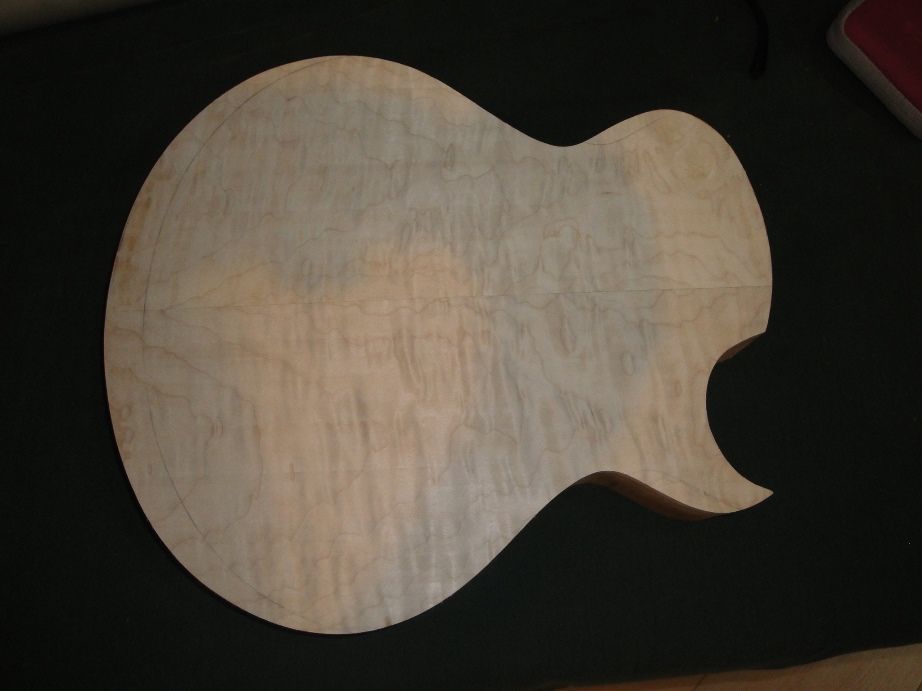
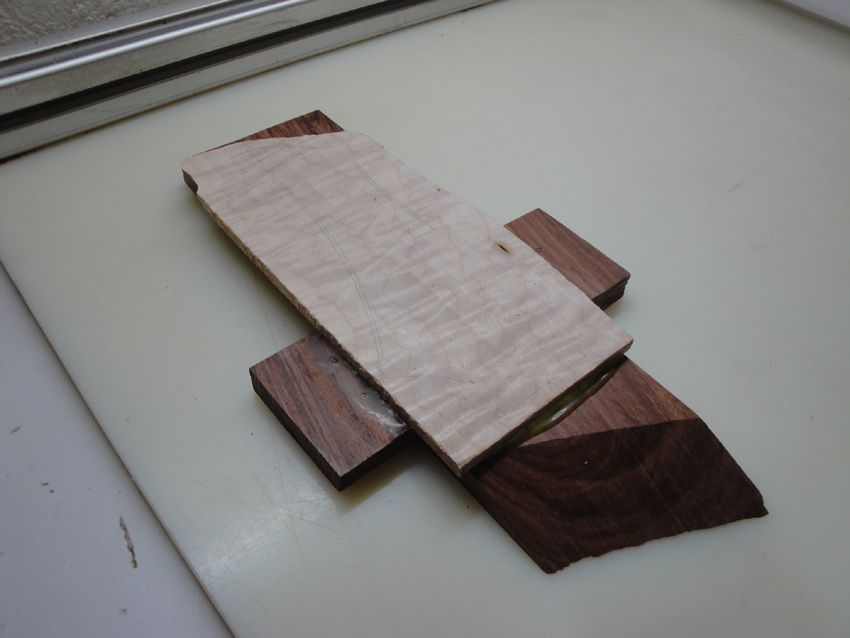
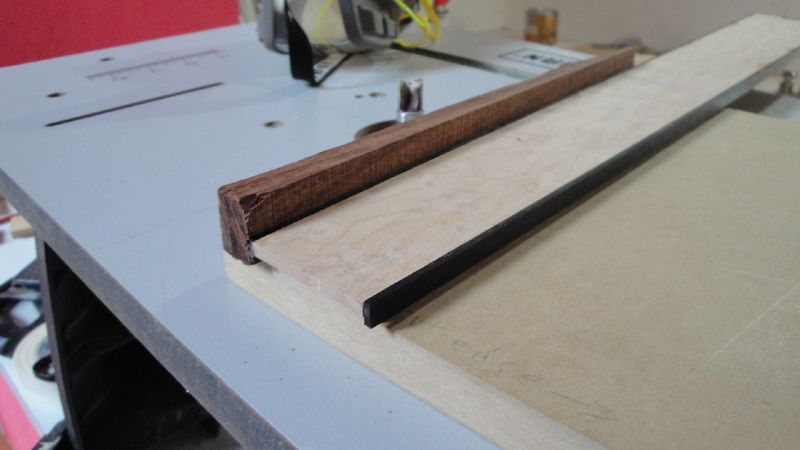
Ok, I also cut and planed the headstock cap from the quilted maple top.
And Glueueuded it to the granadillo piece.
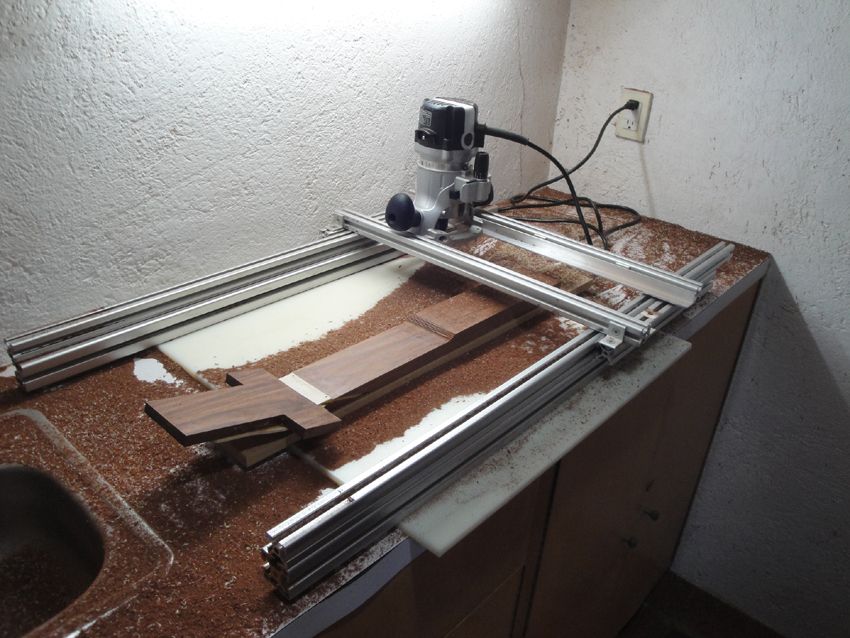
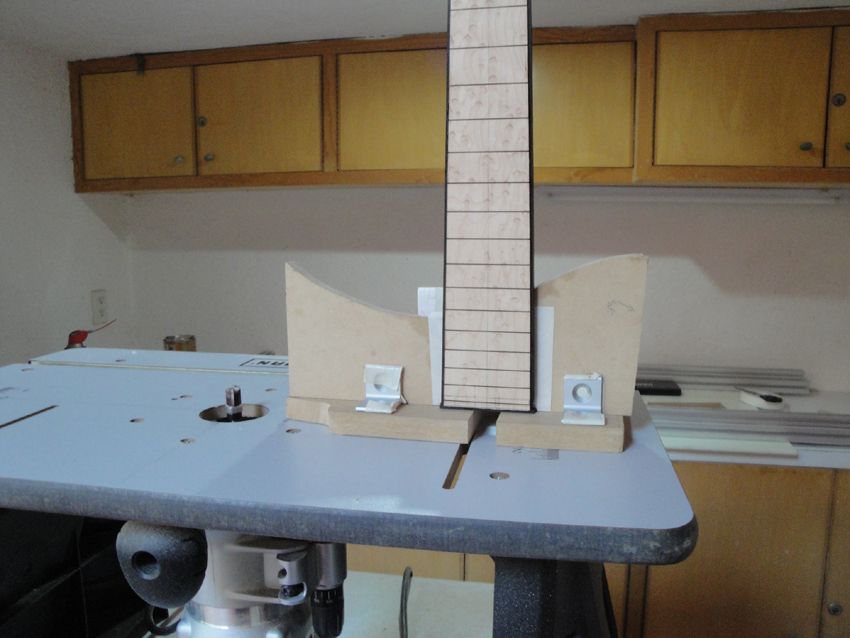
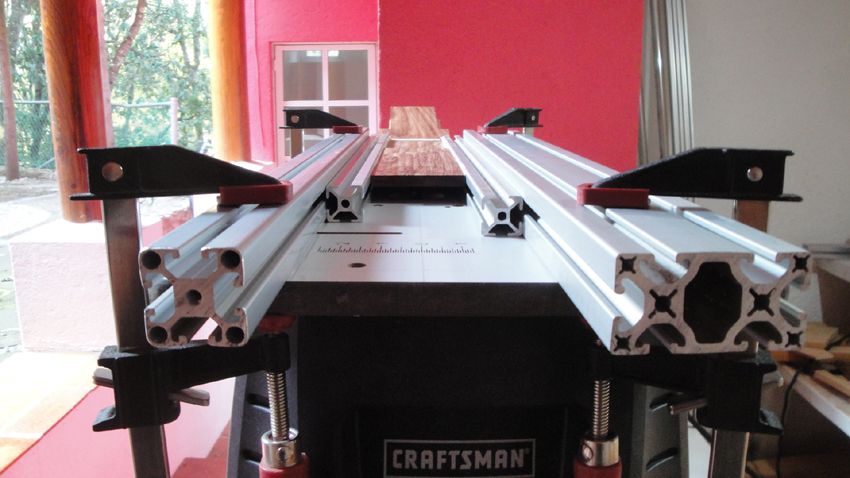
I then ERECTED the super jig
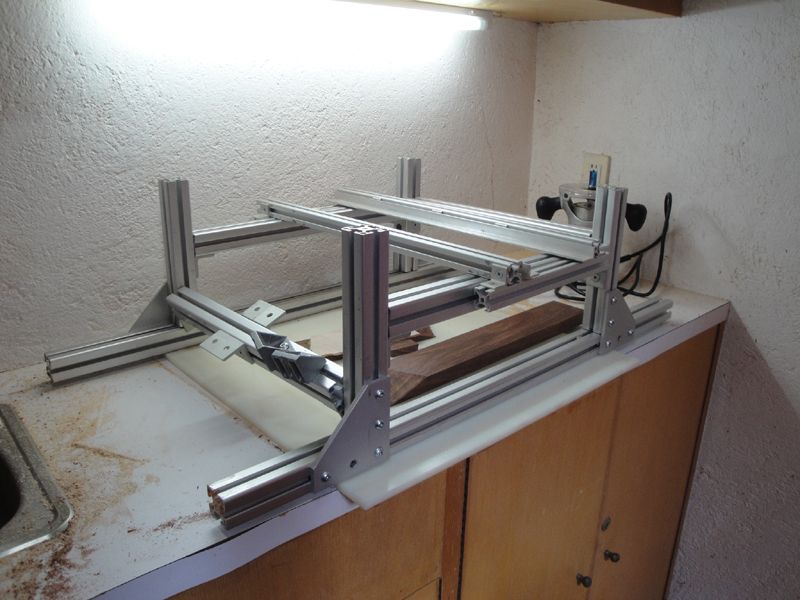
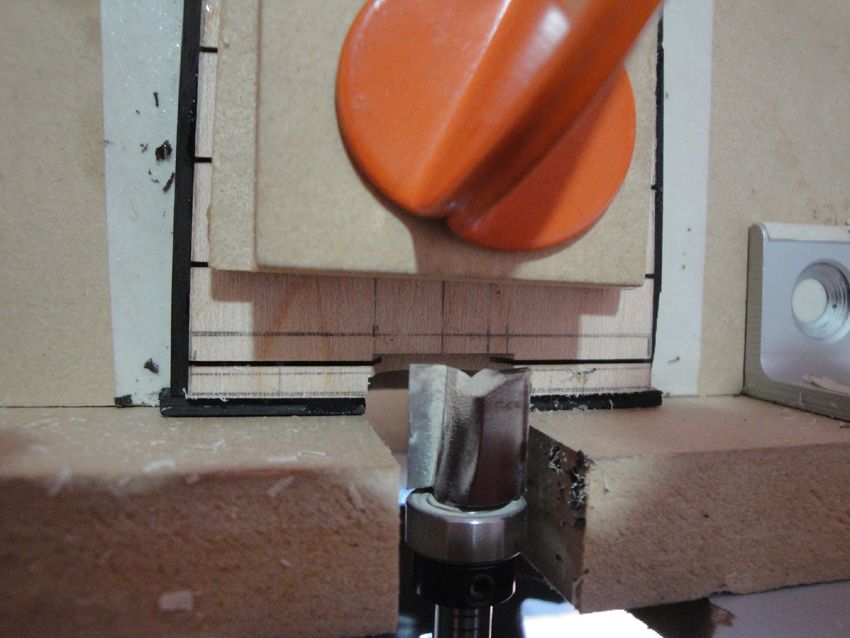
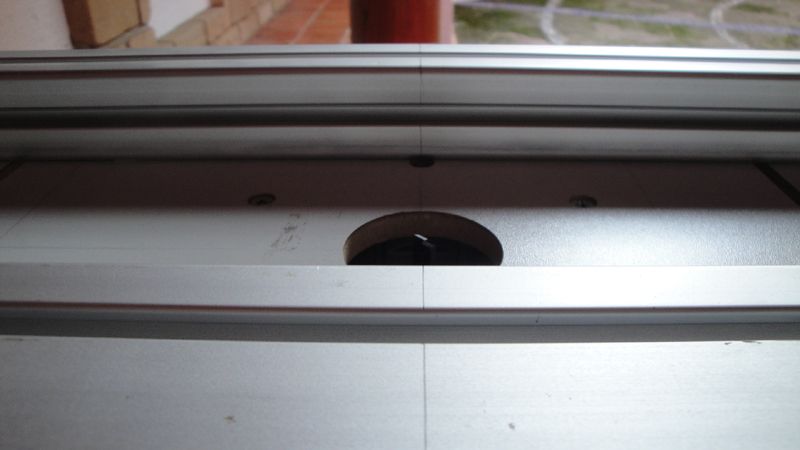
Machined the 15° angle on the neck.
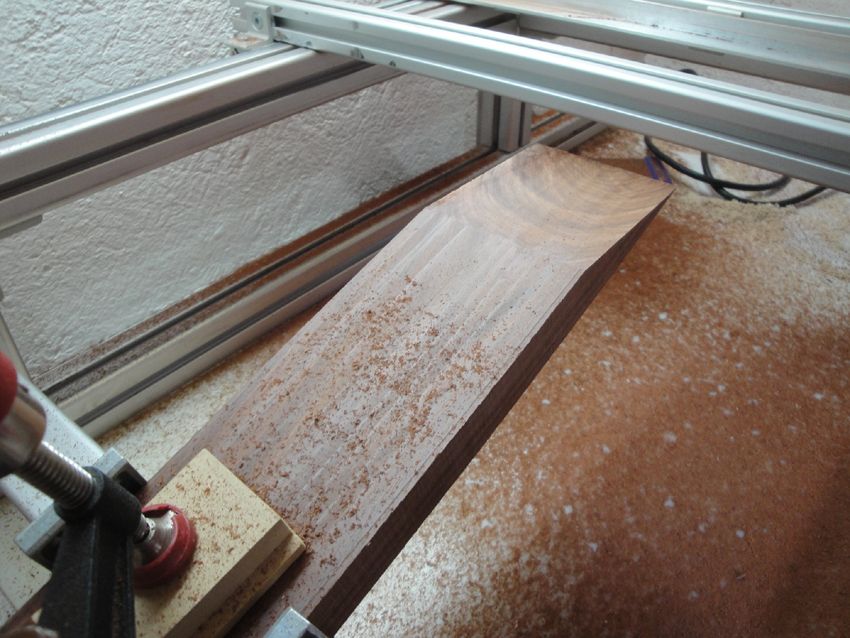
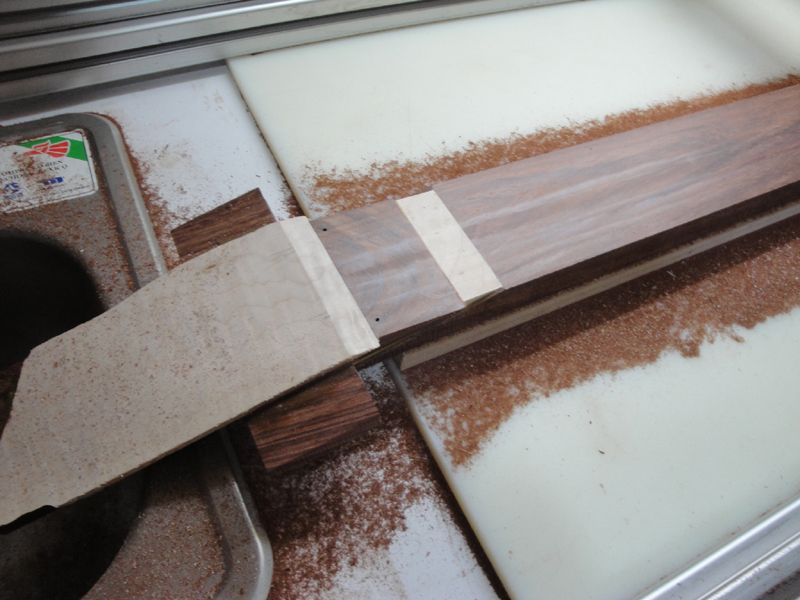
And then did the same for the headstock and maple accent.
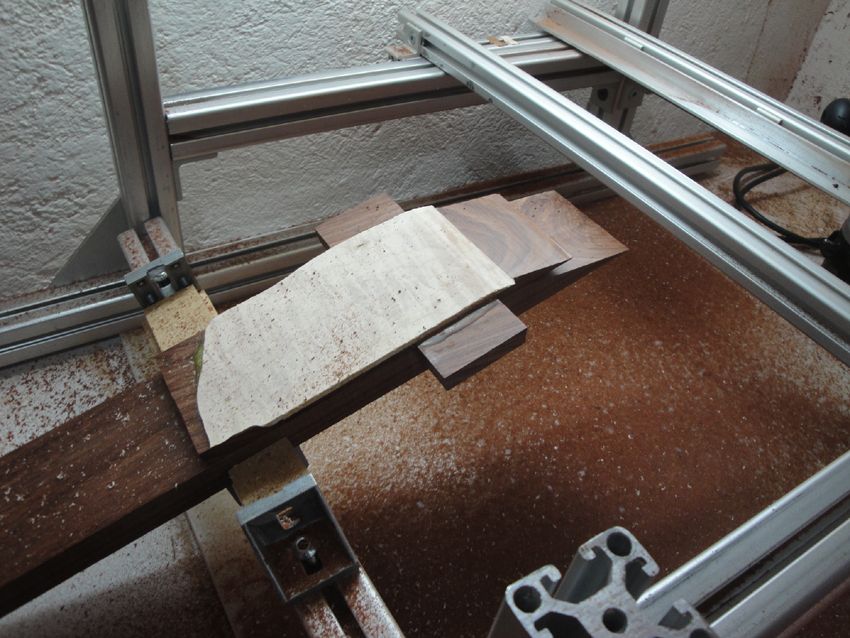
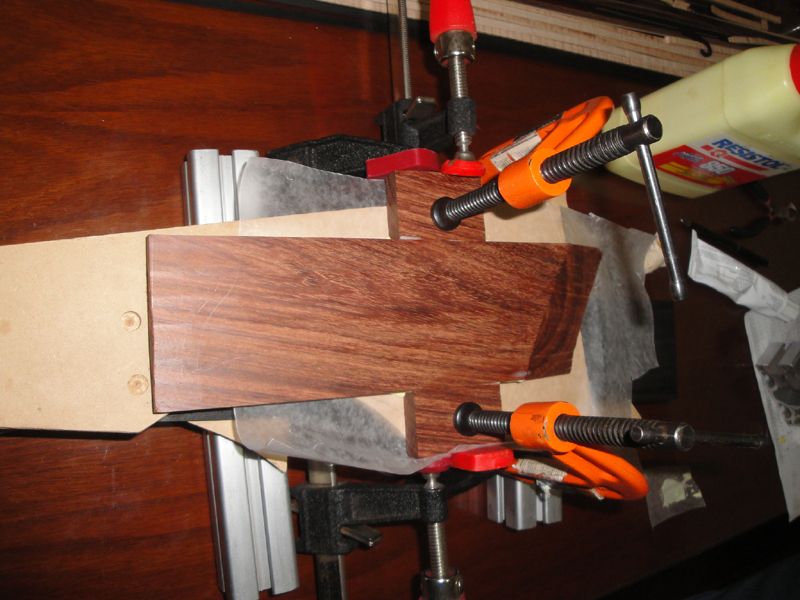
Before clamping them up, I drilled a couple of holes to put some nails and keep the pieces from creeping under preassure. Also sanded lightly with 80 grit and cleaned them up.
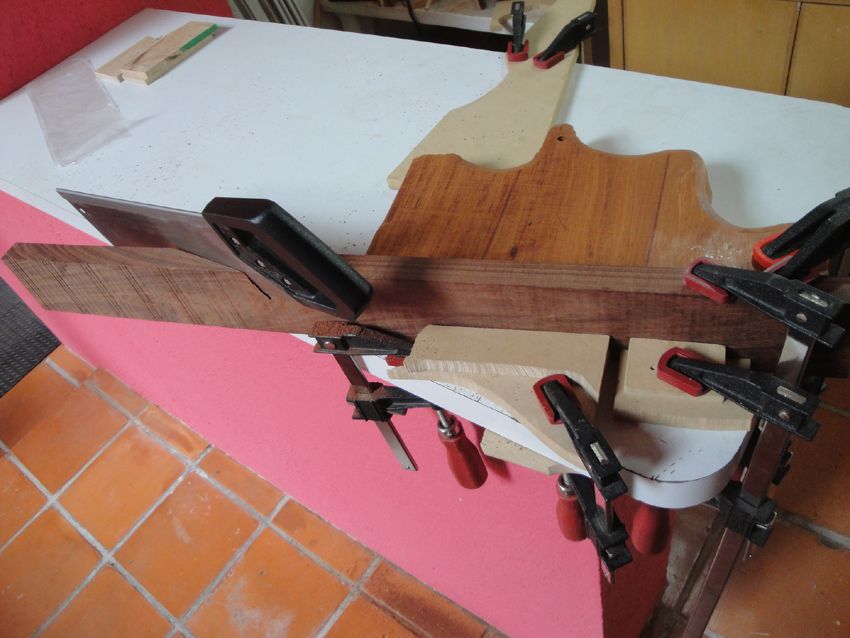
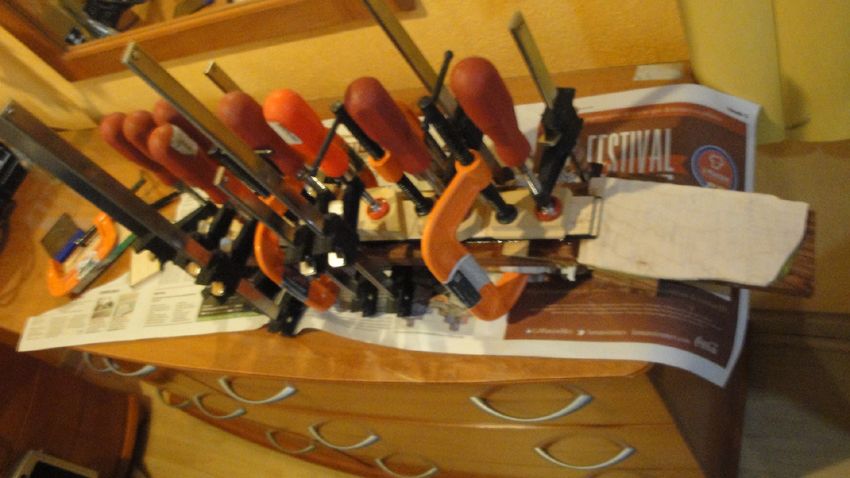
Glued them all up.

Cleaned it all up
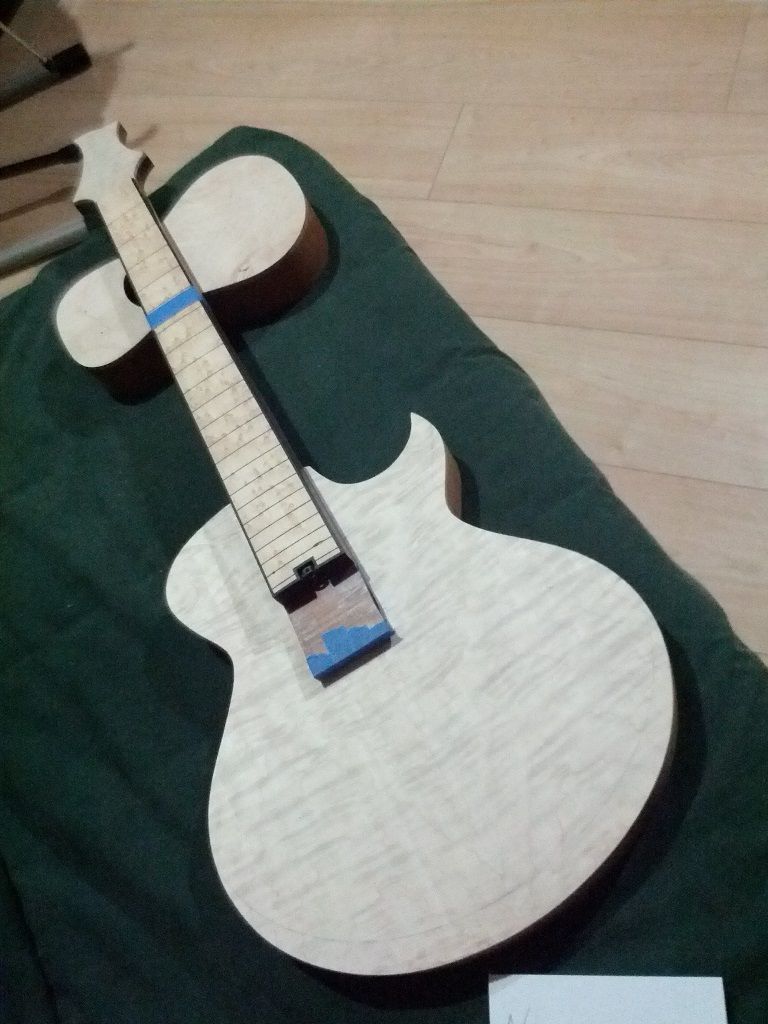
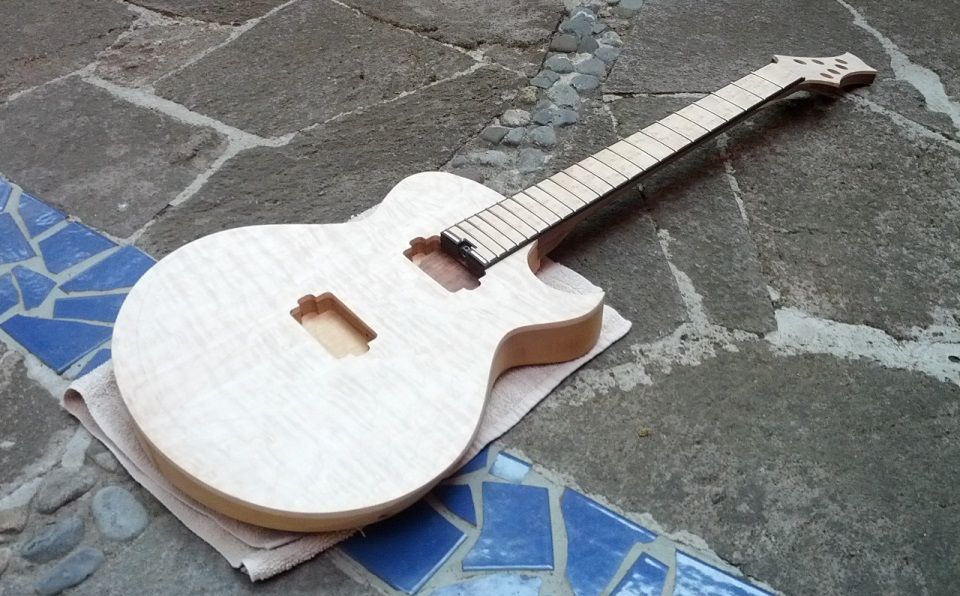
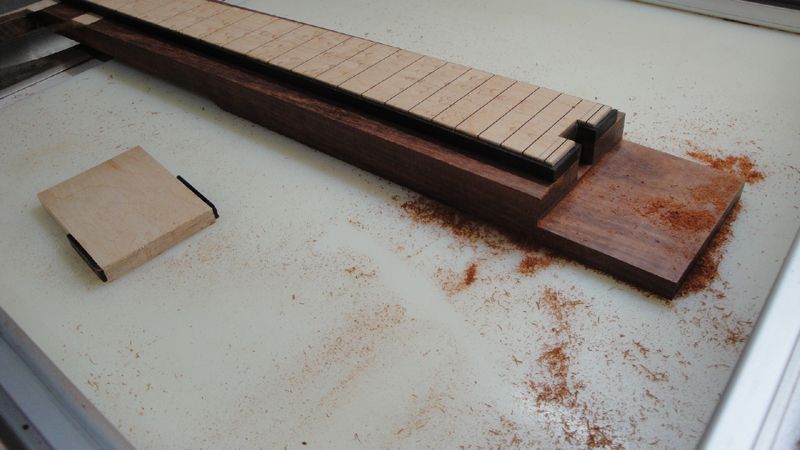
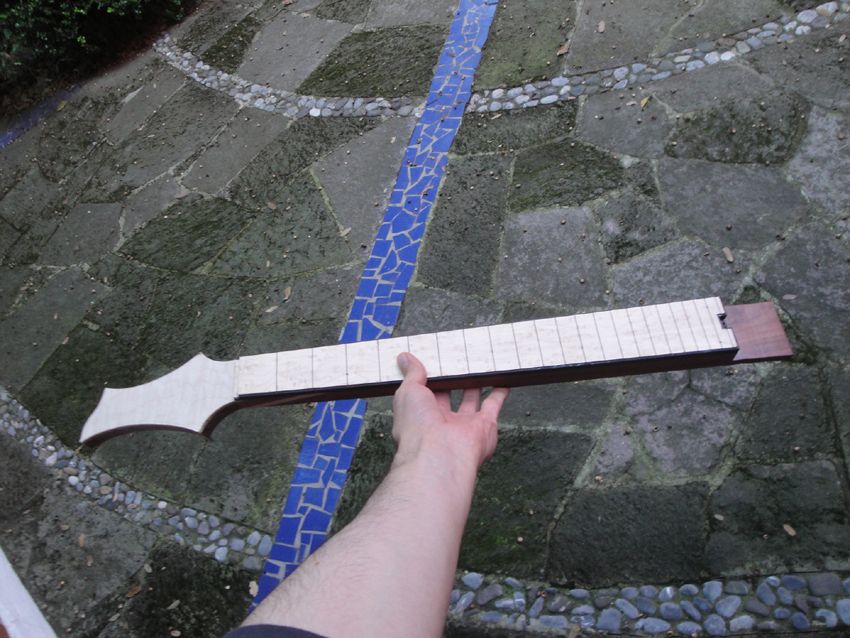
And this is where I'm currently at... more or less.
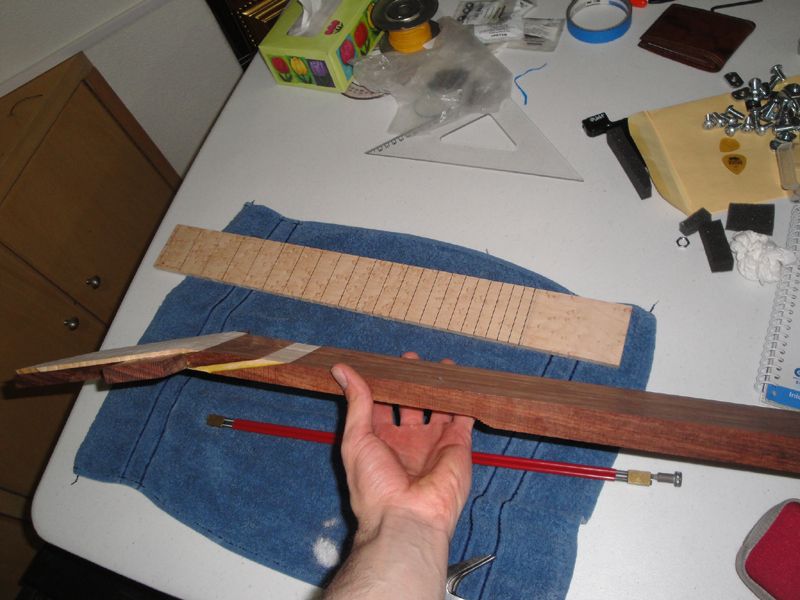
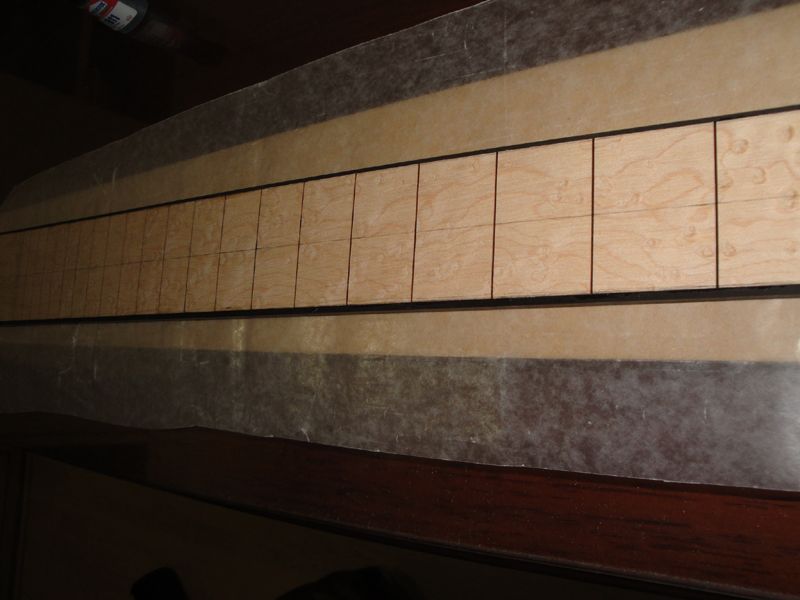
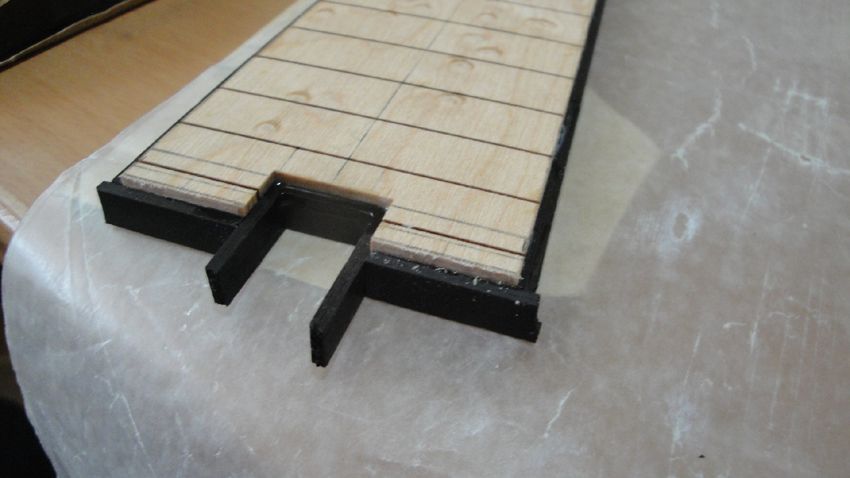
Tomorrow I'll cut the fingerboard, rout the edges and glue the binding on it.

It begins the way it always begins with me... A hand saw. (ok, it always begins with a sketch)
Cutting granadillo boards such as this is friggin HARD! Also, I should mention that I know I won't saw it straight because it's so hard, so I give my self a margin of error and make sure I saw sideways in the direction that won't affect me so much
Ok, this will be the neck. As with my previous build, 1 piece granadillo neck + scarf joint and flamed maple accent at the joint.
After cutting them, I planed them down.
I'm using the same headstock I used on my walnut axe (and the redwood one) again. I've started to grow fond of it. It's unobtrusive, and has straight string pull. UNFORTUNATELY, the granadillo board isn't wide enough to fit it, so I had to get creative.
I cut off the excess from the headstock, split it in half, machined it's sides and glued them as ears
The grain ended up matching rather well.
Ok, I also cut and planed the headstock cap from the quilted maple top.
And Glueueuded it to the granadillo piece.
I then ERECTED the super jig
Machined the 15° angle on the neck.
And then did the same for the headstock and maple accent.
Before clamping them up, I drilled a couple of holes to put some nails and keep the pieces from creeping under preassure. Also sanded lightly with 80 grit and cleaned them up.
Glued them all up.
Cleaned it all up
And this is where I'm currently at... more or less.
Tomorrow I'll cut the fingerboard, rout the edges and glue the binding on it.


")