You are using an out of date browser. It may not display this or other websites correctly.
You should upgrade or use an alternative browser.
You should upgrade or use an alternative browser.
Deegatron - 3rd build Multiscale
- Thread starter Deegatron
- Start date
- Tags
- member built
This site may earn a commission from merchant affiliate links like Ebay, Amazon, and others.
This site may earn a commission from merchant links like Ebay, Amazon, and others.
chrisxrome
Well-Known Member
Figuring on both the fingerboard and top is incredible! Nice work.
Deegatron
Well-Known Member
YARG!
More updates.
well.. update... spent the evening on the next bridge prototype. looks good.
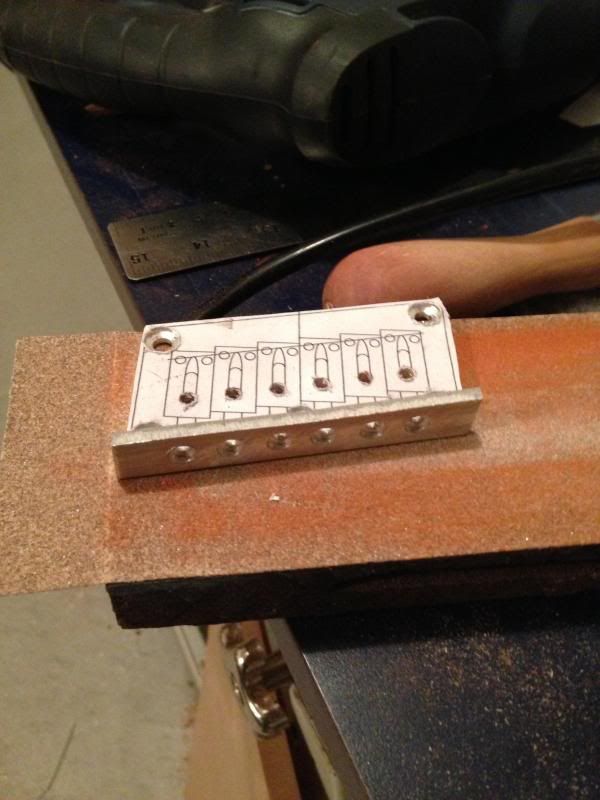
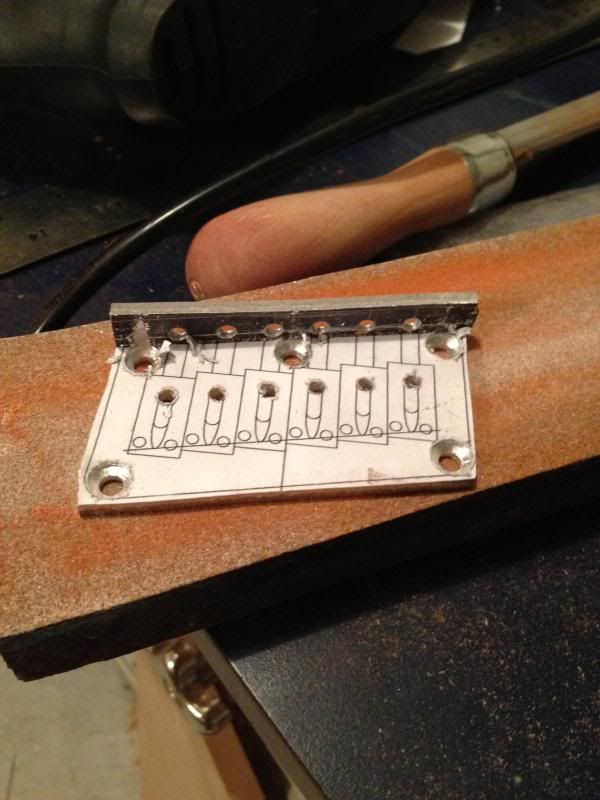
needs some trimming and some final polishing and she'll be ready to rock out with her socks out....
More updates.
well.. update... spent the evening on the next bridge prototype. looks good.


needs some trimming and some final polishing and she'll be ready to rock out with her socks out....
Deegatron
Well-Known Member
oooooooooooooooooo.... GET SOME!!!!!
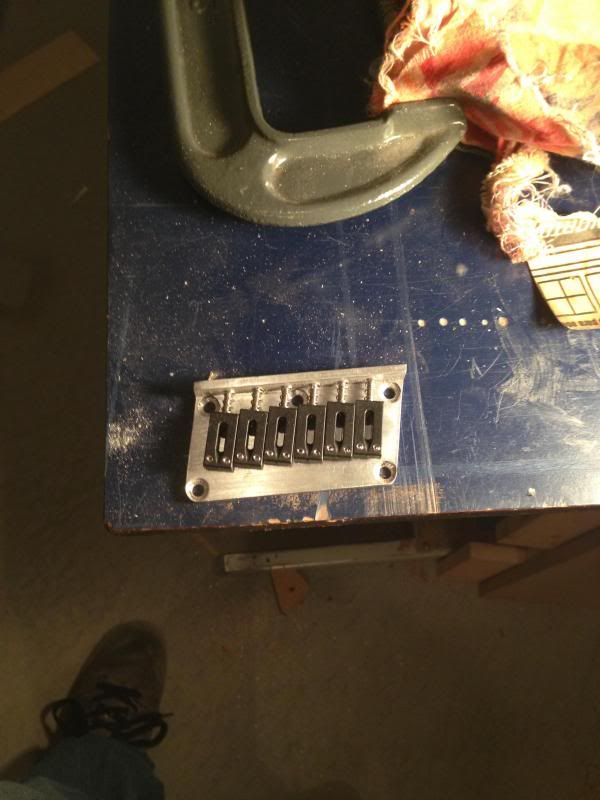
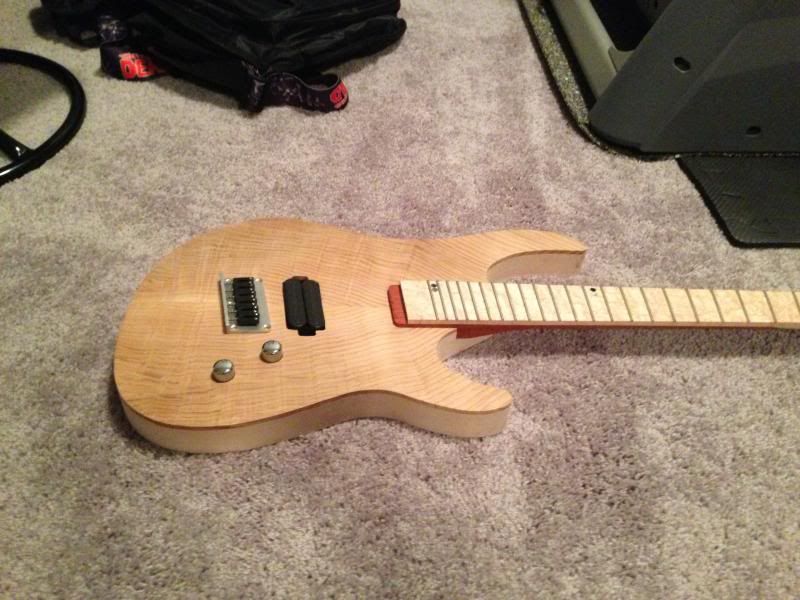
Bridge is almost done. I need to round some edges and polish her up but I couldn't resist some mockups.
more updates soon.

Bridge is almost done. I need to round some edges and polish her up but I couldn't resist some mockups.


more updates soon.

Bridge turned out awesome! Really excited to see it completely finished and this thing put together.
Neilzord
.Metal.
Well done that man! Looking fantastic!!!
Seeing all these really makes me want to give it a go! First.. I need to get a big shed sorted haha
Seeing all these really makes me want to give it a go! First.. I need to get a big shed sorted haha
Deegatron
Well-Known Member
Hey Guy's, sorry for dropping off the face of the planet for 2 months. winter hit hard. my garage is unheated and im in Canada. it's painfull and ill advised to do any wood working in -20 deg C.
Garage heater is now installed so work may once again continue.
on to the photo's... not a lot done so far... new toy tho....
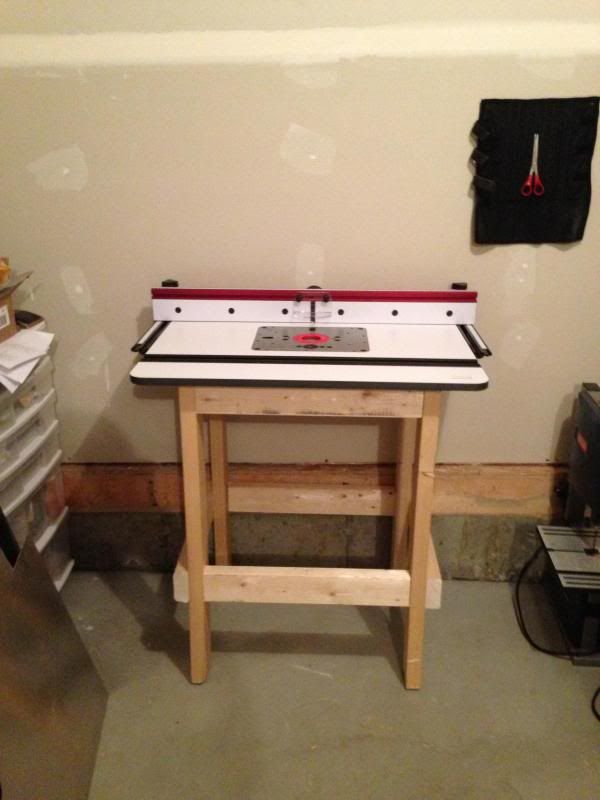
mock my 2x4 leg's all you want... that officially saved me $200... yeah, that's right.. they wanted $200 more for the kit with the metal legs... I think not!!! My 2x4 leg's are solid... and cost me a whopping $10....
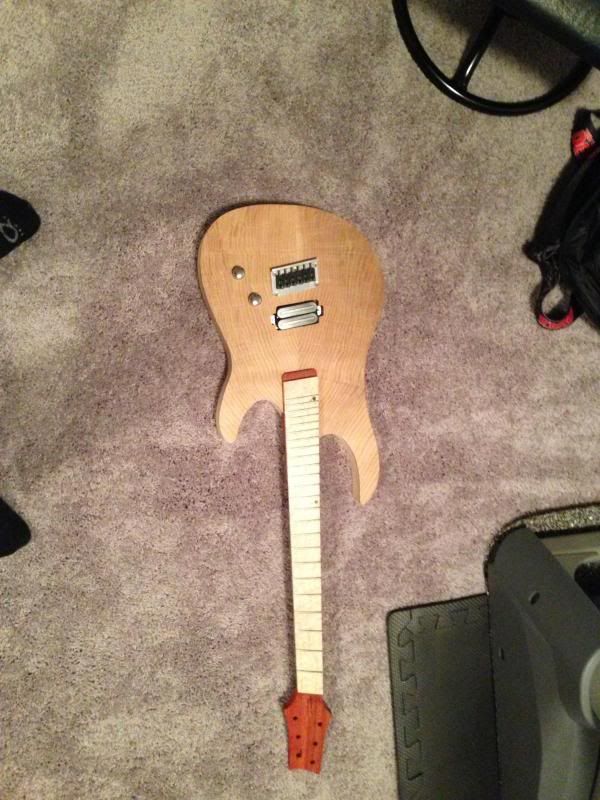
actual progress on the guitar is rather weak.. I drilled for the bridge screws, drilled the string through holes and drilled for the ferrules in the rear. that's really about it. but it's slowly creeping along... more soon.
Garage heater is now installed so work may once again continue.
on to the photo's... not a lot done so far... new toy tho....

mock my 2x4 leg's all you want... that officially saved me $200... yeah, that's right.. they wanted $200 more for the kit with the metal legs... I think not!!! My 2x4 leg's are solid... and cost me a whopping $10....


actual progress on the guitar is rather weak.. I drilled for the bridge screws, drilled the string through holes and drilled for the ferrules in the rear. that's really about it. but it's slowly creeping along... more soon.
Prophetable
Prophet For Profit
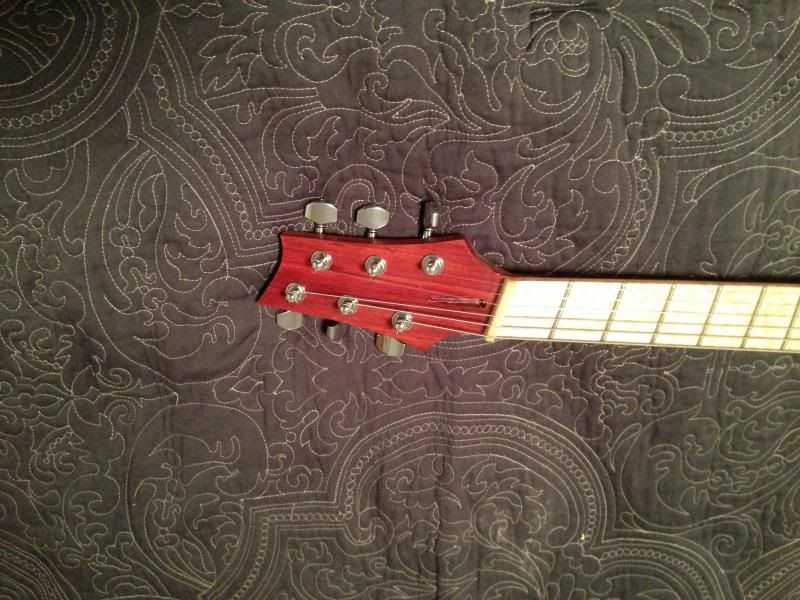
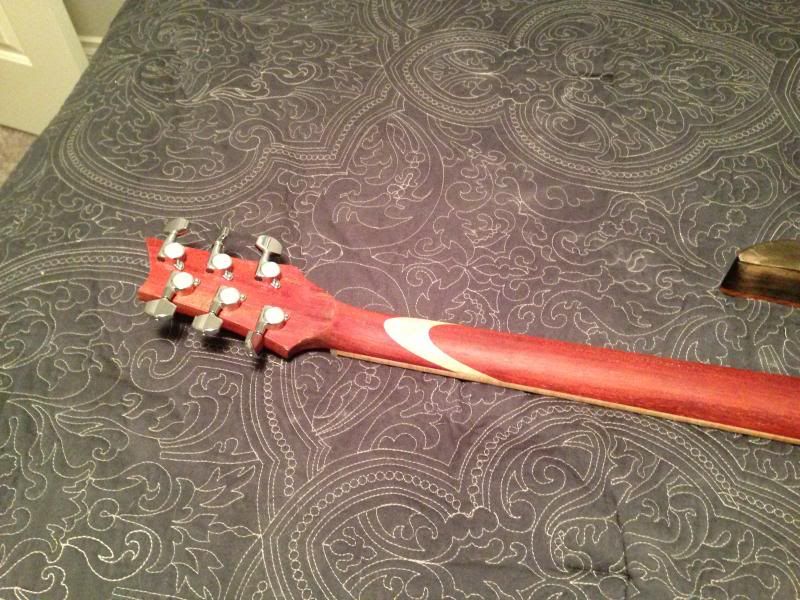
I really like the stripe for the joint in the back of the neck. I'm looking forward to the completion of this guitar very much.
Deegatron
Well-Known Member
I cant decide if I like the scarf joint accent or not. its a really nice feature on the back of the neck and it's not something that you'll ever find on a production guitar.... but something just seems... off.... perhaps it's just too thick and needs to be more subtle... on the next one I think im going to try a thinner accent and see if that does it a little better for me.
once again weak progress today. im fighting with getting the magnets for the cavity cover glued in. I drilled the hole for one of the magnets a smidgen too deep by accident so I need to layer the CA gel to build it up a little. im hoping this round will stick and i'll be able to move on.
once again weak progress today. im fighting with getting the magnets for the cavity cover glued in. I drilled the hole for one of the magnets a smidgen too deep by accident so I need to layer the CA gel to build it up a little. im hoping this round will stick and i'll be able to move on.
Prophetable
Prophet For Profit
Well, if you don't like it you can go ahead and finish it up and ship it to me.
Deegatron
Well-Known Member
Well, if you don't like it you can go ahead and finish it up and ship it to me.
ah crap that cracked me up.
well played sir.
OmegaSlayer
Well-Known Member
Baptized in blood...GOOD!!!
")
Awesome project so far!
JoeGuitar717
Balaguer Guitars
Nice work on the bridge. Very cool indeed.
Deegatron
Well-Known Member
Small update.
Finally was able to get the last magnet to stick today...
all that's left now is to fill the cavities with thin superglue to really hold the magnets in there good...
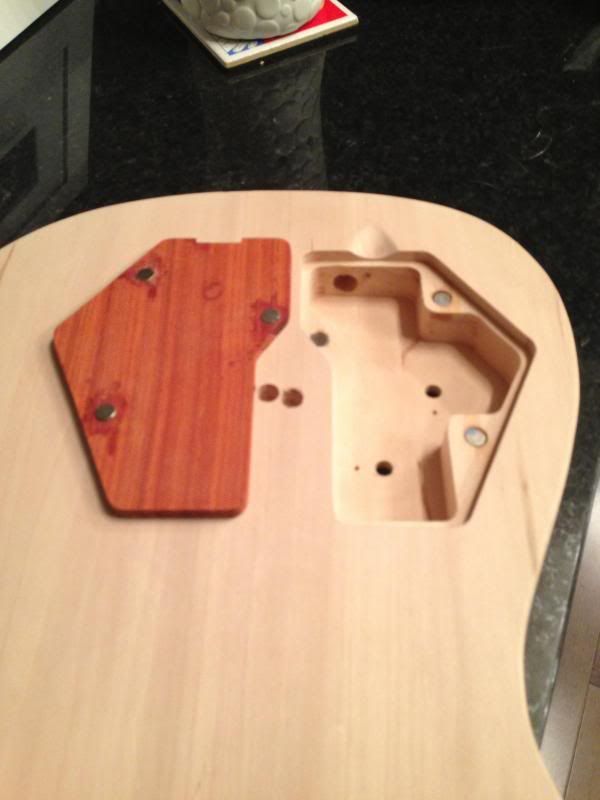
This time around the magnets were significantly more trouble than last time... not sure what I did differently. either way the end result is stellar. it would be physically impossible to shake the cavity cover loose... I actually have a hard time pulling the cavity cover off as the magnets are very strong.
Deegatron
Well-Known Member
The build marches on.
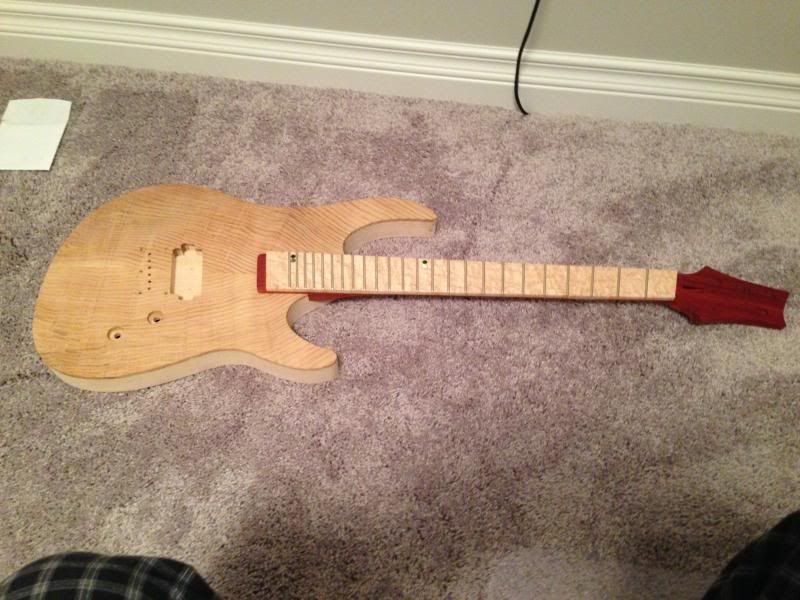
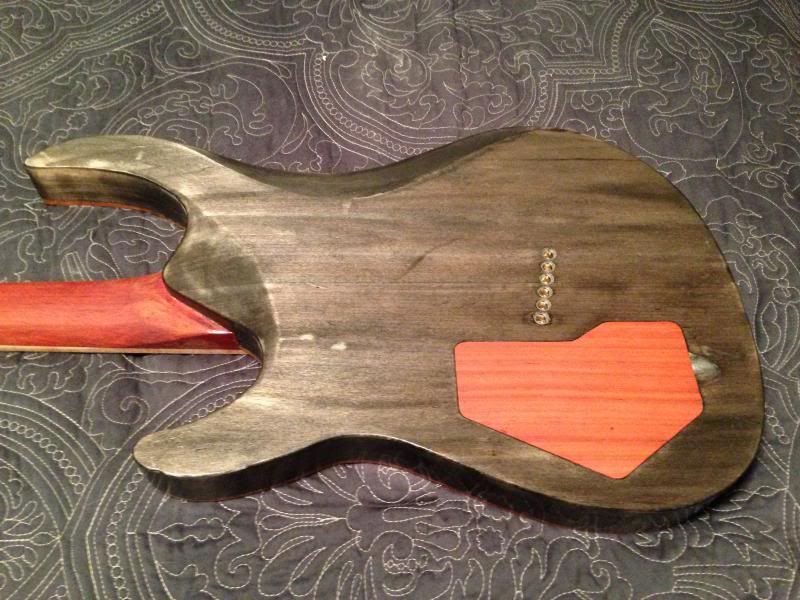
I put everything together... and things are looking up... put strings on her.. but unfortunately I wasn't able to get everything up to tension... basswood is soo soft that I was afraid the straings would pull right through the body... and unfortunately once I put the string ferrules in... they aint coming out... but I was able to cut the nut... I finally used the half pencil method... WHERE HAVE YOU BEEN ALL OF MY LIFE!?!?!?! I didn't realize what I was missing... it's a billion times easier than what I was doing previously.... never again will I do a nut without a half pencil.... lesson learned... every method that you read about on the internet is awesome!!! haha... just kidding.... but if your having issues with stuff... check how other people on the internet do it... they just might be onto something....
moving on... I dyed the basswood black... it was much much easier than I thought it was going to be... 1 application and it was all done... I used a brush and just kept moving the dye around as much as possible while it dried and that gave me a reasonably even dye job...
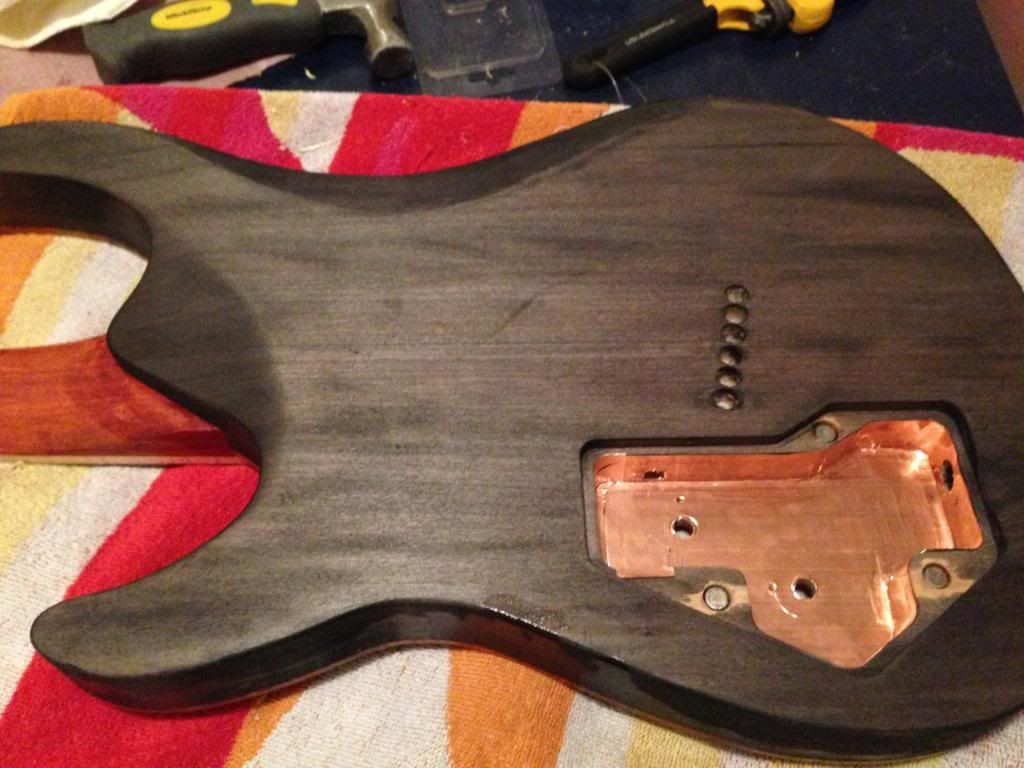
I also applied the copper cavity shielding... I've done this on all of my builds and I find it really helps keep noise/hum/unwanted feedback to a minimum.... the difference is substantial... it also simplifies your wiring as you don't have to run ground wires to most items..
then the top got 2 sealer coats of tung oil sealer and 1 coat of tung oil high gloss...

the next week or so will be spent building up high gloss coats on the body... after that i'll put a couple matt coats on the neck... couple days to completely dry and she'll be ready for action...
stevexc
Well-Known Member
Awesome looking build, fellow Edmontonian!
Deegatron
Well-Known Member
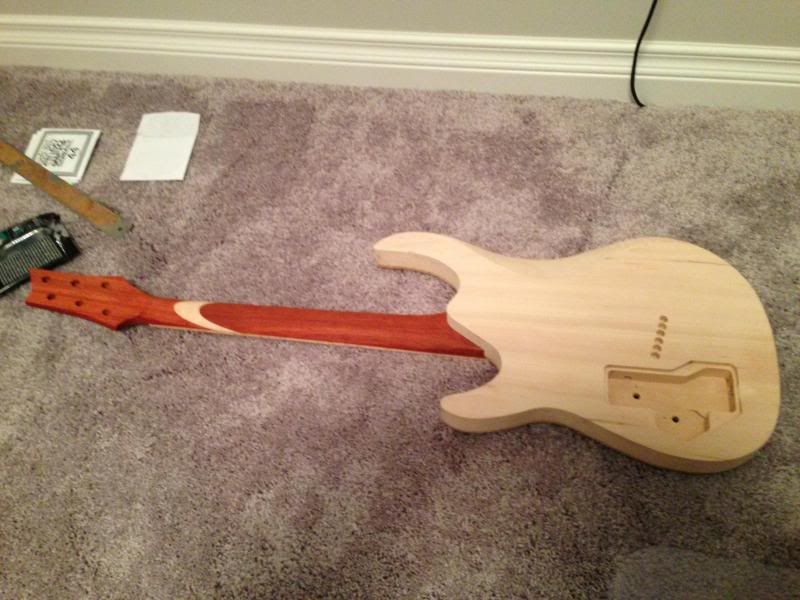
And I present... the mostly completed... TS-1 (Taint Shredder - One)

First thoughts on the multi scale...
Meh.... the lower strings have enough tension and the higher strings seem a little sweeter... I guess... I think it's the strings crapping on my parade.... im not happy with the ernie ball cobalts at all... they're dull and lifeless and the plain G string is just... horrible....
I also found bar chords/ power chords anywhere near the first fret difficult at first... I seem to be adapting a little and they're much less awkard now... other than that I really don't feel a HUGE difference... next time i'll make the perpendicular fret closer to the nut... I think I did the 10th fret as the perp this time....
I was worried about the intonation as I had to place the bridge a smidgen further back than the ideal position... turned out to be a godsend... it intonated perfectly where it was with very little effort...
im not real happy with the finish but the wife put her foot down after almost 2 weeks of heating the garage.... time to call it good enough for now... I may refinish some parts in the spring.. but that is what it is... for now it plays... and it does play quite nice....
I like the X2N. it seems clear on the low B. (it's tuned to B std by the way...) a nice mid bite and the presence is nice without being harsh...
I'll have to take it over to my buddies and rock it thru his marshall stack for a while to get a real feel for it....
my fretting is much better on this guitar than my previous 2 combined... I have not done a fret level and crown... and the action is about as low as I would have hoped to get tuned to B. im actually rather proud of that....
What im really proud of on this build...
slotting the fretboard turned out great.
the maple fretboard looks stellar
my fretting is several orders of magnitude better than previous attempts
angled scarf joint went off without a hitch
the DIY bridge worked out great and functions exactly as intended.
the dyed basswood looks BAD ASS in places that it turned out...
control cavity turned out great and my wiring is very clean...
things im not real proud of/ should fix in the future
I sanded thru in a couple places and the finish is not totally flat in other places...
the neck feels rather fat... even though it's not... I think I need to work on the neck profile a little...
I got lucky as hell with the bridge placement... and the bass saddles sit higher than the treble saddles even though the action is about the same... im guessing I sanded the fretboard radius a little uneven towards the treble side...
the recessed knobs were a dud... holes were too small and the knobs rub.. esily fixed but still a pain in the ass...
I forgot to ground the bridge (hangs head in shame)