Deegatron - 3rd build Multiscale

This site may earn a commission from merchant links like Ebay, Amazon, and others.

Deegatron

Well-Known Member
Joined
Jun 29, 2013
Messages
796
Reaction score
581
Location
Edmonton, AB
Alrighty, so it looks like the general consenus is "quit your whining and put a danm headstock plate on it."
Message received.

In other news, I finally made a decision on the pickup.
Gonna be a single Dimarzio X2N in the bridge position. nothing in the neck position.
controls will be 1 volume and 1 spin a split. (i never use the tone knob anyways)
should be excessivly metal.

Still working on the bridge... i think i've got a plan that should work... will explore it some this weekend....
 

DistinguishedPapyrus

Well-Known Member
Joined
Oct 1, 2012
Messages
1,211
Reaction score
444
while routing the first pass on the truss rod the danm bit slipped in the chuck... I didn't notice... I would up routing some of the channel too deep in the first pass... twas kinda rough.... wound up routing everything to that level and then thicknessing the top so the channel was the proper depth... pissed me off something fierce... but I made it thru it.
the jig required that the first pass be super heavy and I think the vibration was what knocked the bit loose... either way, next time i'll build a completely different jig so it's not a problem.....

^ EXACT same thing happened to me a while back, however I didnt have enough stock to shave it down like that. I wound up splitting the neck down the middle and gluing in a laminate to build back the material of the truss rod slot and re-cut it with a circular saw first, and finished it with the router.
 

Deegatron

Well-Known Member
Joined
Jun 29, 2013
Messages
796
Reaction score
581
Location
Edmonton, AB
^ EXACT same thing happened to me a while back, however I didnt have enough stock to shave it down like that. I wound up splitting the neck down the middle and gluing in a laminate to build back the material of the truss rod slot and re-cut it with a circular saw first, and finished it with the router.

AHhhhhh.... I'm glad I'm not the only person that's had problems here....
watching all the other build theads it feels like a lot of guy's either cover up and don't post their mistakes... or they make none... makes it all more frustrating.....
 

Deegatron

Well-Known Member
Joined
Jun 29, 2013
Messages
796
Reaction score
581
Location
Edmonton, AB
Progress has been slow....
been jumping between projects and haven't really finished anything.
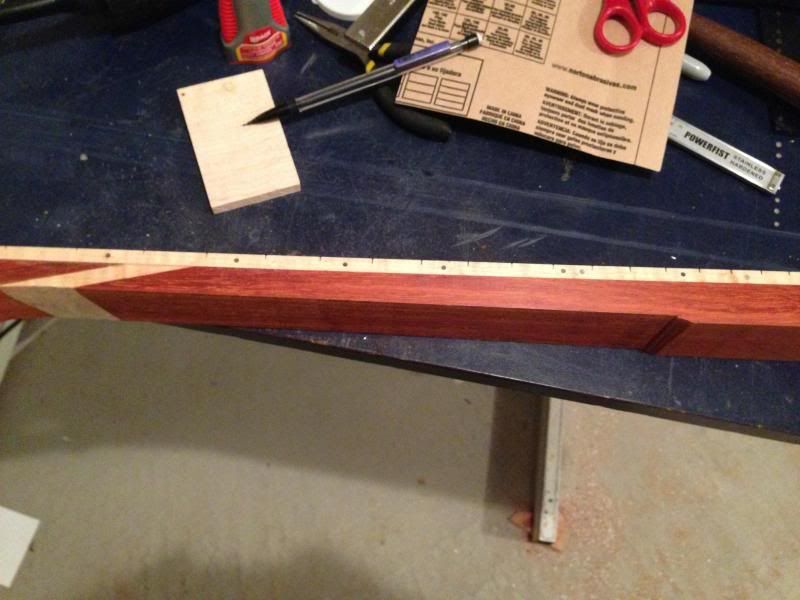
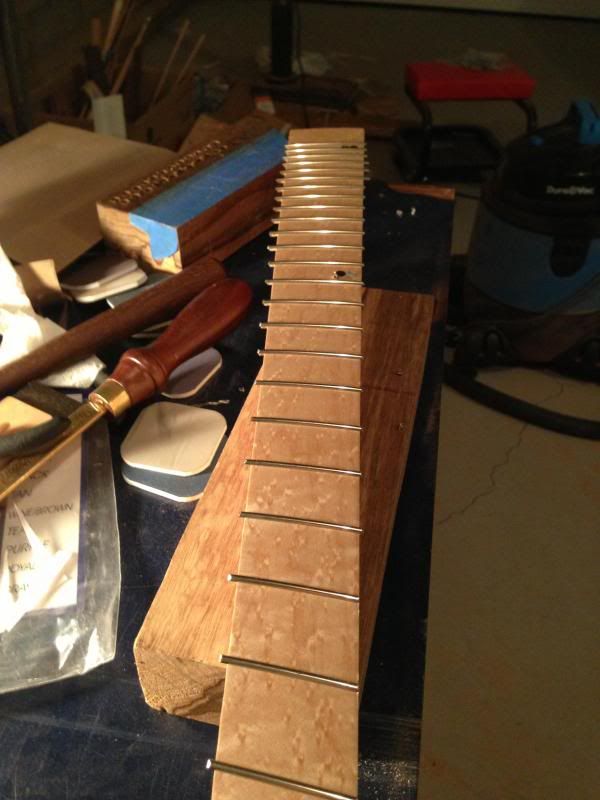
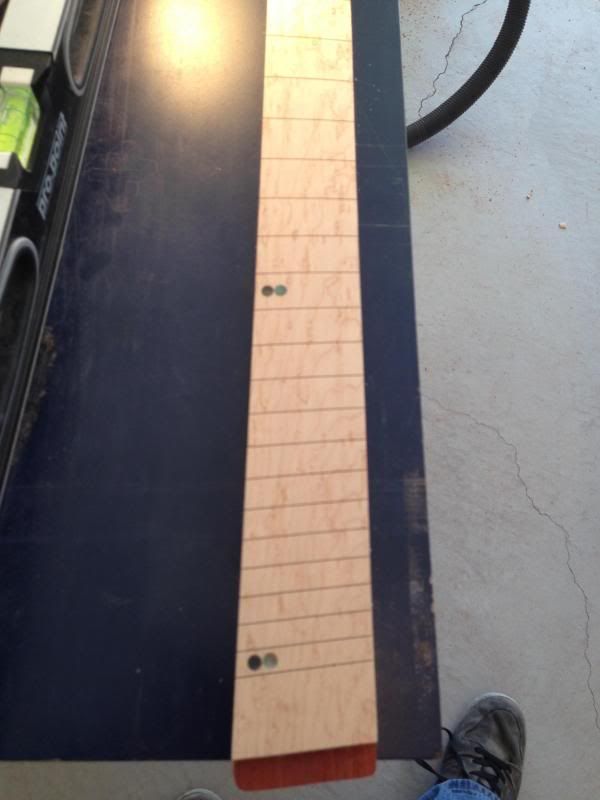
Did manage to do the inlays and get the fretboard radiusd to 16".
Put a layer of tung oil on the fretboard and got ready to hammer some frets.... cut out the frets and realized that 4' worth of fretwire is exactly 4" too short to complete this guitar.... the only other comparable fretwire I have is stainless steel... I have no intrest in mixing the two... looks like I'll be waiting for a while before I can fret.... that's aiet... hopefully I can get the bridge figured out so I know how deep to rout the neck pocket. Im going to metal supermarkets tomorrow after work to try to find something that will work...
For your viewing pleasure... the inlays and radius'd fretboard.

http://s137.photobucket.com/user/deegatron_01/media/IMG_06351.jpg.html
 

Levi79

Well-Known Member
Joined
Mar 5, 2011
Messages
1,730
Reaction score
199
Location
Alberta
Looking beastly! Bummer about that fretwire though man.
 

Just A Box

Well-Known Member
Joined
Apr 8, 2011
Messages
303
Reaction score
110
Location
Boston, MA
I know it's not perfect, but man... that's some nice looking work you're doing there. I making my first multiscale neck now, and am definitly inspired by this build.
 

Deegatron

Well-Known Member
Joined
Jun 29, 2013
Messages
796
Reaction score
581
Location
Edmonton, AB
thanks for the kind words guy's.
No build ever goes as smoothly as you hope it will.
Im using new tools with new tecniques (for me)
Im actually surprised there hasnt been more carnage yet...
Next one will be flawless right?? hahaha... yeah... not likely...
 

schwiz

Lefty
Joined
Jun 26, 2013
Messages
1,194
Reaction score
137
Location
Burnsville, MN
thanks for the kind words guy's.
No build ever goes as smoothly as you hope it will.
Im using new tools with new tecniques (for me)
Im actually surprised there hasnt been more carnage yet...
Next one will be flawless right?? hahaha... yeah... not likely...

I'm learning this the hard way as well :wallbash:
 

Deegatron

Well-Known Member
Joined
Jun 29, 2013
Messages
796
Reaction score
581
Location
Edmonton, AB
Alright, it's about time I had a proper update in this thread.
and it's an epic update to boot....
This... has been a long time coming...
I've been racking my brain for weeks tying to figure out what to do about my bridge... the maple/almunum bridge was a total bust...
this takes a bunch of heat off... now I can enjoy the rest of the build....
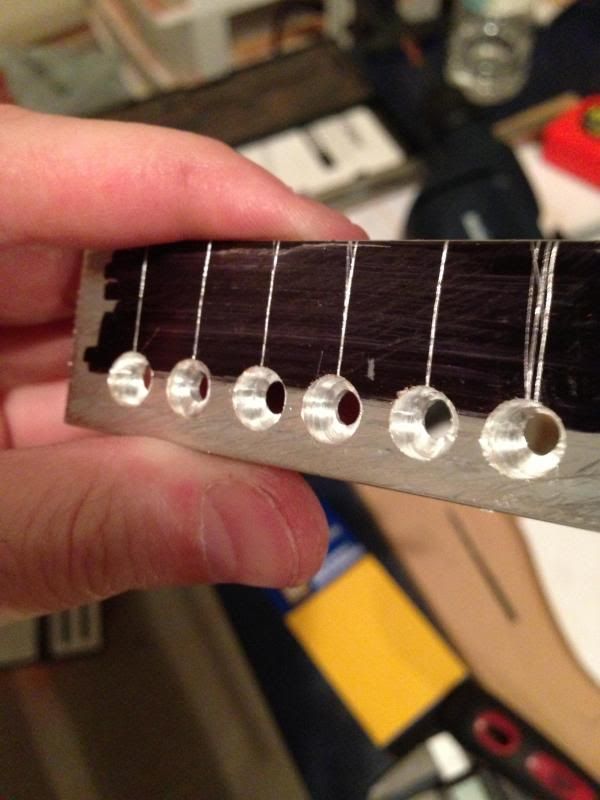
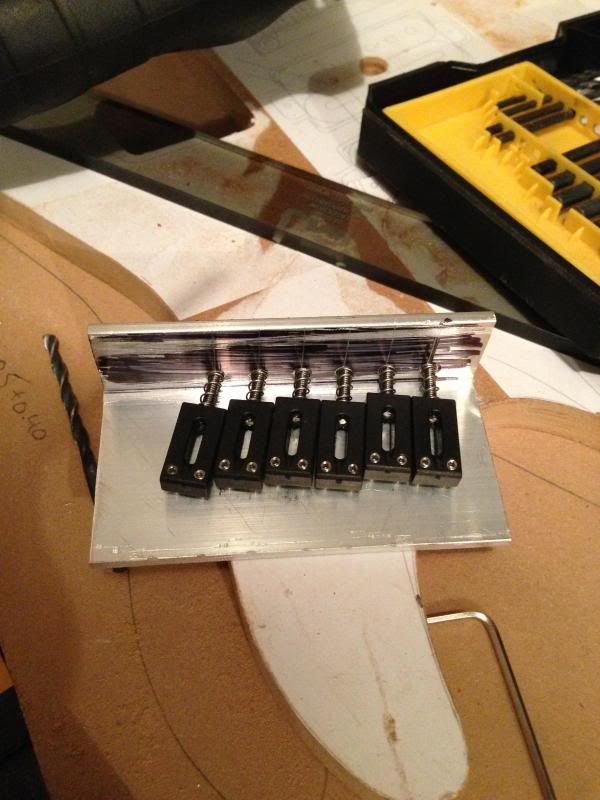
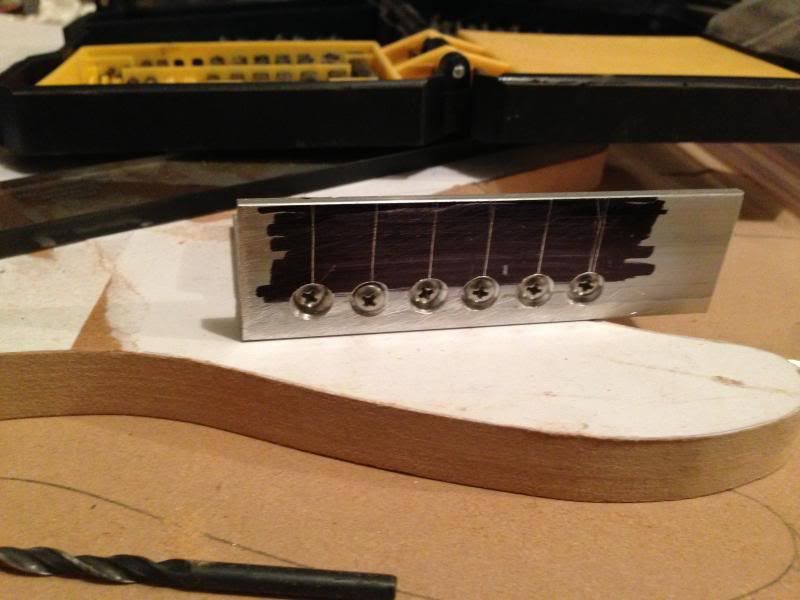
right now it's just a proof of concept... I got the spacing just a fewt thou too tight and nothing lines up like it should... but i'll fix that on the actual bridge so im not real upset about that... im just glad everything worked as planned...
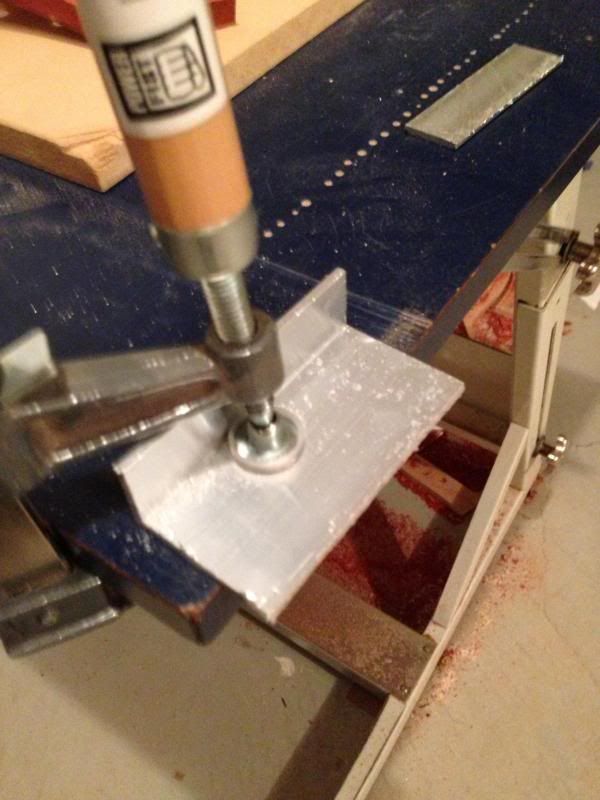
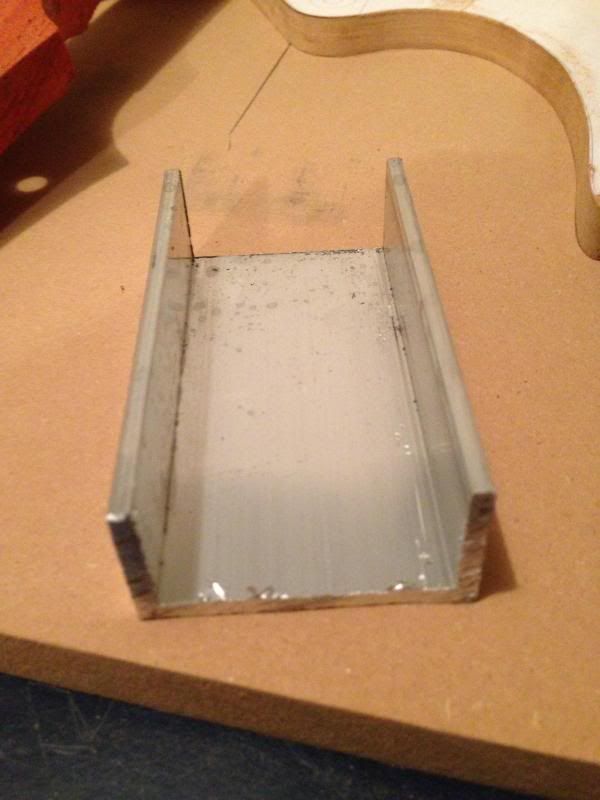
started with a piece of aluminum u channel ( I couldn't find any L channel with the right dimensions and this piece was in the cheep bin at metal supermarkets... paid like $4 for enough to do 5 or 6 bridges. booya...)

long story short... get out the hack saw... cut it into an l channel...

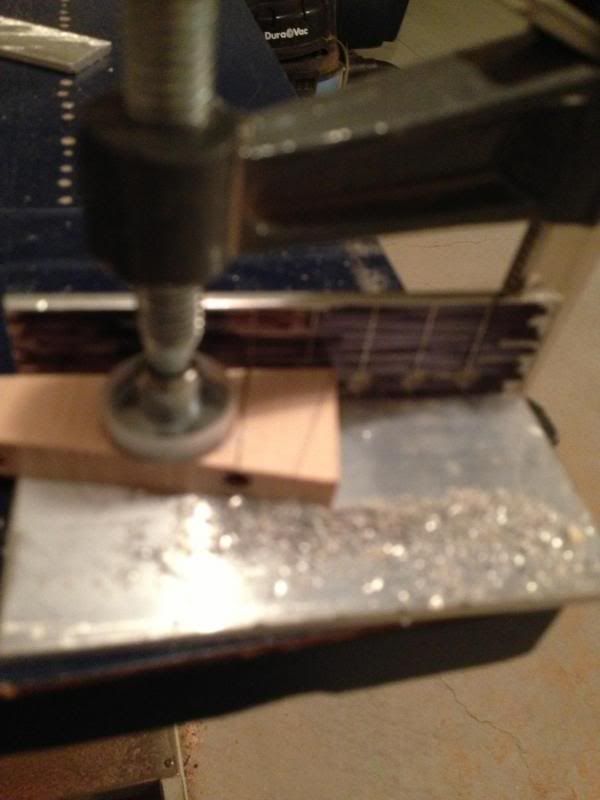
Drill a hole thru a chunk of maple and then cut the proper angle...

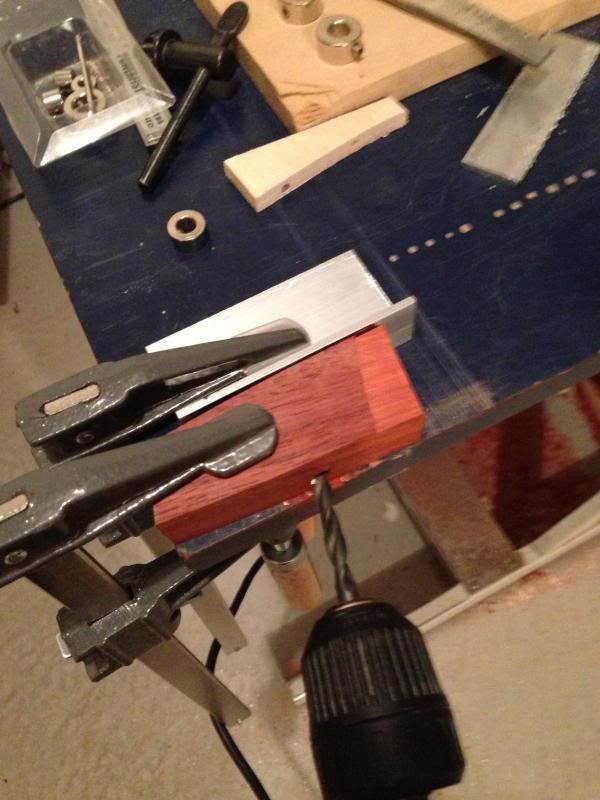
do the same in the rear with a chunk of paduok (cuz I had it in the scrap bin

and you wind up with this....

and there you have it... I just need to cut the profile... drill the mounting holes and the string thru holes and it'd be done... if the spacing wasn't off... no biggie.. i'll make another one...


The depth on the recess in the back isn't perfectly consistent... but I think I found a way to make it better about 1/2 way thru... so the next bridge will be better....
 

Youne

Active Member
Joined
Sep 30, 2013
Messages
32
Reaction score
5
Location
Grenoble, France
here it is... my shame...
To avoid these kind of scratch, you can put under you head stock another piece of wood. It's the lack of material that cause your problem. Your drill push the wood fibers and if there's nothing under it cracks !!

Hope your repair is good! Nice choice of wood, specially for the neck. You xill have really nice maple parabola when it will be shaped ! :cheers:
 

Deegatron

Well-Known Member
Joined
Jun 29, 2013
Messages
796
Reaction score
581
Location
Edmonton, AB
To avoid these kind of scratch, you can put under you head stock another piece of wood. It's the lack of material that cause your problem. Your drill push the wood fibers and if there's nothing under it cracks !!

Hope your repair is good! Nice choice of wood, specially for the neck. You xill have really nice maple parabola when it will be shaped ! :cheers:

Heya Youne,
My intent was not to drill all the way through. I was trying to create a stepped diameter hole so the tuners would fit nice and snug everywhere...
the bit grabbed the material and sucked itself through violently and then sucked the headstock up the drill bit... that's where the damage happened.... I changed the bit and didn't have any troubles on the other 5 holes. If I was intending to drill all the way through I absolutely would have had a scrap piece of wood behind the headstock but.. well yeah.... shit happens... :wallbash: the scrap wood would not have helped on this one anyways due to the way the damage was created.
 

Youne

Active Member
Joined
Sep 30, 2013
Messages
32
Reaction score
5
Location
Grenoble, France
Heya Youne,
My intent was not to drill all the way through. I was trying to create a stepped diameter hole so the tuners would fit nice
AH ok! sorry dude, I didn't catch it ;)
If it can reassure tou, I've done severals shity crap on my 3rd project too... Wood it's an alivve material, but nothing impossible you can always fixe it !:hbang:
 

Deegatron

Well-Known Member
Joined
Jun 29, 2013
Messages
796
Reaction score
581
Location
Edmonton, AB
and now... presented for your viewing pleasure... a long overdue update...
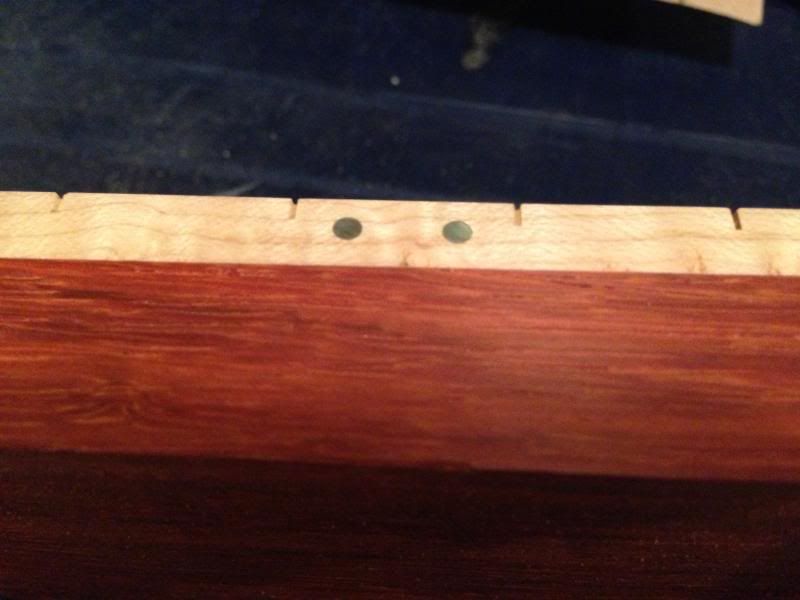
I've been waiting weeks for side dots and fretwire to show up.
Finally got some packages in the mail. I'd pay for express shipment... but the cost to Canada plus the customs is just absolutely insane... it's just hard to justify.

Reguardless. black mop side dots. fun fun fun...


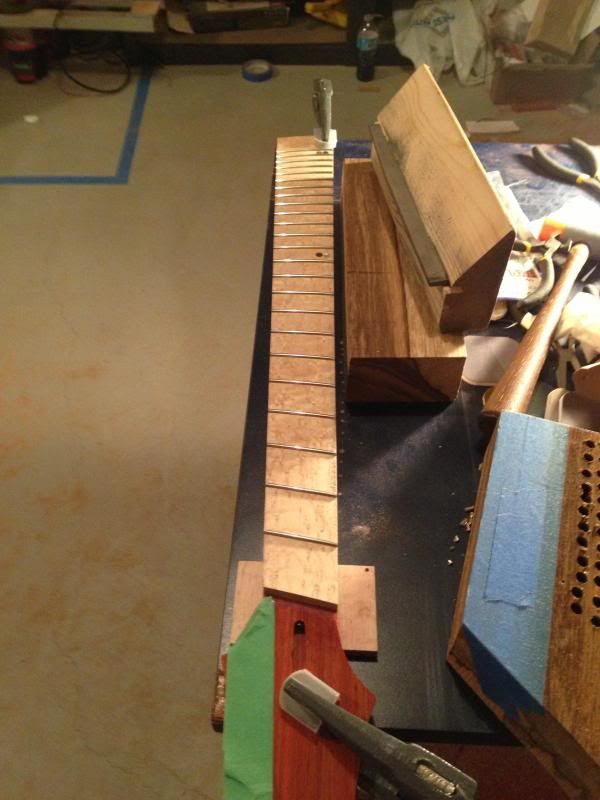
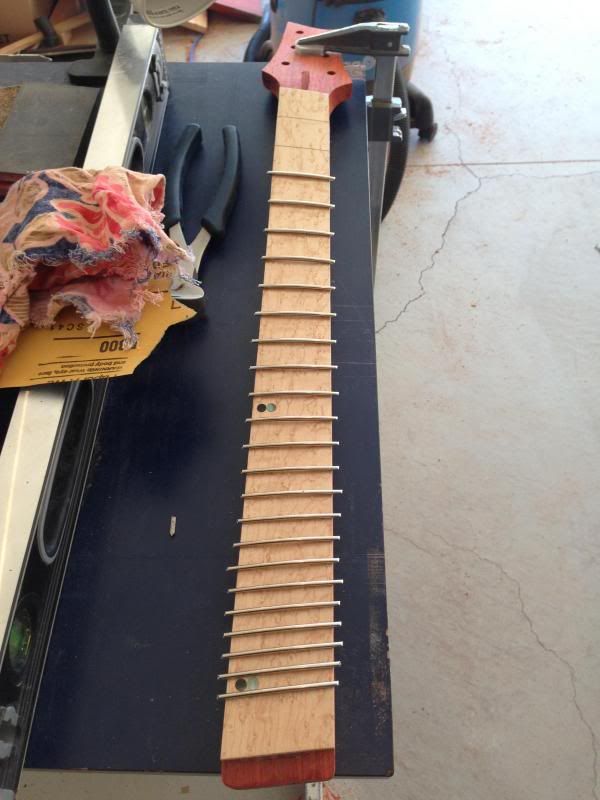
and lastly I put some frets in there. hammered in... I almost bought one of them pressing cauls but due to the angle the radius changes on each fret... so I figured it'd be better to hammer them for a multiscale....


I have to say my best fret job yet....
I took ALOT of time to make sure the fretboard surface was 1000% level and it really paid off. I always keep a piece of paper around when I do a fret job. once your sure the fret is seated run the corner of the paper where the fret meets the board. try to slide the paper under the fret. if it goes under... the fret is not seated. I only had 2 frets that weren't 100% seated.. a few taps with the hammer fixed that immediately.

Did I ever mention that I HATE filing fret ends... I just... well... I hate it soo much... there's gotta be a better way to do this...
 
Joined
Apr 4, 2013
Messages
11
Reaction score
0
Location
S.E Kent, UK
Look top quality mate... really making me wanna get the tools out and buy some wood.. get myself an 8 string build on the go..
 

Deegatron

Well-Known Member
Joined
Jun 29, 2013
Messages
796
Reaction score
581
Location
Edmonton, AB
**NEAR MISS REPORT**
Cause of near incident: bearing on my router bit done gone seized up and shiznit
Severity of incident: none. I done get by on the skin of mah teeth not break nuttin.
Possible severity of incident: FATALITY. if I ....ed up the body at this point in the game.... i'd jump off a bridge.

checked it before I started routing that pass... worked just fine... checked it after the pass and it was seized as shit.. would barely turn.
got lucky.. real real lucky....

And now for your viewing pleasure.... more photo's...

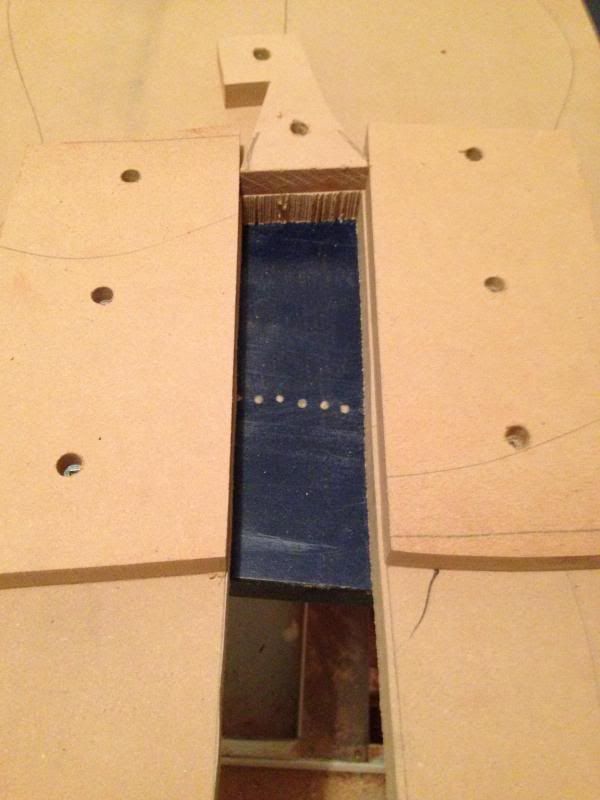
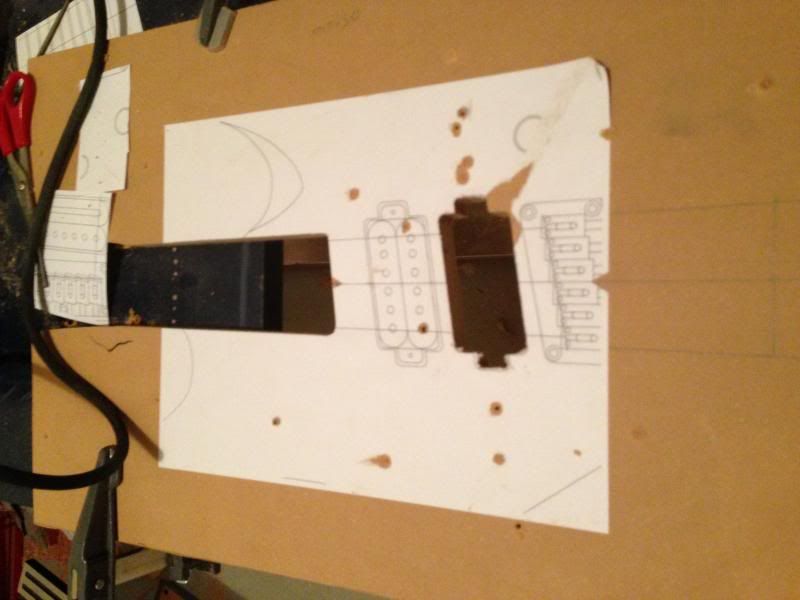
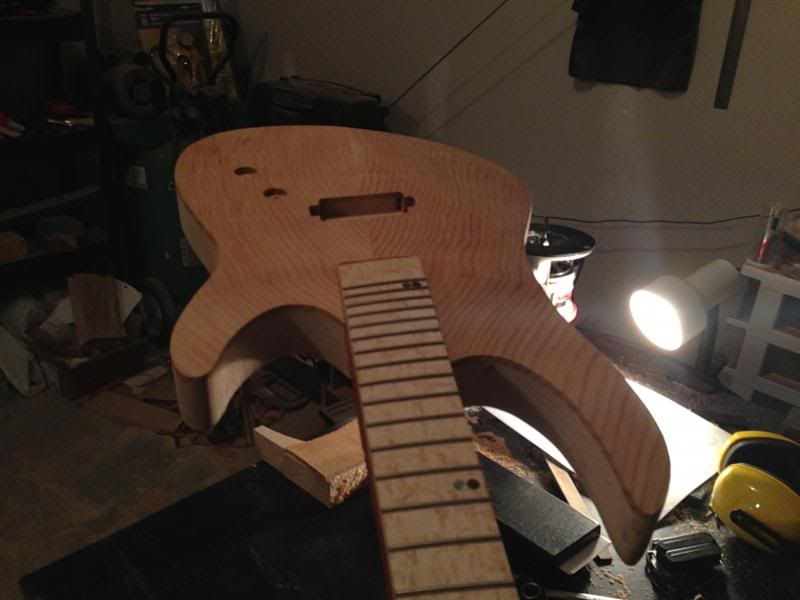
this is how I did the neck pocket template...

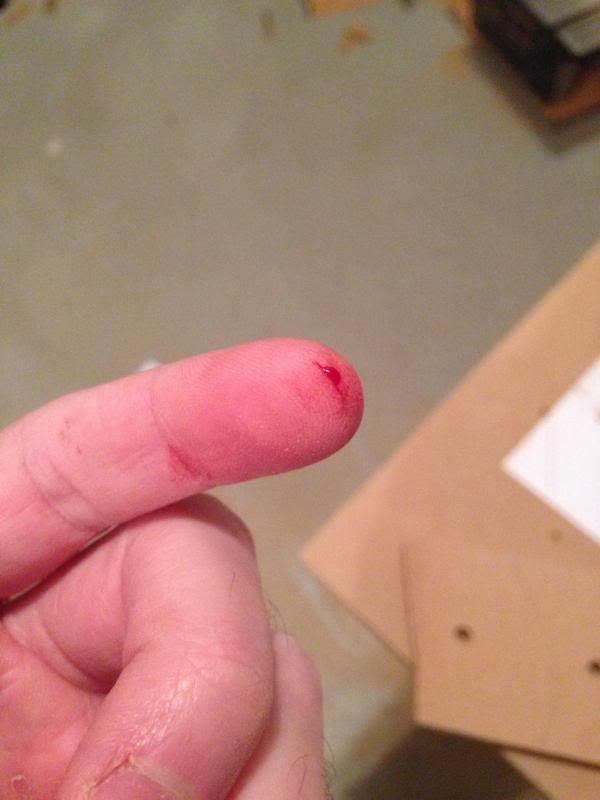
first blood... it's officially a project now. grabbing one router bit and another one sliced me... THERE IS NO SAFETY IN A SHOP... ANYWHERE!!!

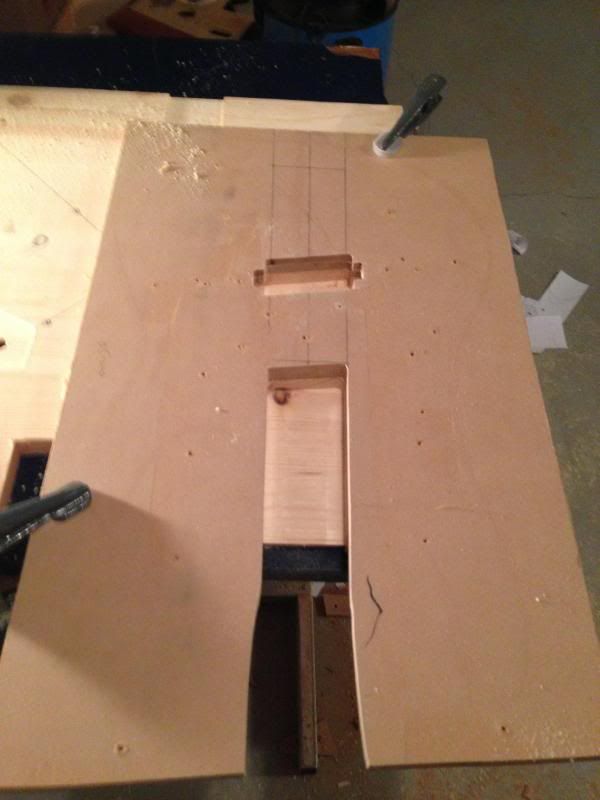
TEMPLATE FINISHED WITH PICKUP ROUT...

ALWAYS TEST ON SCRAP... ALWAYS... YUP....

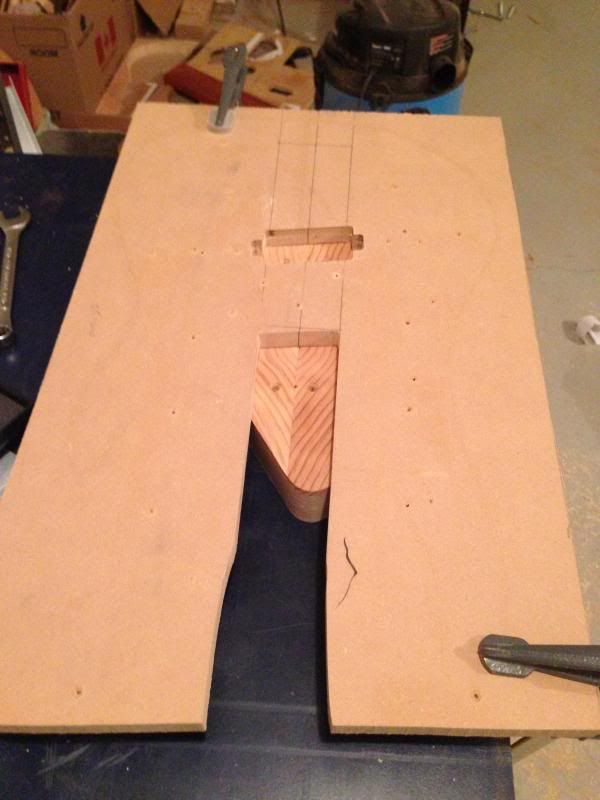
MOMENT OF TRUTH... took me like 10 mins to build up the courage to cut into the body... routers are a fickle bunch... if you let your guard down.. they'll bend you over the table and well.... do things... bad things... that you likely will not appreciate...

made it thru with only a small gear failure but no fubars....

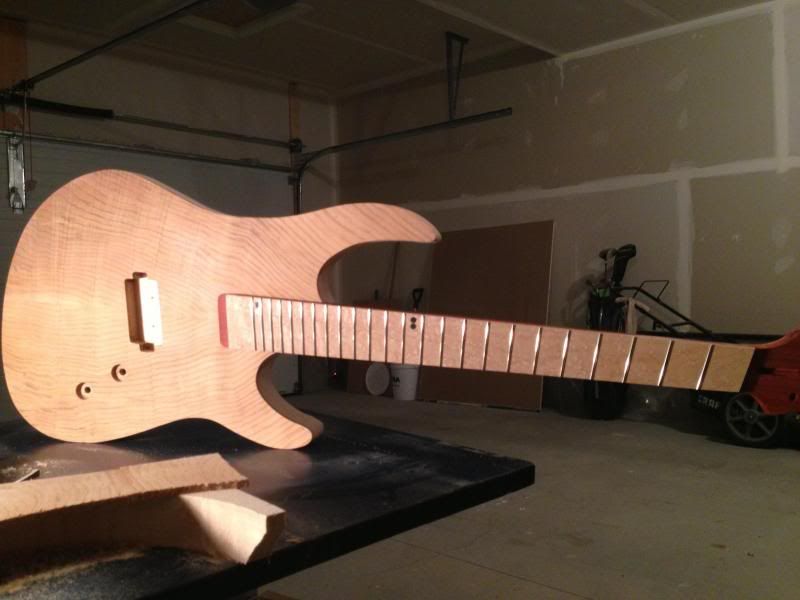
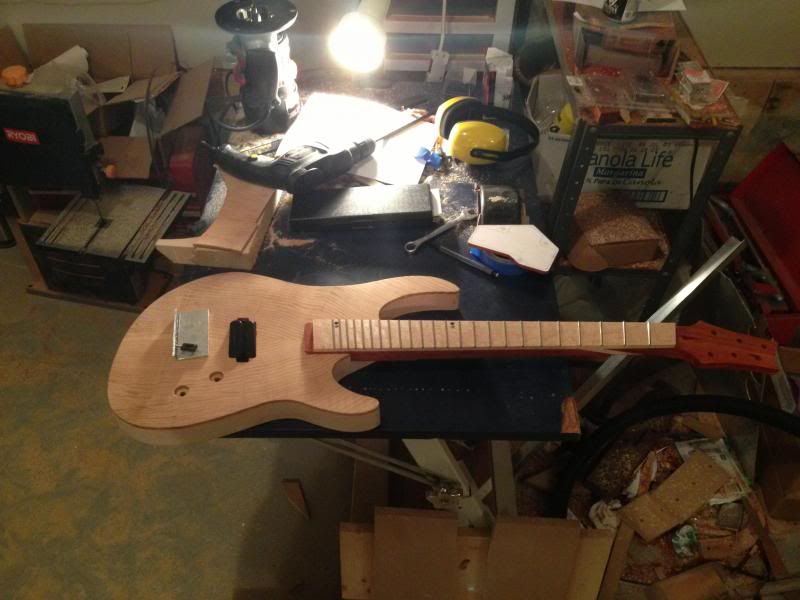
the unofficial test.. neck pocket is tight enough to hold the weight of the body with ease...

hole for the wire drilled and everything laid out... looking good...

that is all.
 

Levi79

Well-Known Member
Joined
Mar 5, 2011
Messages
1,730
Reaction score
199
Location
Alberta
Looking great man! I gotta play this beast when it's finished!
 

Deegatron

Well-Known Member
Joined
Jun 29, 2013
Messages
796
Reaction score
581
Location
Edmonton, AB
small update today...
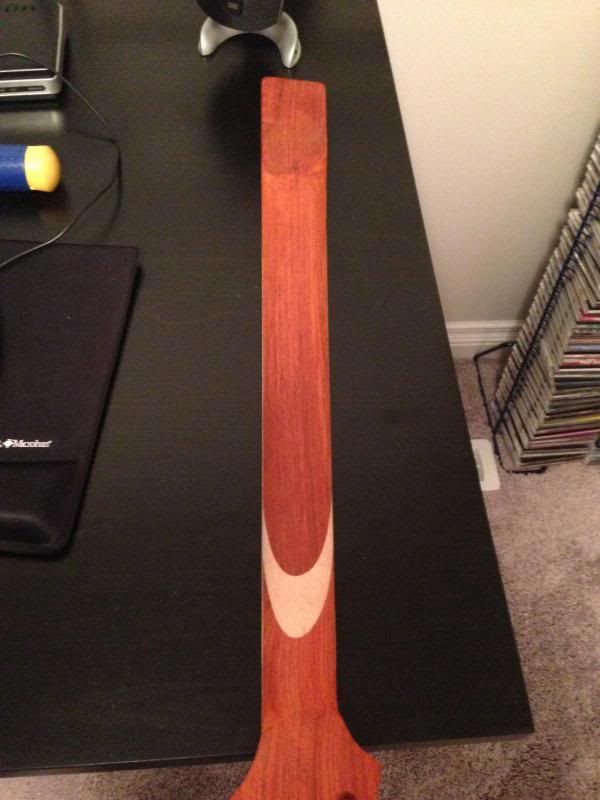
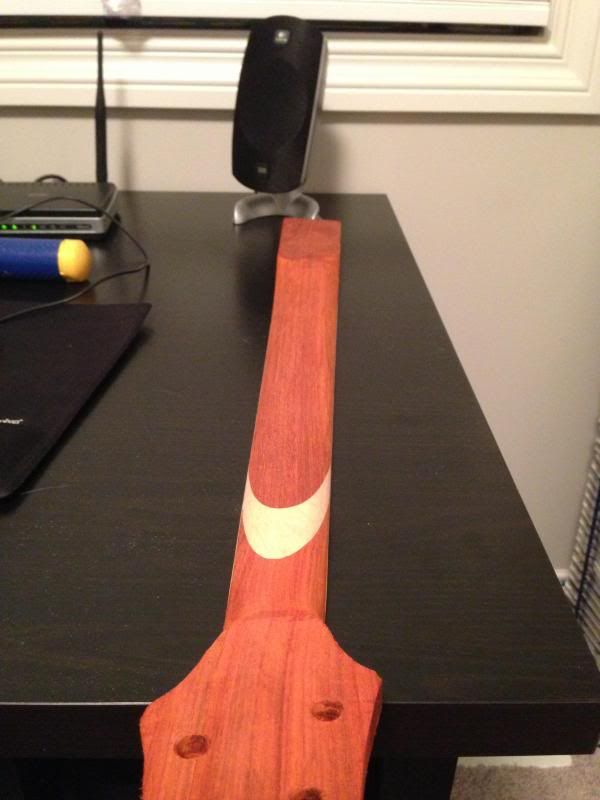
went at the neck with a spoke shave and my new razor file...
wound up looking like this...


Once again, sorry for the shitty camera phone pictures... once she's done i'll get some pro photo's done.
The maple accent in the neck worked out wonderfully. this is not a asymmetrical neck. the scarf joint is angled to allow for the angled nut and this is how it turned out once carved...
both of the transitions need some work.. but I'm very happy with the shape. Will need some fine tuning but for now this is pretty ideal.
normally neck carving is difficult for me... I need templates and a lot of dicking around to get it right... but this time was much smoother... just kinda... went at it... rather enjoyed it....

On a personal note... kinda kicking myself a little... really should have drilled the holes for the threaded inserts BEFORE I radius'd the fret board and fretted it... now I've got a rounded base for the neck to sit on while I try to drill strait holes into the neck... not ideal by any means.... luckily I've got a bit of a system down for that.... so im hoping i'll be okay....

drove about an hour on Saturday to the west end of Edmonton. Lee valley is the only place im aware of that sells 15mm forstner bits (required for a tight fit on the ferrules Im using). of course they were sold out... so they're going to send me one... delays delays delays... that's alright... plenty to be done before I NEED to have that bit.
 
Top
')