Fender Showmaster - Modern overhaul!

lewis

Well-Known Member
Joined
Aug 16, 2011
Messages
8,257
Reaction score
4,797
Location
Norfolk, UK
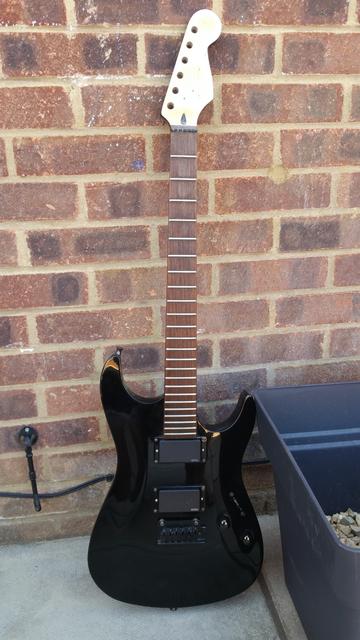
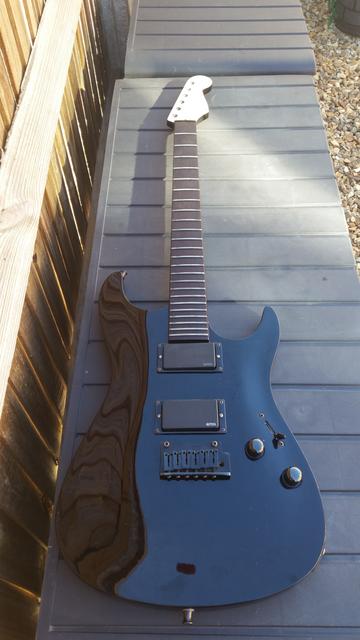
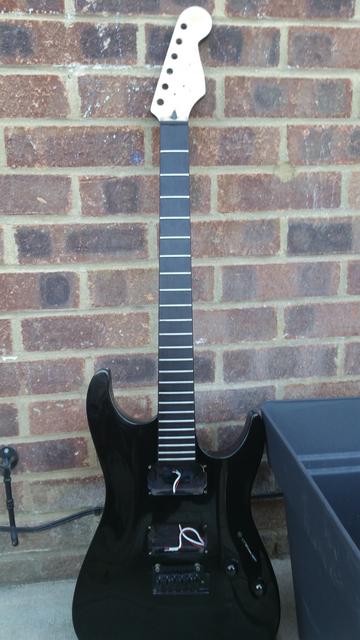
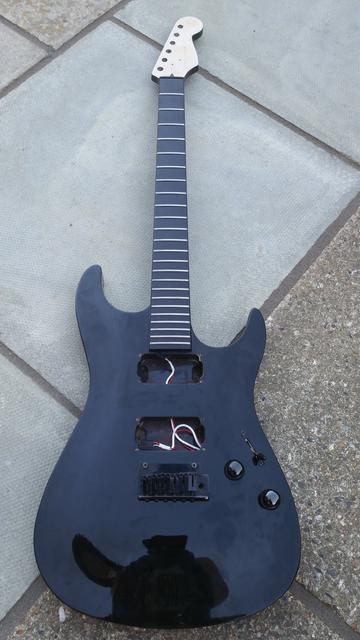
So as per my Showmaster NGD in the Standard guitar sub forum.

This will be where i document my mods for this beast. Got alot to do to it before its done so lets kick this journey off.

First things first.
Planned mods:

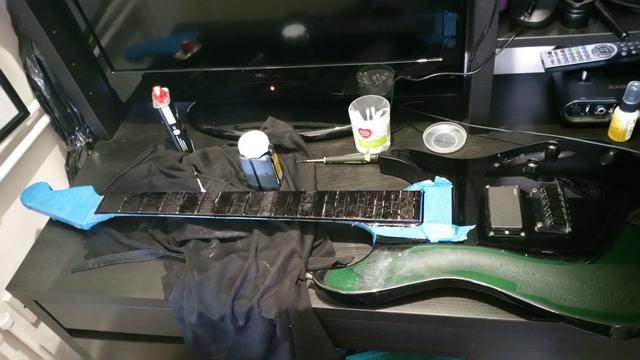
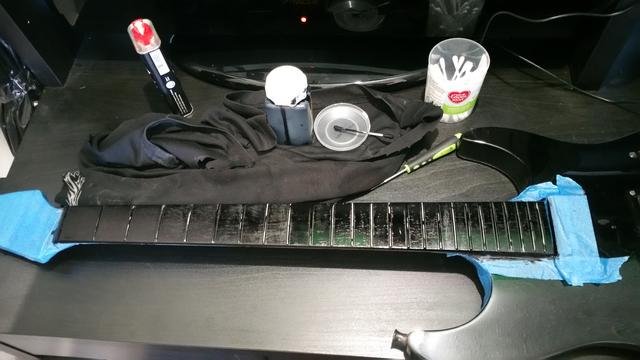
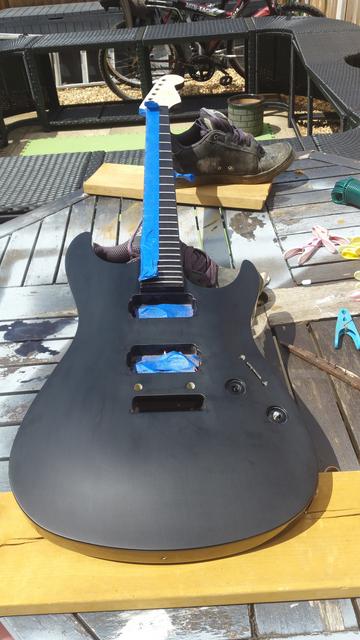
- Ebonize the fretboard
- install blue luminlay side dots
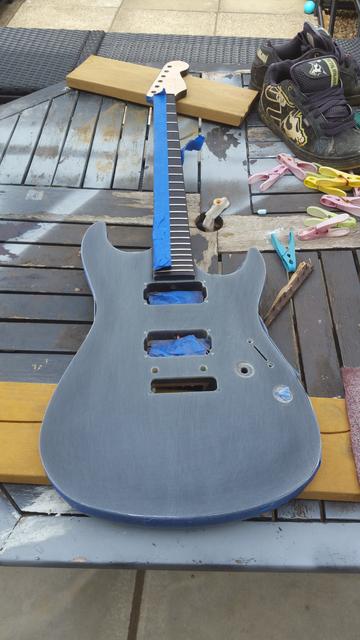
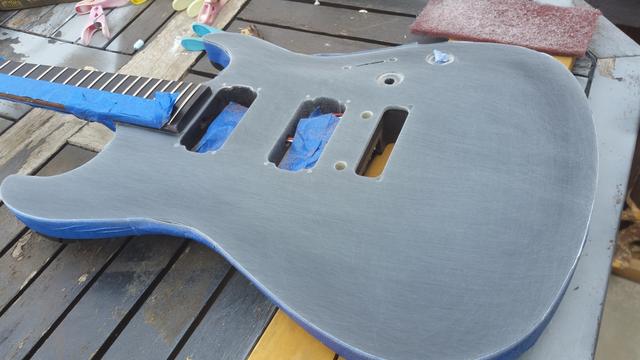
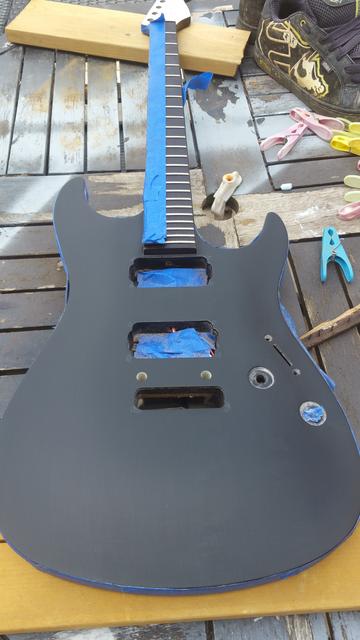
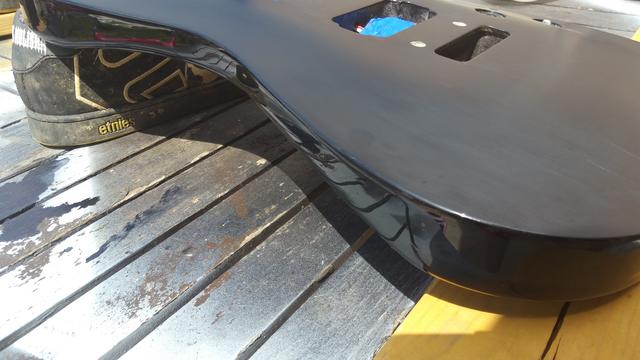
- change the top to a matte finish by scotchbrite/matte clear coat
- Hipshot open gear lockers
- Hipshot contour bridge
- White tusq nut
- chrome string trees and strap pins
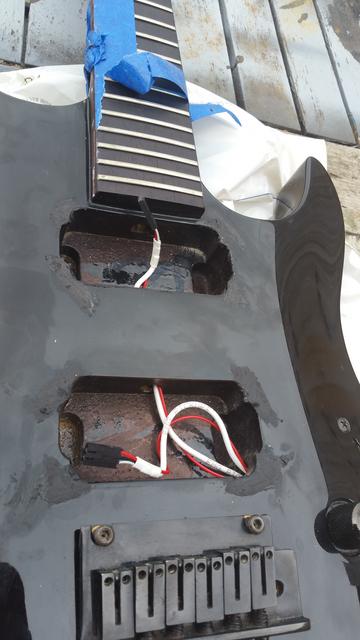
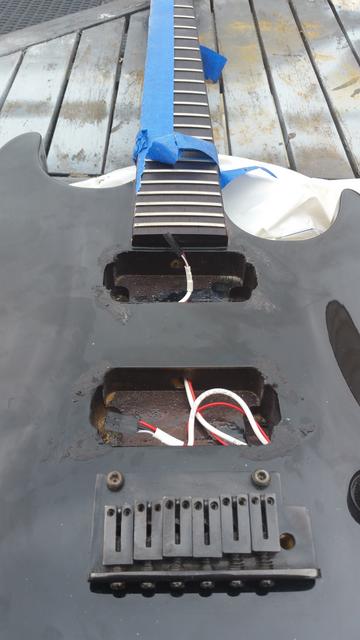
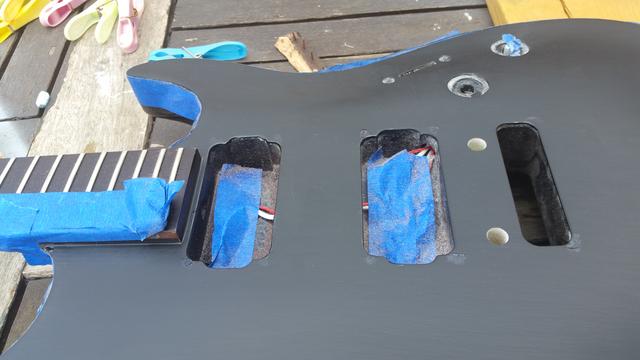
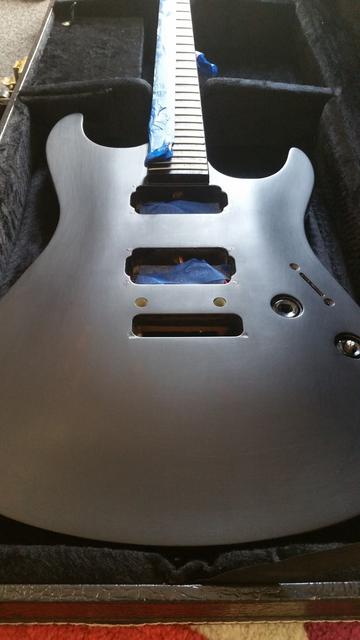
- Remove pickup rings and fill holes (will be done before changing the finish)
- Bareknuckle pickups with either nickel radiator or tyger covers depending on what pickups i opt for
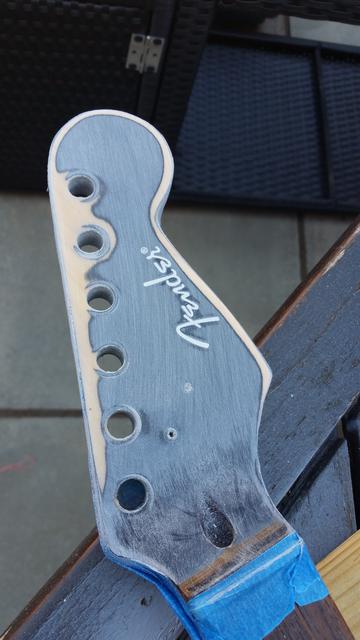
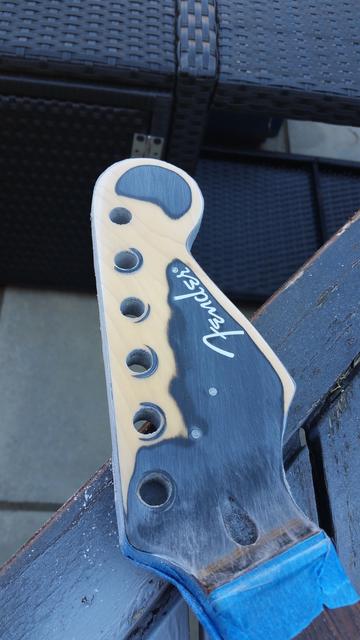
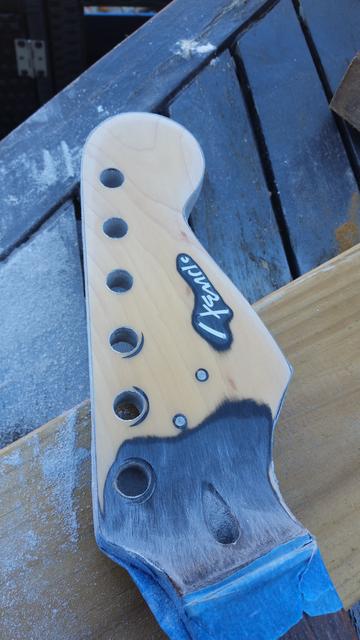
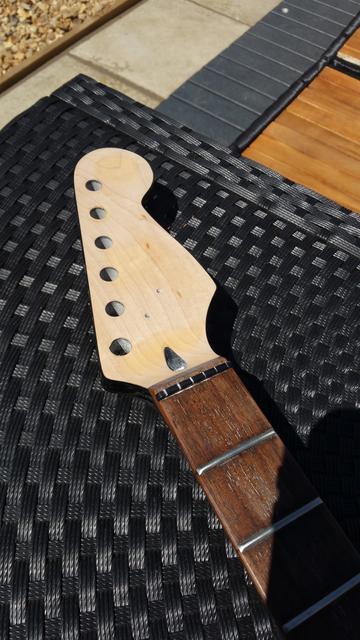
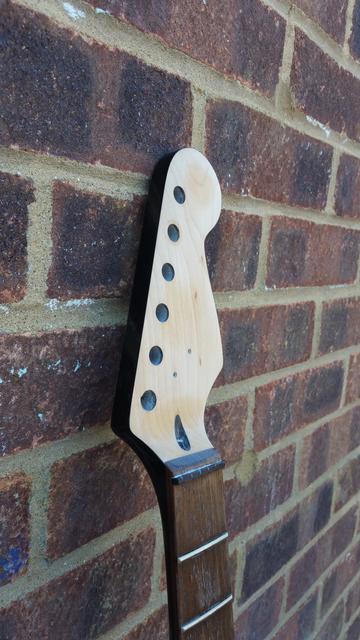
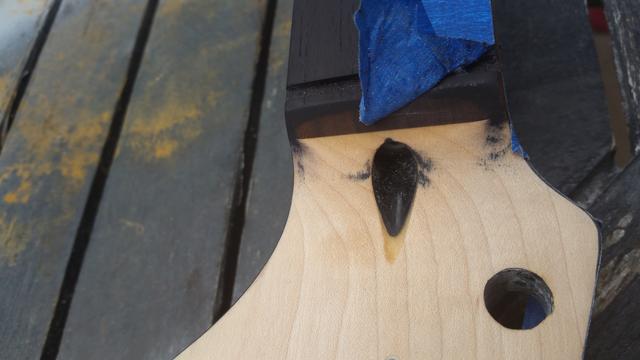
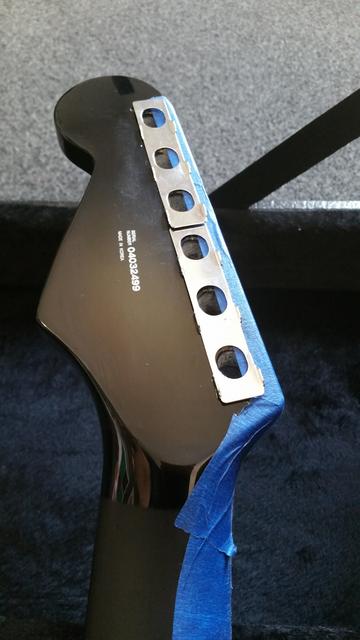
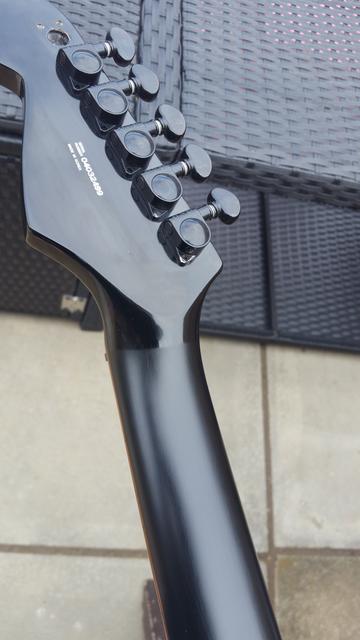
- Sand back headstock to bare wood, stain and apply new decal and matte clear coat
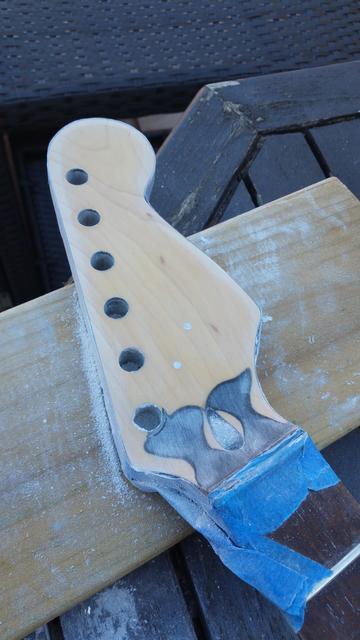
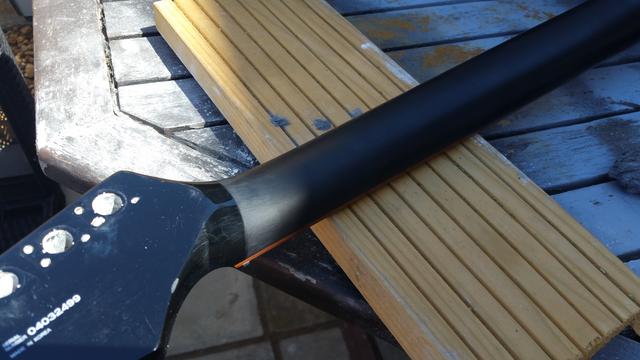
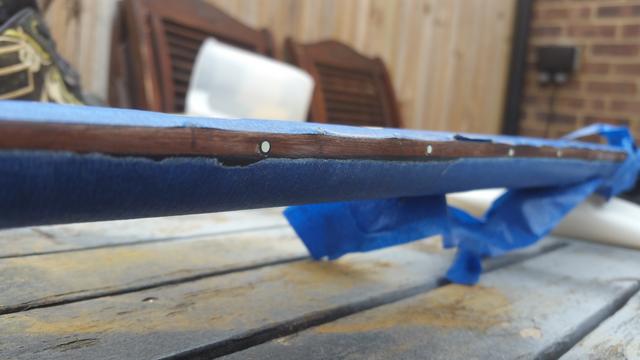
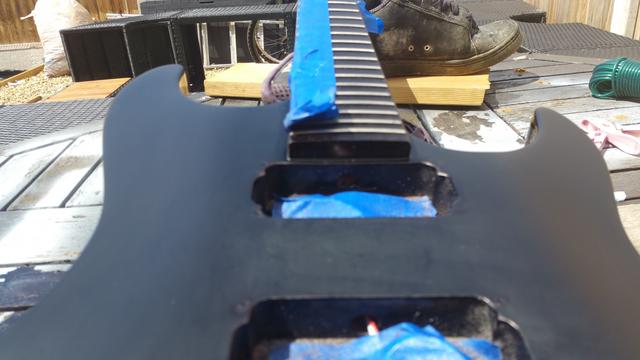
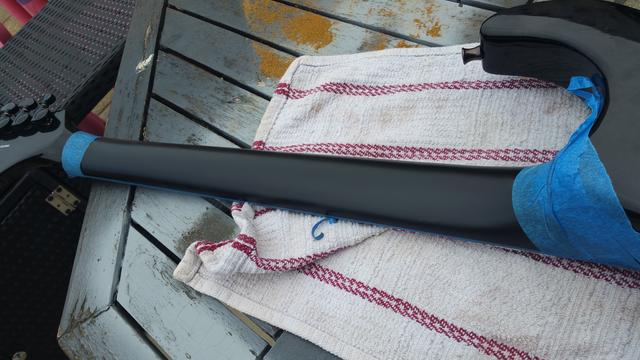
- Tape off and sand back of neck

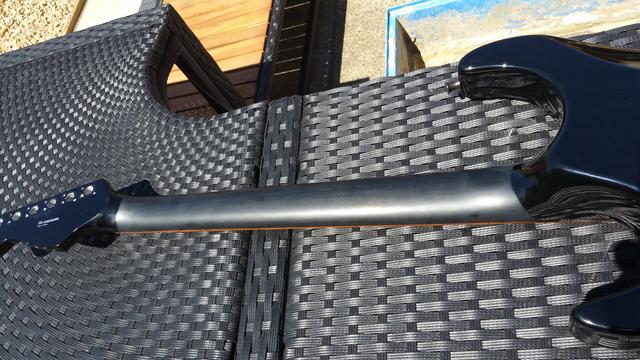
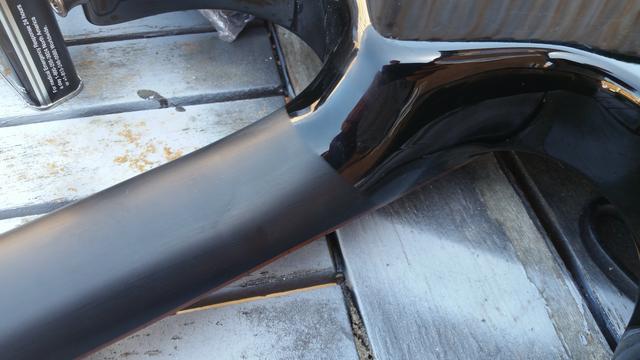
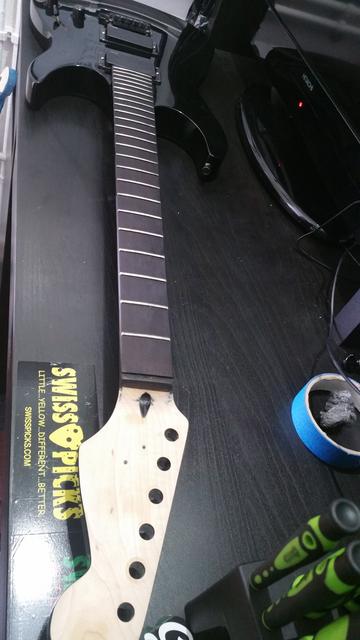
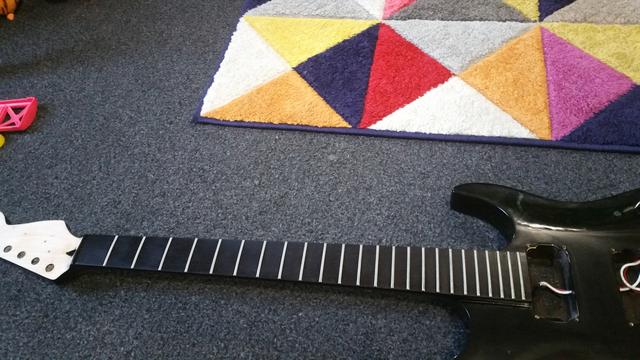
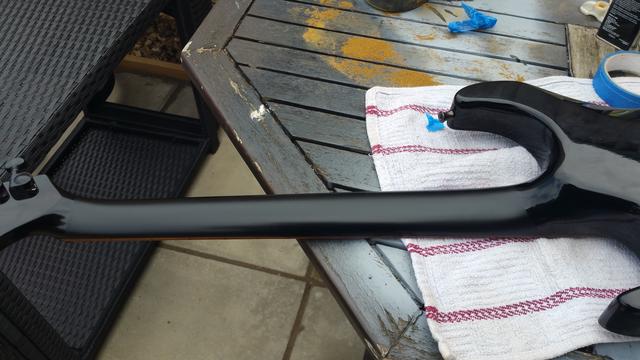
Done abit of the neck today

20180623_105447.jpg

20180623_110749.jpg

20180623_111654.jpg

20180623_111701.jpg


In July im going to acquire plenty of stuff to progress this including scotchbrite, sand paper and the matte clear coat.
At that point i will tape up and go deeper on the back of the neck using the scotchbrite. Not that enamoured by the steel wool 0000 buff. But its defo faster than before.
 

This site may earn a commission from merchant links like Ebay, Amazon, and others.

JimF

Contributor
Joined
Dec 18, 2015
Messages
2,435
Reaction score
3,134
Location
Lancashire, UK
Oooh I like this! What colour are you planning for the refinish? If you're painting the neck then this step could have been done later, but if not then thats cool!
 

lewis

Well-Known Member
Joined
Aug 16, 2011
Messages
8,257
Reaction score
4,797
Location
Norfolk, UK
Oooh I like this! What colour are you planning for the refinish? If you're painting the neck then this step could have been done later, but if not then thats cool!
The guitar is staying black, i just want to make the top satin instead.

Front of headstock is getting sanded back to wood and staying natural looking.
 

lewis

Well-Known Member
Joined
Aug 16, 2011
Messages
8,257
Reaction score
4,797
Location
Norfolk, UK
Some updates.
Sand paper and scotchbrite turned up so:

20180702_102021.jpg

20180702_102343.jpg

20180702_102957.jpg

20180702_104342.jpg

20180702_110517.jpg

20180702_115442.jpg

20180702_115530.jpg

20180702_115541.jpg

20180702_120417.jpg

20180702_120356.jpg

20180702_120423.jpg


And now taped up, sanded, drilled out the side dots and started staining the fretboard

20180702_135850.jpg


2nd coat

20180702_154346.jpg


Need to now lightly stain the headstock a light red/brown colour. Add a new Fender Decal and satin clear coat over it.

Im waiting for the luminlays to arrive.
 

lewis

Well-Known Member
Joined
Aug 16, 2011
Messages
8,257
Reaction score
4,797
Location
Norfolk, UK
20180702_180124.jpg

20180702_181254.jpg


Got the tiniest bit of bleed around the truss rod access. Sanded it pretty strong with 400 grit and it wouldnt lift it.

Anyone got any idea on how to get the bleed out? (See last pic)
Or will a light brown stain hide that anyway?
 

KnightBrolaire

Meth Detal
Joined
Mar 19, 2015
Messages
21,933
Reaction score
30,547
Location
Minnesota
20180702_180124.jpg

20180702_181254.jpg


Got the tiniest bit of bleed around the truss rod access. Sanded it pretty strong with 400 grit and it wouldnt lift it.

Anyone got any idea on how to get the bleed out? (See last pic)
Or will a light brown stain hide that anyway?
Do a test stain over that area and see if it blends/hides that. otherwise try denatured alcohol or paint thinner.
 

lewis

Well-Known Member
Joined
Aug 16, 2011
Messages
8,257
Reaction score
4,797
Location
Norfolk, UK
Do a test stain over that area and see if it blends/hides that. otherwise try denatured alcohol or paint thinner.
Ooh ok thanks. Ive got plenty of white spirit (thinner right?) In the house already.
Will get rubbing next time i do more on this project.
 

Ivars V

Well-Known Member
Joined
Feb 9, 2014
Messages
213
Reaction score
135
Location
Latvia, Riga
Dude, you're one of the reasons I keep revisiting this forum! Mods for days - keep it up!
 

lewis

Well-Known Member
Joined
Aug 16, 2011
Messages
8,257
Reaction score
4,797
Location
Norfolk, UK
Dude, you're one of the reasons I keep revisiting this forum! Mods for days - keep it up!
Haha thanks man!
I really appreciate it. I love doing it and since I started playing guitar to now, Ive never kept a guitar standard haha.

The difference is the last 2 years Ive really cranked up the work in an attempt to learn everything I hadnt tried yet.

This Fender already looks incredible compared to when we started haha. Long way to go but going to be worth it.

Sidenote, the luminlay order Im waiting for includes enough to finish my purple headless neck too so that should also get some updates as soon as this order from Japan turns up.
 

lewis

Well-Known Member
Joined
Aug 16, 2011
Messages
8,257
Reaction score
4,797
Location
Norfolk, UK
Made a start installing the Luminlays. And sanding down everything on the side of the neck.
Waiting for the soft wood filler wax stick to turn up so I can hide the pickup ring holes. At that point all the hardware will come off and I will scotchbrite over the entire face of the body to make it Matte.(including over the filled holes to get a smooth finish) .

Need to slightly bleach the headstock of some blemishes before i stain that too. A few little ebonize touch ups afterwards and then I can buy some matte clear coat and give the face of the body, the fretboard, the headstock and the back of the neck a 1 coat of clear protection.

At that point I might get a new white tusq nut and use it for a bit with the EMGs and stock hardware until I can afford to buy a new Hipshot bridge replacement.

Bareknuckles will be the last thing I do just because of how expensive a set is.
 

lewis

Well-Known Member
Joined
Aug 16, 2011
Messages
8,257
Reaction score
4,797
Location
Norfolk, UK
Update:
Wood filler wax stick came in so lets try and hide those holes.

20180711_110756.jpg

20180711_110801.jpg


This is where im at with the luminlays. Still got a few left to install, sand, then get the side to be black like the rest. (Thinking trying to cover these in vaseline to help not absorb the stain)

20180711_110811.jpg

No amount of sanding seems to want to lift this bleed so im going to try bleaching it out before staining it.

20180711_110824.jpg


Now for the matte. This is a couple of rub downs with the red scotchbrite pad. Ready for the light sanding of the touch ups and the clear coat now when everything else is done.

20180711_114517.jpg

20180711_114523.jpg

20180711_120332.jpg

20180711_120341.jpg


Just waiting for the touch ups to dry then im going to lightly buff with 000 wool.

Pretty decent tbh haha.
 

lewis

Well-Known Member
Joined
Aug 16, 2011
Messages
8,257
Reaction score
4,797
Location
Norfolk, UK
Decided i want to do 1 thin coat of matte black on the body before doing matt clear coat, just to get a more consistent finish.

Also, going to get black hipshot open gear tuners but use these chrome UMP

20180711_140941.jpg
 

Albake21

Ibanez Nerd
Joined
Jul 19, 2017
Messages
3,684
Reaction score
4,027
Location
Los Angeles, CA
Damn this is turning out great! The neck turned out great. What's the full process you use to remove the gloss? With the amount of guitars I pass up because of gloss necks is too much lol.
 

lewis

Well-Known Member
Joined
Aug 16, 2011
Messages
8,257
Reaction score
4,797
Location
Norfolk, UK
Damn this is turning out great! The neck turned out great. What's the full process you use to remove the gloss? With the amount of guitars I pass up because of gloss necks is too much lol.
yeah same as me buddy. 100% why i wanted to start doing this to my own necks.
This one was super sticky too.

Basically tape up top and bottom where you want the matt part of the neck to be. Top part I just done in line with the nut. Bottom was abit more tricky because of the neck through carve. Just try and follow that shape.

Then its just a simple matter of going over it quite thoroughly with a red scotchbrite pad. Wipe it down and check it for micro scratches. If some are abit to obvious and it needs more. Go over it again etc. Rinse and repeat until you are happy with the amount of gloss removed and that there is so many micro scratches you then cant really see them.

remove the tape and job done. Super simple.
I was planning on sealing it still with a matt clear coat. Not sure if that will actually keep it feeling as it is now, or whether that will do undo the work Ive already done though haha.
 

Albake21

Ibanez Nerd
Joined
Jul 19, 2017
Messages
3,684
Reaction score
4,027
Location
Los Angeles, CA
yeah same as me buddy. 100% why i wanted to start doing this to my own necks.
This one was super sticky too.

Basically tape up top and bottom where you want the matt part of the neck to be. Top part I just done in line with the nut. Bottom was abit more tricky because of the neck through carve. Just try and follow that shape.

Then its just a simple matter of going over it quite thoroughly with a red scotchbrite pad. Wipe it down and check it for micro scratches. If some are abit to obvious and it needs more. Go over it again etc. Rinse and repeat until you are happy with the amount of gloss removed and that there is so many micro scratches you then cant really see them.

remove the tape and job done. Super simple.
I was planning on sealing it still with a matt clear coat. Not sure if that will actually keep it feeling as it is now, or whether that will do undo the work Ive already done though haha.
Interesting.... what size grit did you use?


Latest posts

Top
')