shotgunn
Well-Known Member
Earlier this year I decided my rig needed an overhaul. I am a big fan of MORE IS DEFINITELY MORE!!!!!! However, when my previous band (now no more) was gigging my back simply could not handle moving my rig. Call me a wuss, but my 12 space (at one point I had a Mesa 22 space shock rack!!!) and 4 amp heads (RG-100, MK-IIC+, MK-III, and Carvin Legacy) was a bit much even for an insane dude like myself.
So I opted for the Mesa Triaxis and my trusty 2:90 in an 8 space rack. Long story short, I want more gear in LESS space.
So I racked my brains... Ha, no pun intended!!!! I realized that except for my 2:90 and my Triaxis all of my rack gear was less than 8" or 9" Which is 1/2" of the depth of my Road Ready 12 space shock rack.
So I drew up a way to saw it in half depthwise and came up with a logical layout for where each piece of gear would reside based on its depth.
So I finally got around to doing something with this project this week. The rack is finished all I have to do is modify the wheel plate.
Geez, I said So quite a bit...
Bill of Materials:
Penn-Elcom Hybrid Aluminum extrusions - $20
Penn-Elcom Medium Latches $20
Penn-Elcom Corner Braces $8
Extra un-needed stuff to meet the $100 minimum order $60 (BOGUS!!!!!!)
Total on debit Mastercard roughly $130
Cramming 24 spaces of rack gear into a 12 space rack PRICELESS!!!!!!!
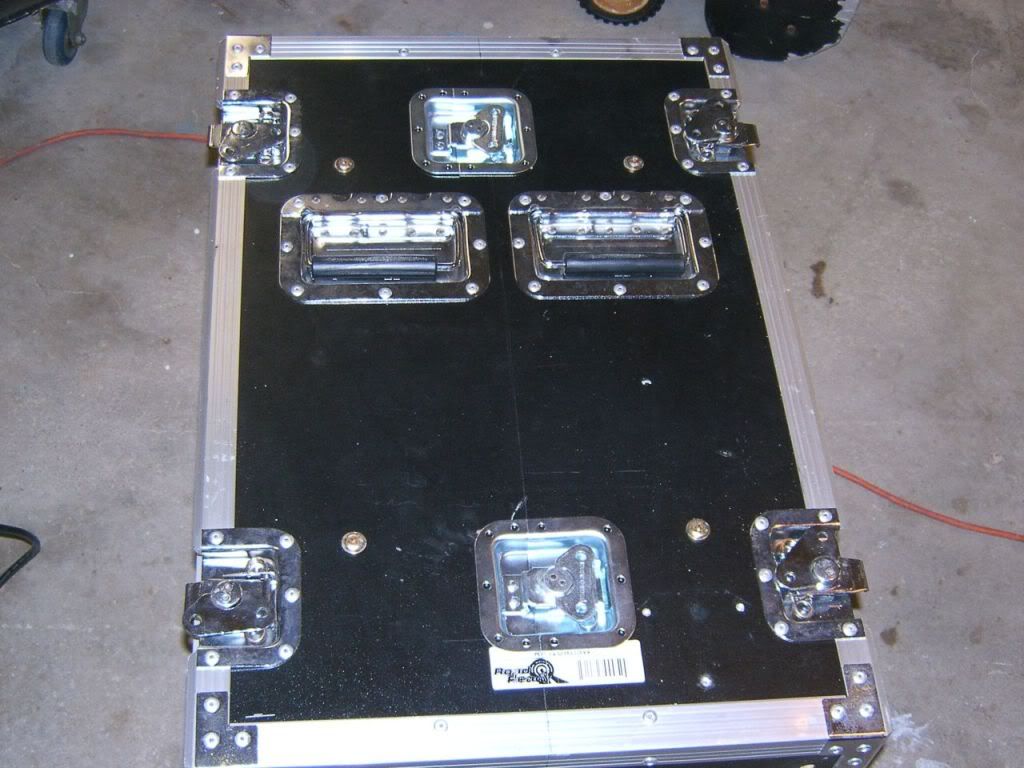
Here are my pics...
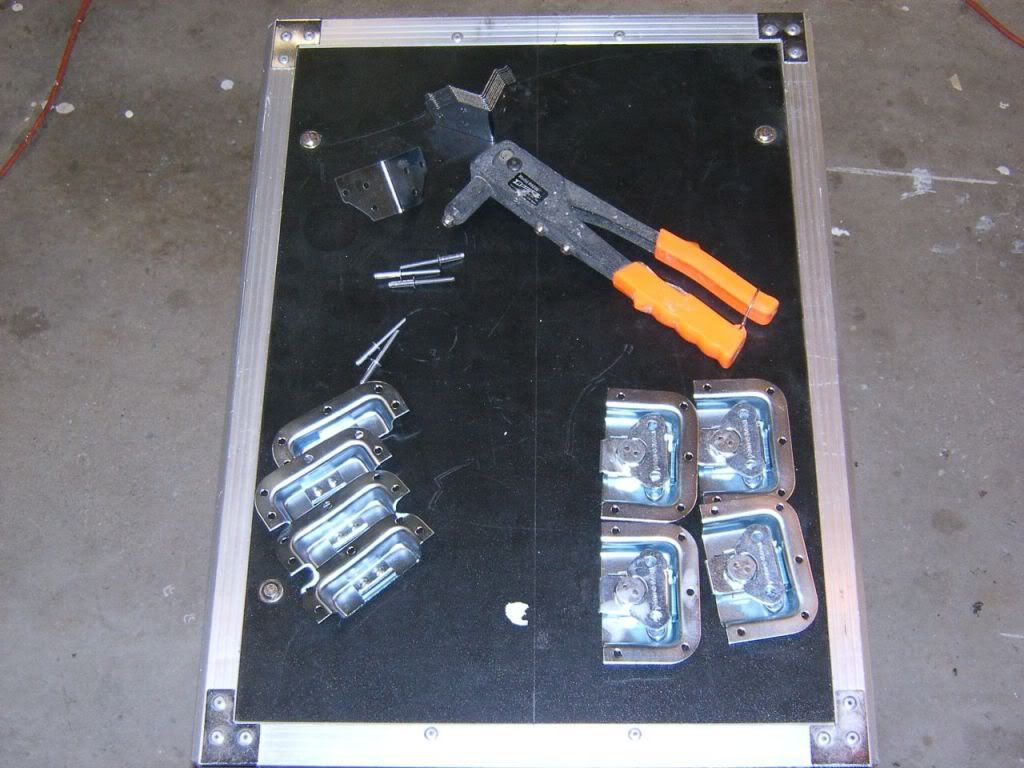
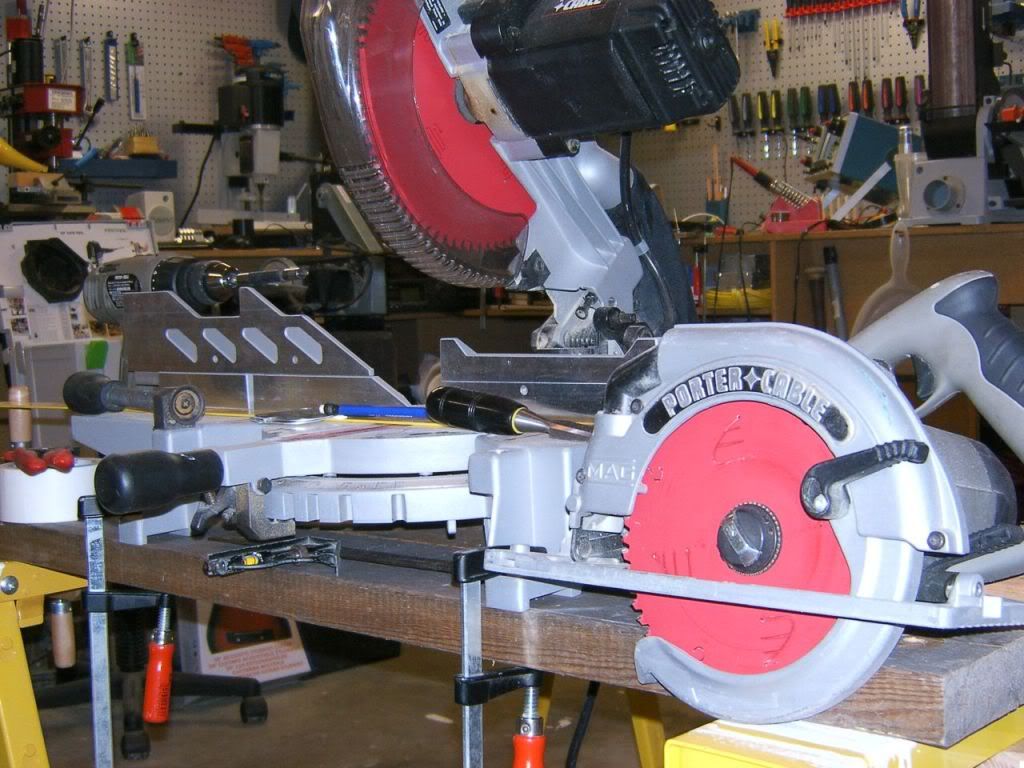
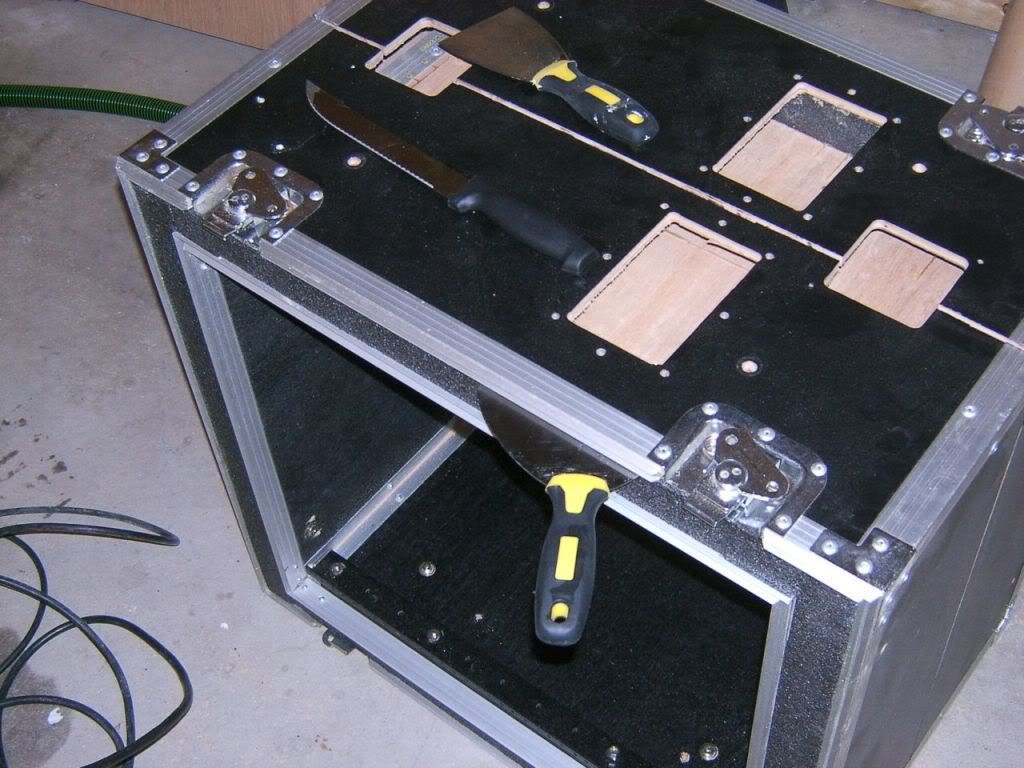
Here are some tools that I needed...
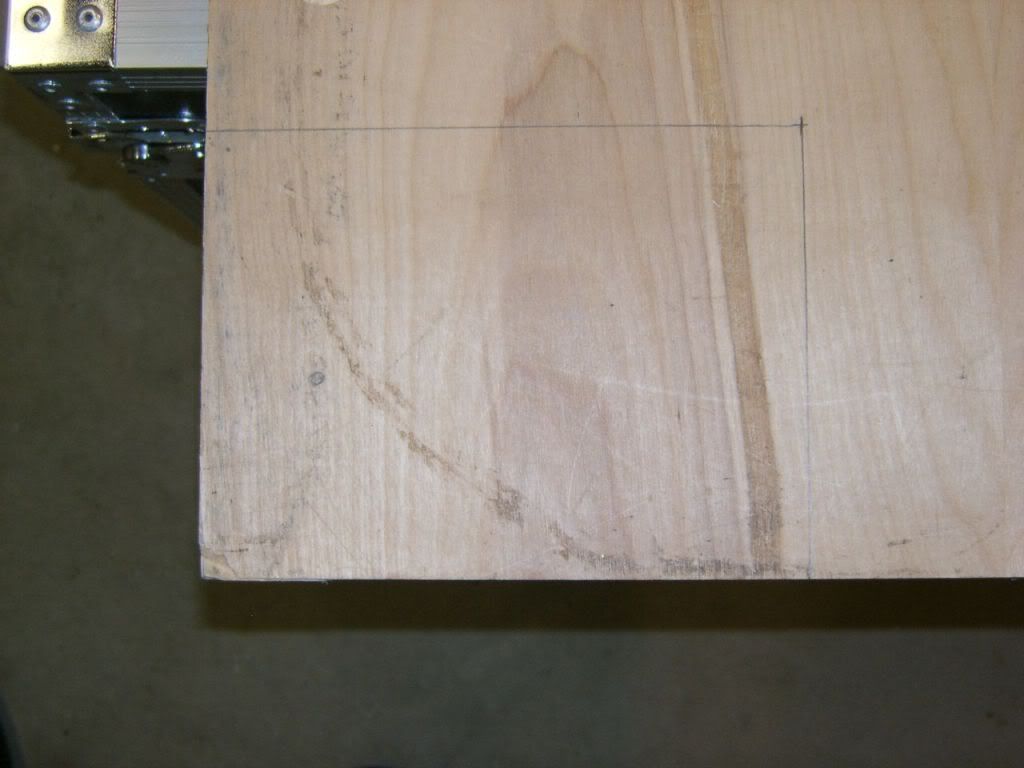
Latch template dimensions...
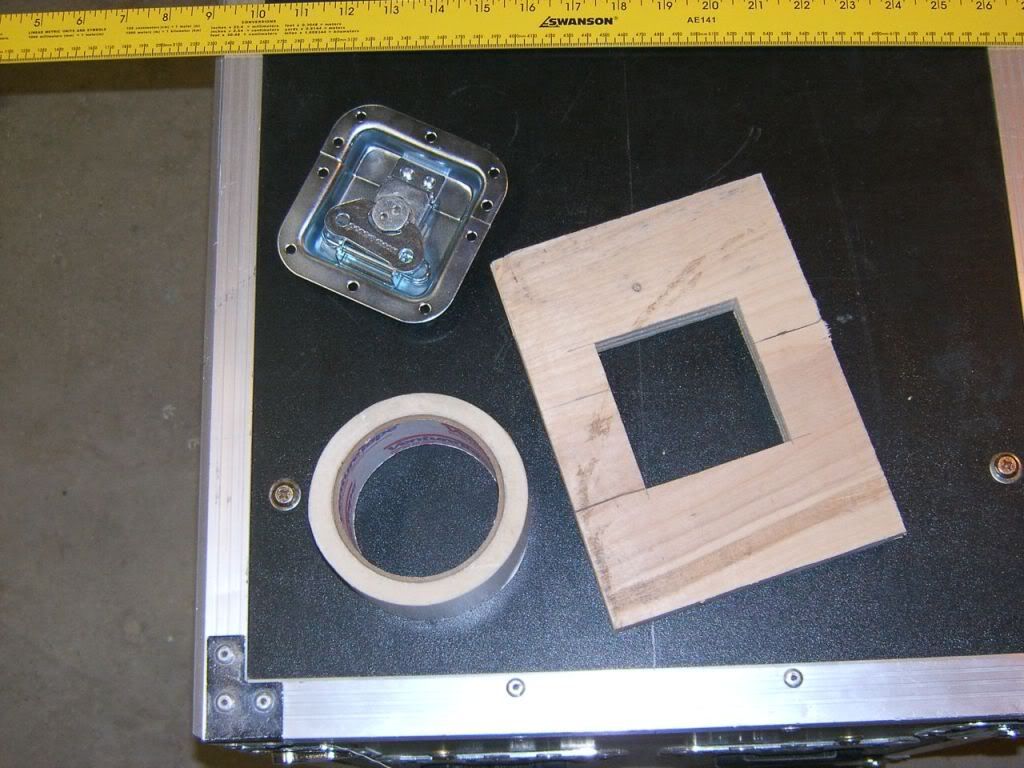
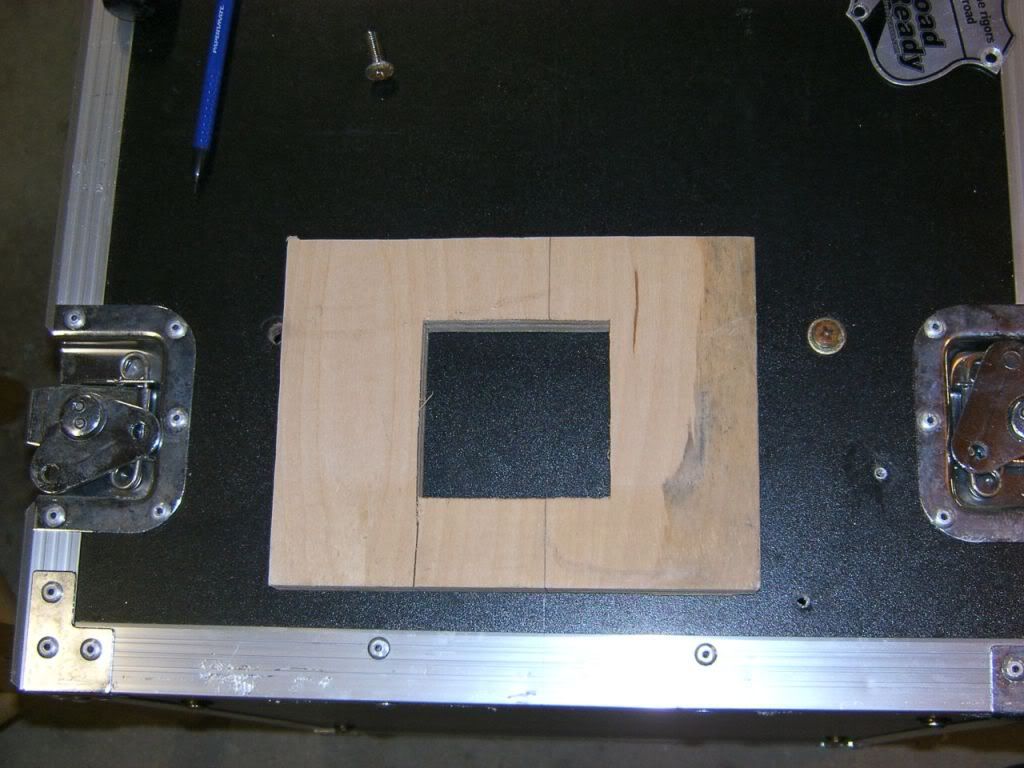
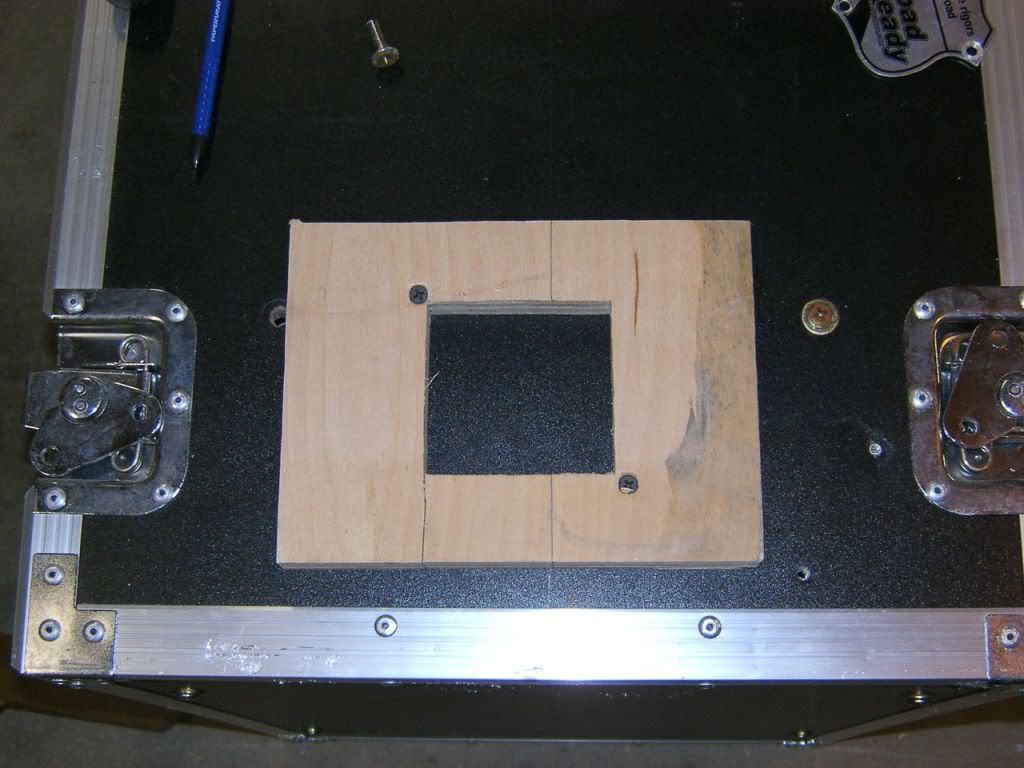
Latch template complete...
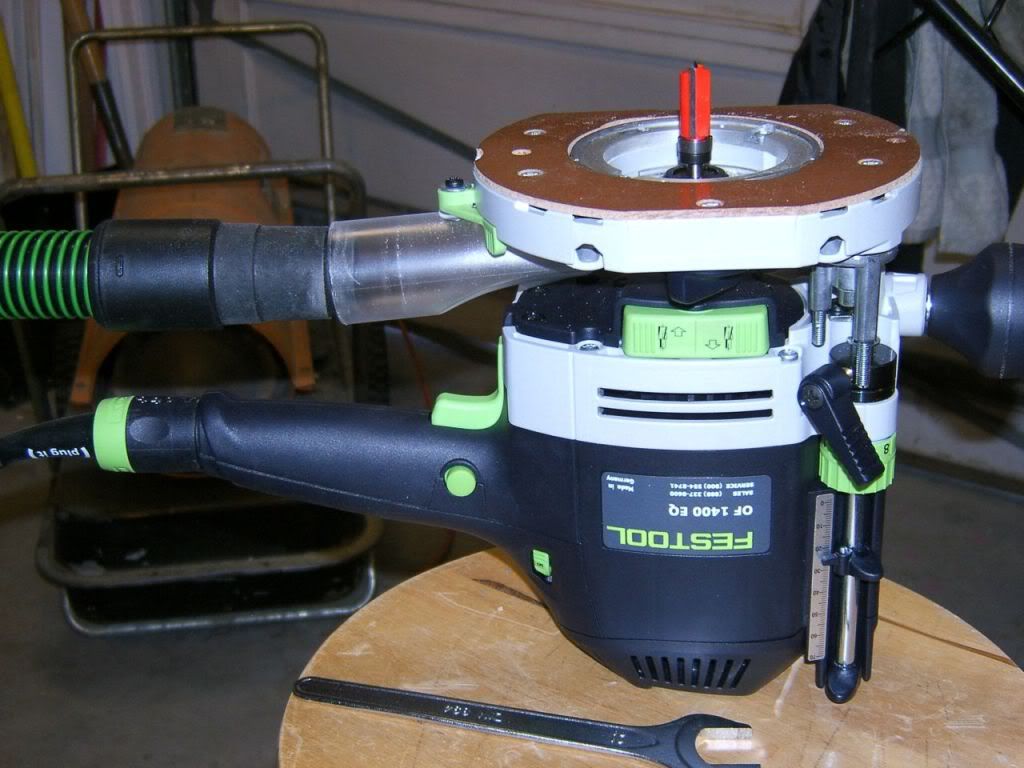
God's greatest gift to woodworkers, the Festool OF 1400 EBQ router. Superior dust collection, second to NONE...
Template taped down with double sided tape...
Not strong enough for this job, curse you ABS laminate...
Benny SCREW YOOOOOOOU!!!!!!!!!!!!!!!!!!
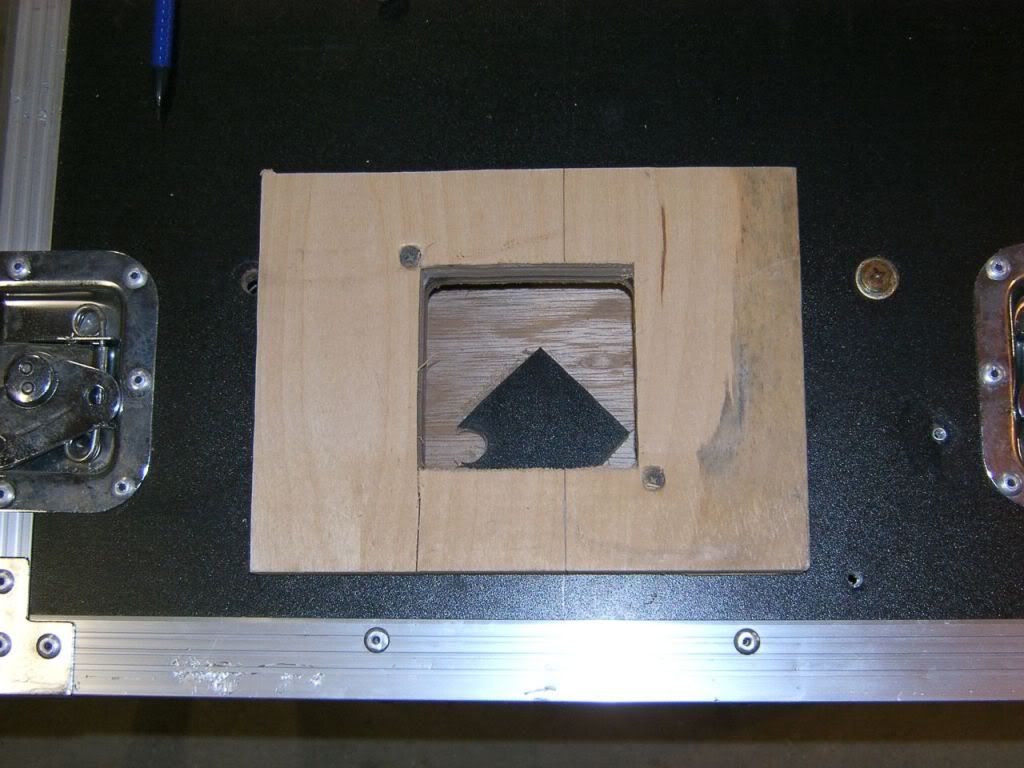
Hole is complete...
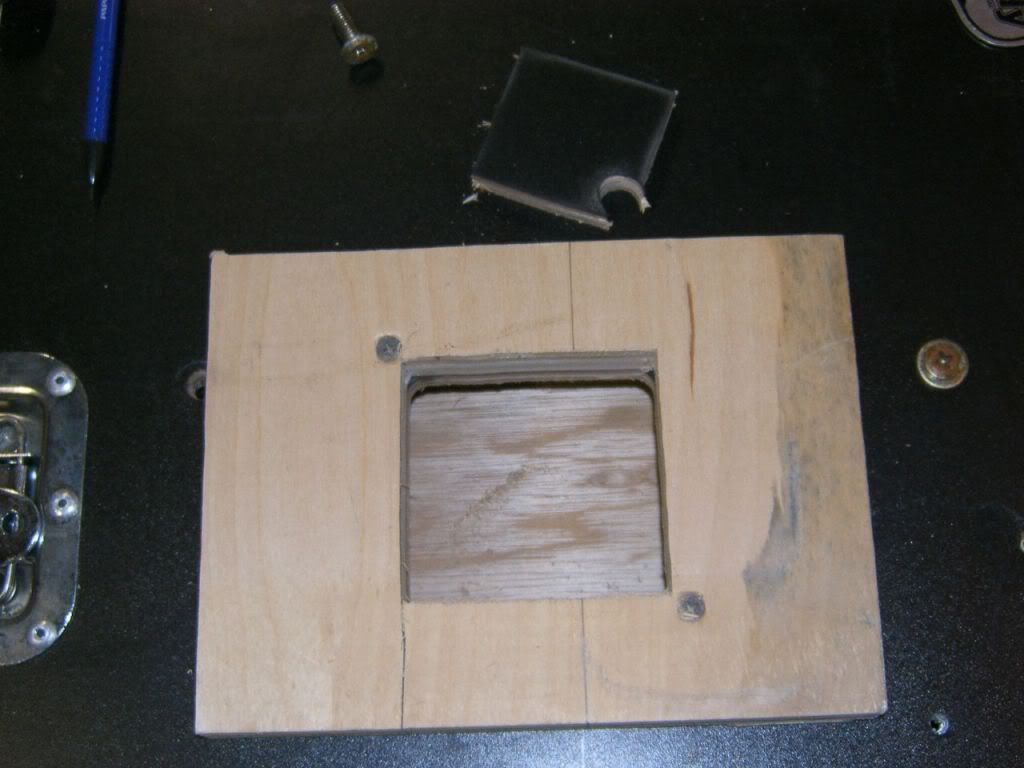
Cutout removed. Honest to God, I did not vaccum between photos. This router is just simply amazing!!!
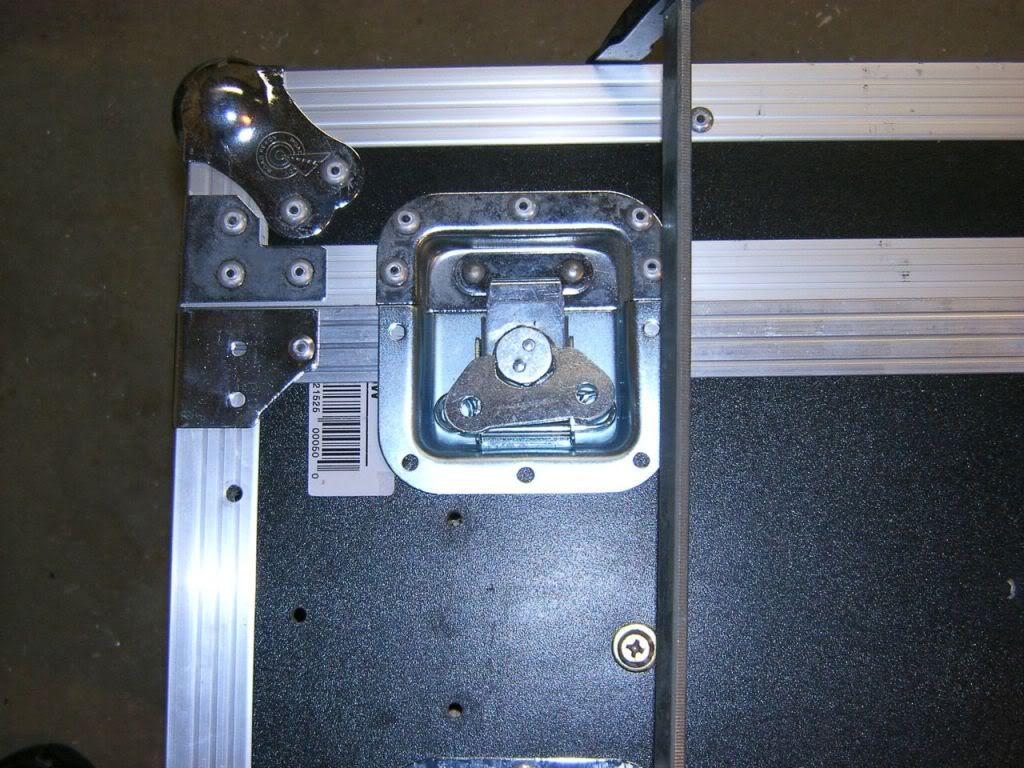
Latches laid out...
Miter saw for extrusion miters, circular saw for sawing rack in half. Freud Diablo blades, cut like a hot knife in butter!!!
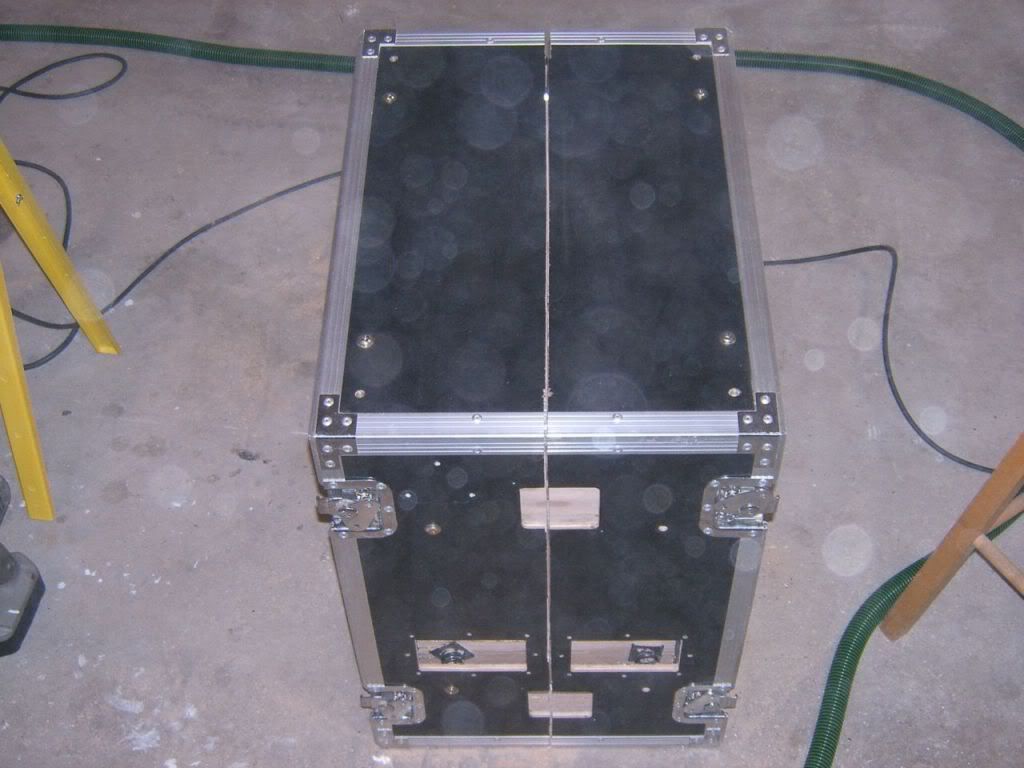
Outer shell successfully sawn through...
Removing foam adhesive...
Outer shell slid down...
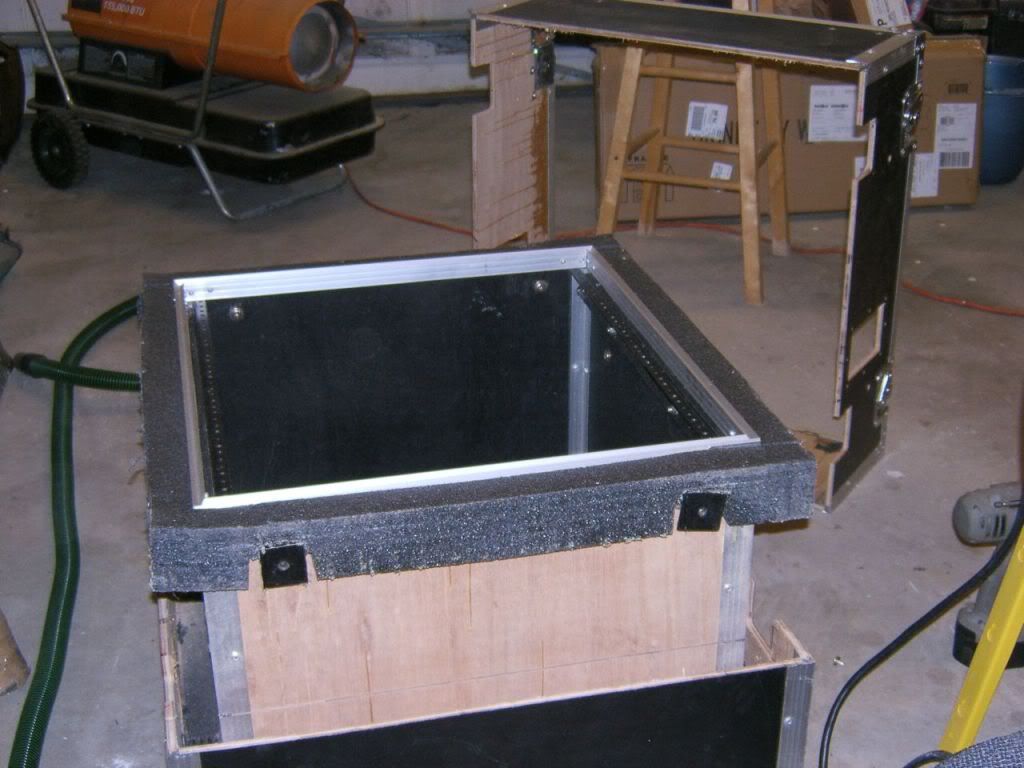
Outer shell separated. Can anybody see what is wrong with this picture???
Inner shell...
New extrusions laid out...
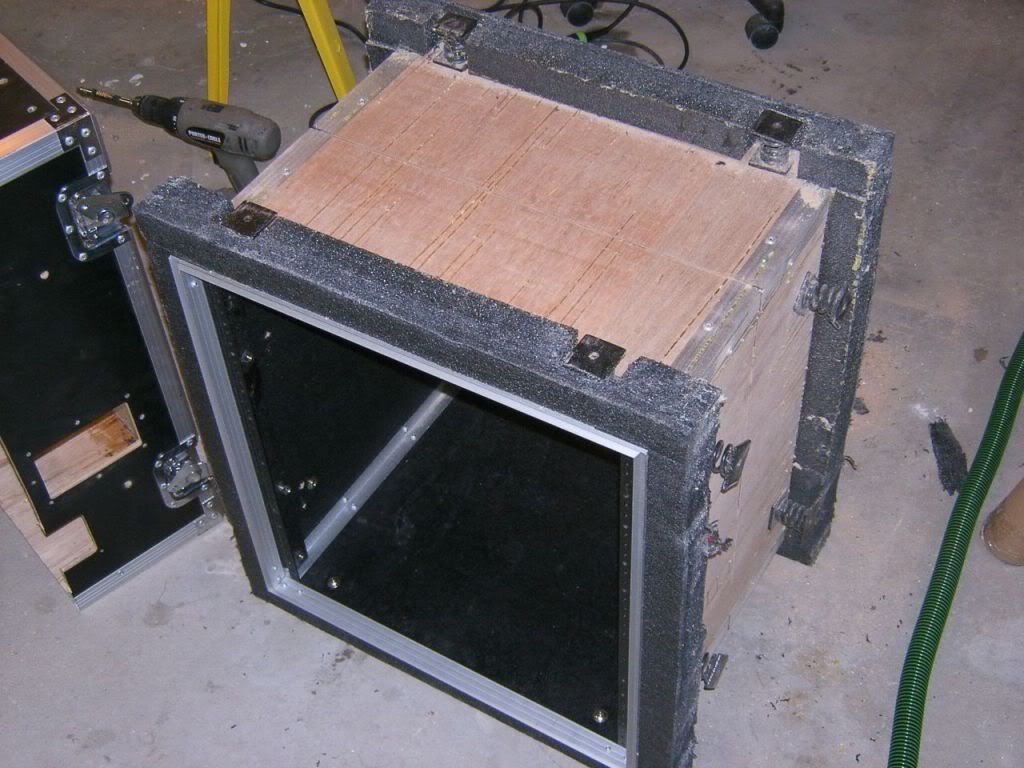
Clamp rack lid on to ensure proper extrusion placement...
Both halves with extrusions temporarily installed...
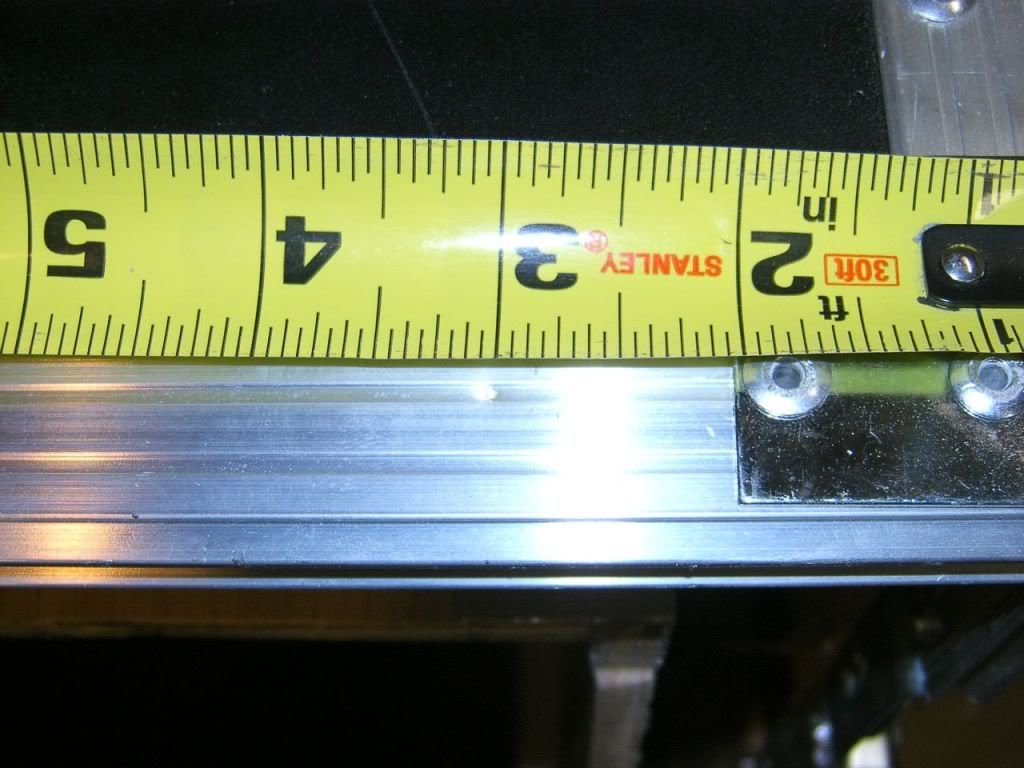
In order to secure the free hanging back half of each rack side I will suspend it with carriage bolts 3" from outer edge of rack...
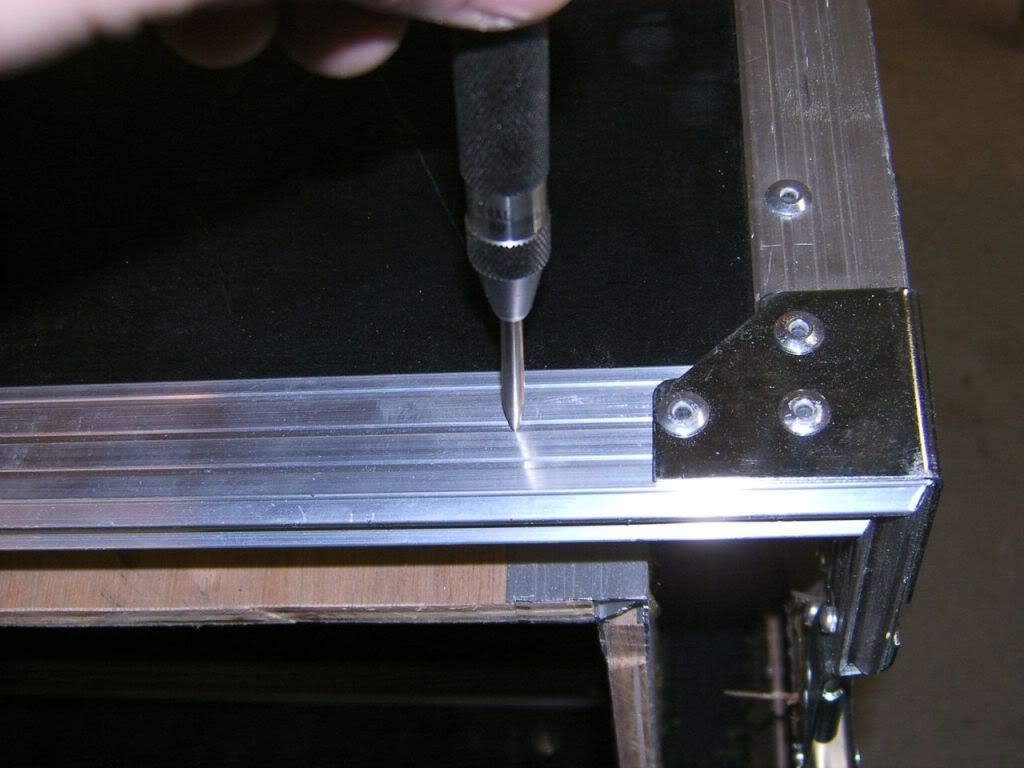
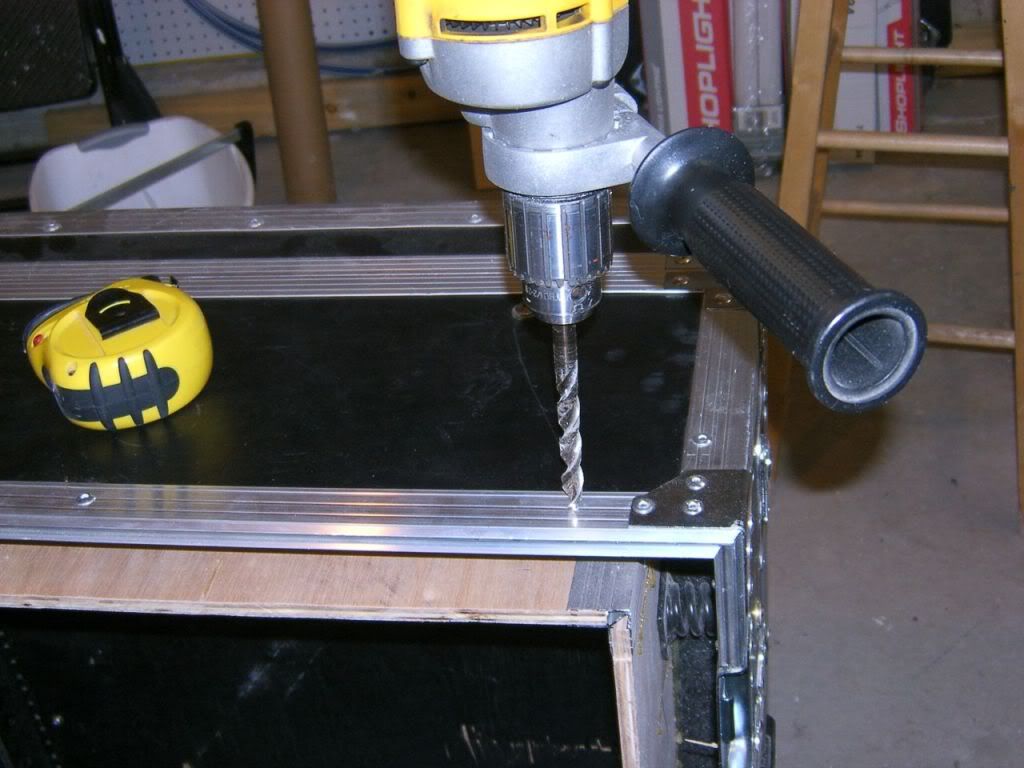
Center punch to prevent drill bit wandering...
3/8" drill bit used for holes...
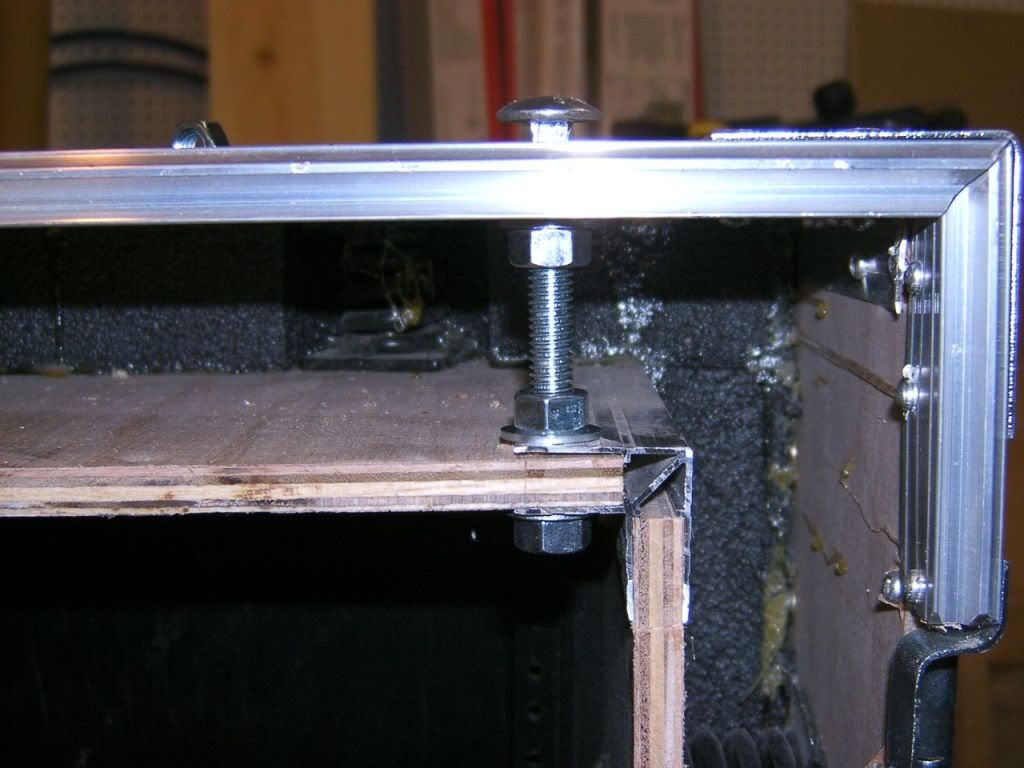
First carriage nut, bolt, and washer assembly...
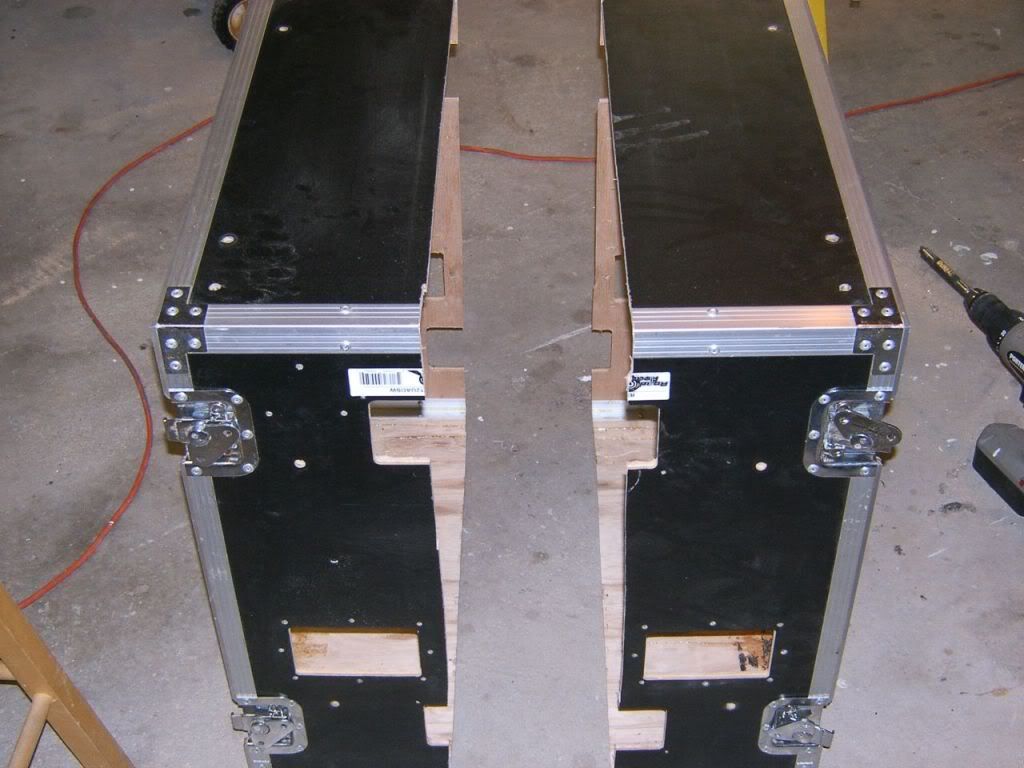
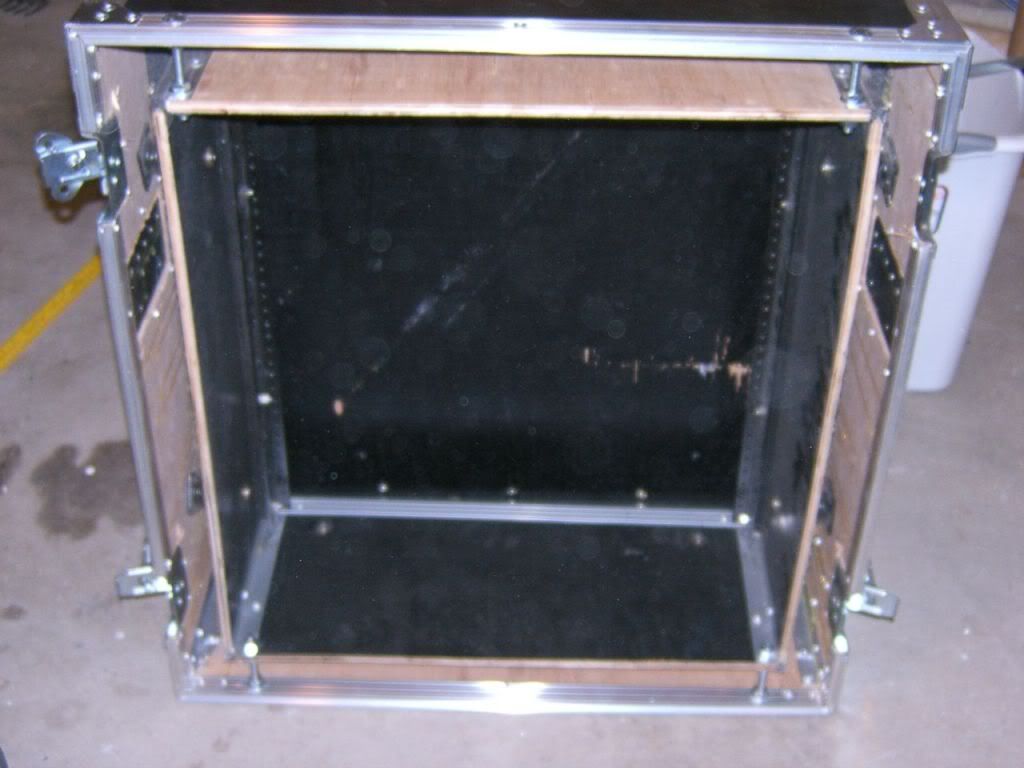
First half complete...
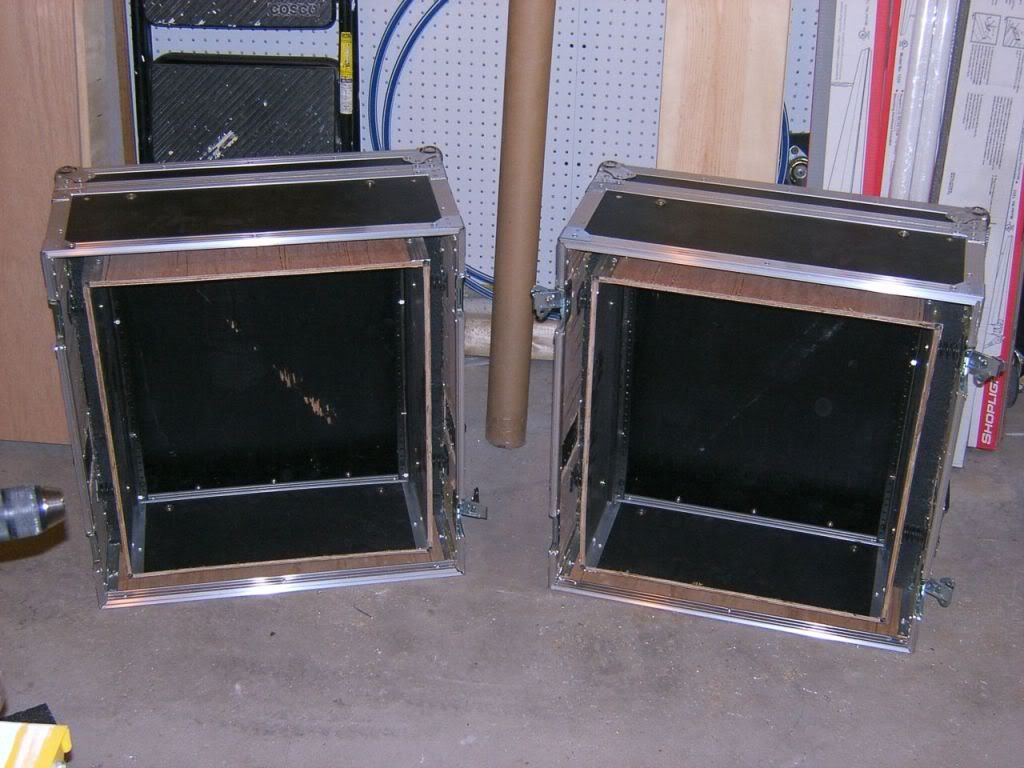
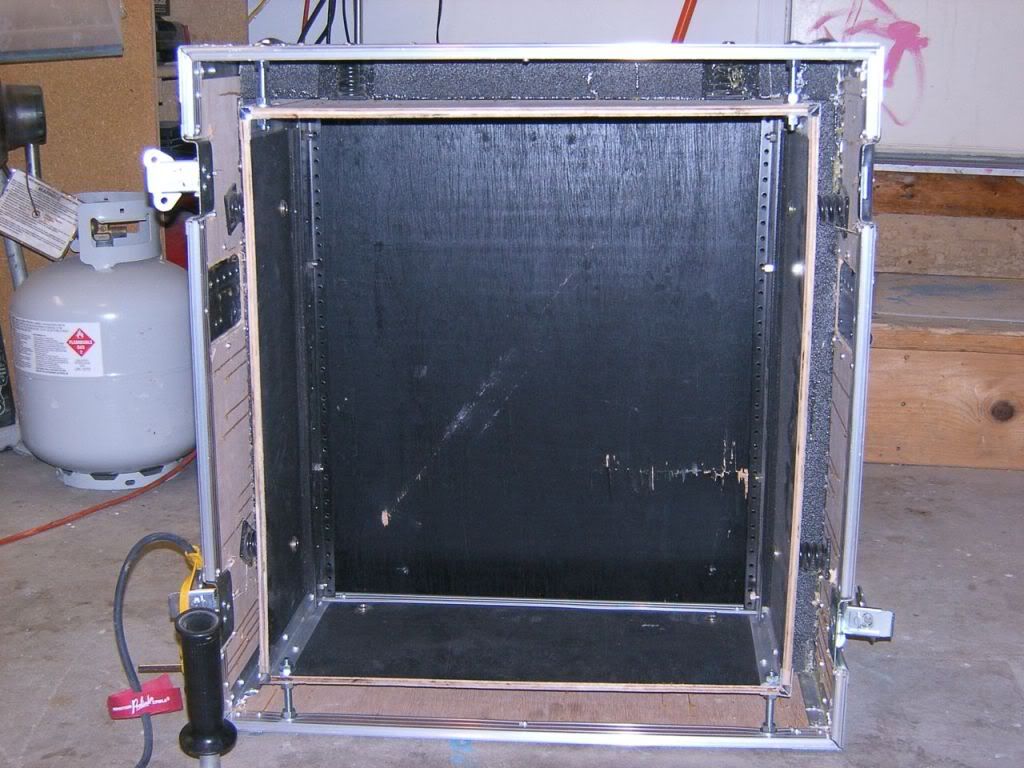
Second half complete...
I somewhat loosely tightened these, I did not want it to be super rigid. This was done to retainsome sense of shock absorption. It's pretty much unneccessary since this part really doesn't even bare a load.
I was in a hurry to get to work and I forgot to take the pic of the rack all latched up.
Some of you might be thinking, "This is cool, but how the hell is it gonna stand up on just two wheels???" I'm way ahead of you...
I have drawn up a way to cut the wheel plate so that I may have 3 casters on each half. I will post more pics of that when I can. This stupid holiday is gonna hold me up a bit...
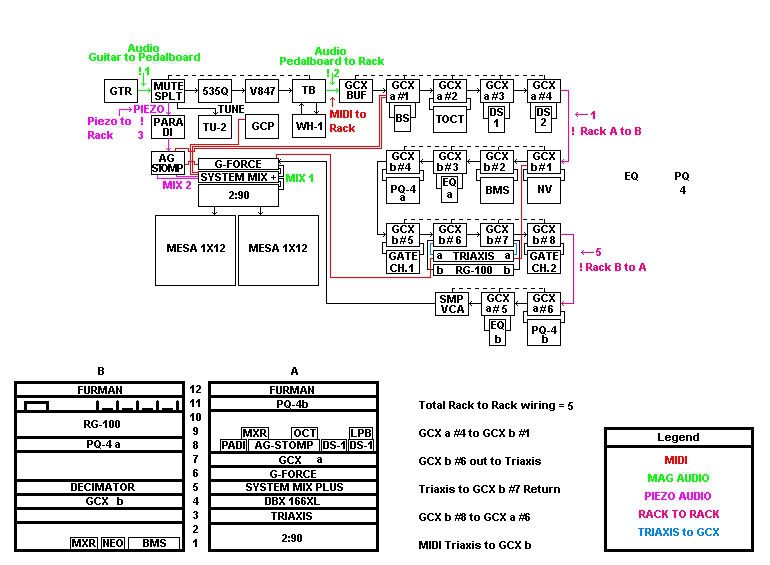
And the most important part of all, my rig blueprint...
Oh and since I drew this up back in February, I have gotten into the MIDI guitar world. My rig now includes 2 AXON AX-50's and my MacBook Pro. I have yet to decide which DAW and plugin suite I want to use for my sample library.
I know I can't nominate myself, but geeze, is this not the Rig of the Month, Year, Eternity?!?!?!?!?!?!
Merry Christmas,
shotgunn
So I opted for the Mesa Triaxis and my trusty 2:90 in an 8 space rack. Long story short, I want more gear in LESS space.
So I racked my brains... Ha, no pun intended!!!! I realized that except for my 2:90 and my Triaxis all of my rack gear was less than 8" or 9" Which is 1/2" of the depth of my Road Ready 12 space shock rack.
So I drew up a way to saw it in half depthwise and came up with a logical layout for where each piece of gear would reside based on its depth.
So I finally got around to doing something with this project this week. The rack is finished all I have to do is modify the wheel plate.
Geez, I said So quite a bit...
Bill of Materials:
Penn-Elcom Hybrid Aluminum extrusions - $20
Penn-Elcom Medium Latches $20
Penn-Elcom Corner Braces $8
Extra un-needed stuff to meet the $100 minimum order $60 (BOGUS!!!!!!)
Total on debit Mastercard roughly $130
Cramming 24 spaces of rack gear into a 12 space rack PRICELESS!!!!!!!
Here are my pics...
Here are some tools that I needed...
Latch template dimensions...
Latch template complete...
God's greatest gift to woodworkers, the Festool OF 1400 EBQ router. Superior dust collection, second to NONE...
Template taped down with double sided tape...
Not strong enough for this job, curse you ABS laminate...
Benny SCREW YOOOOOOOU!!!!!!!!!!!!!!!!!!
Hole is complete...
Cutout removed. Honest to God, I did not vaccum between photos. This router is just simply amazing!!!
Latches laid out...
Miter saw for extrusion miters, circular saw for sawing rack in half. Freud Diablo blades, cut like a hot knife in butter!!!
Outer shell successfully sawn through...
Removing foam adhesive...
Outer shell slid down...
Outer shell separated. Can anybody see what is wrong with this picture???
Inner shell...
New extrusions laid out...
Clamp rack lid on to ensure proper extrusion placement...
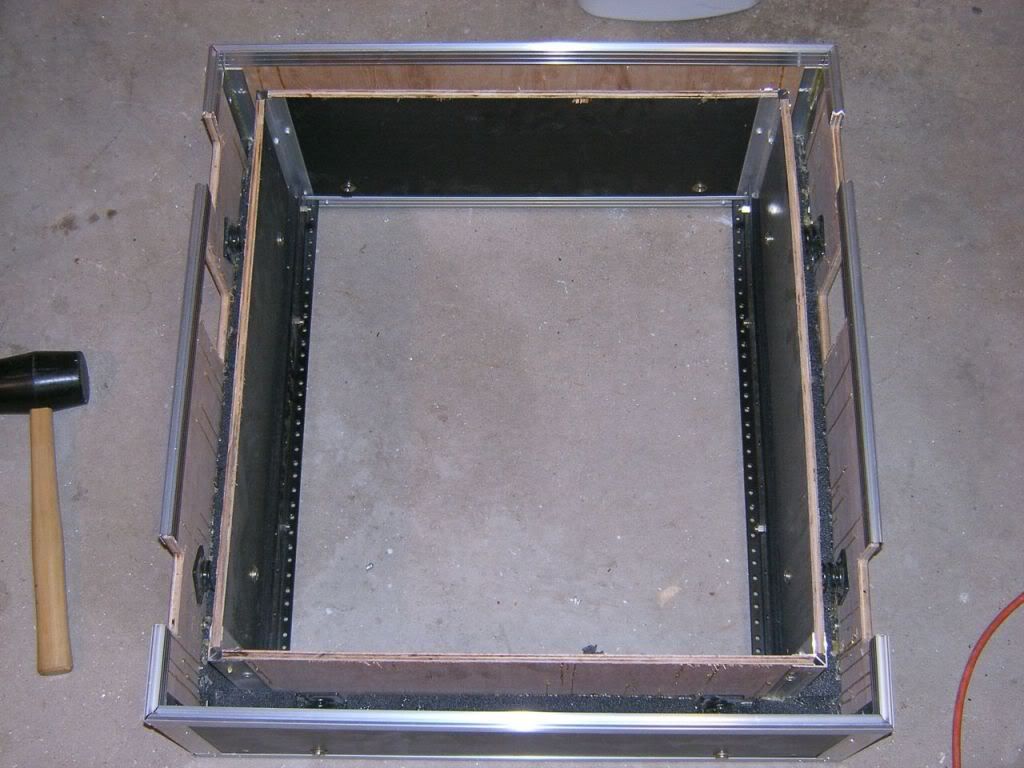
Both halves with extrusions temporarily installed...
In order to secure the free hanging back half of each rack side I will suspend it with carriage bolts 3" from outer edge of rack...
Center punch to prevent drill bit wandering...
3/8" drill bit used for holes...
First carriage nut, bolt, and washer assembly...
First half complete...
Second half complete...
I somewhat loosely tightened these, I did not want it to be super rigid. This was done to retainsome sense of shock absorption. It's pretty much unneccessary since this part really doesn't even bare a load.
I was in a hurry to get to work and I forgot to take the pic of the rack all latched up.
Some of you might be thinking, "This is cool, but how the hell is it gonna stand up on just two wheels???" I'm way ahead of you...
I have drawn up a way to cut the wheel plate so that I may have 3 casters on each half. I will post more pics of that when I can. This stupid holiday is gonna hold me up a bit...
And the most important part of all, my rig blueprint...
Oh and since I drew this up back in February, I have gotten into the MIDI guitar world. My rig now includes 2 AXON AX-50's and my MacBook Pro. I have yet to decide which DAW and plugin suite I want to use for my sample library.
I know I can't nominate myself, but geeze, is this not the Rig of the Month, Year, Eternity?!?!?!?!?!?!
Merry Christmas,
shotgunn
 wow
wow
 looks so awesome
 You're Macgyver! You are the king of all things mod, no doubt. Make sure and post pics of the final rig in all its glory!