Really looking pretty! Thanks a bunch for posting links for the folks from whom you purchased your wood. Wow, that could really be taken out of context couldn't it? Awesome picture story, looking very forward for more updates.
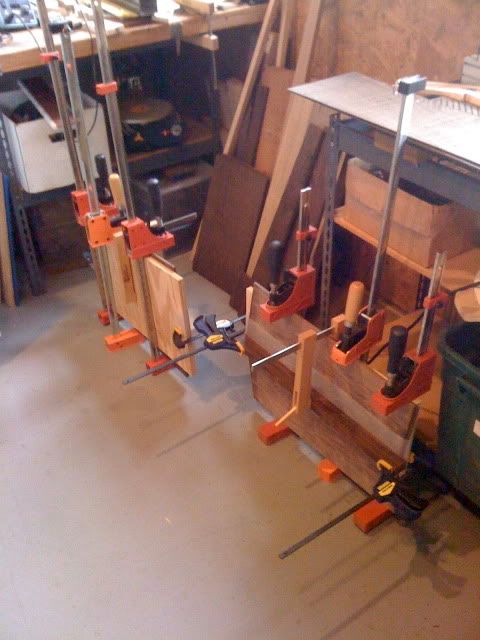
Today I resawed the claro top & back plates off from their wenge cores, leaving a layer of wenge underneath which - after cleaning up on the thickness sander - serve as the dark veneer layer underneath the figured plates. After cleaning up the jointing surfaces, it's time to glue up the bookmatches.
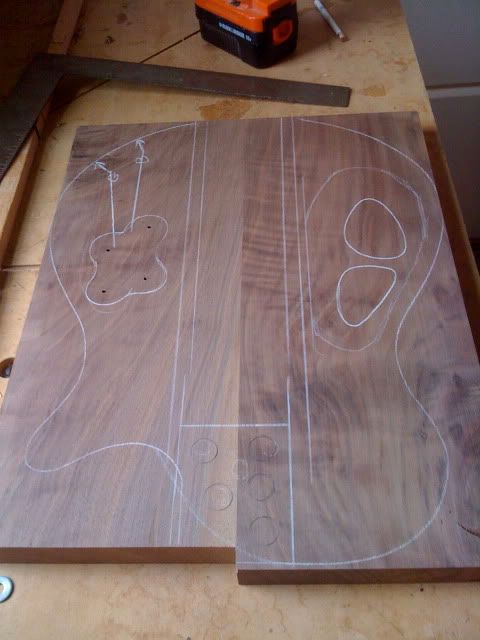
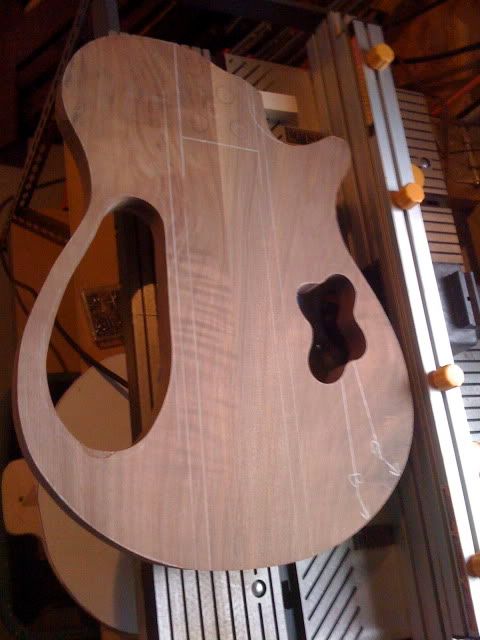
Also starting the chamber layout on the body core:
Awesome, sweet idea with the 1/2" wenge with the top and backs stuck to it thats re sawn, I guess you can get wenge slabs cheaper than just buying the veneer straight away?
and how come you use epoxy to glue the fretboard bindings back on?
Veneer is probably less expensive, but I also find it a bit of a hassle to apply in large sheets like this, as it is not easy to get it to glue down perfectly flat. Also, this layer at ~0.1" is thicker than a typical veneer sheet (~0.045").
I like to use epoxy on ebony because it makes a joint in ebony that is less visible than Titebond, and I feel that it adheres to ebony better than Titebond. I haven't done any break tests to prove this, just intuition.
Yep - I will be using the same epoxy to attach the fretboard to the neck. I actually do this with all of my fretboards - since the epoxy has no water in it, it avoids the little bit of back-bow that I tend to get on a perfectly straight neck when using Titebond. The moisture from the Titebond tends to soak into the neck wood a bit (not so much in the ebony), and this is avoided when using epoxy.
^ eloxy also make eventual repairs fairly more difficullt.. (a luthier once had to mashine-off an epoxied fretboard on a electric 12-stringer I used to have). AFAICT from various build threads, the glue/moisture issue can be resolved by using a very sturdy rig for the glue job, and leaving the parts in there long enough.
The System 3 epoxy is reversible with heat - it does not respond to steam like Titebond does - just heat.
Titebond certainly does work well - I used it to glue the neck lams together - but having glued up ~8 fretboards with each, it is a fact that for me, for the order in which I do things, I consistently ended up having to use the truss rod to tweek out backbow when using Titebond but not when using epoxy. Its not very much - sometimes its so little you could almost get rid of it when levelling the frets - but its there. And I think it tends to be worse when the moisture-absorbing properties of the neck & fretboard woods are very very different (like ebony on mahogany) - though I am data-limited in this observation.
There are many ways to skin this cat and end up with a fine neck in the end. My own personal build style is to radius, taper and fret the board while it is off the neck - this way I can press the frets in while the board is resting on a flat surface and work out any backbow that comes about due to the fretting. I also rough out the back contour of the neck while the board is off. So then I have a flat stress-free neck blank and a flat stress-free fretboard that I glue up (with epoxy) in a long maple glue caul that has the same radius as the fretboard. When the neck comes out, it is stress-free and dead flat, and if I've done a good job on the fretboard, typically the only fret levelling I have to do is the upper-fret fallaway.
Alright - some measured progress over the past few weeks (another way of saying that other things have been stealing my time!!!)....
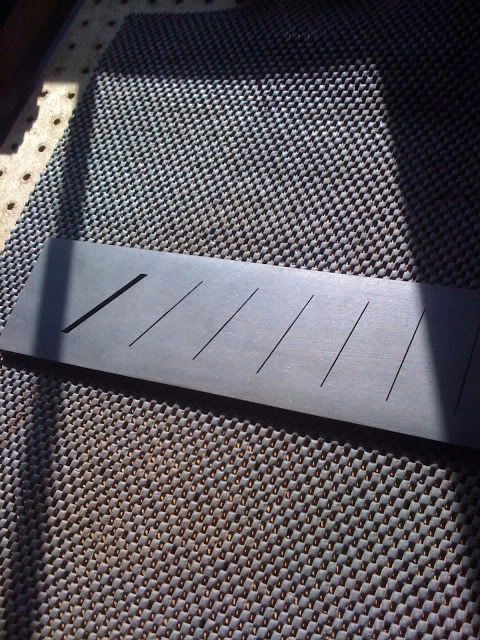
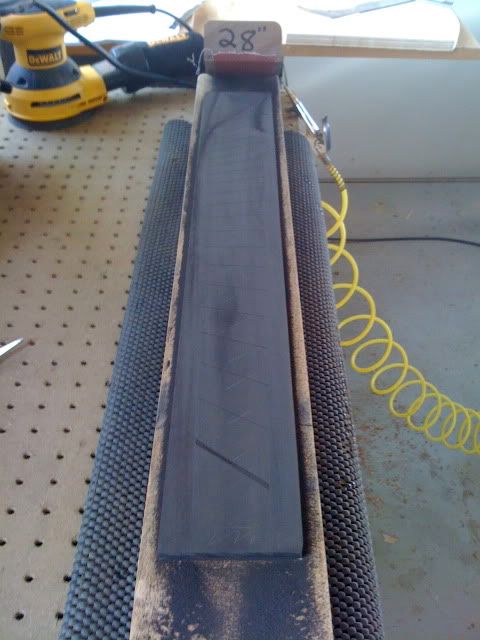
Fretboard is radiused @ 28" and is now ready for tapering:
This shot shows the bass-side chamber almost done, and the control cavity done. A few wiring channels yet to rout in, after that I will be routing the back for a brass string-thru stop for the ball ends (also serves as the common string ground) to inlay it, so that it will be covered when I glue the back on. Only the holes around the ball ends will be visible from the back.
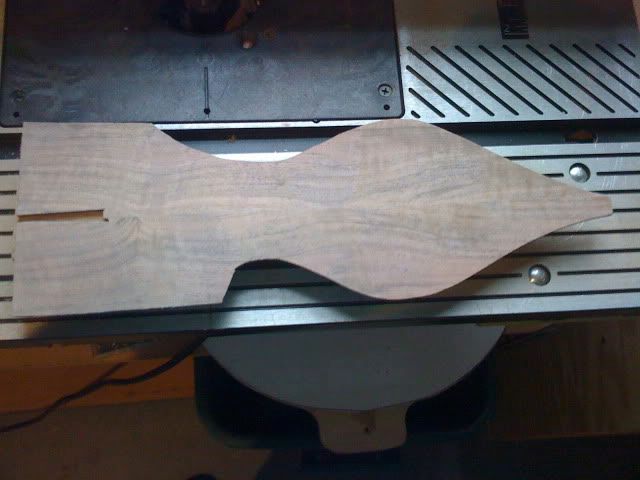
The bookmatched Claro top & back have been trimmed just outside the body outline, and the waist offcuts bookmatched for the headstock veneer:
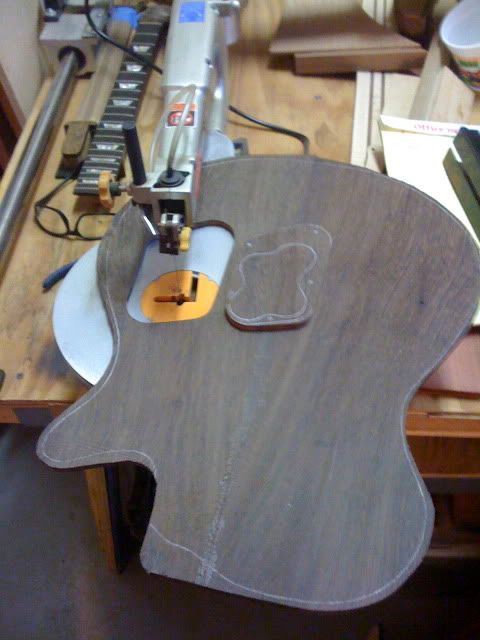
Here's how I go about cutting out the cavity cover from the back wood - first a small slice through using a Dremel cut-off wheel...
...just enough to thread in the blade for the scroll saw.
Like almost all my covers, this one will be screwless - held on with small neo mags.
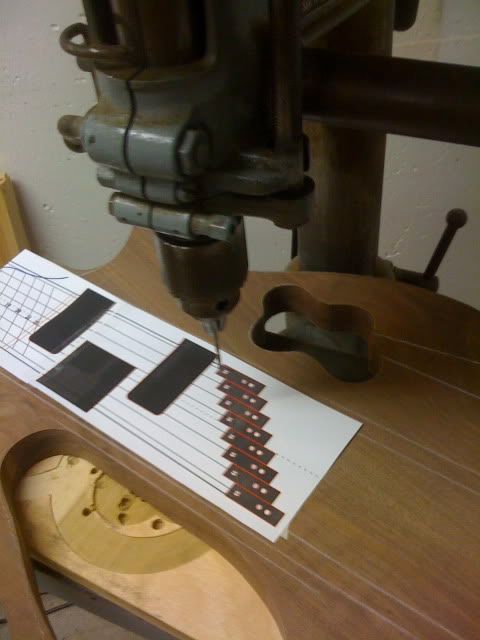
Finally I printed out part of my CAD drawing to lay out the string-thru holes for the individual bridges - at this point we've crossed a bit of a Rubicon, as the distance from the bridges to the end of the neck pocket is absolutely fixed, almost no room for error now baby! Gotta get that neck pocket right the first time!
") Awesome picture story, looking very forward for more updates.
Awesome picture story, looking very forward for more updates.