Multiscale Chambered 8-string Hybrid Singlecut - build thread

  • Thread starter Erik Hauri
  • Start date
  • This site may earn a commission from merchant affiliate links like Ebay, Amazon, and others.

This site may earn a commission from merchant links like Ebay, Amazon, and others.
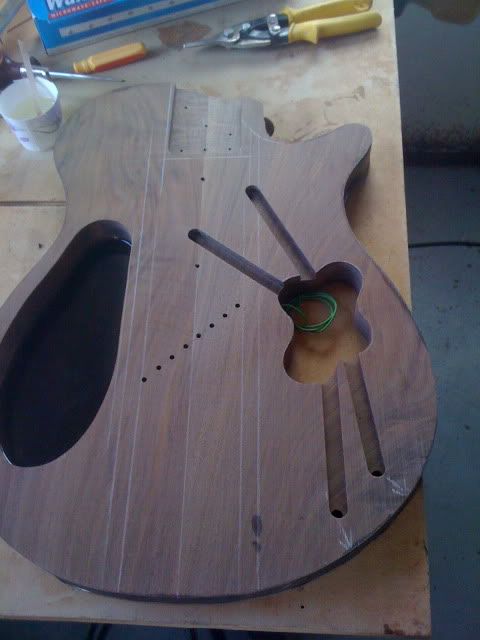
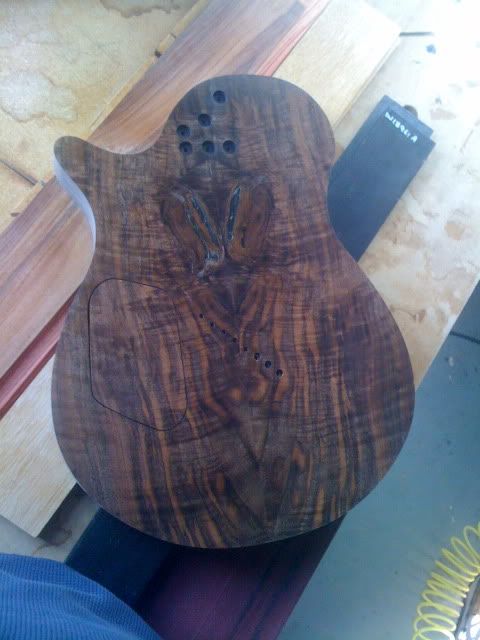
Erik Hauri

Lumber -> Guitars
Joined
Jan 2, 2008
Messages
114
Reaction score
46
Location
Gaithersburg MD
Got the fretboard glued up today - West System epoxy for this, a thin coat applied onto the neck and spread evenly with an expired Starbuck's card. The strip of tape down the center is to keep the epoxy off the truss rod, which has its threads wrapped in a thin layer of plastic wrap (same goal there).

neck28.jpg


The fretboard is stuck on, then the whole works is flipped over and place into the neck glue press. The fretboard surface rests in a hardwood caul that is radiused to match the fretboard radius, then the whole works is clamped tight so that the epoxy cures with everything dead straight.

neck29.jpg


Here the devil is in the details - epoxy can be really difficult to clean up if it gets where you don't want it to. So the radiused caul is lined with wax paper. The fretboard surface and edge is covered with blue painter's masking tape so that the epoxy won't get on the board. Then another narrow white masking tape strip is applied to the fretboard edge, and flares out away from the fretboard to catch the epoxy squeeze-out, which I peel off (with everything still clamped up) after an hour or two while the epoxy is still soft but very tacky. That takes care of all the squeeze-out cleanup except at the nut and heel ends, which are taken care of with a 1/4" chisel to scrape off the excess.

neck30.jpg


These steps are easy to take and minimize the sanding needed to clean up when the neck comes out of the press - 3 days from now.

Worked on the body as well today - routed some wiring channels into the body core before the top goes on.

top5.jpg


The strip of wood between the soundholes is an area that can be prone to breaking if it takes a modest hit, so I reinforce it underneath with a thin layer of carbon fiber composite sheet.

top6.jpg


I am not quite ready yet to glue the top on, as I want to finish the work on the neck first, attach the tuning keys, bolt it onto the body (with top tacked on), and check the balance of the instrument. We *may* think about some additional chambering of the body core if the balance works out.
 

Dusty201087

Kenyon class of 2014
Joined
Aug 10, 2008
Messages
2,427
Reaction score
151
Location
Ohio
Dude this build is awesome. Seriously man, major kudos :yesway:
 

Erik Hauri

Lumber -> Guitars
Joined
Jan 2, 2008
Messages
114
Reaction score
46
Location
Gaithersburg MD
Thanks for the mad props guys! :hbang:

Popped the neck out of the clamps today, cleaned up the edges and started work on the fret ends. Next will be to glue ears to the headstock and begin work on the headstock veneers.
 

Sponge

Carpe Diem
Joined
Feb 25, 2006
Messages
335
Reaction score
106
Location
Toronto.
Oh wow... That is impressive! This looks classier and better than expensive furniture and furniture looking basses!
 

phaeded0ut

droooooneeeeeeeee!
Joined
Jan 5, 2009
Messages
1,297
Reaction score
125
Location
Virginia
Erik, this beastie is really looking gorgeous! Many thanks again for giving us a blow by blow of what you're doing and why with this build.
 

vansinn

Well-Known Member
Joined
Sep 22, 2007
Messages
2,925
Reaction score
172
Yummi! Great work, Erik, can hardly wait for more..
+1 on showing those details :agreed:
 

Erik Hauri

Lumber -> Guitars
Joined
Jan 2, 2008
Messages
114
Reaction score
46
Location
Gaithersburg MD
More progress over the last few weeks. Got the headstock laminates thickness & trimmed, engraving done (local laser engraver who I work with a lot) and filled with black epoxy, then glued up and trimmed.

neck31.jpg


neck33.jpg


neck35.jpg


Here it is with the tuner holes drilled out. Still a bit of work to do to smooth the transition with the ebony fretboard, and clean up the truss rod access.

neck36.jpg


Finally, was able to install the tuners and check the balance, which is quite good - so I will not upset that balance by routing more out of the body core. Figured top is now in the glue press and should be ready for routing out for the pickups in a few days.
 

Andrew_B

Well-Known Member
Joined
Oct 27, 2008
Messages
1,507
Reaction score
153
Location
sydney
beautiful headstock design Erik :yesway:

i always loved the conklins with the bass machine heads....
this is gonna look great :D

i dont think i have ever seen epoxy used in an inlay that big....
thats pretty cool,
and i bet it beats cutting out and shaping some perfect stone or pearl :lol:

geat work
 

Erik Hauri

Lumber -> Guitars
Joined
Jan 2, 2008
Messages
114
Reaction score
46
Location
Gaithersburg MD
Body is out of the glue press, edge sanded and neck pocket profiled. Also drilled recesses for neck screw ferrules, output jacks and recessed straplocs. All that's left is the roundover, pickup routs, control holes and finish sanding prep for the Tru Oil finish.

These are prior to profiling the area around the neck pocket.
bod2.jpg

bod2.jpg


Here's a wet shot of the back - this is the most killer walnut grain I've ever worked with, Ben made an excellent choice! And this is not even a good pic.

bod3.jpg
 

Erik Hauri

Lumber -> Guitars
Joined
Jan 2, 2008
Messages
114
Reaction score
46
Location
Gaithersburg MD
30 inches of snow on the ground - what to do?

The shoveling can wait - time to rout for the pickups!

bod4.jpg


And do the finish sanding - body is now ready to dry fit the hardware....

bod5.jpg


...except I'm waiting for replacement tuners to show up. I bymistakely ordered lefties (doh!).
 

Ram150023

NutzKustoms
Joined
Dec 15, 2009
Messages
451
Reaction score
21
Location
Rochester, NY
This is the most insane build i have ever seen!!! :eek: 
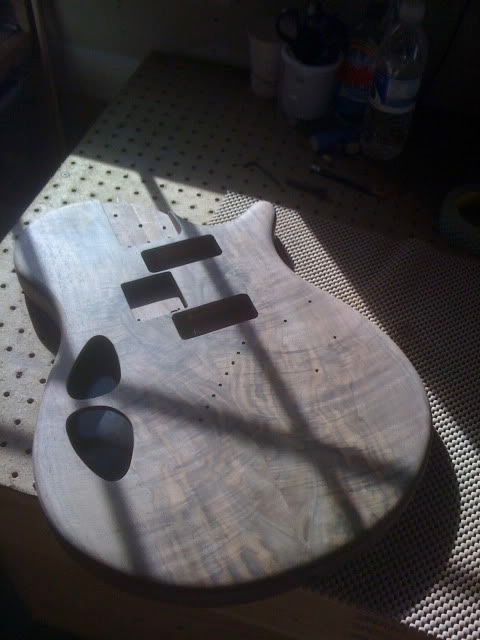
Really intrigued on how this thing will sound??:scratch: Cant wait to see it finished!! Awesome work and great thread!:hbang:
 
Top
')