Themadcow
Well-Known Member
Alright, another update for today. I didn't get a lot done, but enough to keep me from going crazy.
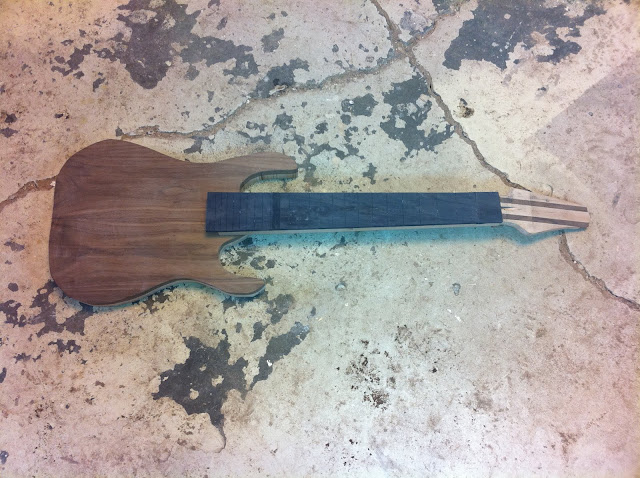
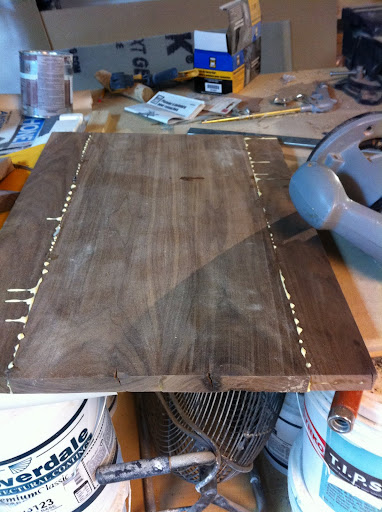
First here's a pic showing how off center the fretboard was before glue up. I got really luck on this, next time I will run my frets off one squared edge instead of using the template off the centerline

It's fine though, happy days
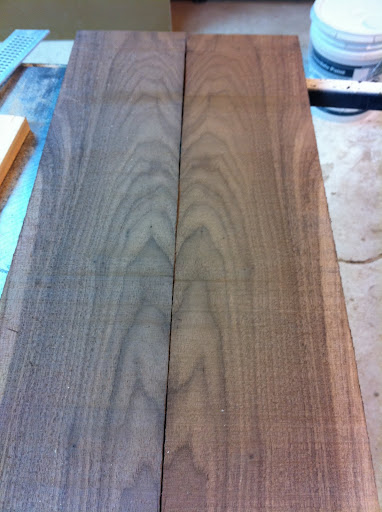
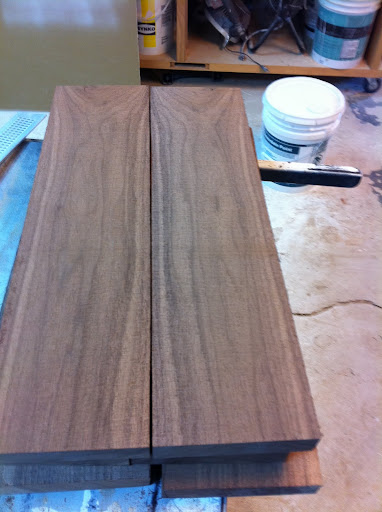
All cleaned up

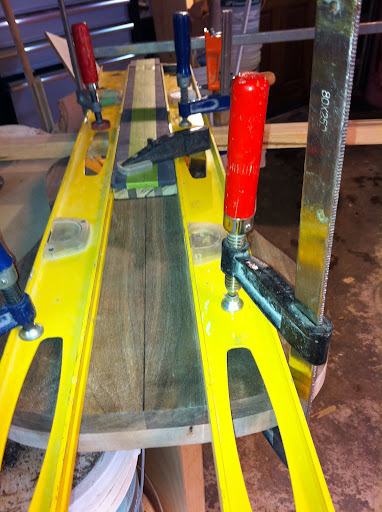
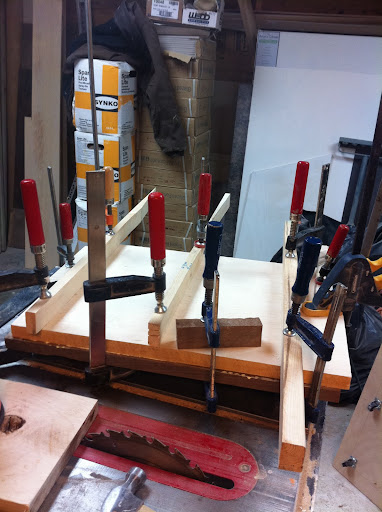
Also cut the scarf and glue up the neck for my dad's build

8 clamps, could have squeezed a few more on there
Oh and I thickness planed the body blank down to an 1 1/2". A little bigger than the final dimension, I intend on gluing a 1/2" piece of walnut to the top. I was very excited to see zero glue lines, so jointing on a router seems to be a good way to go.

So that's it for today. My dad's neck is out of clamps but won't be stable enough for cutting till tomorrow. All in all I am very happy with today's progress.
First here's a pic showing how off center the fretboard was before glue up. I got really luck on this, next time I will run my frets off one squared edge instead of using the template off the centerline
It's fine though, happy days
All cleaned up
Also cut the scarf and glue up the neck for my dad's build
8 clamps, could have squeezed a few more on there
Oh and I thickness planed the body blank down to an 1 1/2". A little bigger than the final dimension, I intend on gluing a 1/2" piece of walnut to the top. I was very excited to see zero glue lines, so jointing on a router seems to be a good way to go.
So that's it for today. My dad's neck is out of clamps but won't be stable enough for cutting till tomorrow. All in all I am very happy with today's progress.


 jigs are optional though.
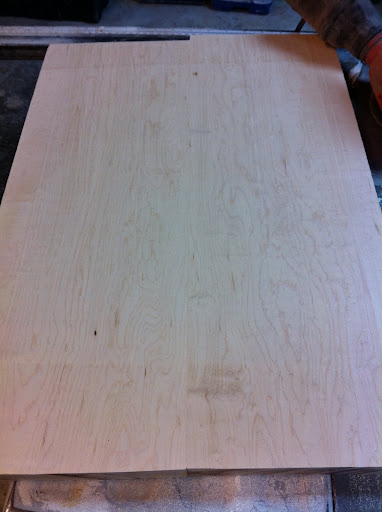


 I warn you that guitar is probably going to weigh about 10 lbs.