Devotion
Brojangles
Its really starting to look like a guitar with the neck on hu? Good job on thr bodies, i really like the arches!
This site may earn a commission from merchant links like Ebay, Amazon, and others.


I haven't gotten this far yet, but I'll tell ya my plans:
seal with sanding sealer, sand lightly to take down the high spots, walnut is slightly porous so you CAN fill it, but I don't plan to, fill it with wood filler, sand it, then apply finish such as furnish, lacquer, or you could skip all that and just put tung oil on it(I THINK)
just dont decide that a good french polish is the best for your guitar. Do yourself a favor and do something easier.


I love the way the neck is looking on your dad's axe.
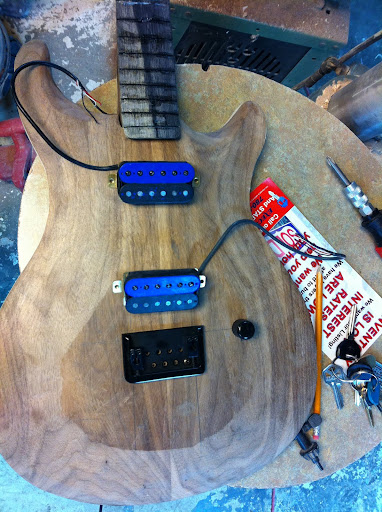


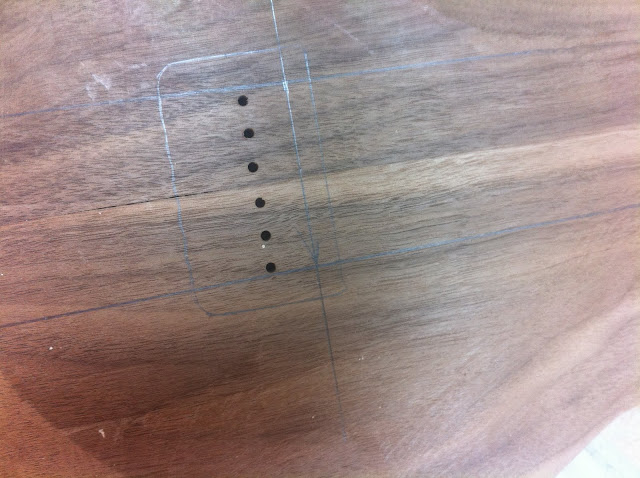
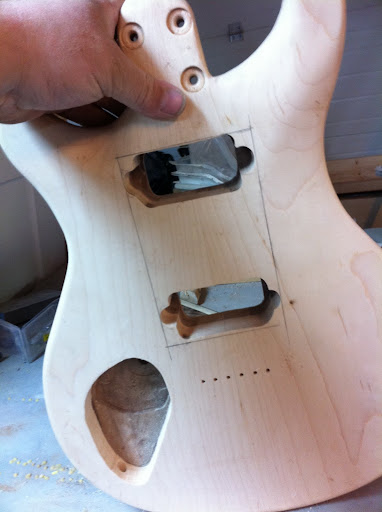
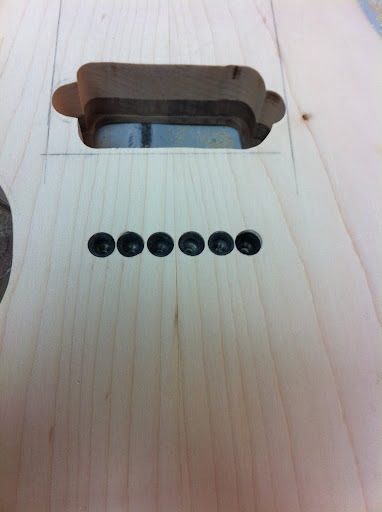
so umm... how are you putting the pickups in place?
whats the number on that fretwire. i think the biggest i've seen is the 6100 extra jumbo from dunlop. this looks just enormous..
so umm... how are you putting the pickups in place?


Probably 6000whats the number on that fretwire. i think the biggest i've seen is the 6100 extra jumbo from dunlop. this looks just enormous..
Probably 6000