Official Guitar Logistics build thread.

RestorationAD

Well-Known Member
Joined
Jul 1, 2010
Messages
1,762
Reaction score
111
Location
RTP, NC
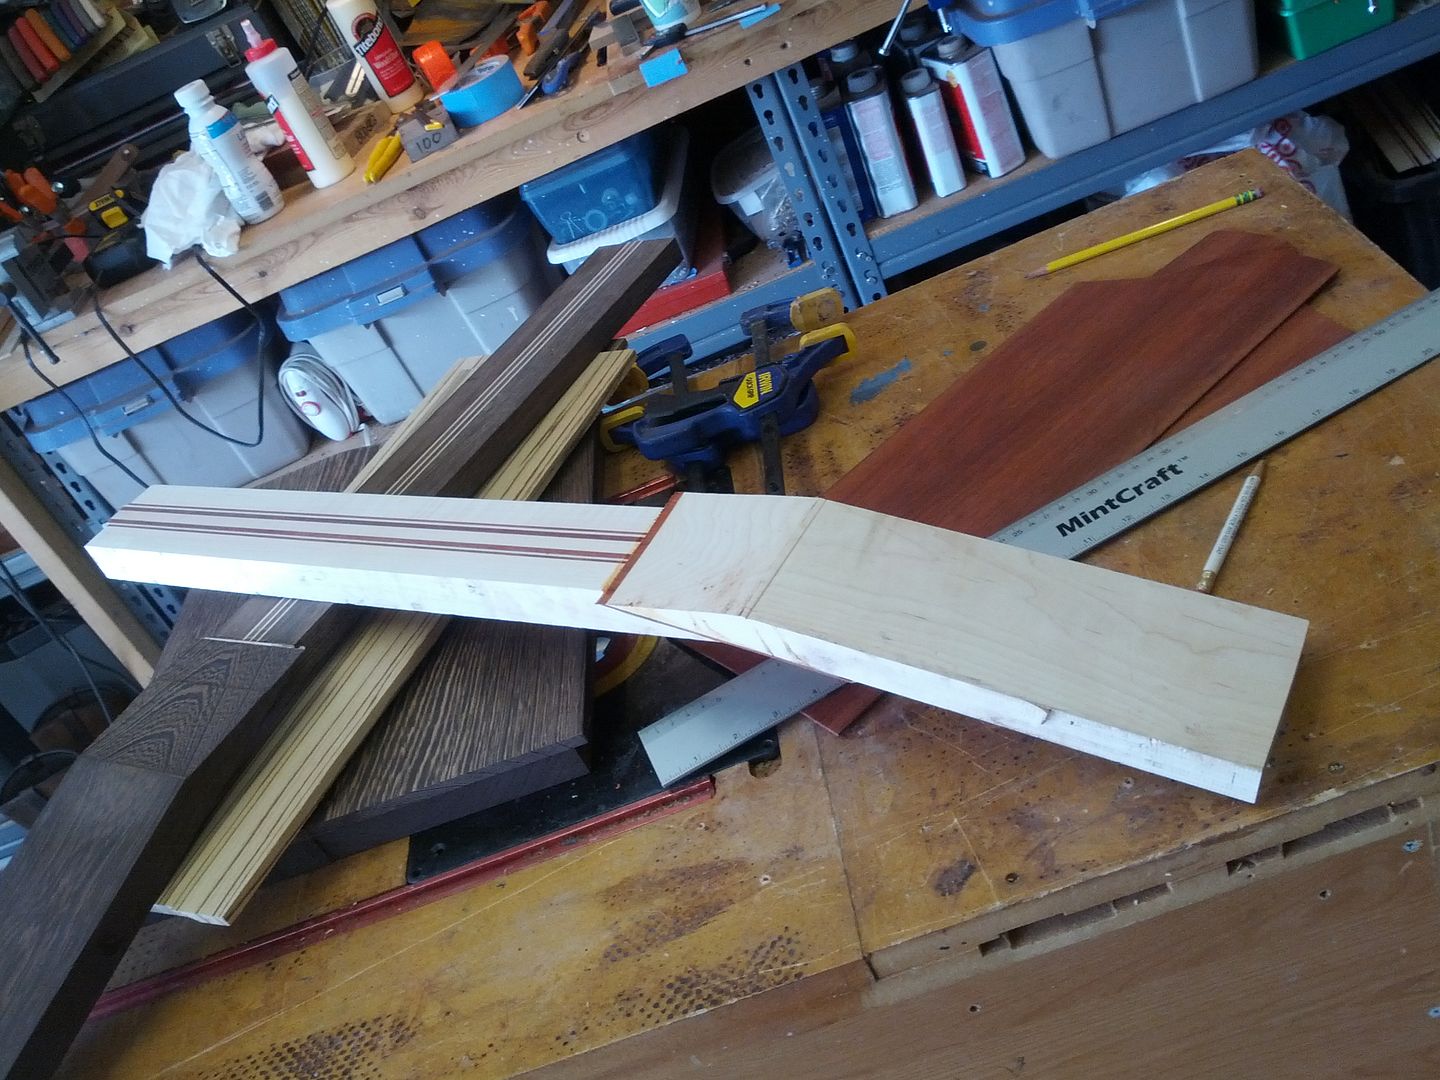
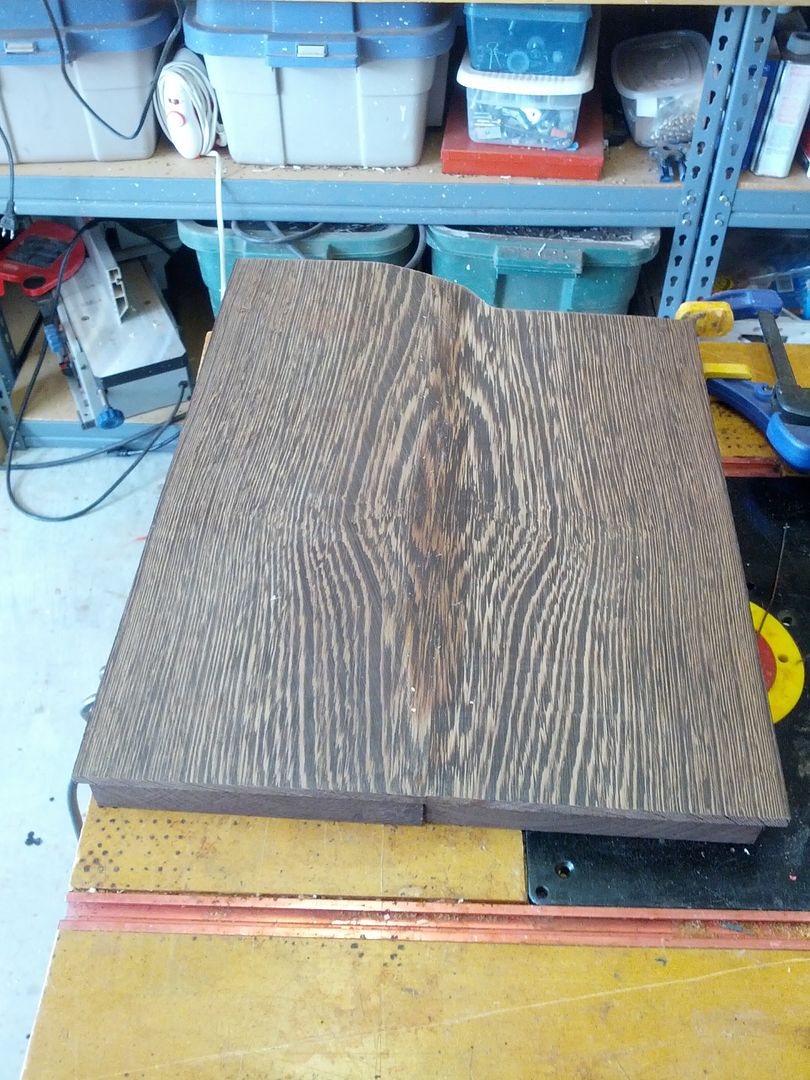
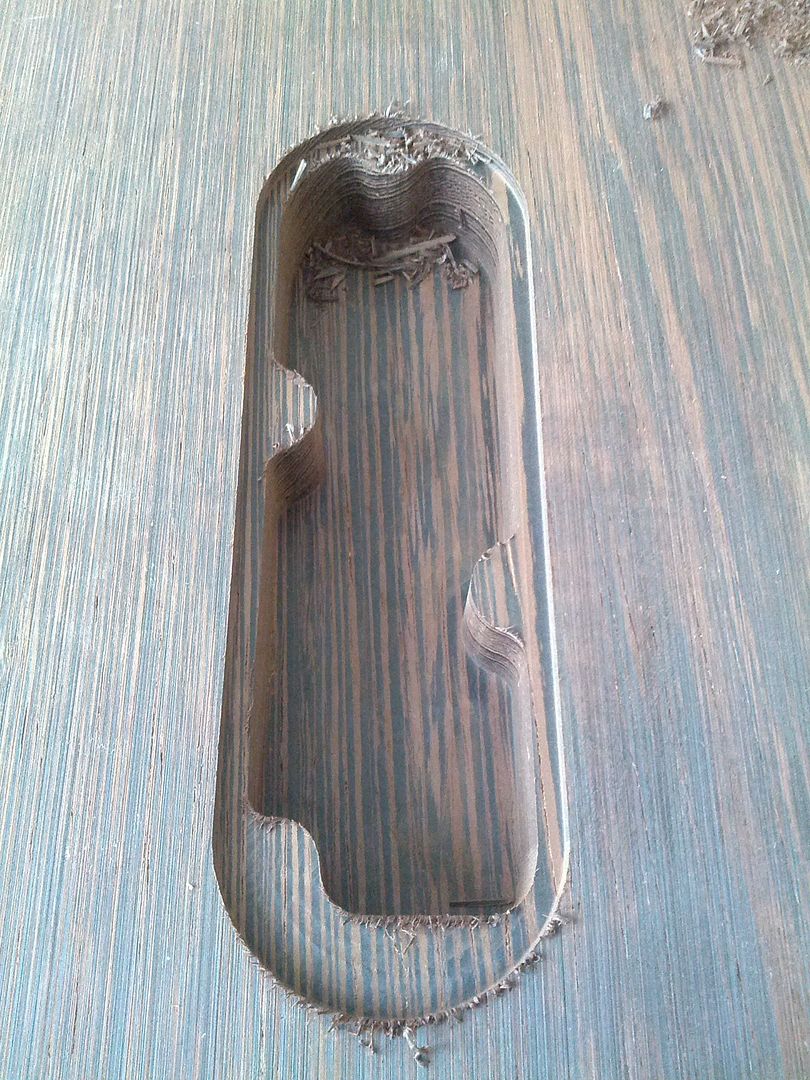
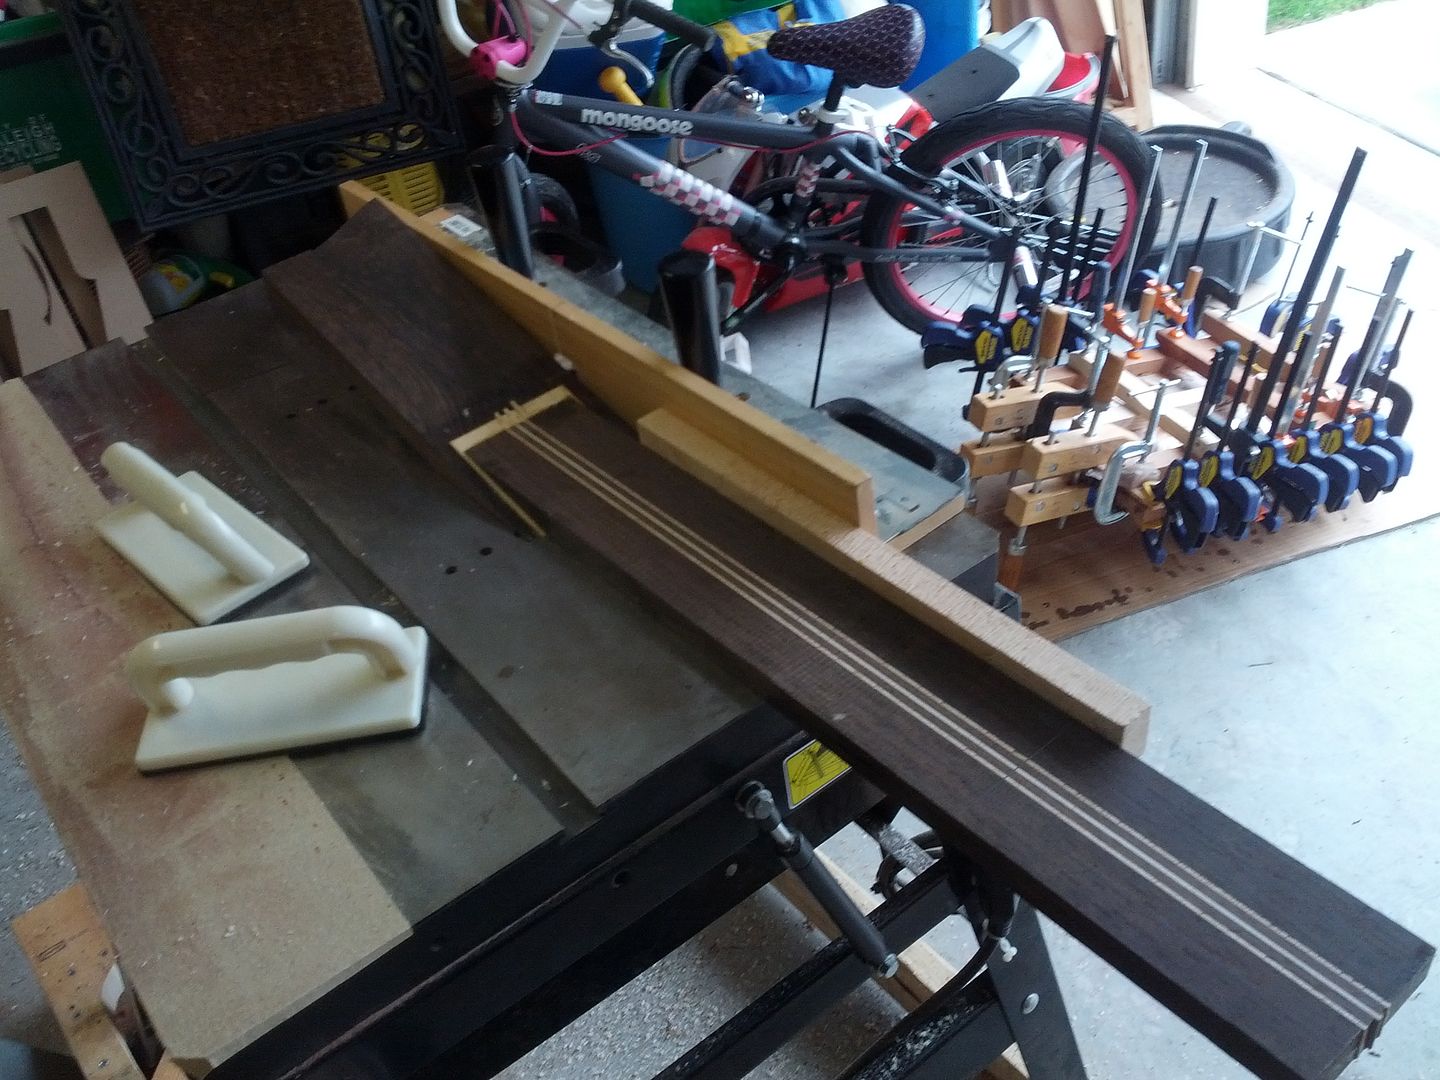
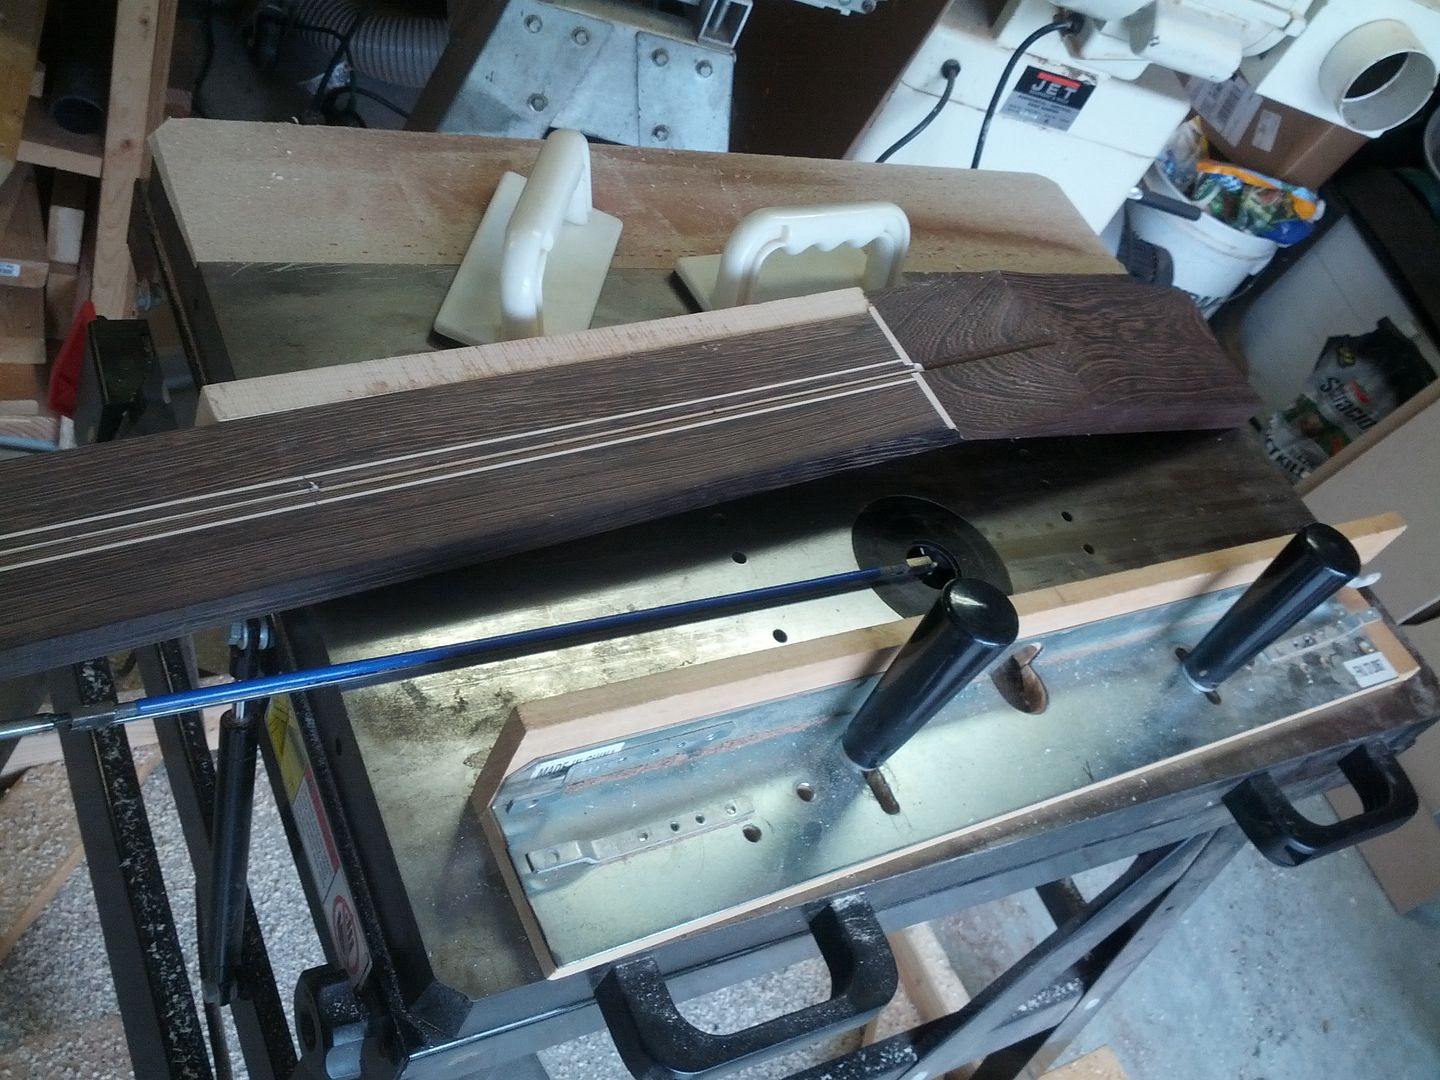
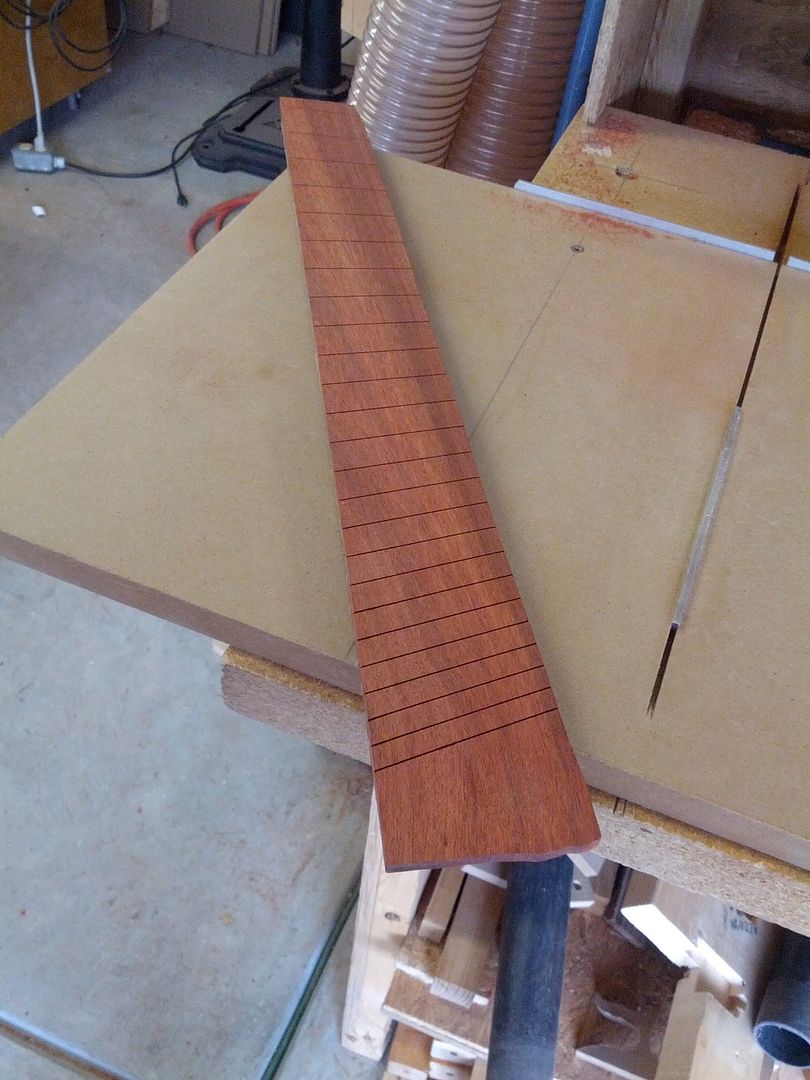
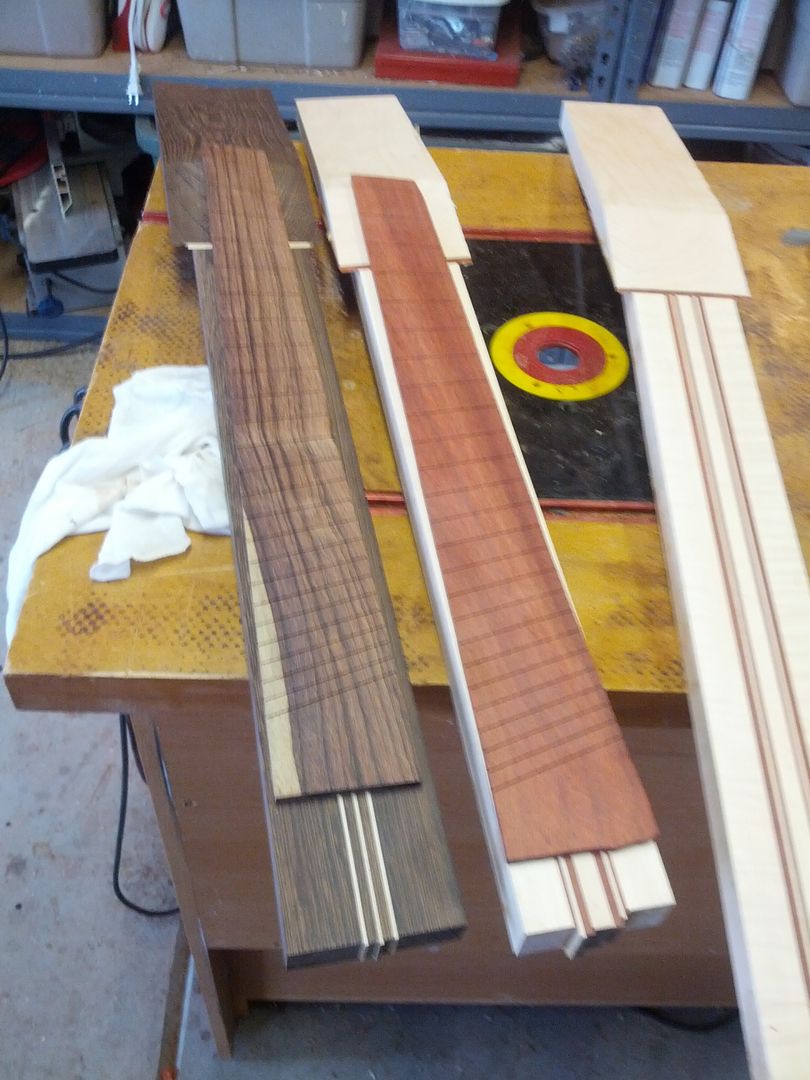
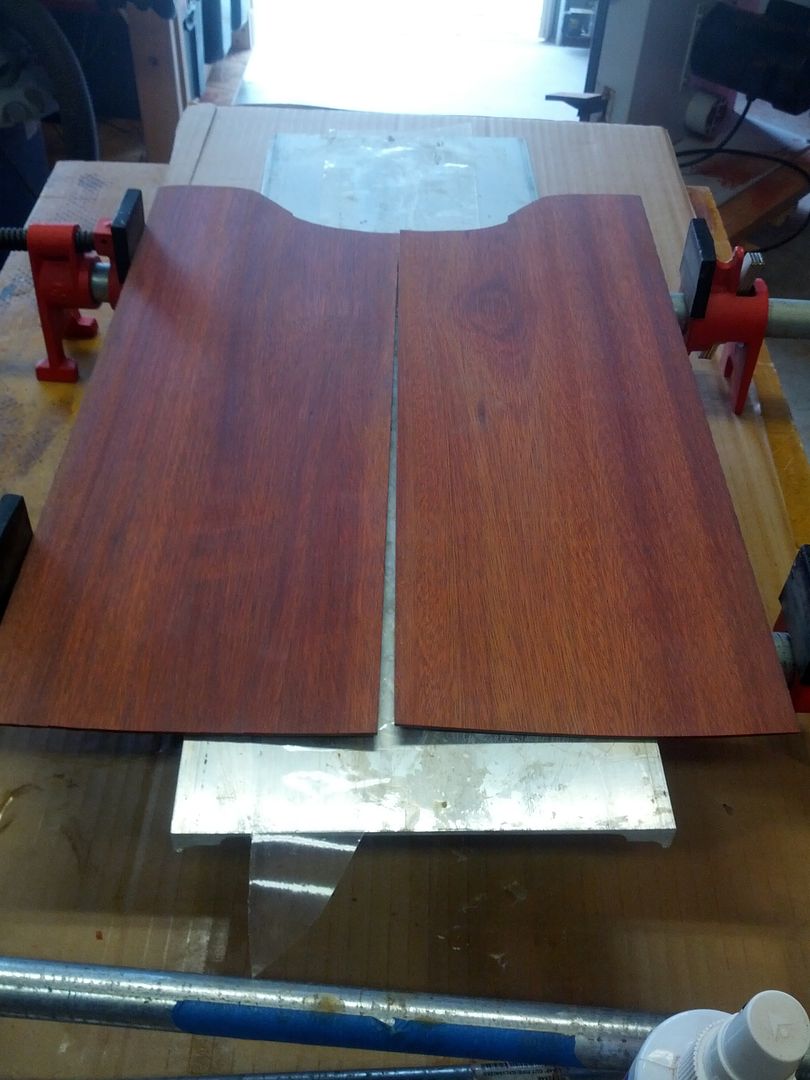
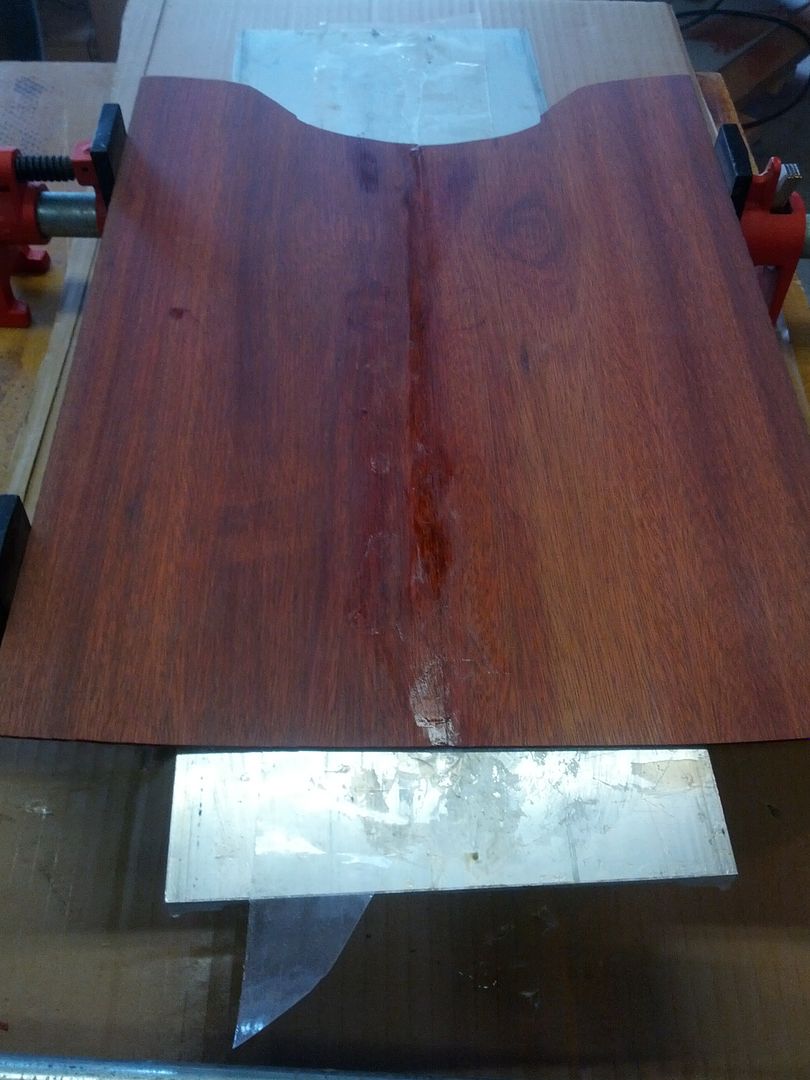
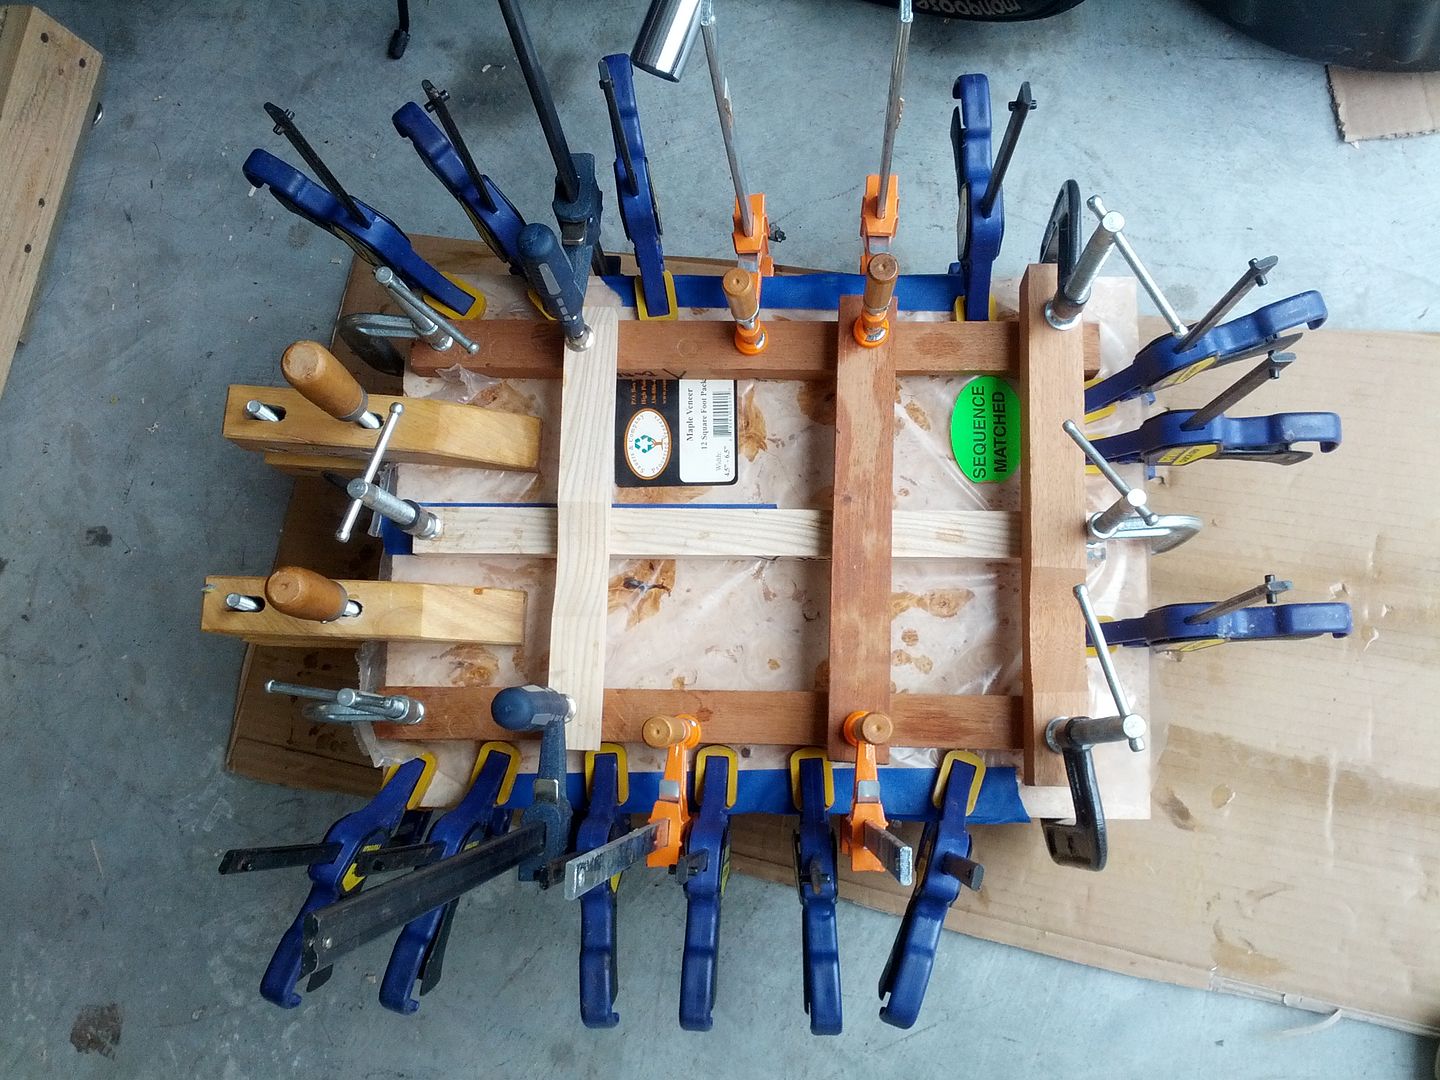
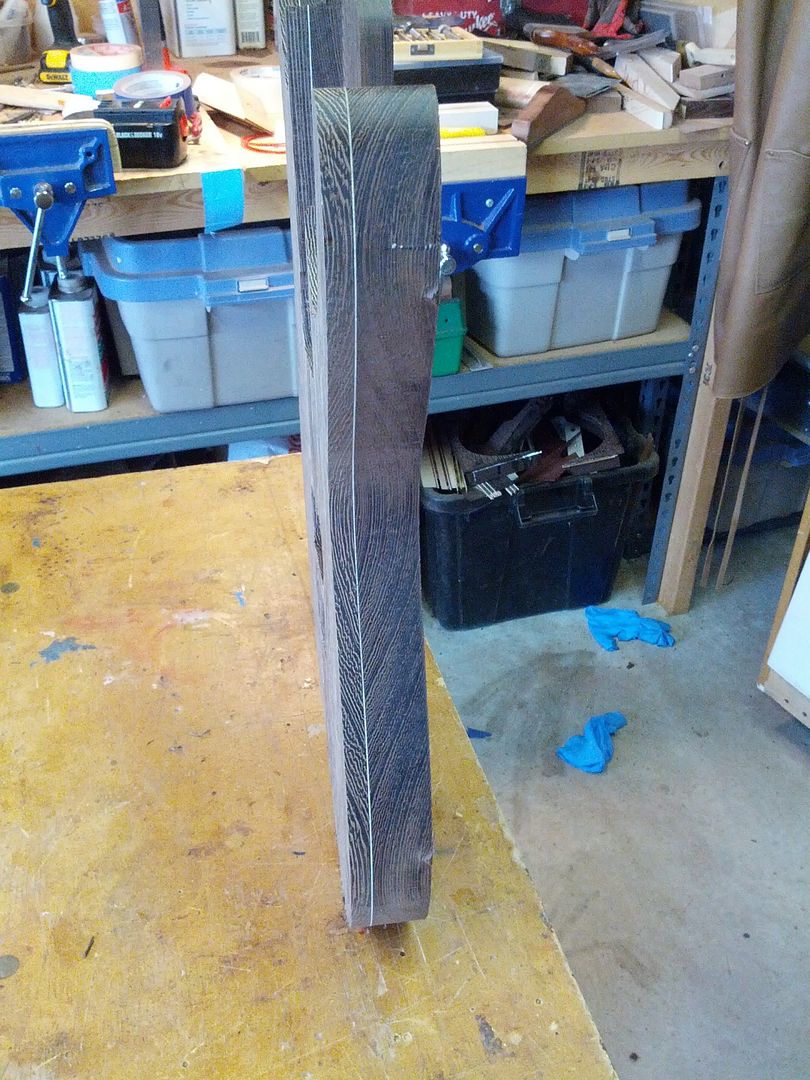
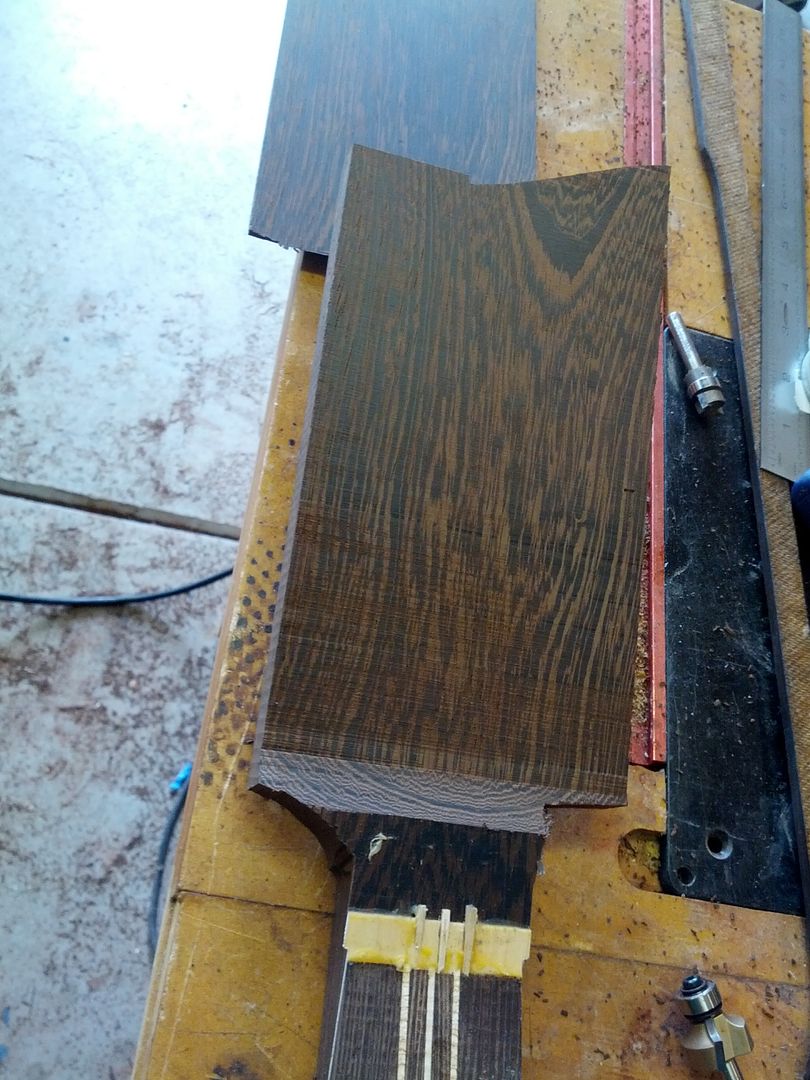
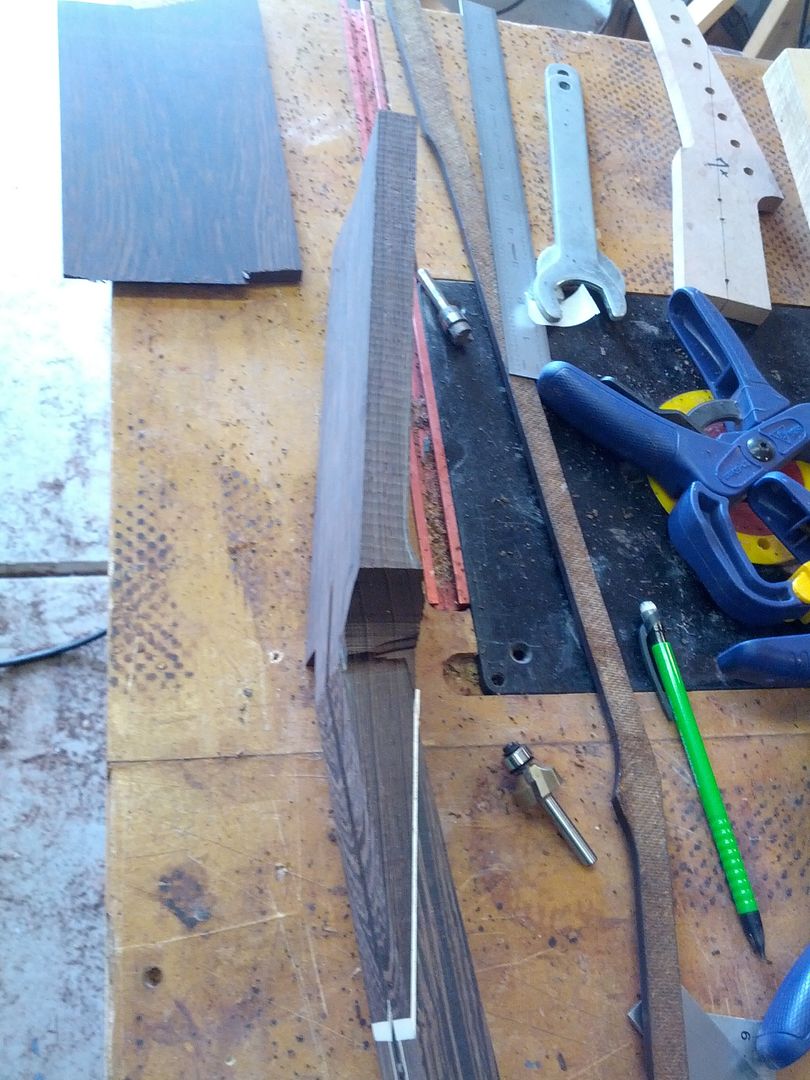
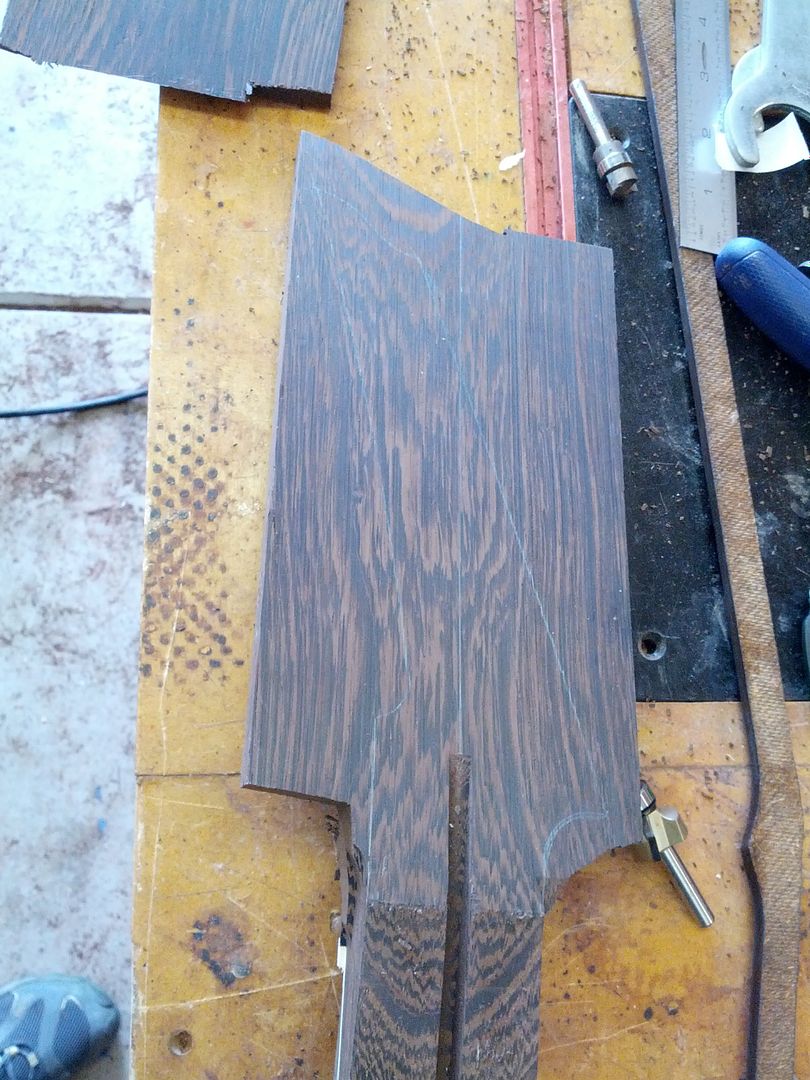
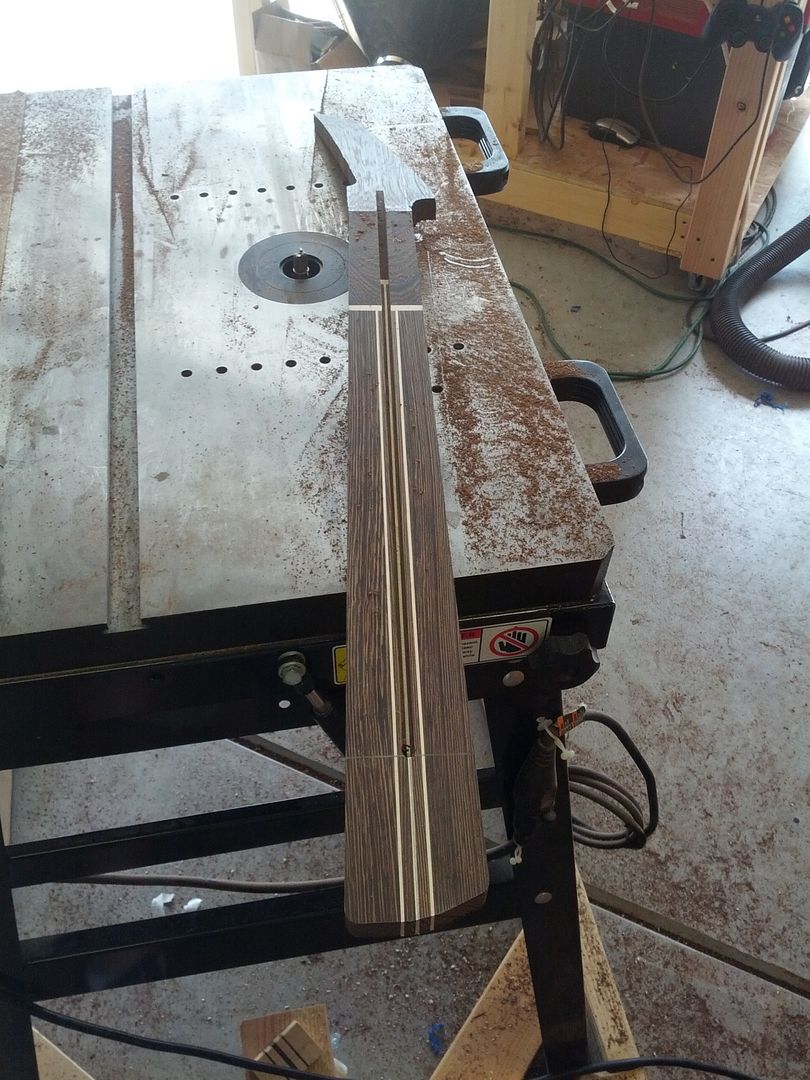
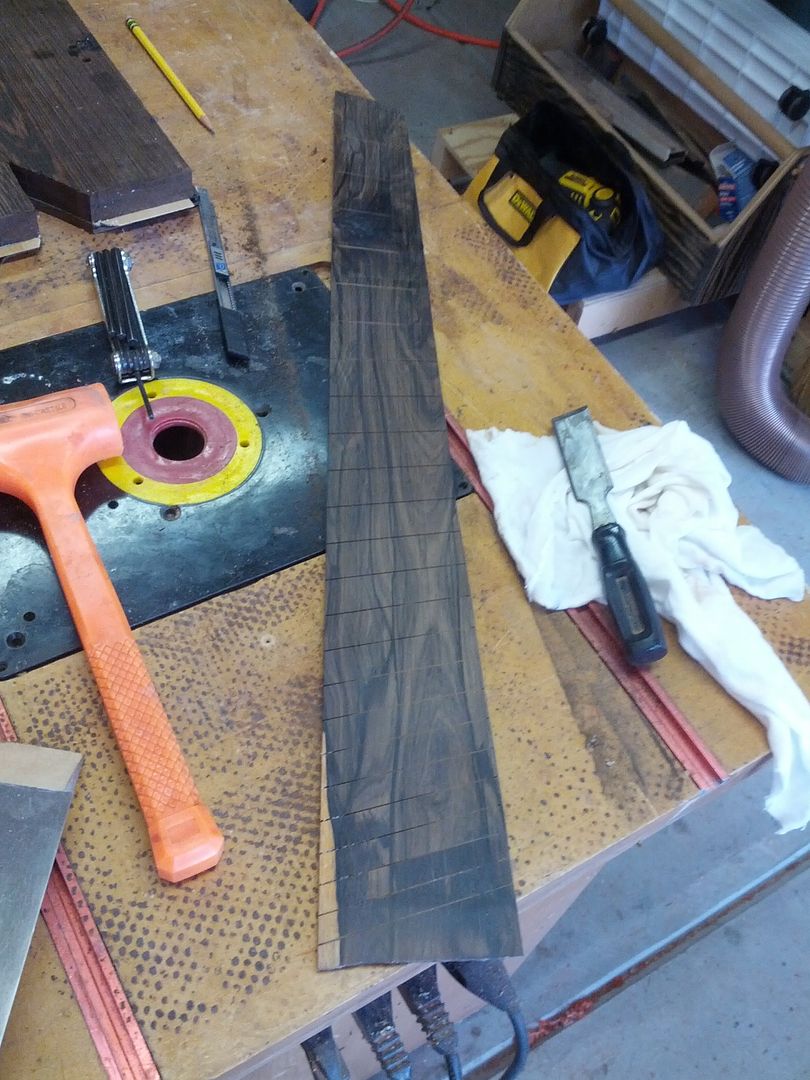
34-36" scale fretboard for the bass. It still has a lot of superglue on it were I sealed some hairline fractures. Ziricote is notorious for this type of behavior so I always try to find the invisible cracks by wicking super thin CA on the ends of the board. The hairline cracks will pull the CA into them. This particular board only had a few at the end that is going to get cut off.
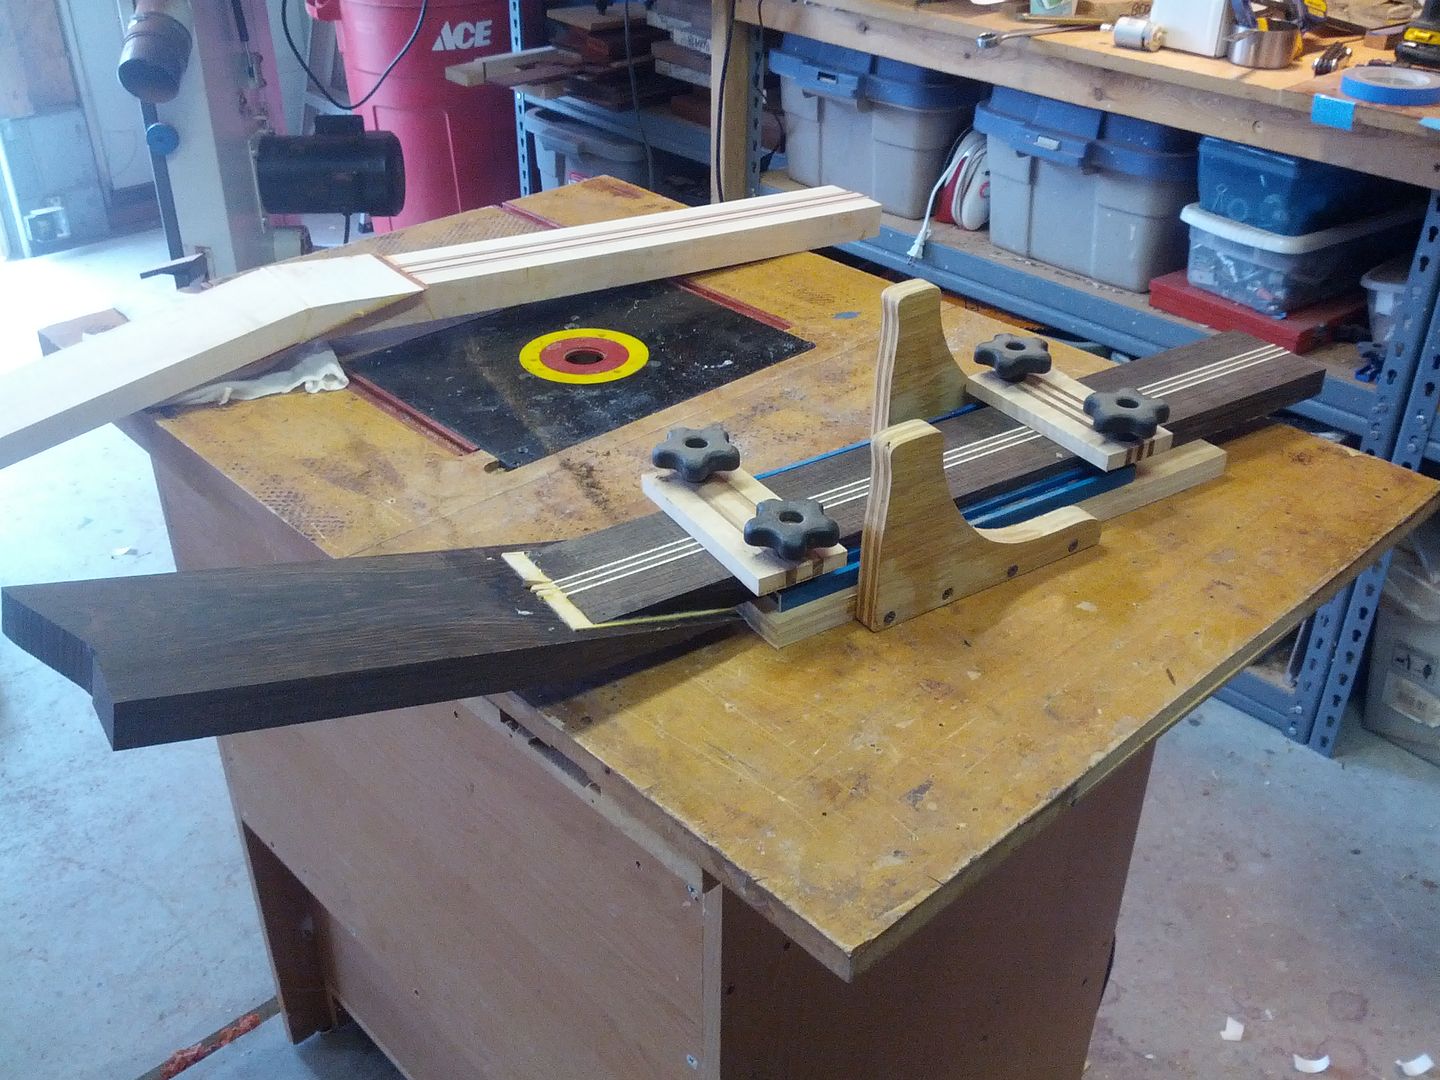
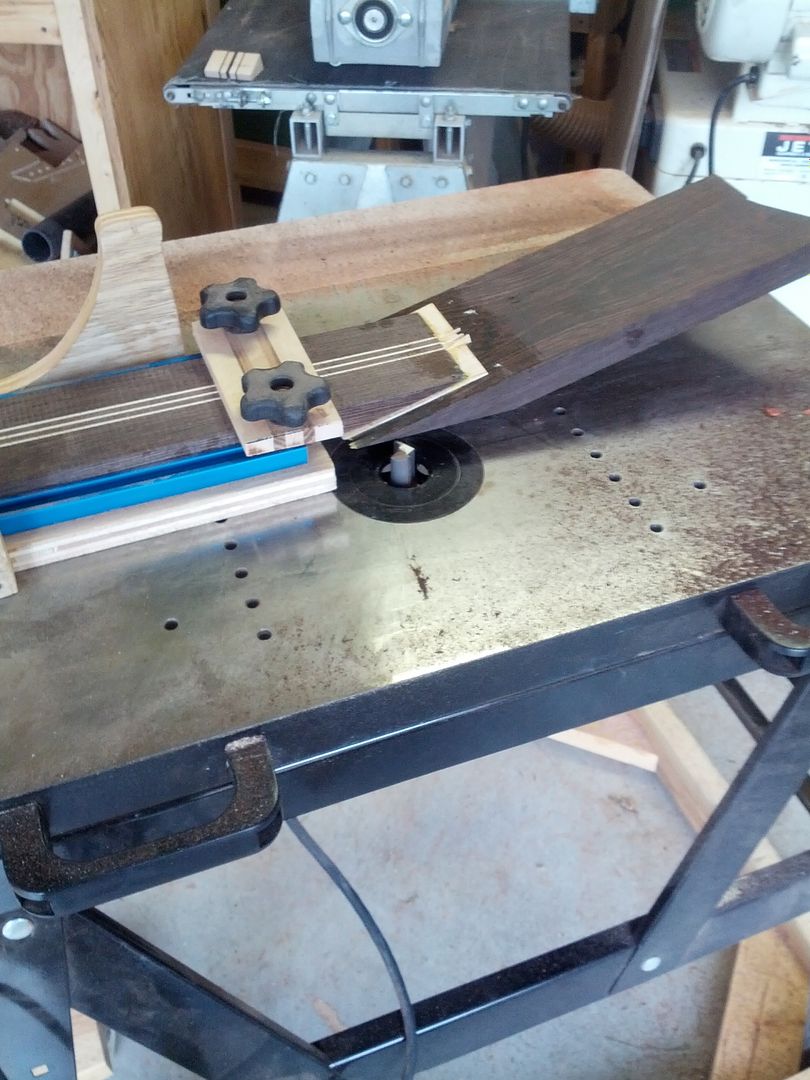
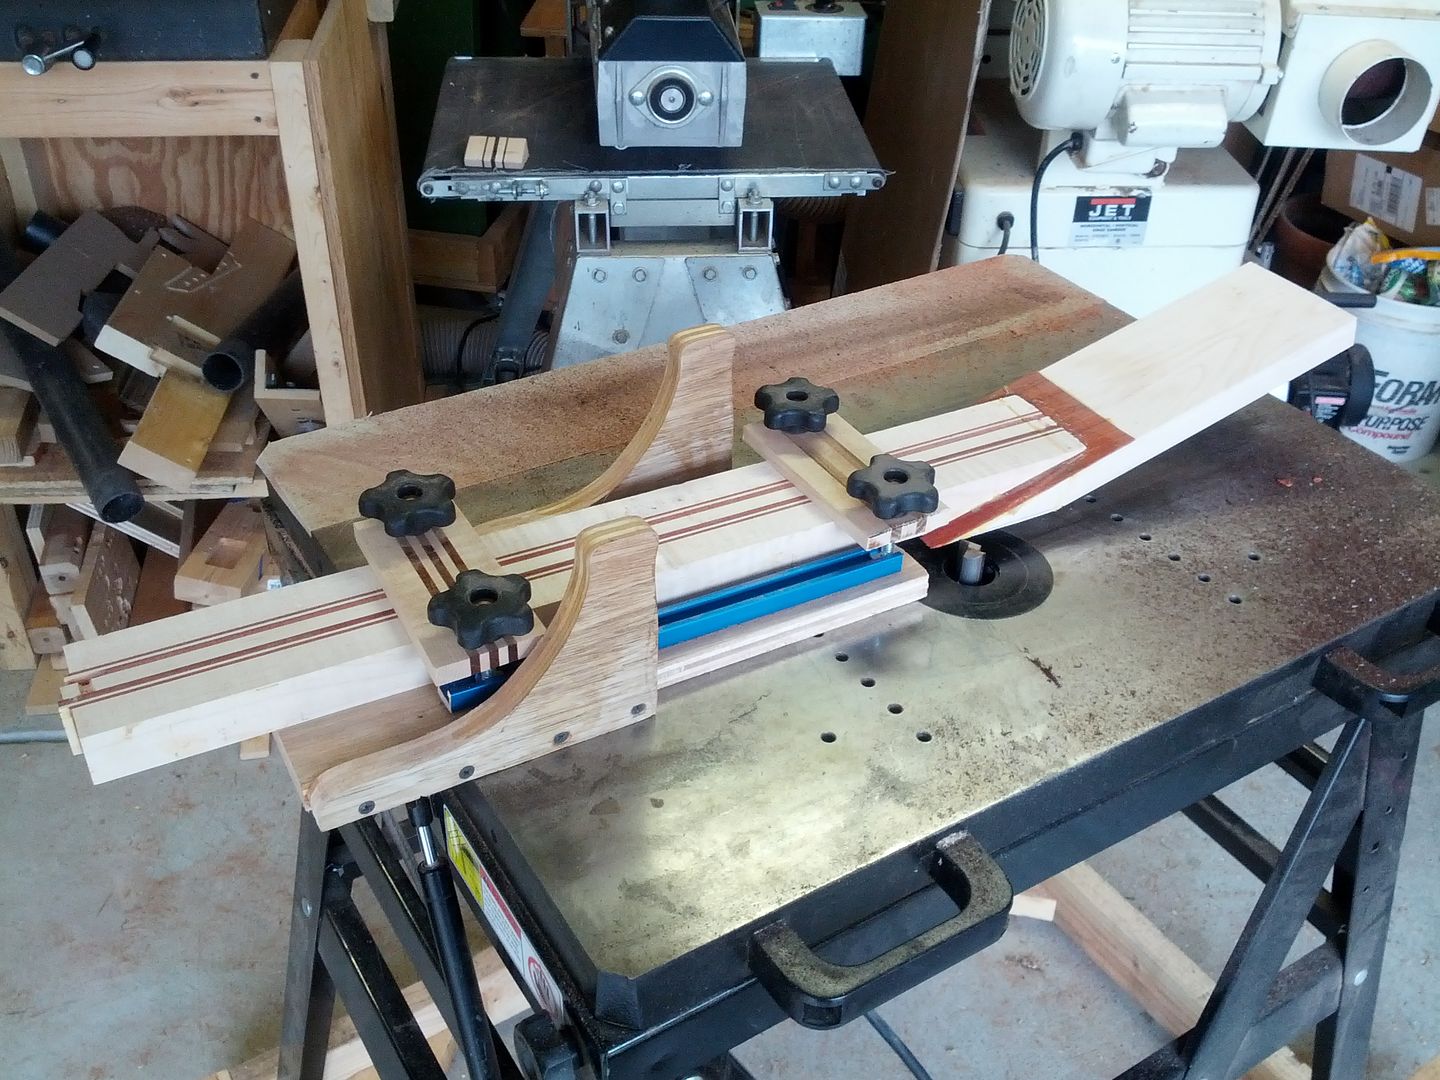
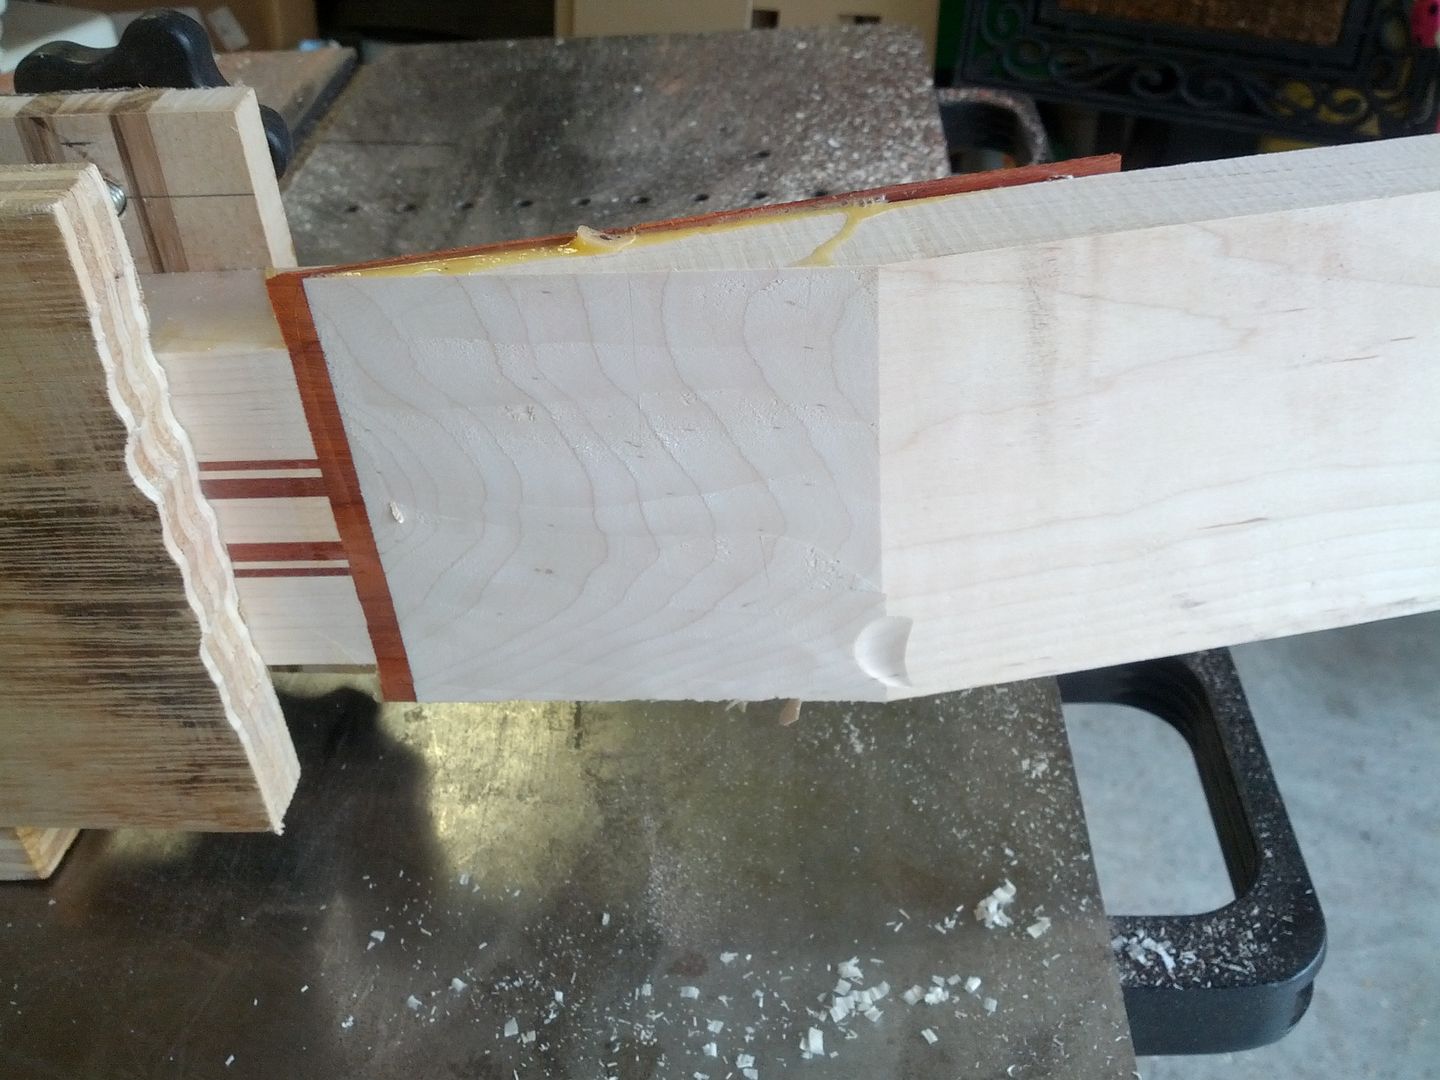
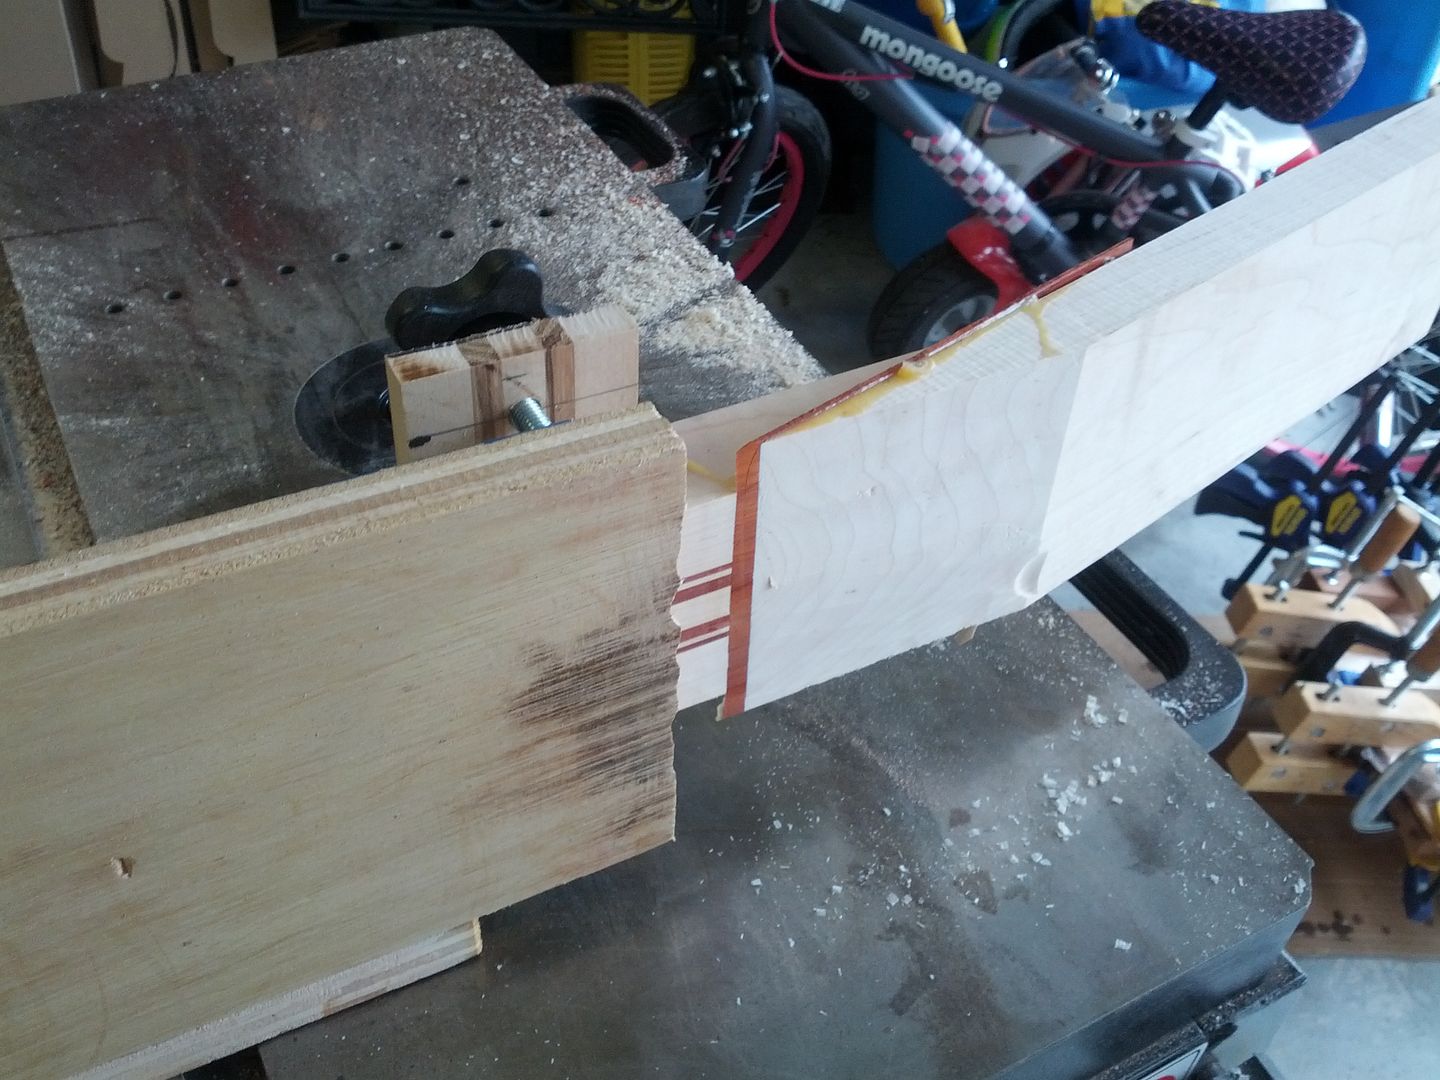
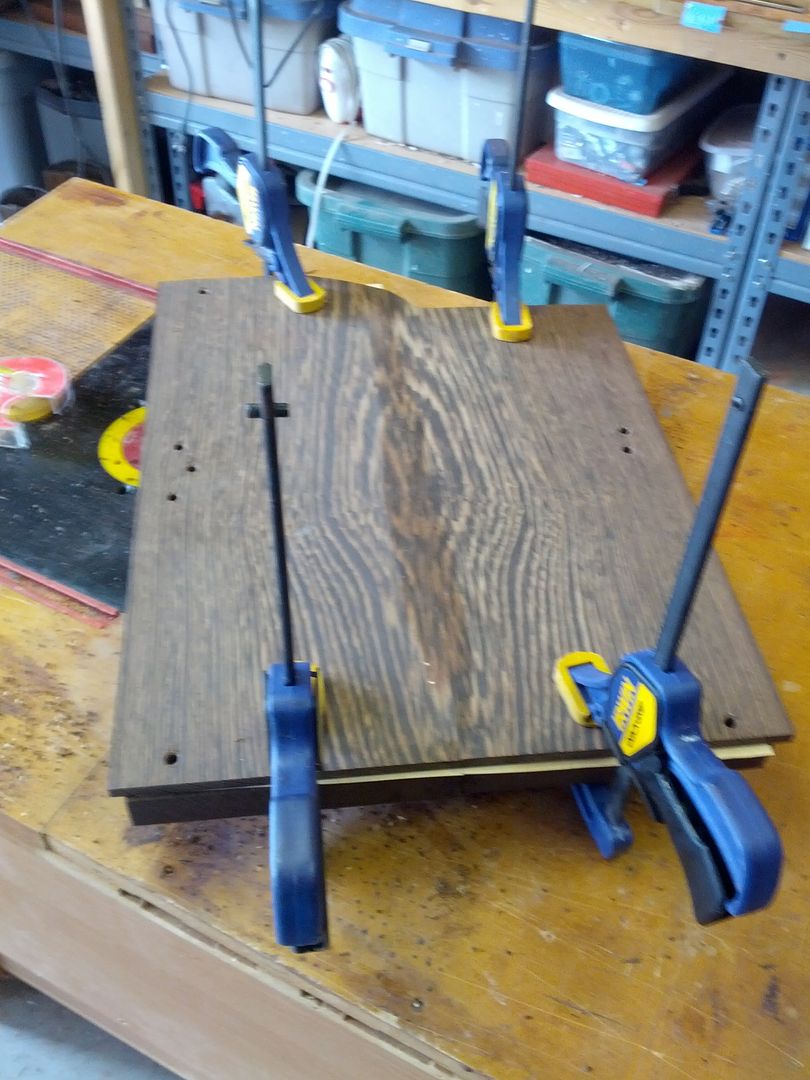
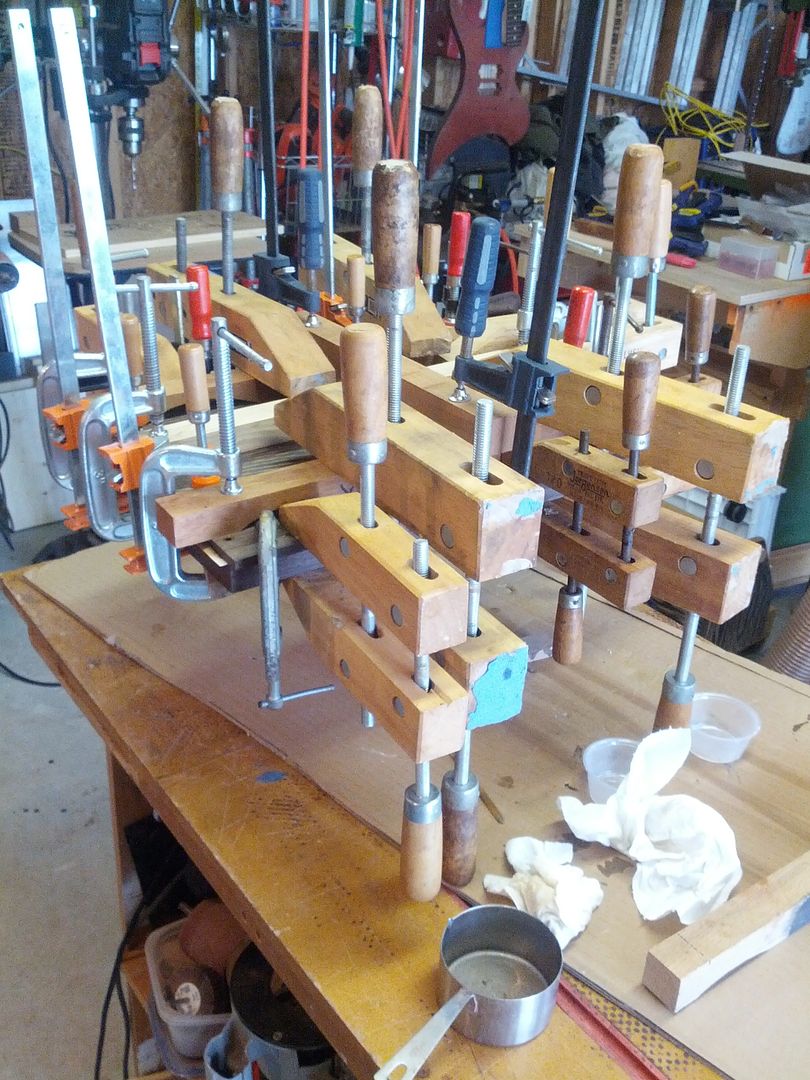
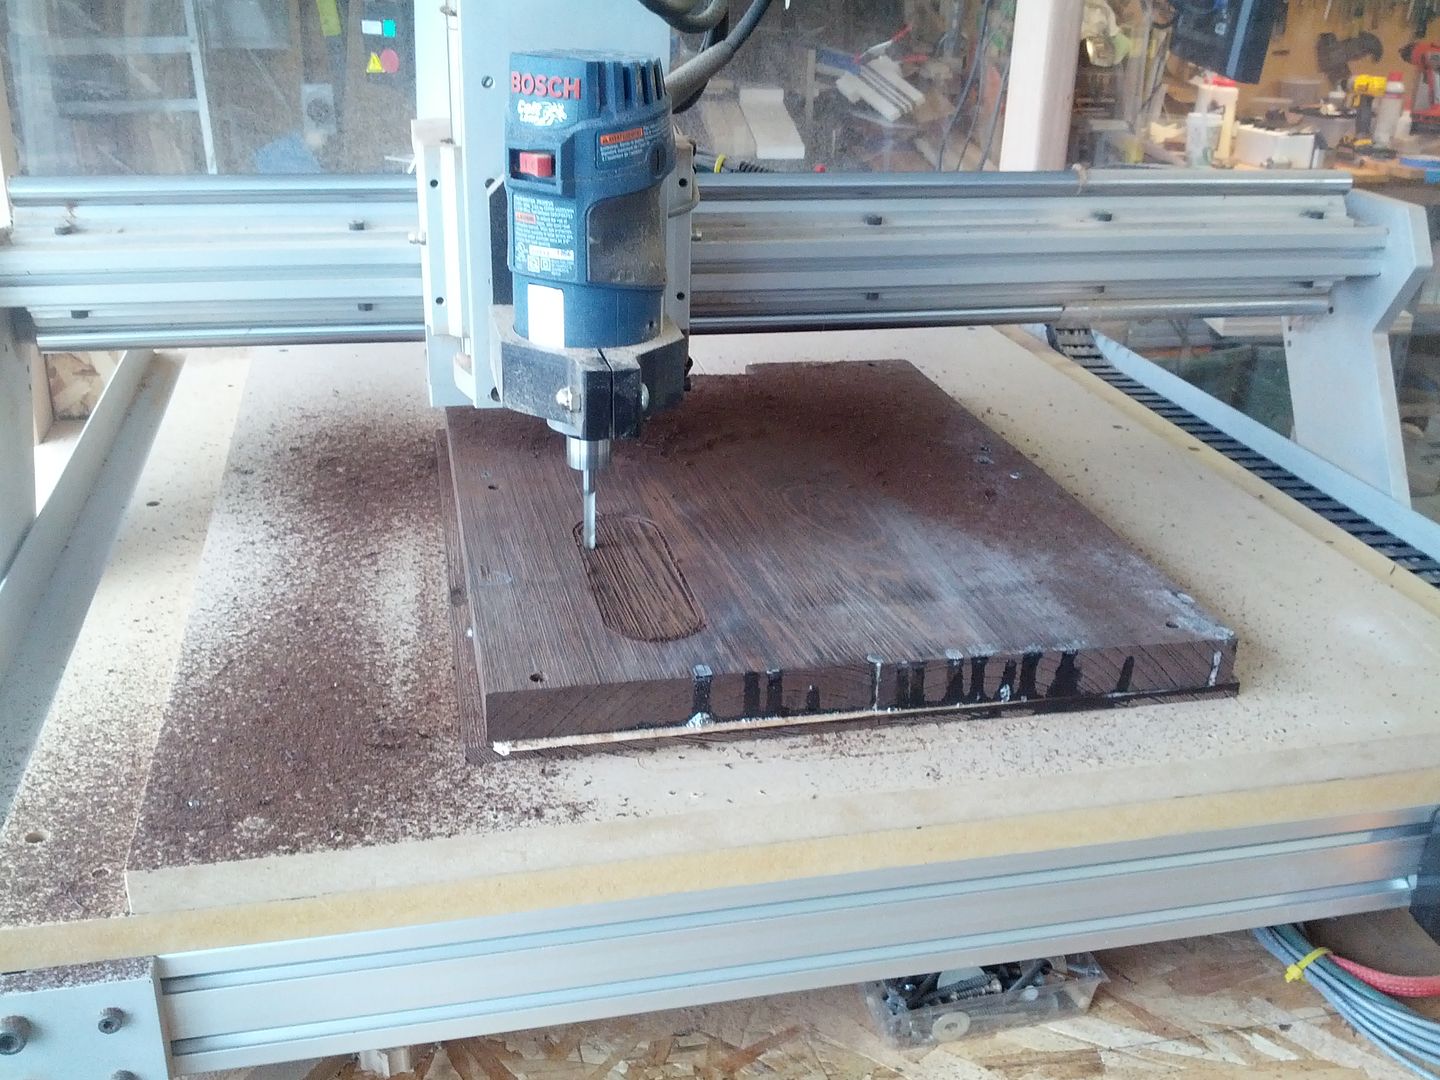
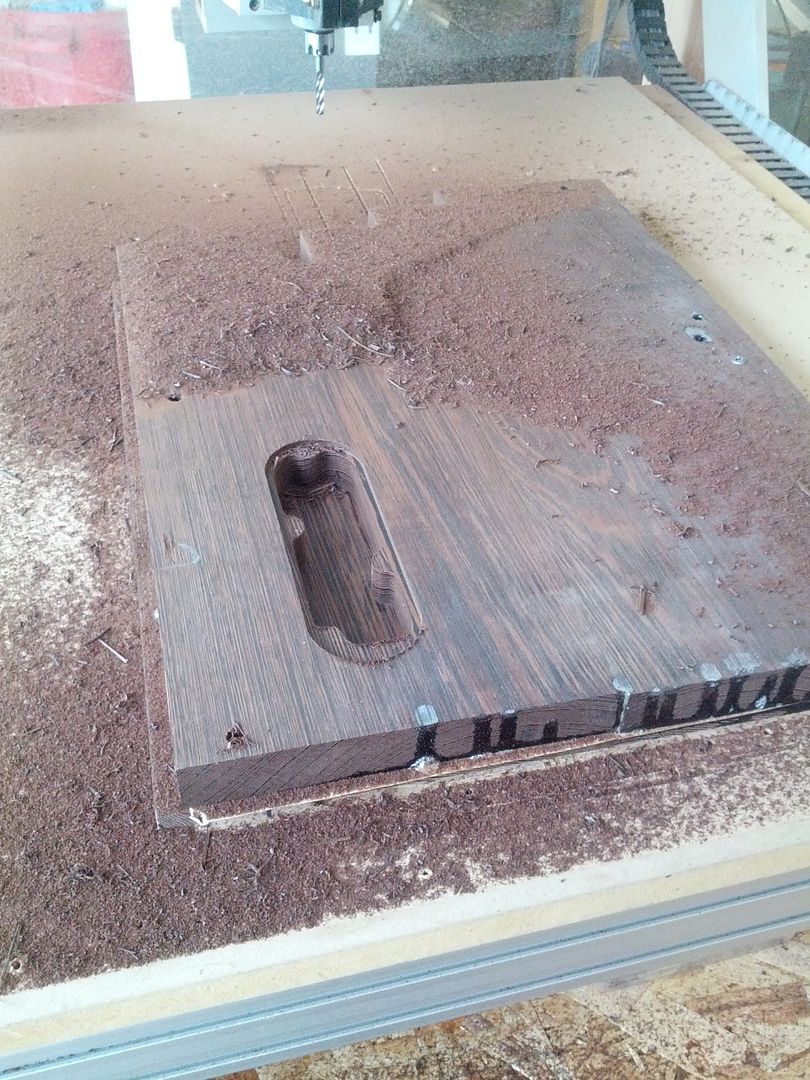
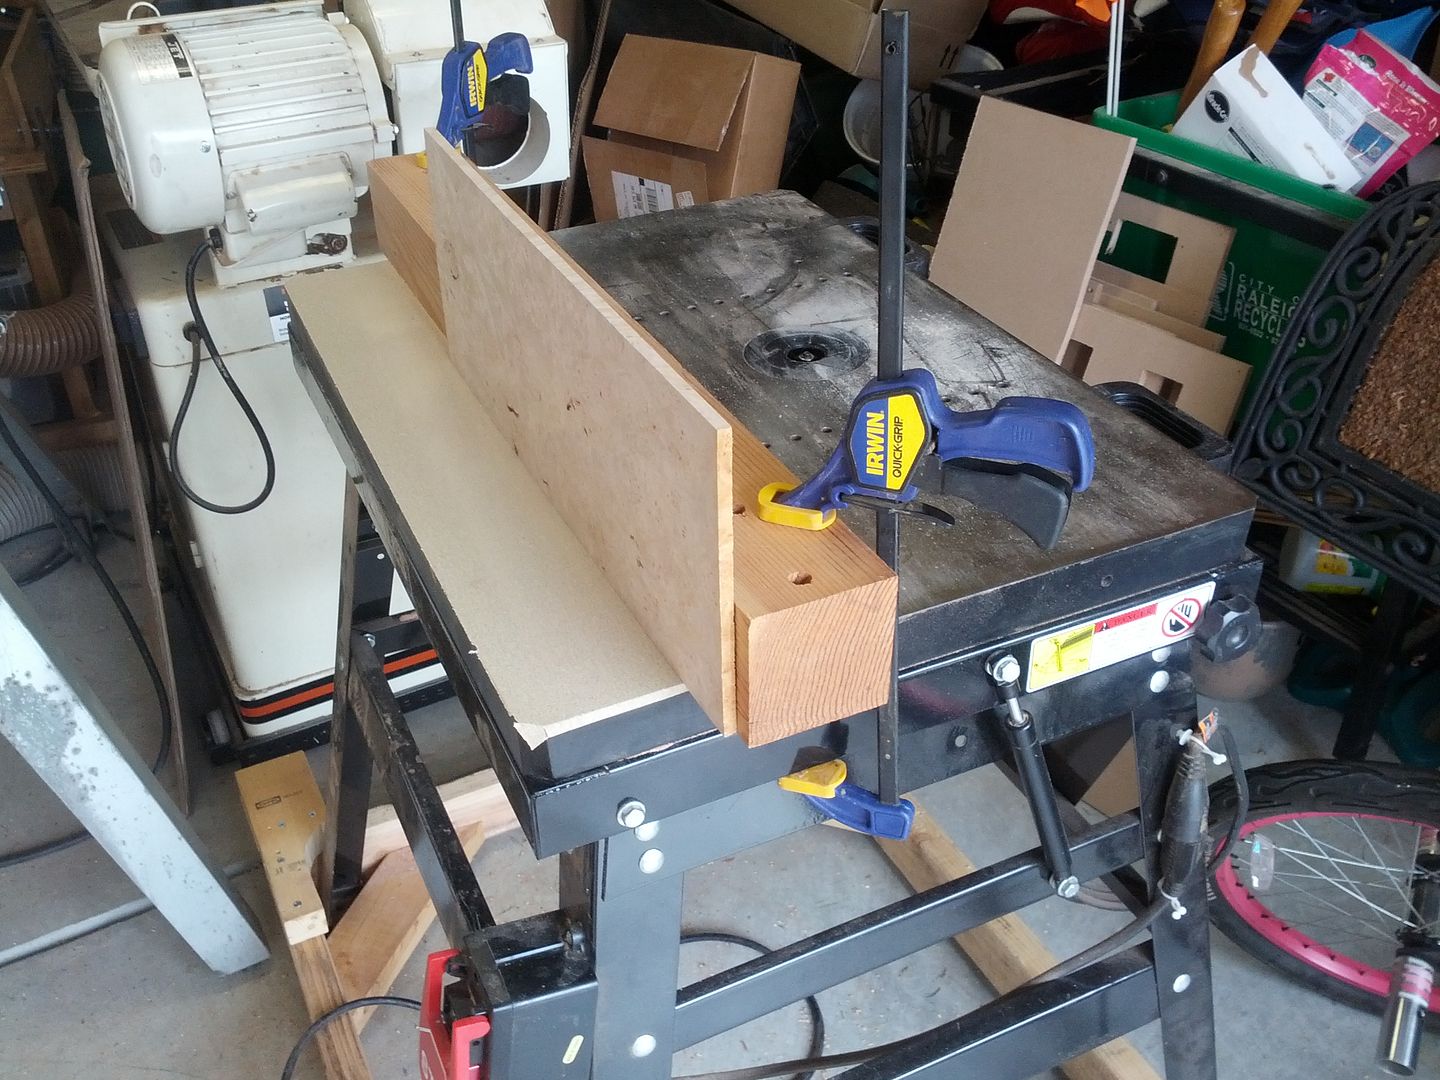
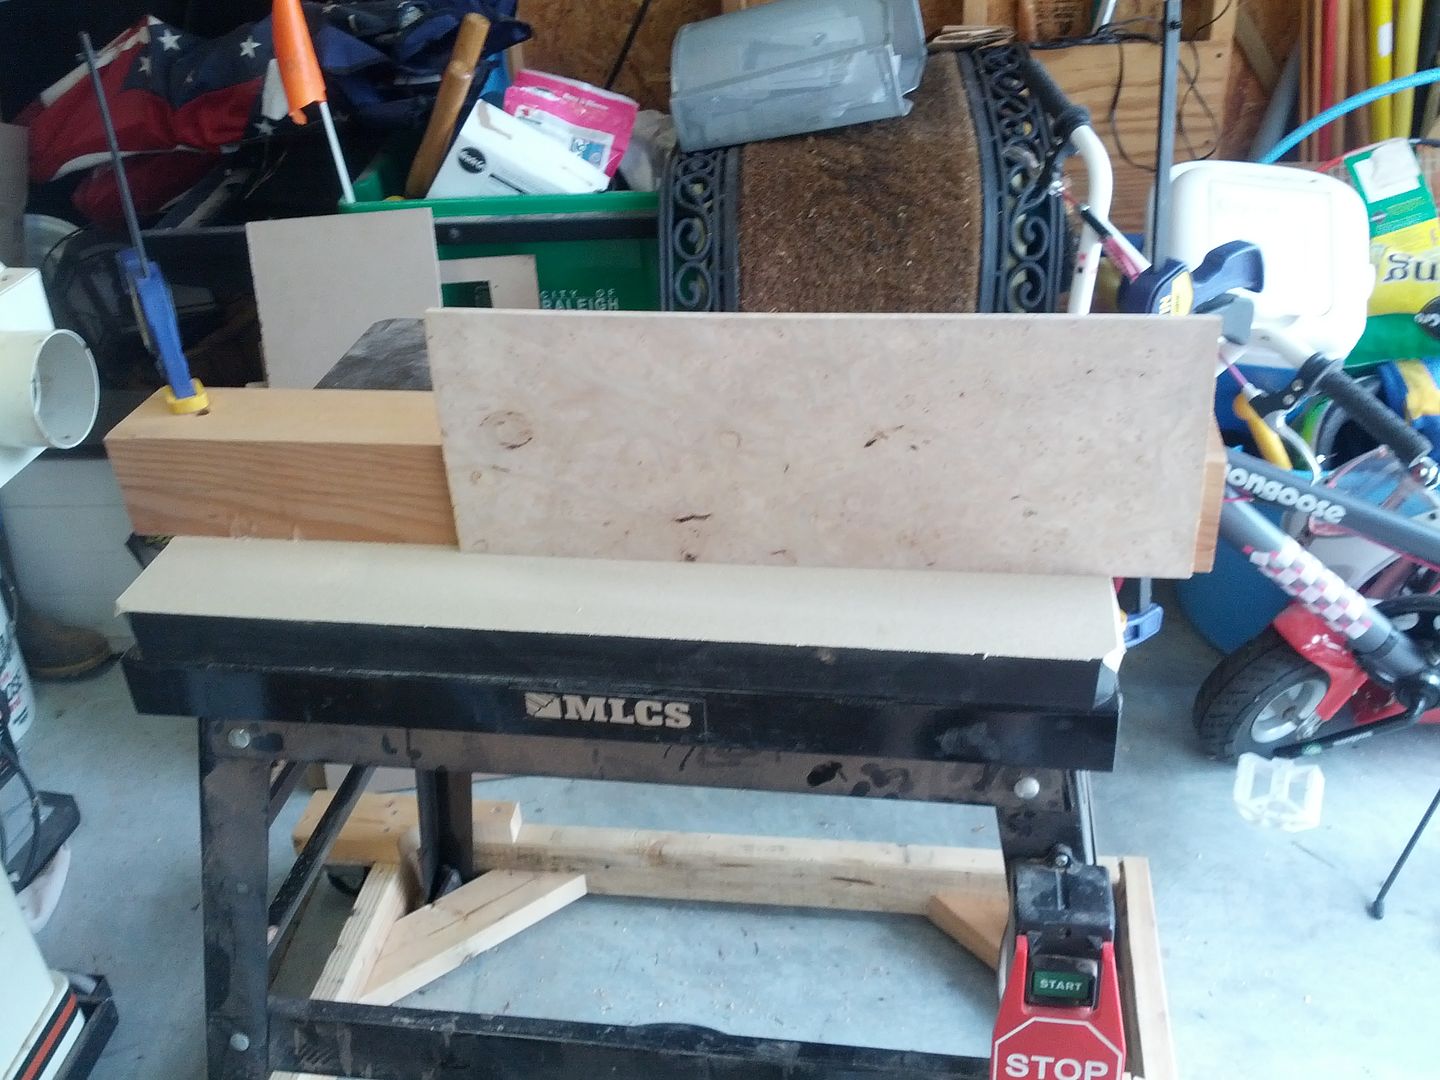
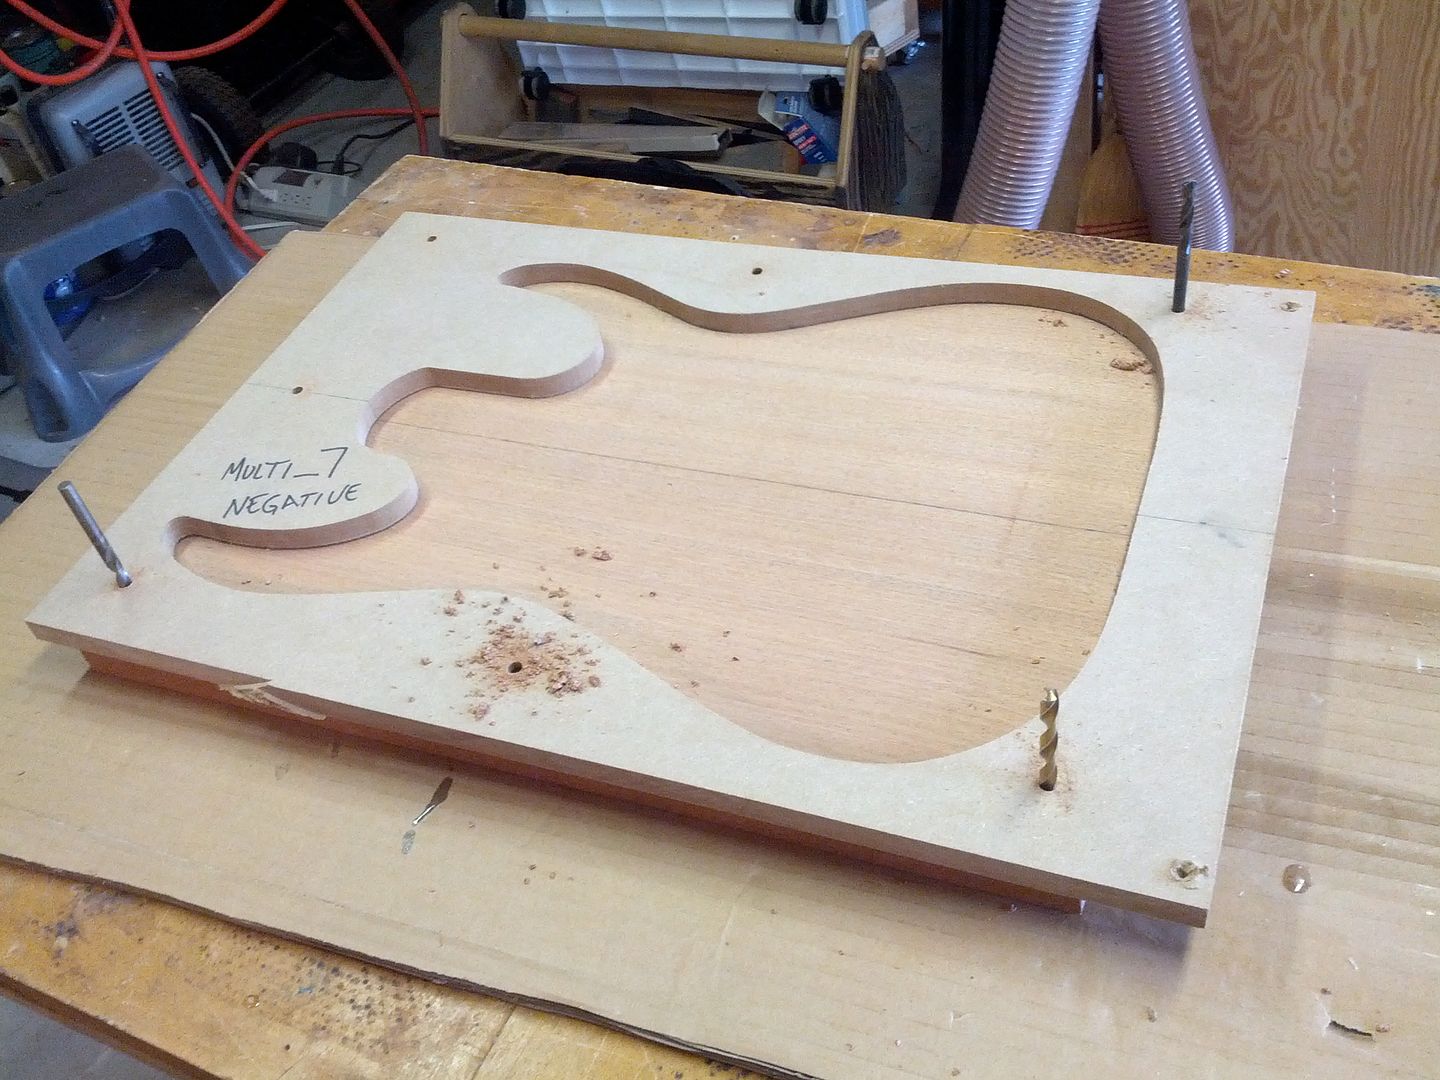
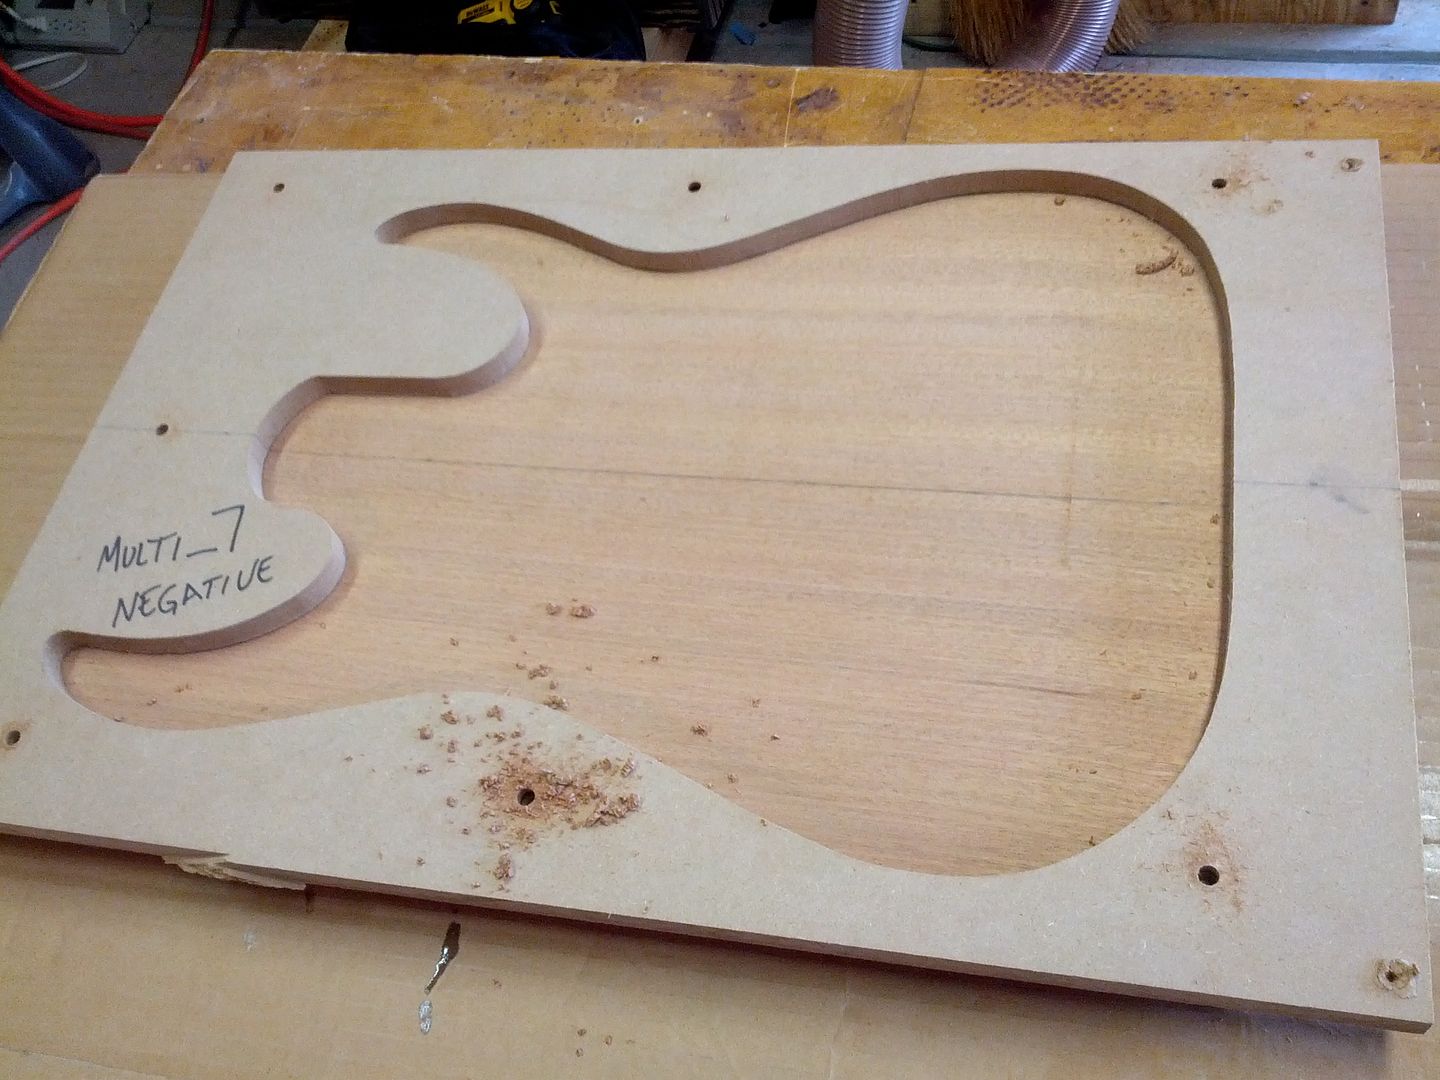
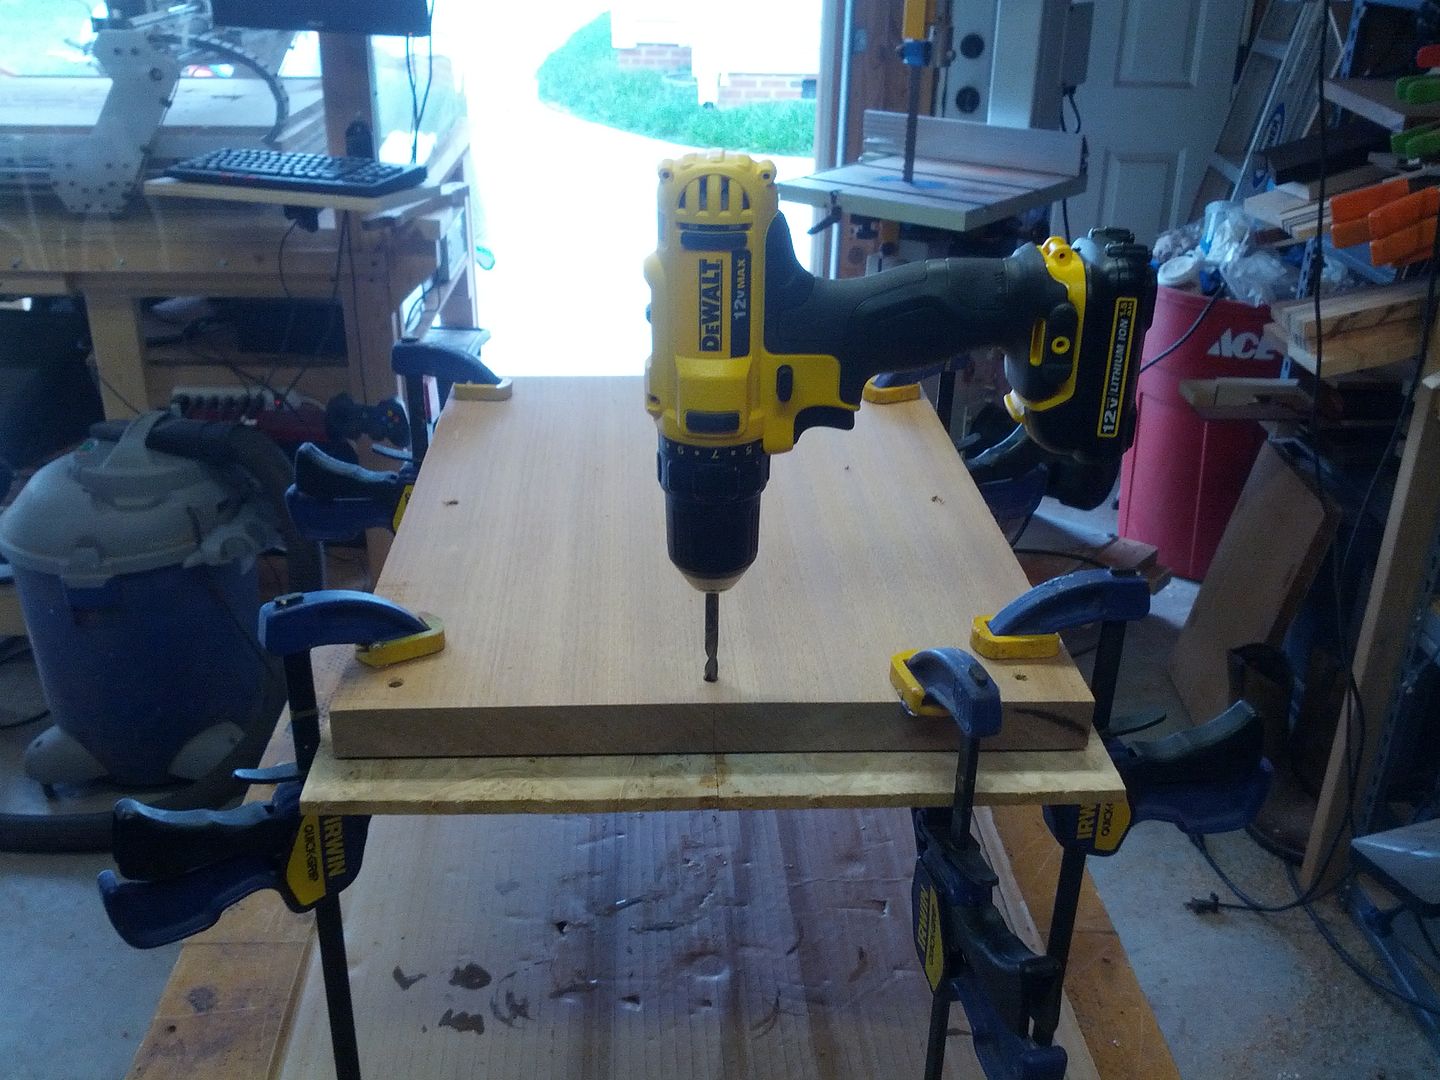
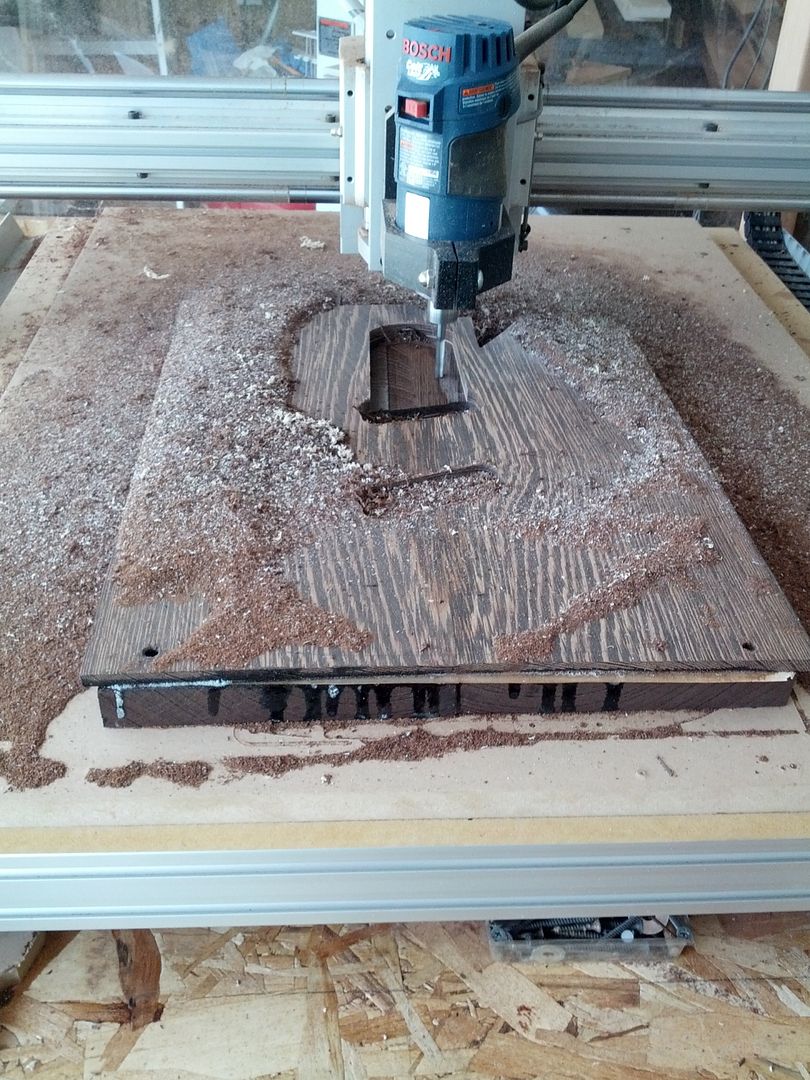
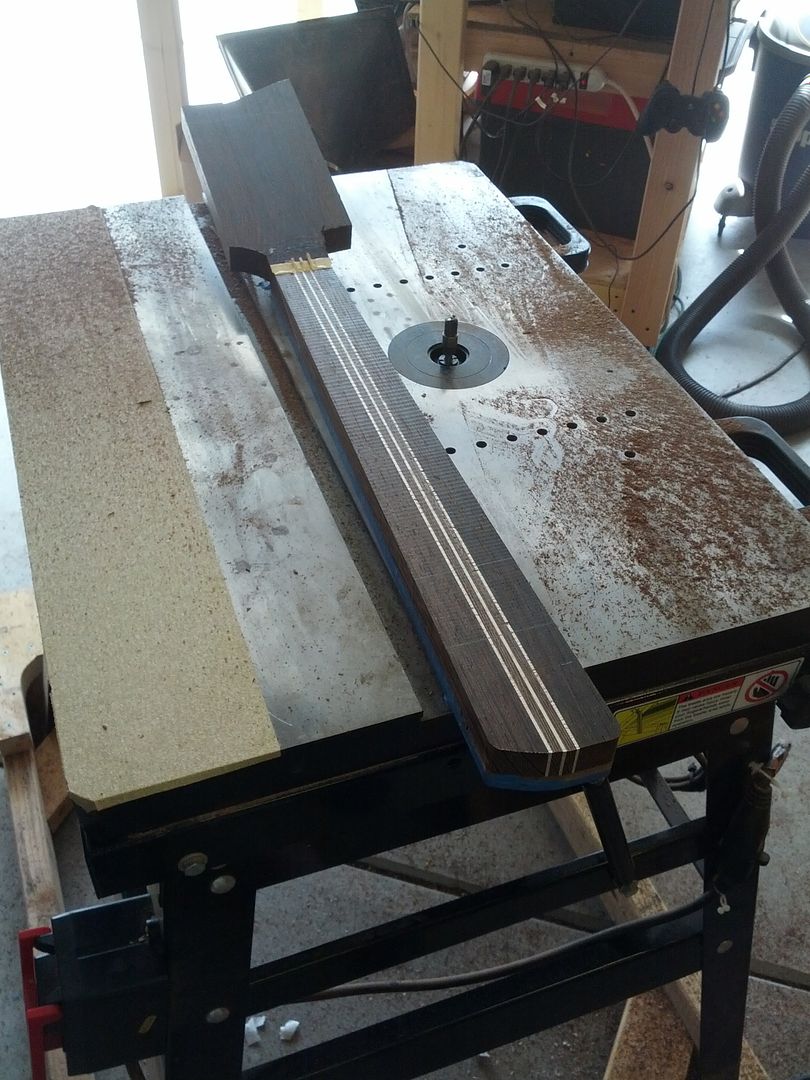
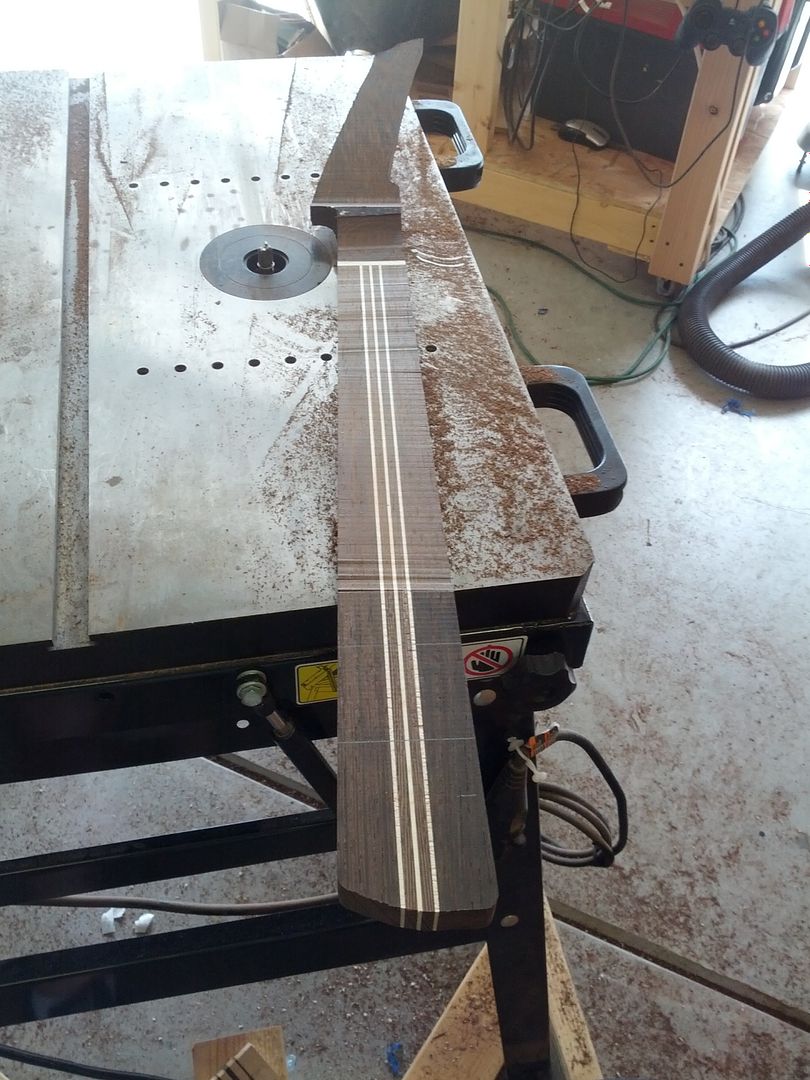
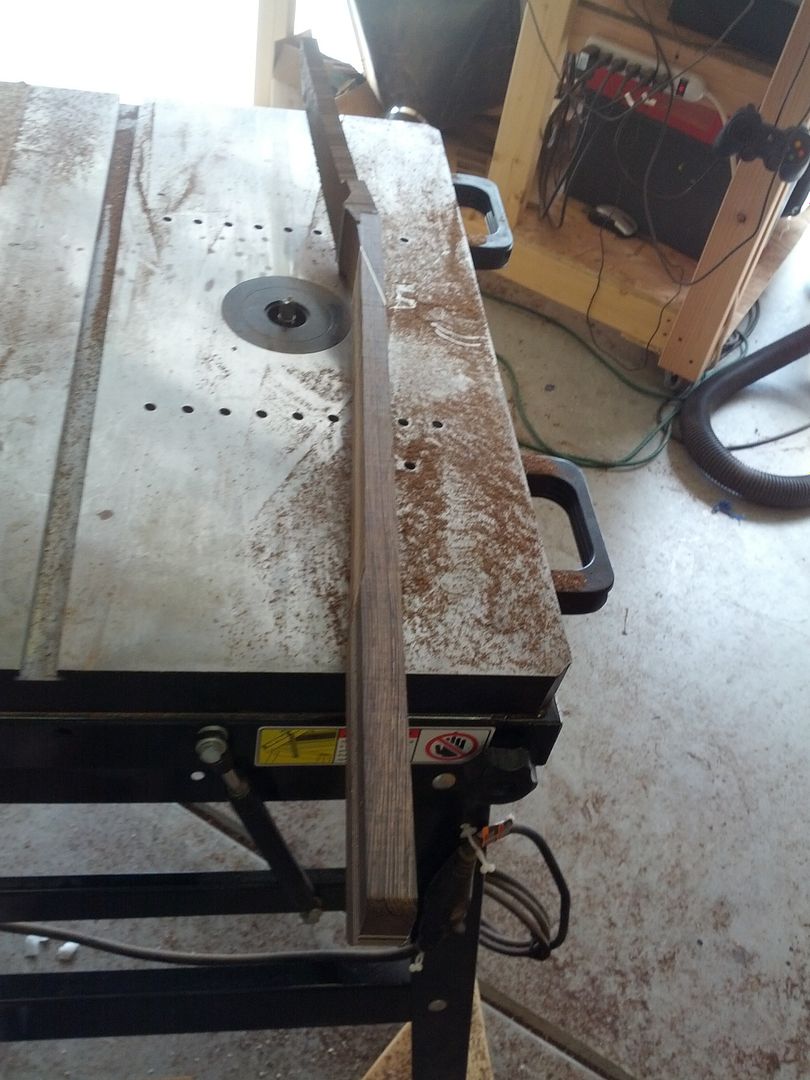
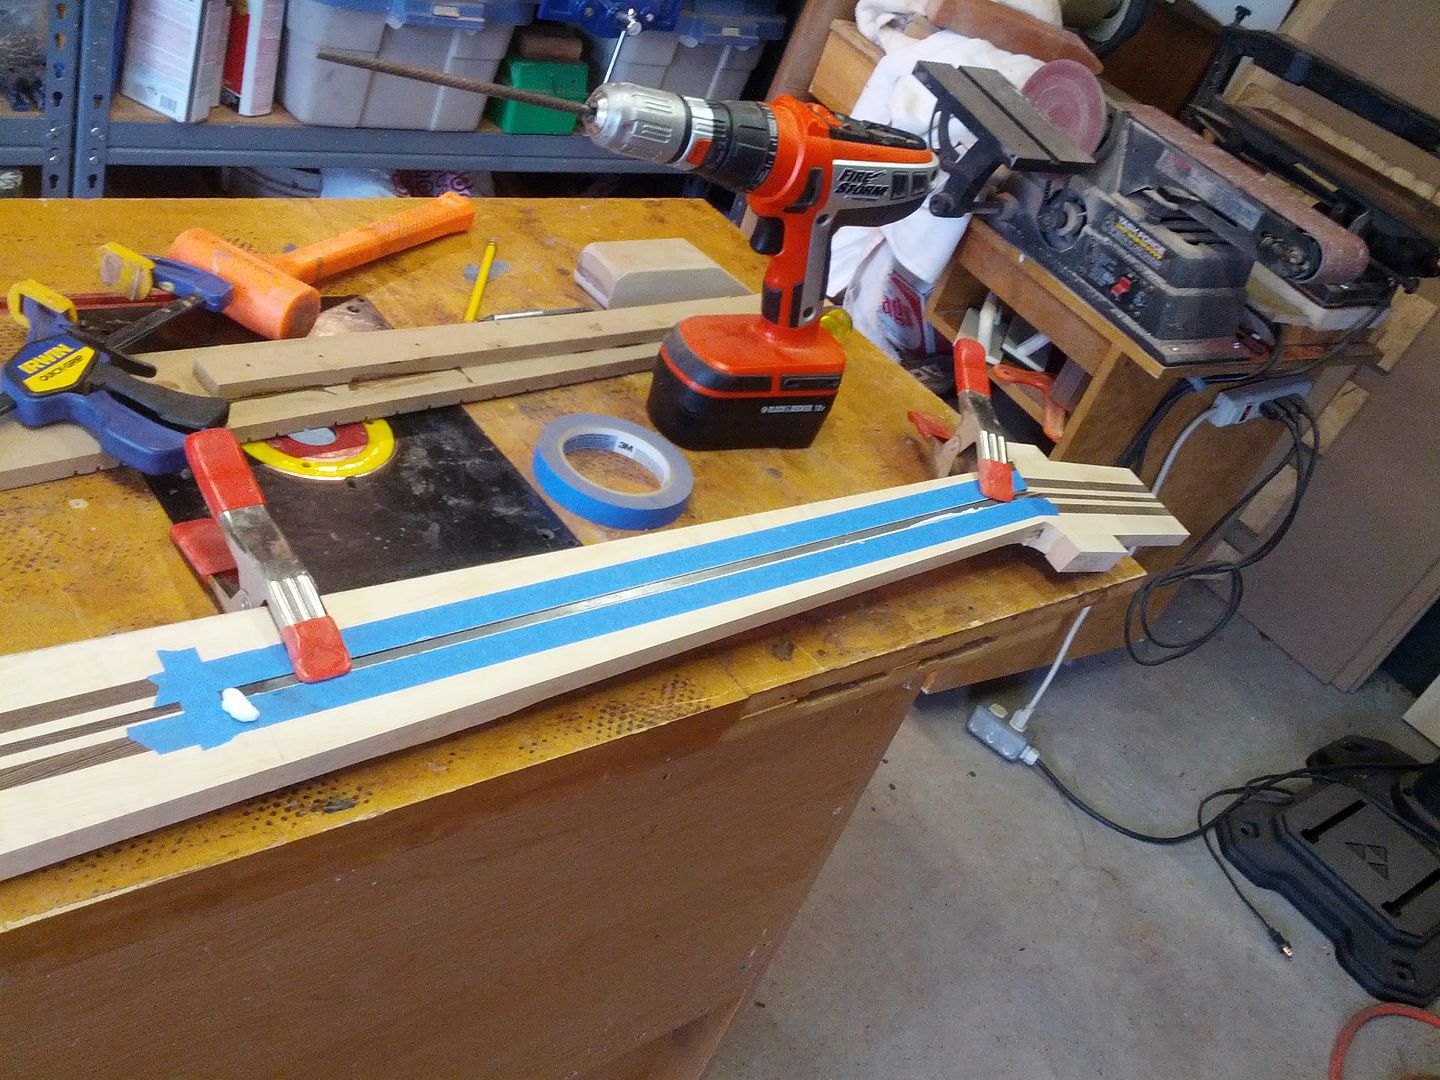

Trussrod set.


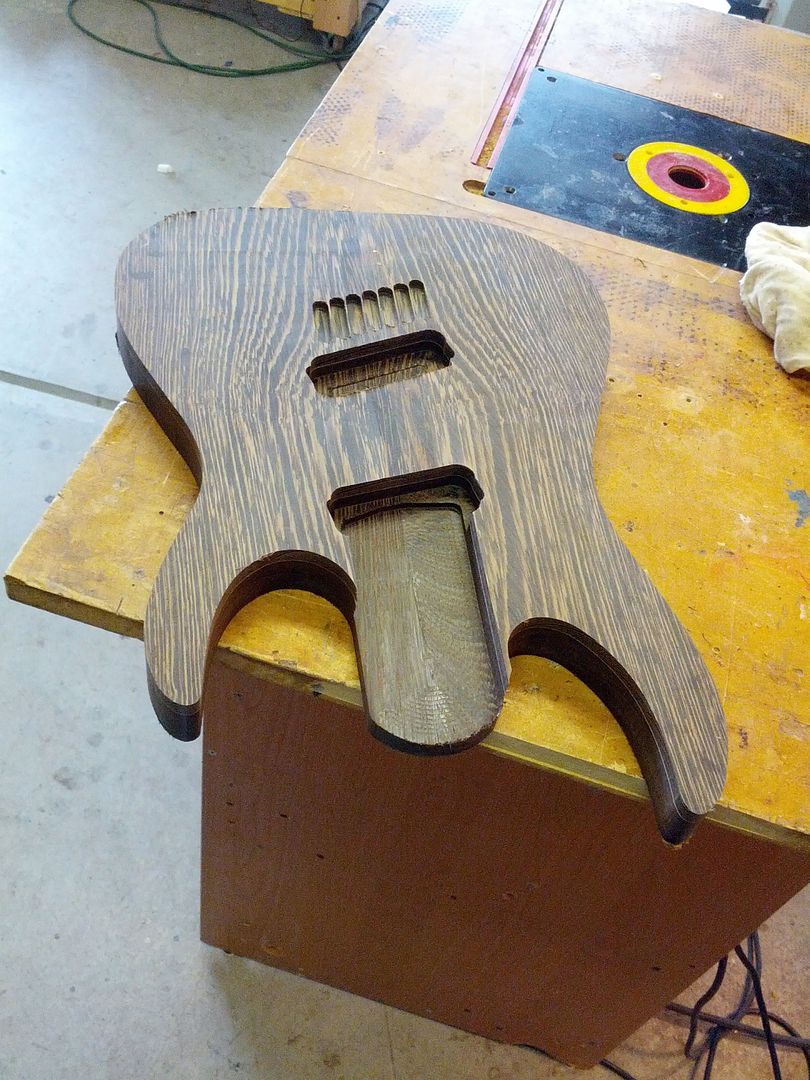
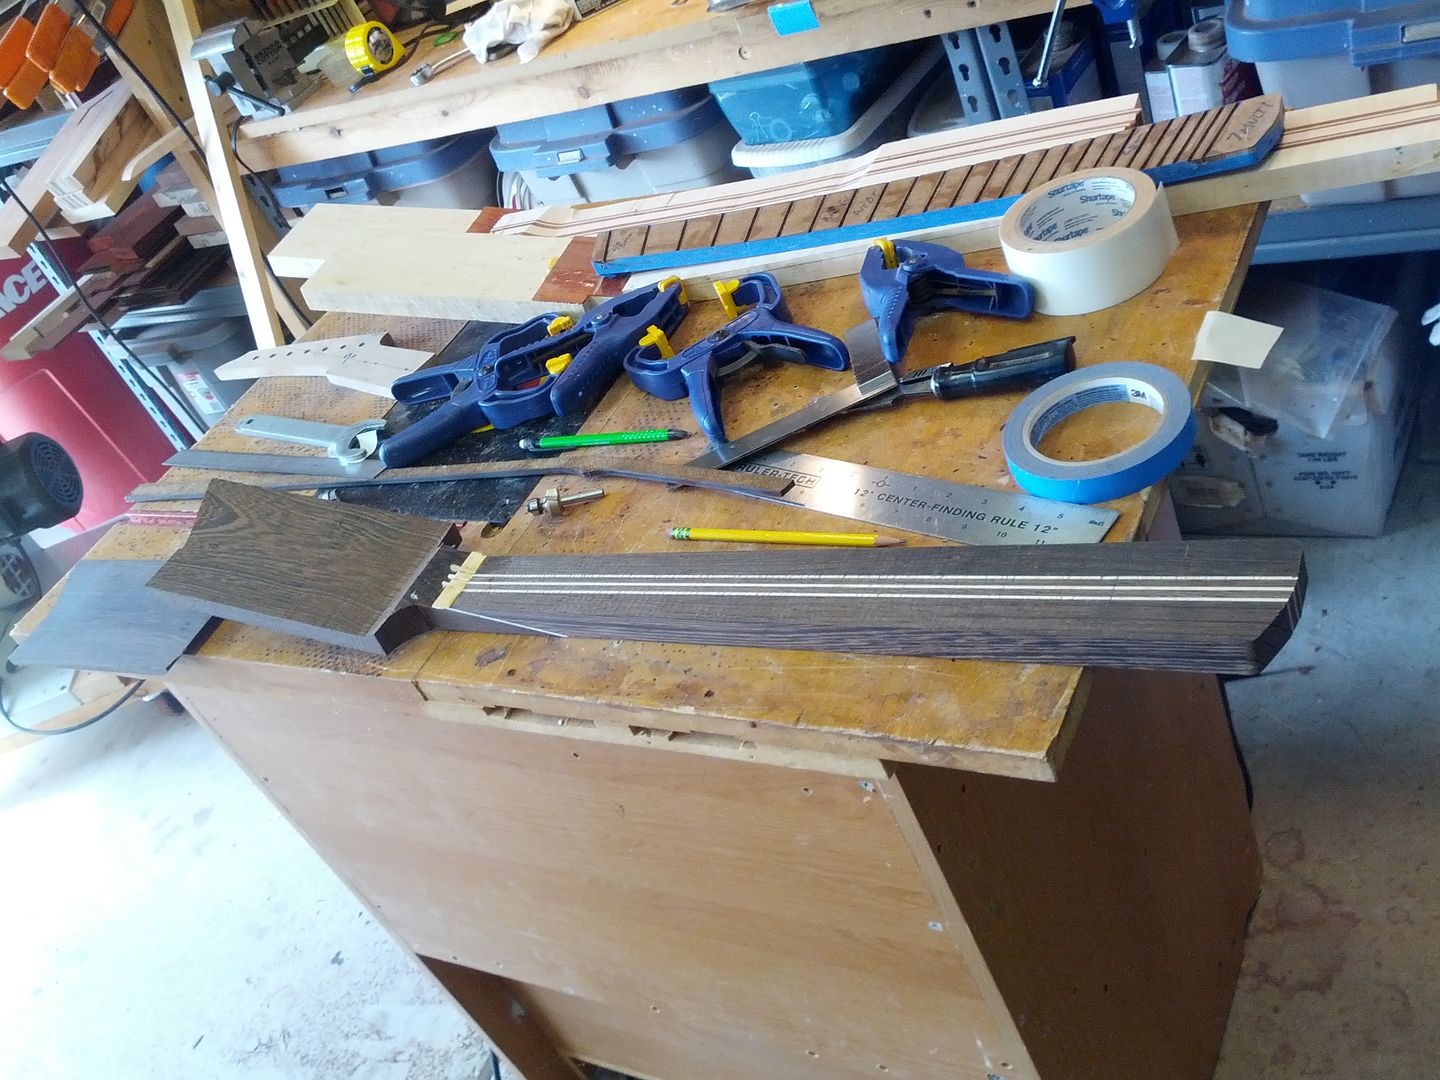
I am waiting on parts from Hipshot now.
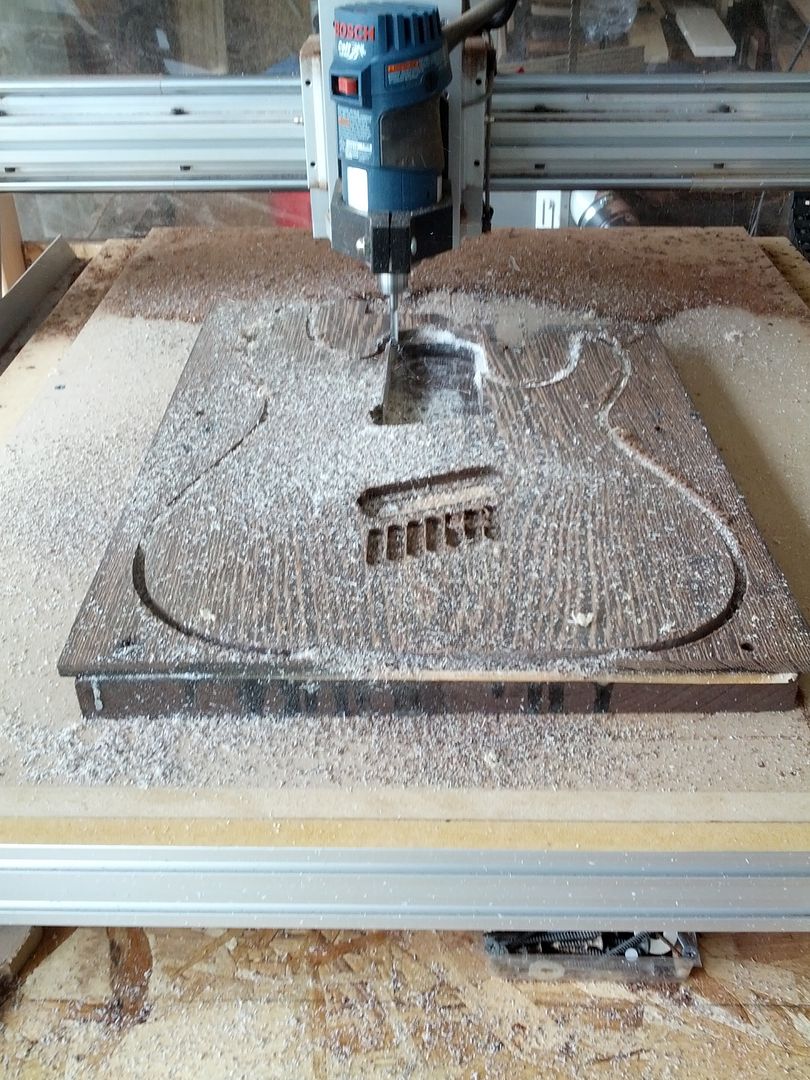
 

This site may earn a commission from merchant links like Ebay, Amazon, and others.

RestorationAD

Well-Known Member
Joined
Jul 1, 2010
Messages
1,762
Reaction score
111
Location
RTP, NC
On to the S9 builds.
Neck blank waiting to be cleaned up.


I use a jig to clean up the left over scarf material.


RestorationAD

Well-Known Member
Joined
Jul 1, 2010
Messages
1,762
Reaction score
111
Location
RTP, NC
The sled keeps the neck square while I use the router to plain off the excess.


RestorationAD

Well-Known Member
Joined
Jul 1, 2010
Messages
1,762
Reaction score
111
Location
RTP, NC
You have to be careful with the sled as it is easy to tilt the neck into the bit. Luckily this one is outside the neck.


RestorationAD

Well-Known Member
Joined
Jul 1, 2010
Messages
1,762
Reaction score
111
Location
RTP, NC
Clamp city


Checking the joint to make sure we got a good line.


Ready for the CNC
 

RestorationAD

Well-Known Member
Joined
Jul 1, 2010
Messages
1,762
Reaction score
111
Location
RTP, NC
Control cavity cut. Wenge is hard to machine. I had to slow the CNC down quite a bit to cut this.


RestorationAD

Well-Known Member
Joined
Jul 1, 2010
Messages
1,762
Reaction score
111
Location
RTP, NC
Using the fence on my router table to do the trussrod slots. I attach a scrap to the side of the neck to clear the headstock.


It takes multiple passes to get a clean slot. I set the height of the bit using a trussrod as a guide.


Trussrod slots ready.
 

RestorationAD

Well-Known Member
Joined
Jul 1, 2010
Messages
1,762
Reaction score
111
Location
RTP, NC
Prepping the blank. I am using epoxy on this one to help fill the voids in the burl and to avoid excess water in the blank.
Joining the top.
You can't use a jointer on figured tops. It will end bad. I picked this idea up from some acoustic builders. The 4x4 is squared on the jointer and I use it as a guide to true the edges of the tops and veneers.


When the joint is right you can make the seem disappear by holding the pieces together with your hand.
 

RestorationAD

Well-Known Member
Joined
Jul 1, 2010
Messages
1,762
Reaction score
111
Location
RTP, NC
Now for the veneer


Bloodwood just makes a mess out of sandpaper


Bloodwood veneer gets glued together with thick CA and hit with accelerator. The epoxy will hold it in place I just need it to stay together long enough to clamp everything up.


RestorationAD

Well-Known Member
Joined
Jul 1, 2010
Messages
1,762
Reaction score
111
Location
RTP, NC
Carefully drilling the alignment pins. These are used on the CNC and also to align the top so it doesn't move when gluing.


RestorationAD

Well-Known Member
Joined
Jul 1, 2010
Messages
1,762
Reaction score
111
Location
RTP, NC
The S9, the S9, and the S6. All are bad.

Starting on the Wenge body. Cutting painfully slow.


RestorationAD

Well-Known Member
Joined
Jul 1, 2010
Messages
1,762
Reaction score
111
Location
RTP, NC
CNC is done. A few marks to clean up but a relatively uneventful cut out. One problem I have run into on harder materials is the tabs are too small and the work piece would come loose on the last pass. This spells disaster so I have increased the tab size significantly to prevent this.


Latest posts

Top
')