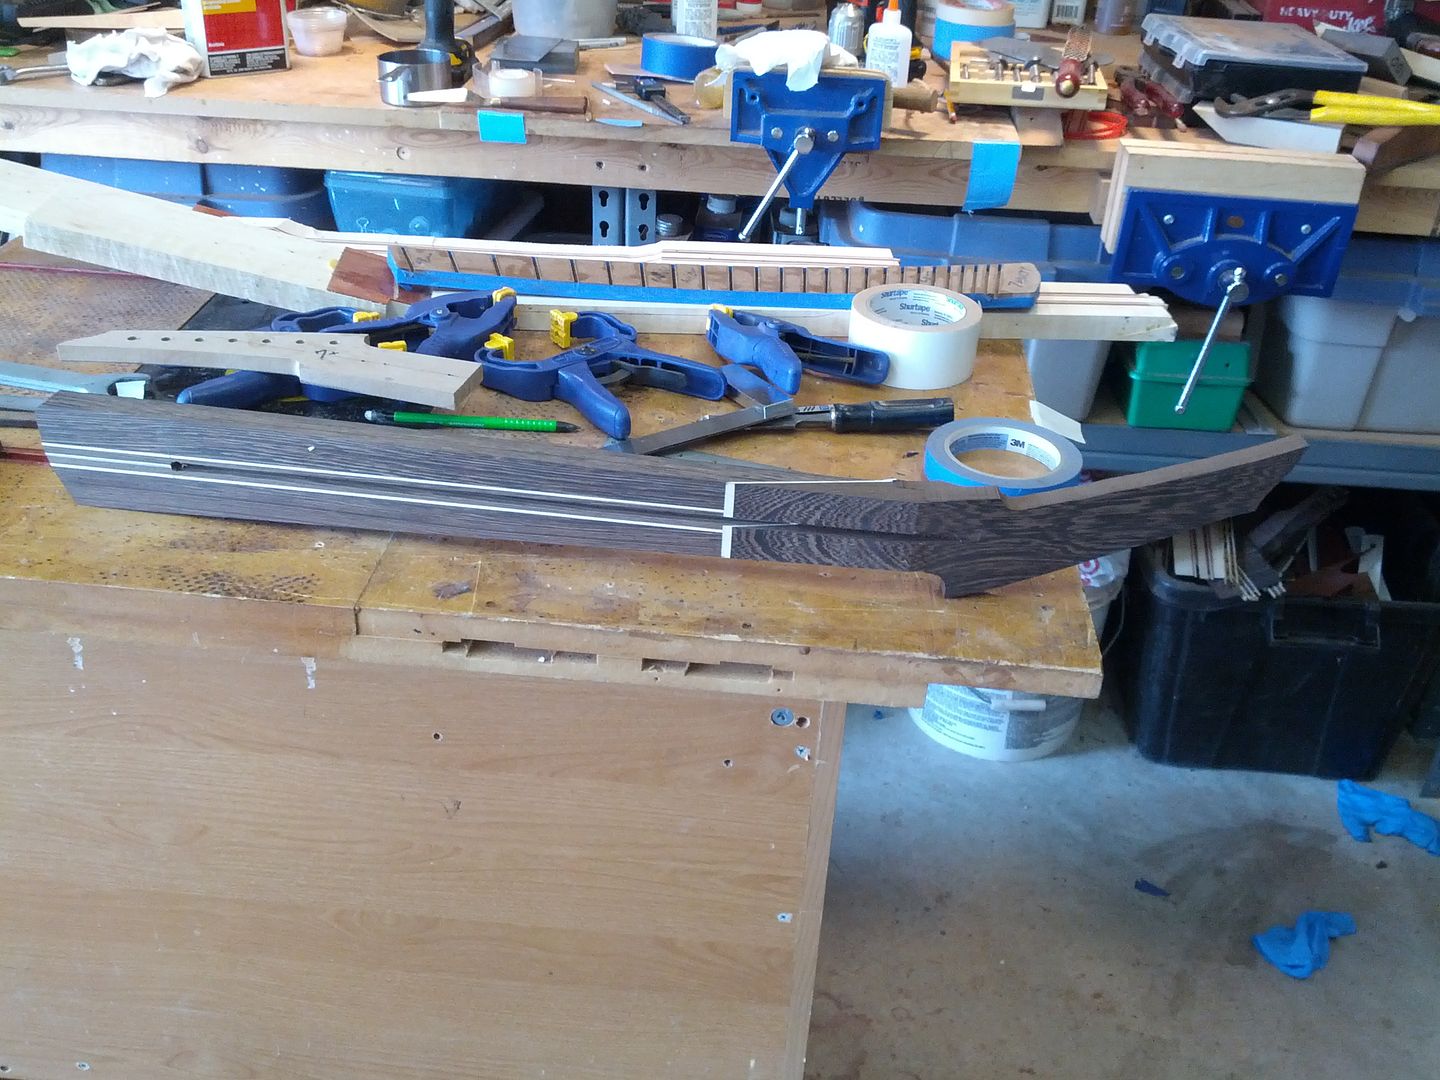
Tape before epoxy. Trust me on this. Unless you really enjoy cleaning hardened epoxy do this. Especially with oil finishes I do not want any epoxy filling up pores. I know what you are thinking "You haven't even carved that neck yet." If you don't believe me, well, then have fun.
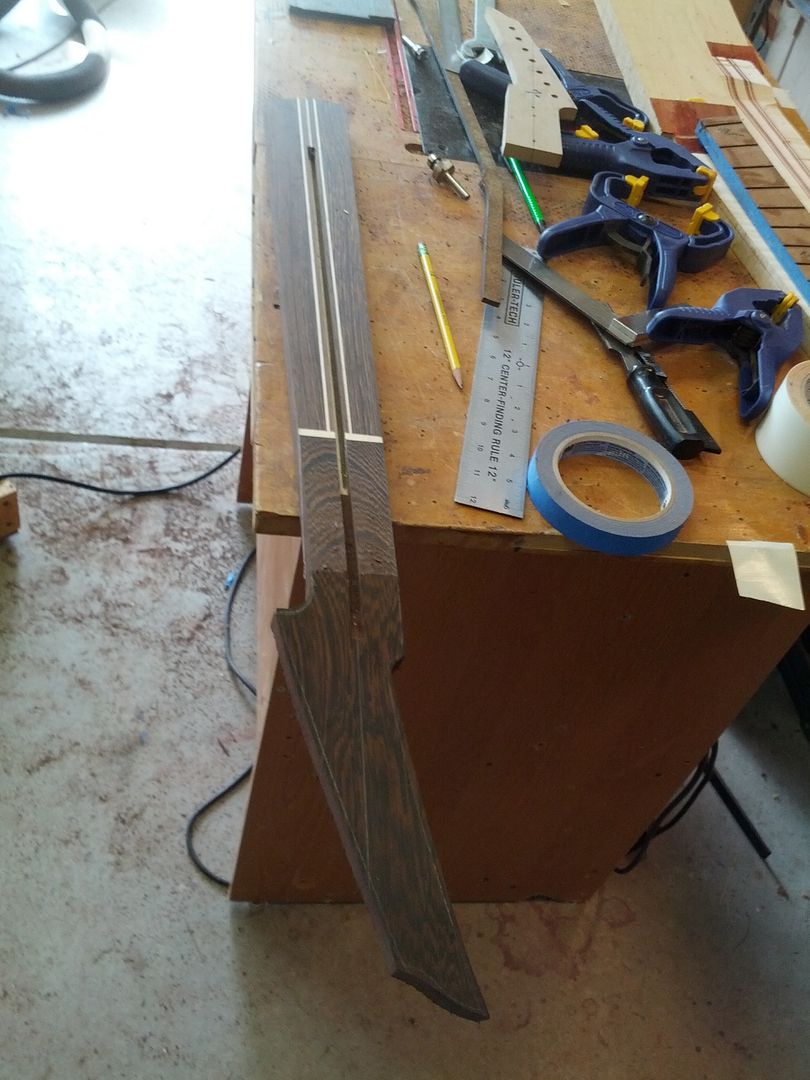
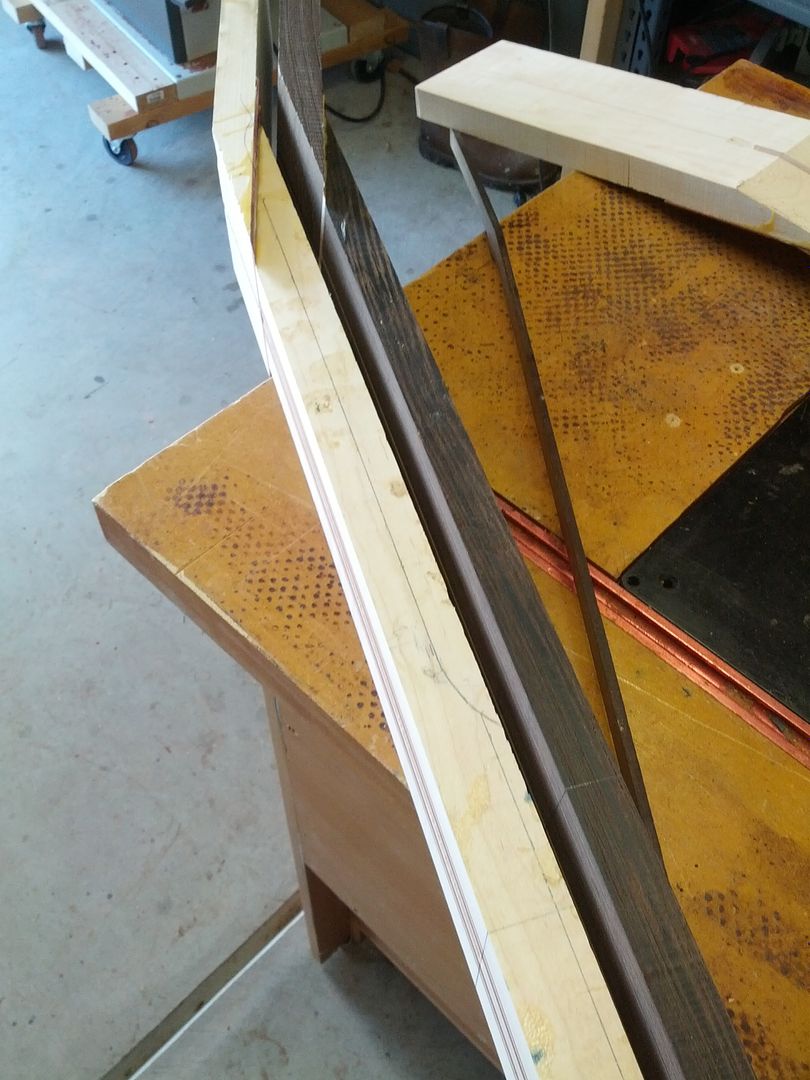
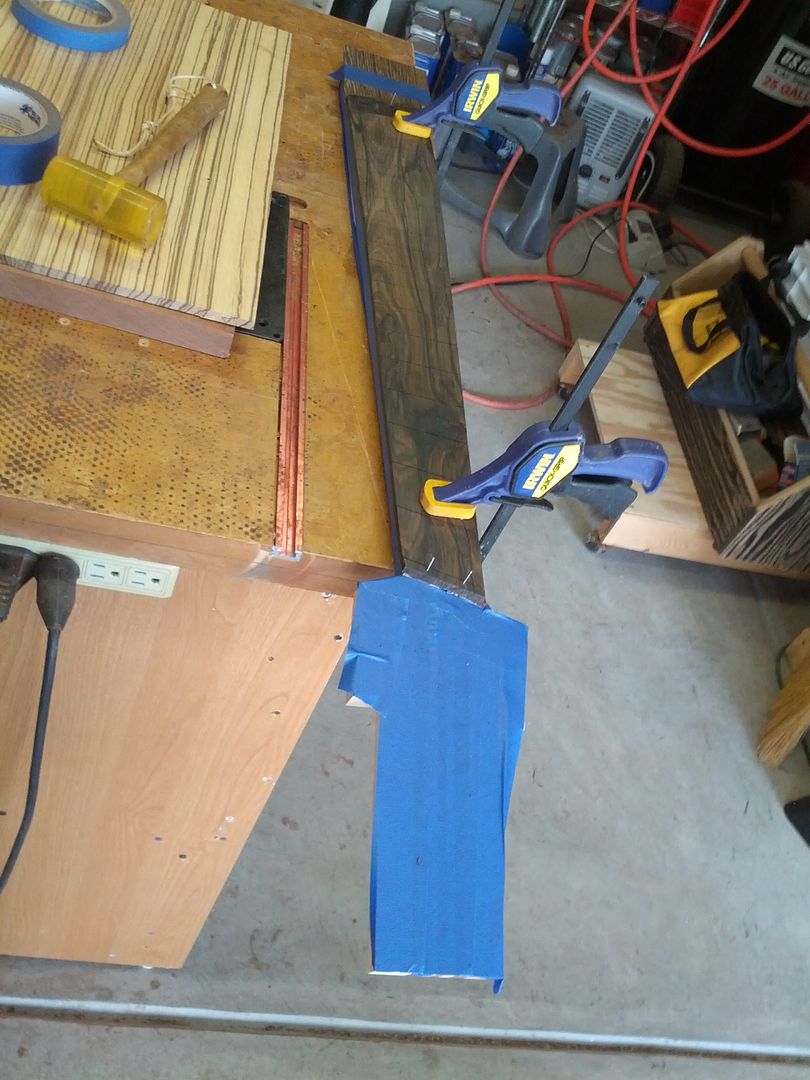
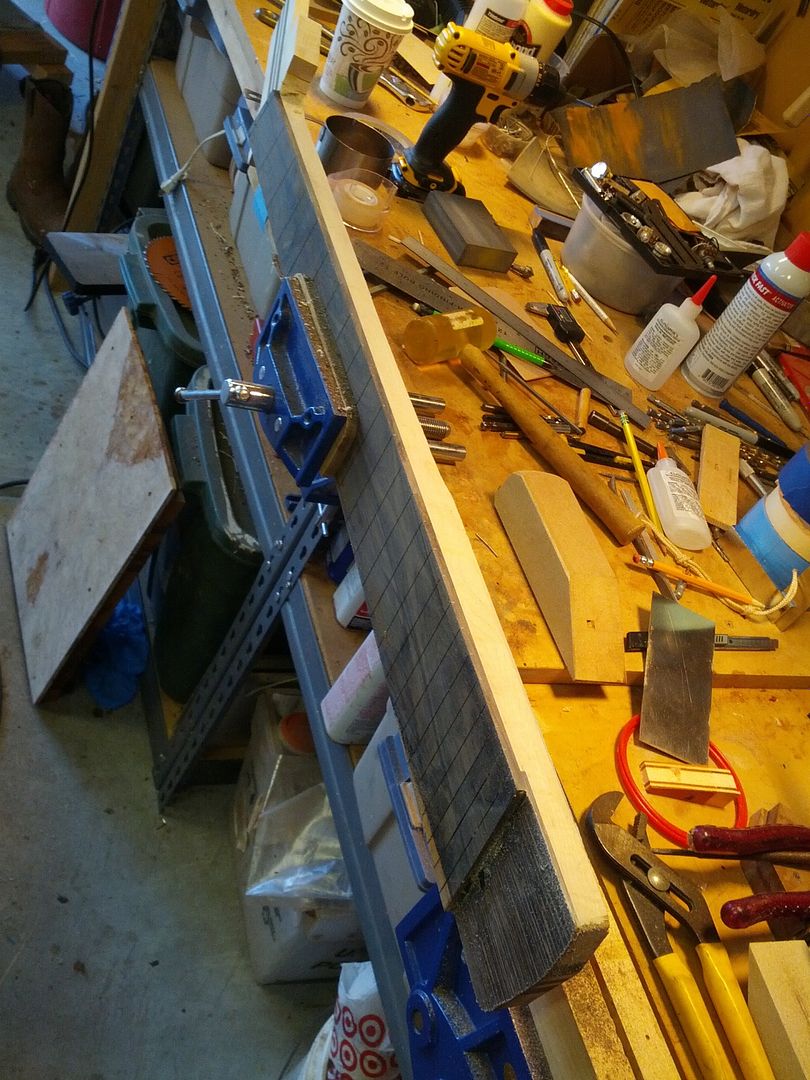
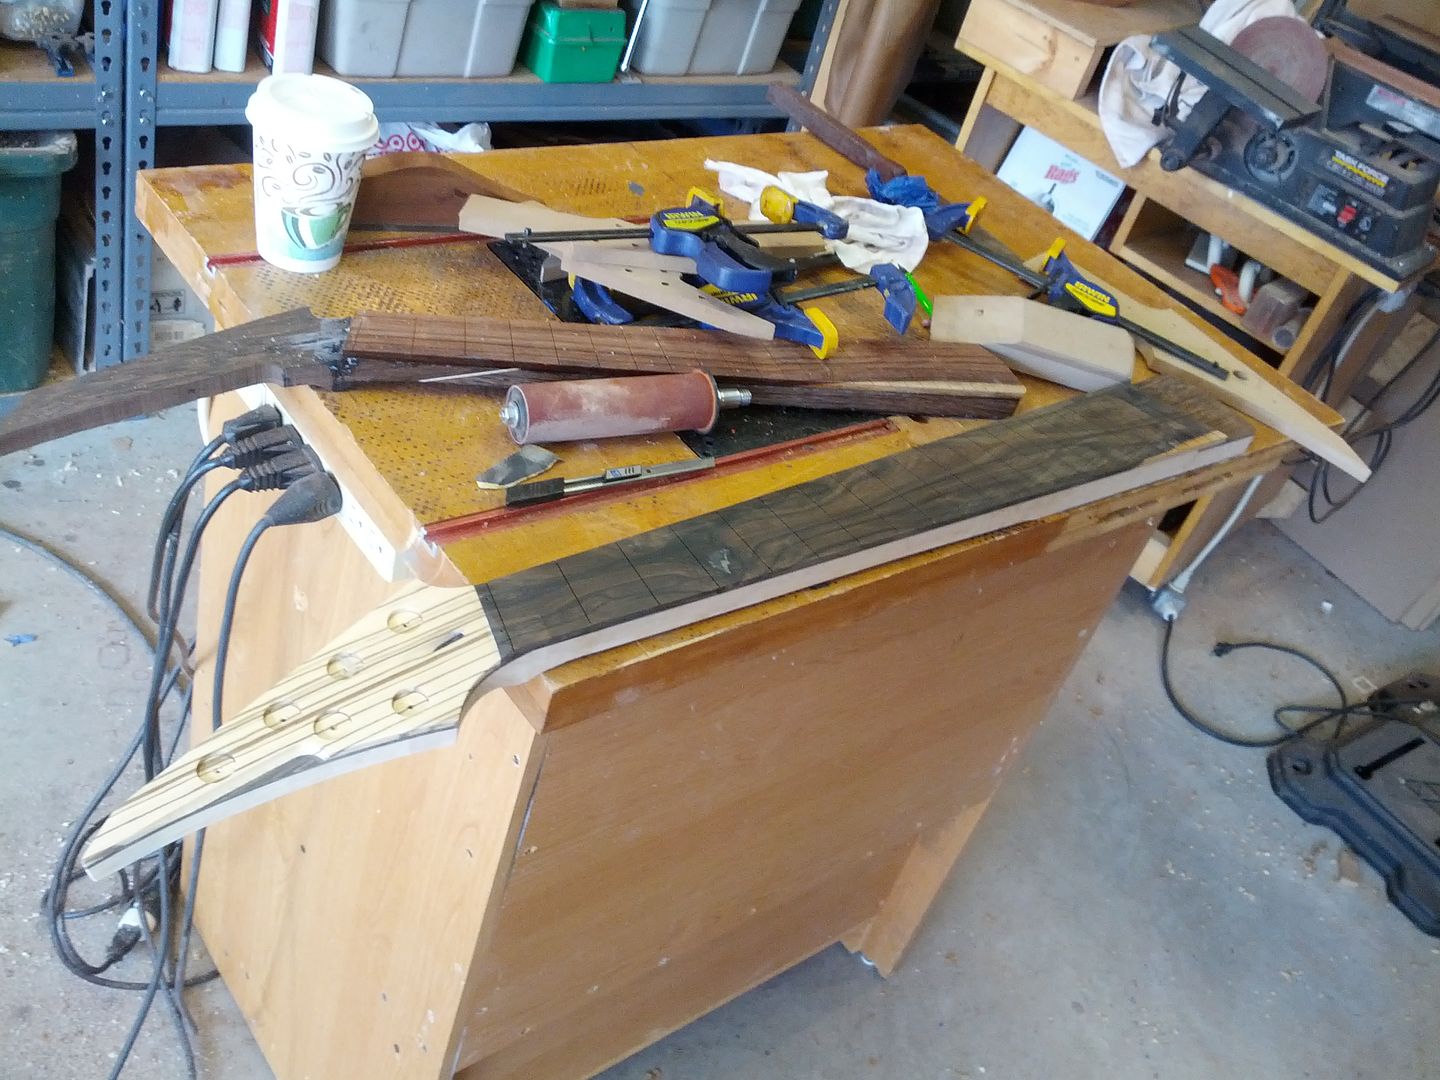
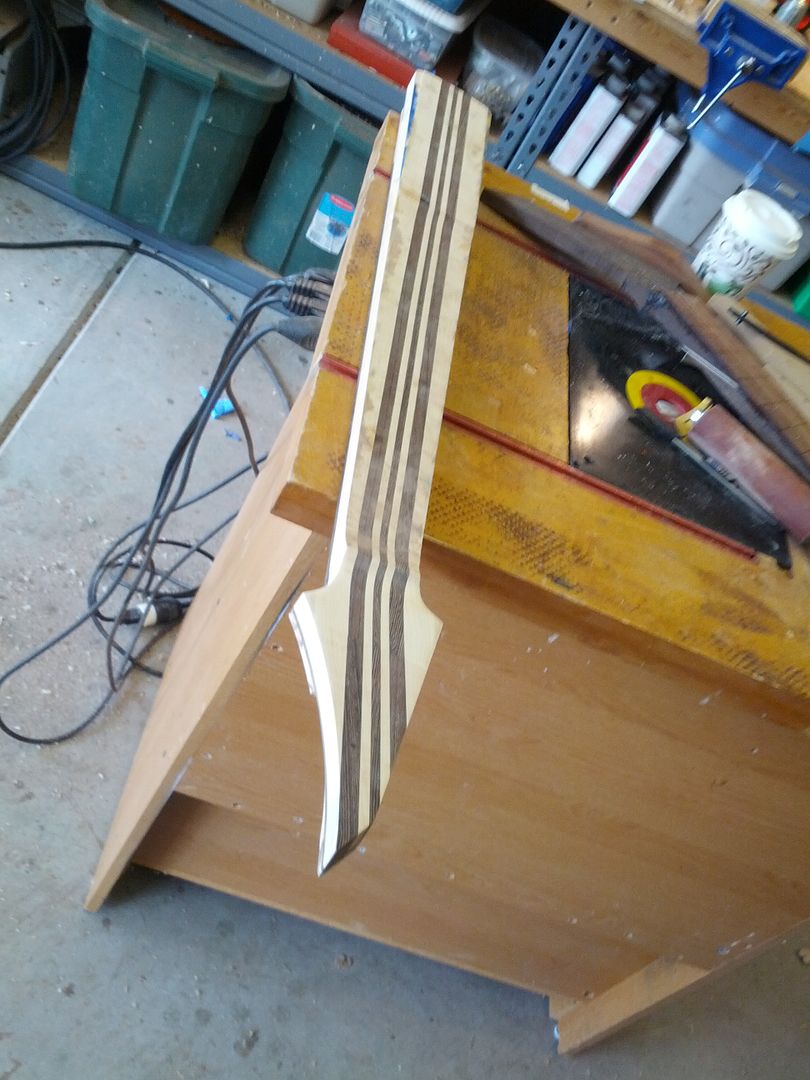
Laying out the neck profiles by hand..
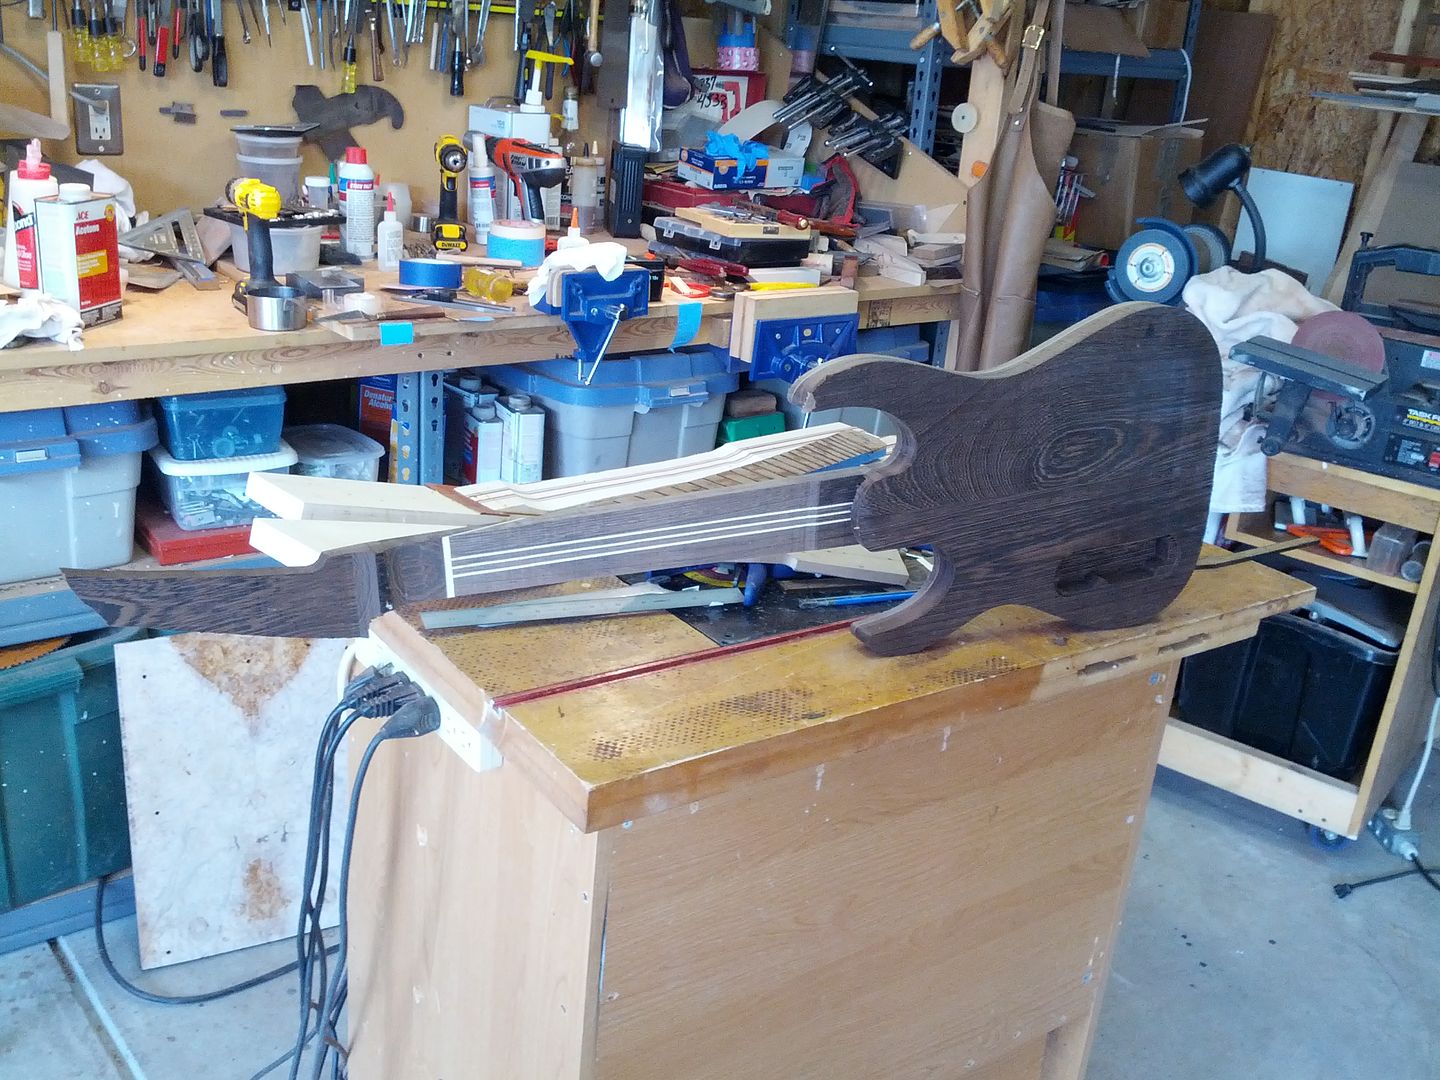
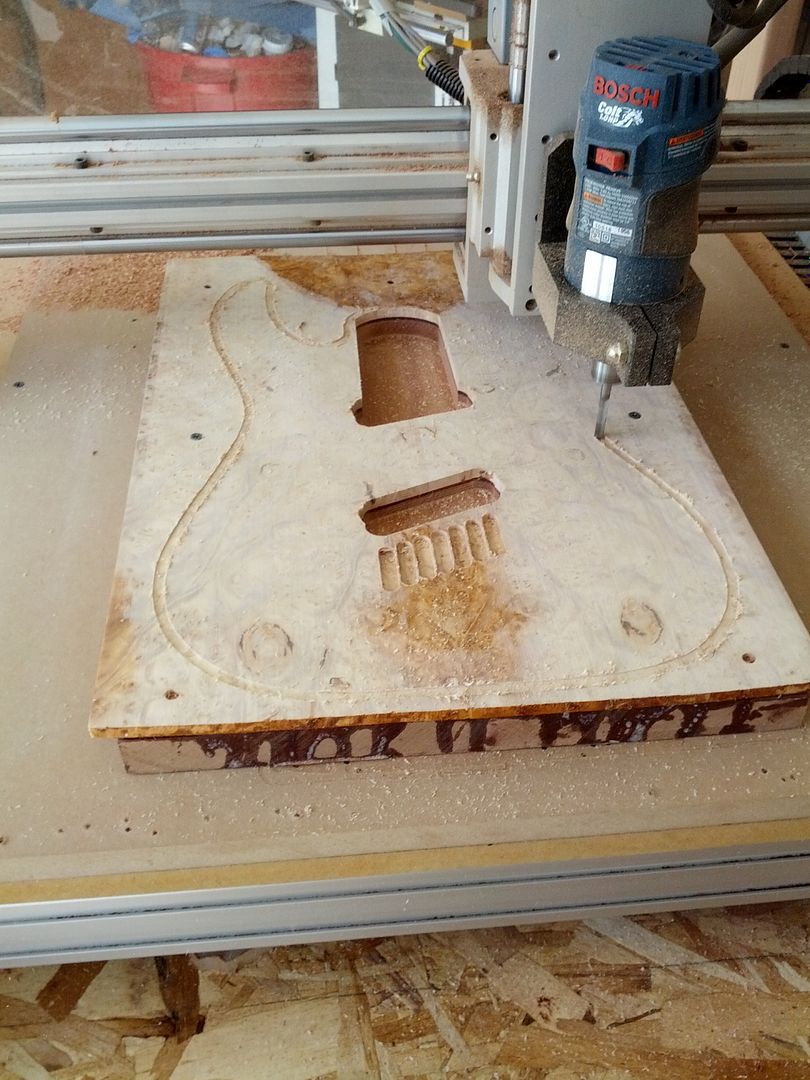
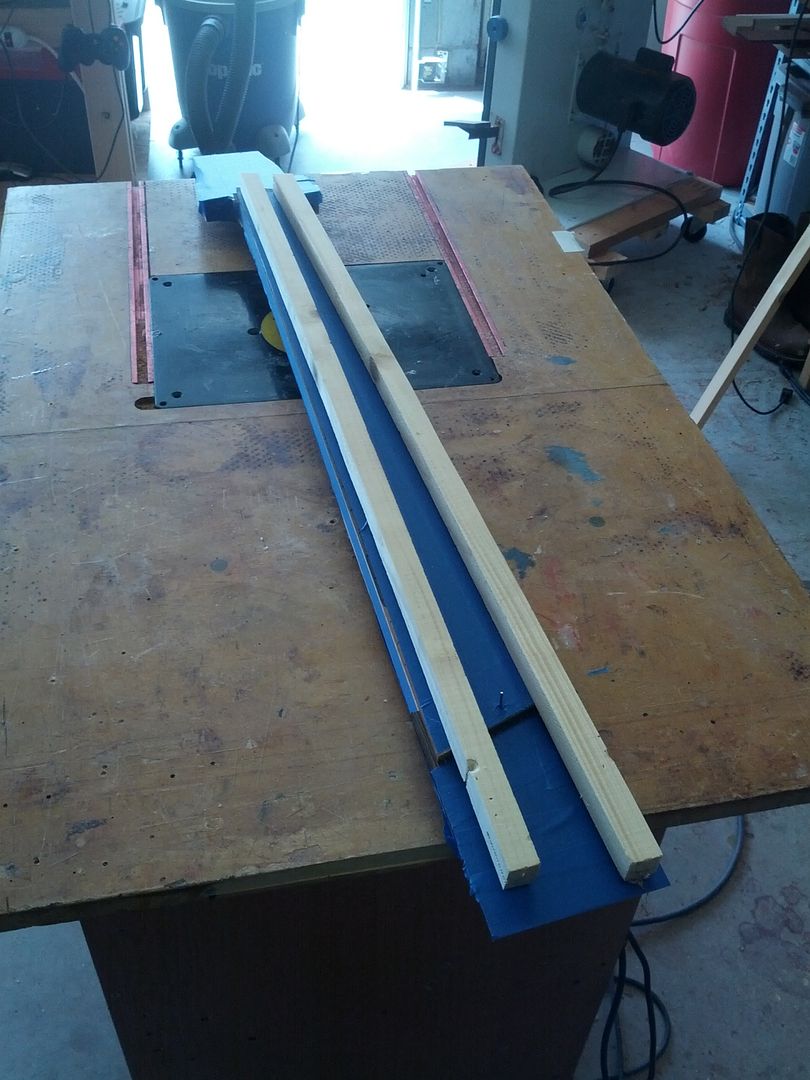
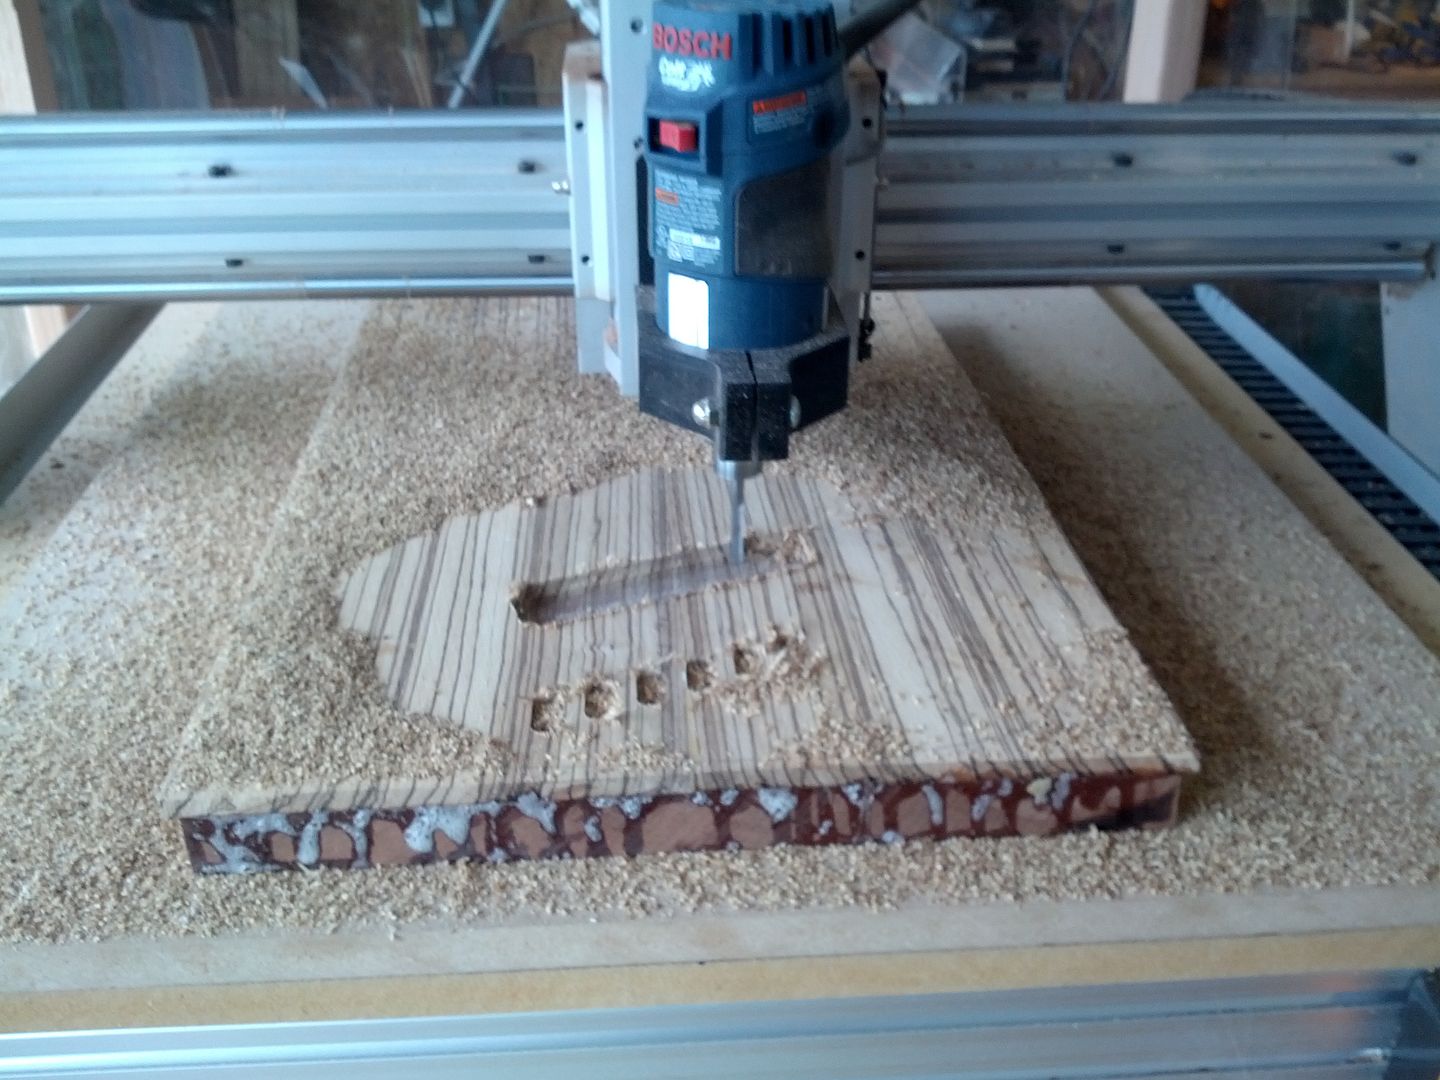
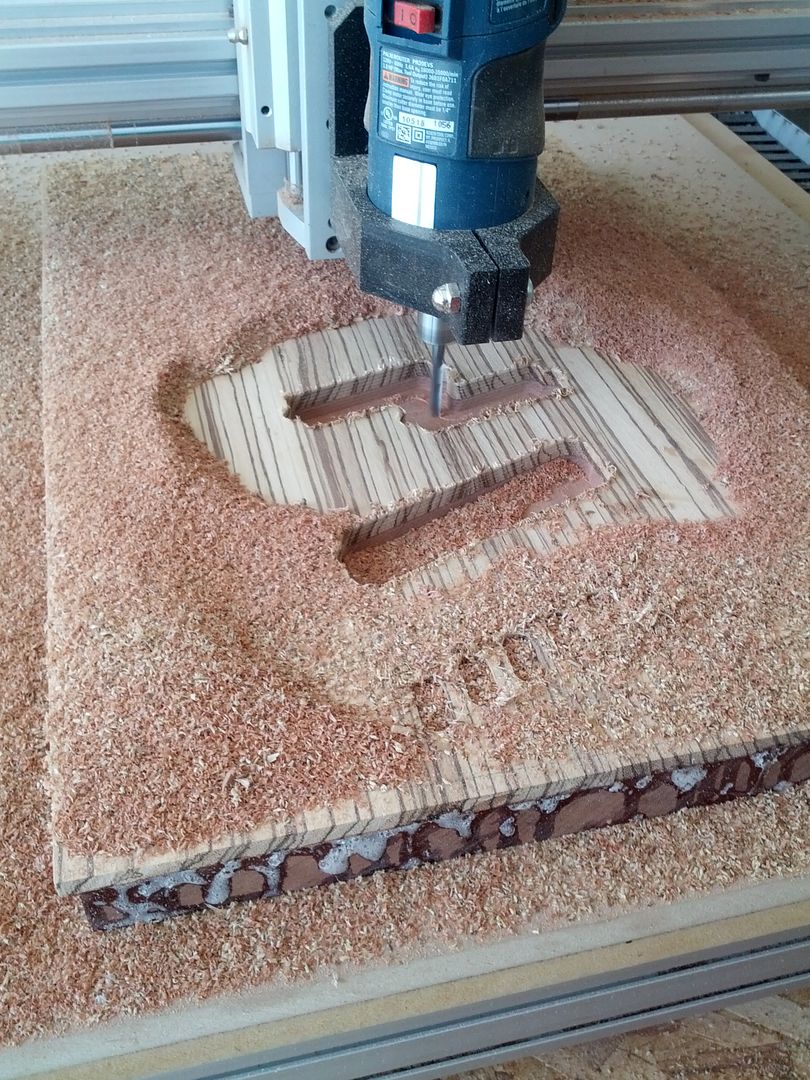
Again you might ask yourself why is he profiling necks by hand when he has a CNC? Because I am faster than the CNC and just as accurate. Right now I am in the middle of 3 builds do in July. They have to be basically done by June 1 in order for the oil finish to cure enough to ship in July. The CNC took a whole Saturday to cut out the Wenge body. I had to slow everything down because of how hard the material is. Normally I can cut out 1.5 Bodies on a Saturday. Anyway while RoboRAD (R4-D5) was cutting bodies I decided to finish up the necks. That means time for some router table. Get your centering rulers and dial calipers out as it is all old school now.
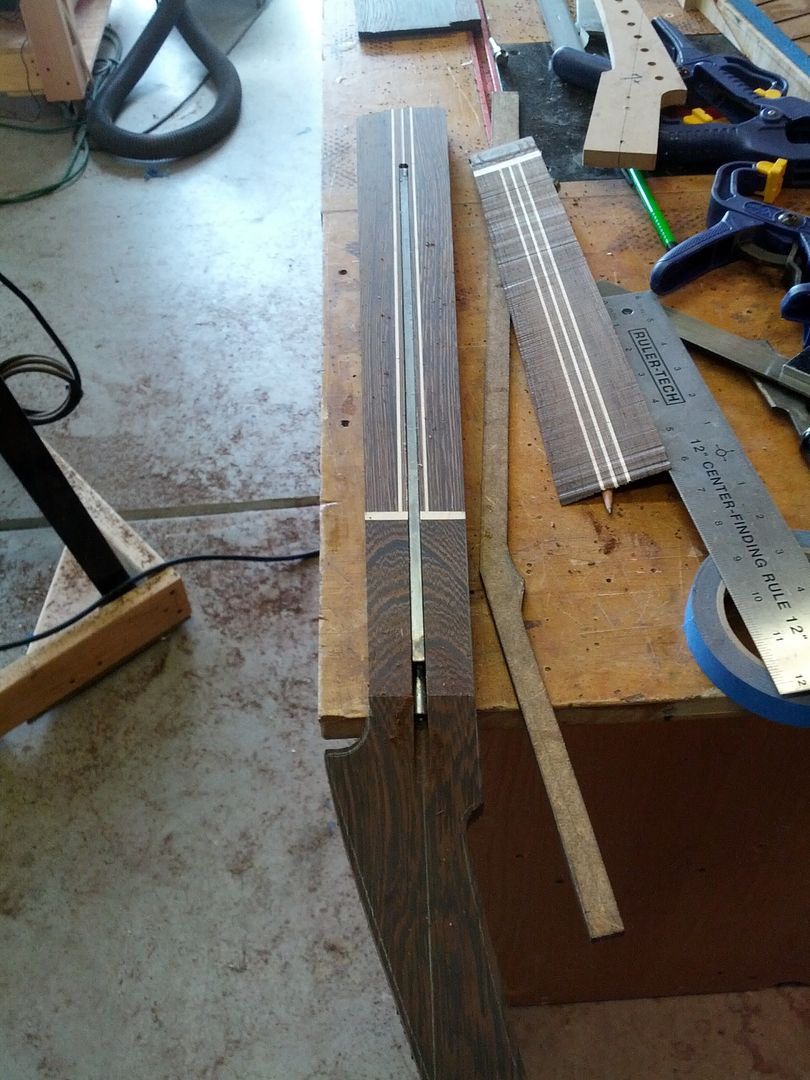
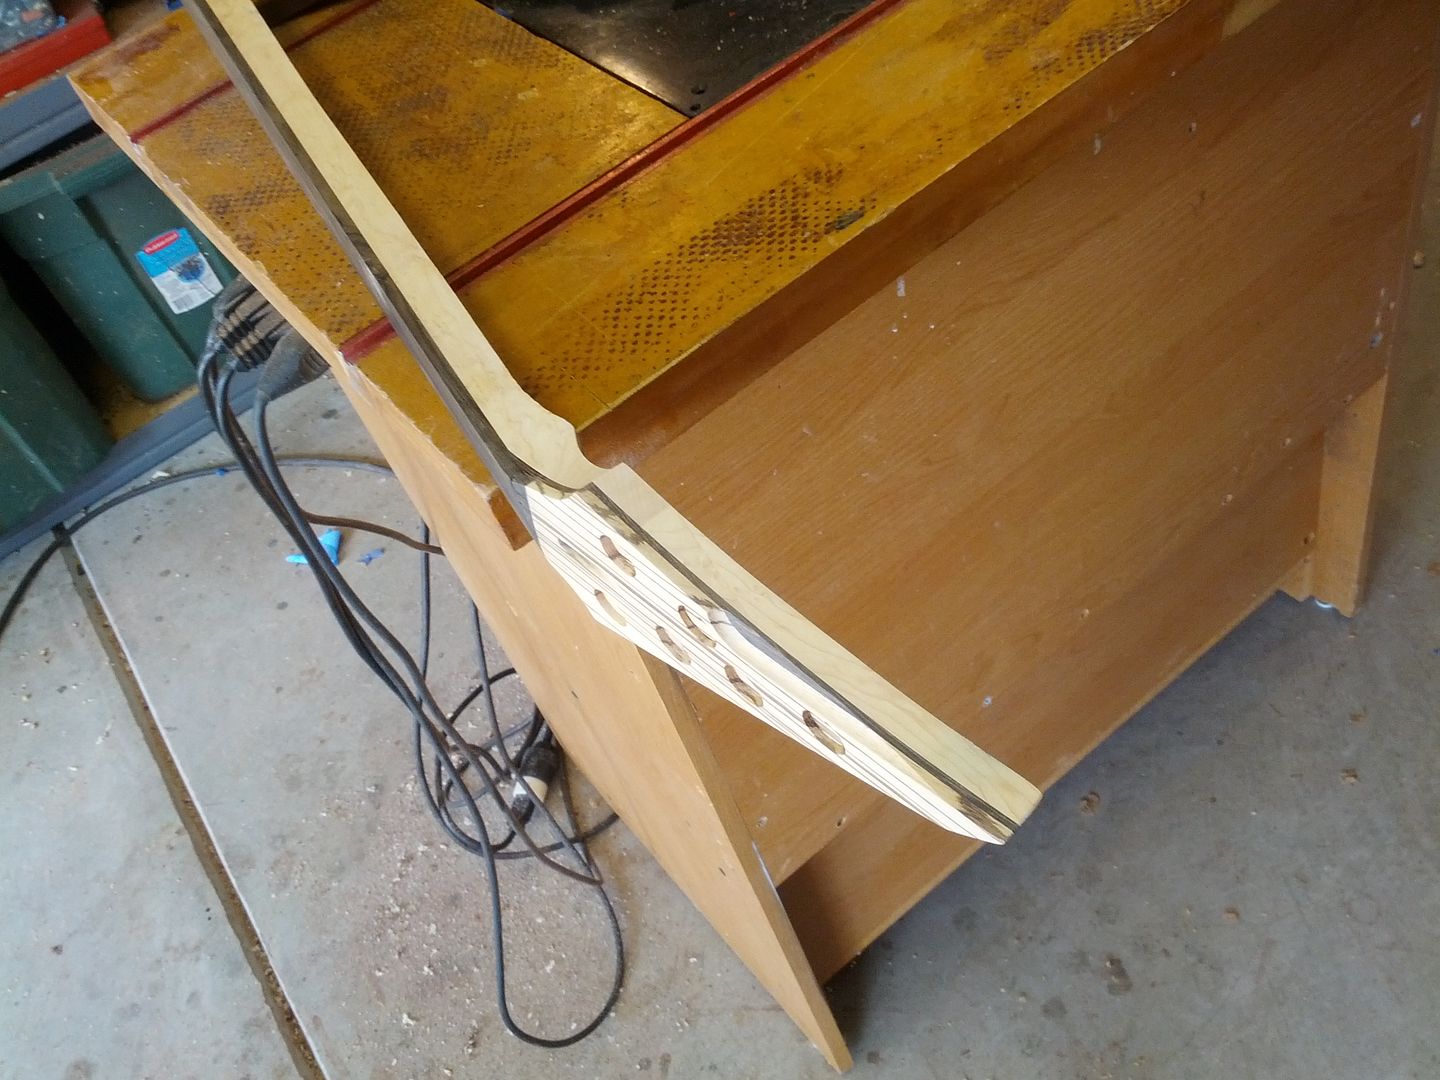
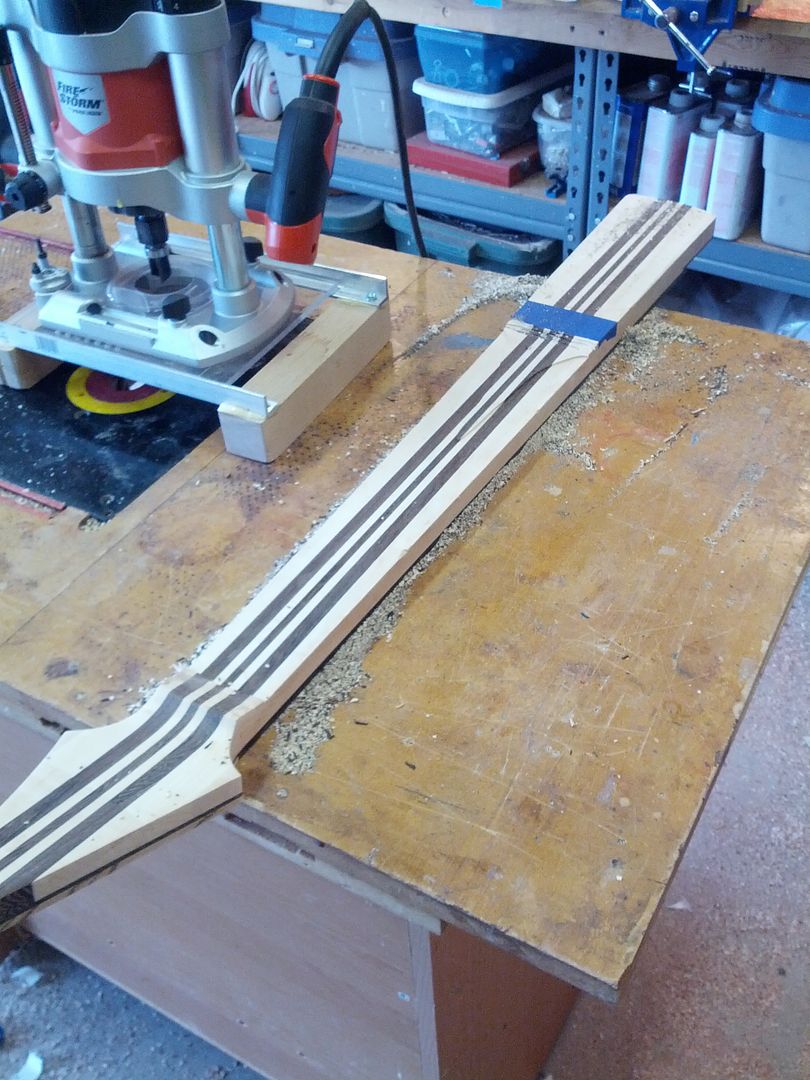
After centering and attaching the template I cut as close as I can with the band saw. Normally you would not want to take more than half the diameter of the bit. That is fine for making cabinets but not guitars with figured wood. I do not want the router bit cutting more than half the depth of its carbide blades. That is about .0625" or so. Watch the kerf on the bandsaw as it can be deceiving and leave scratches deeper than your template. You can use the sander to get even closer.
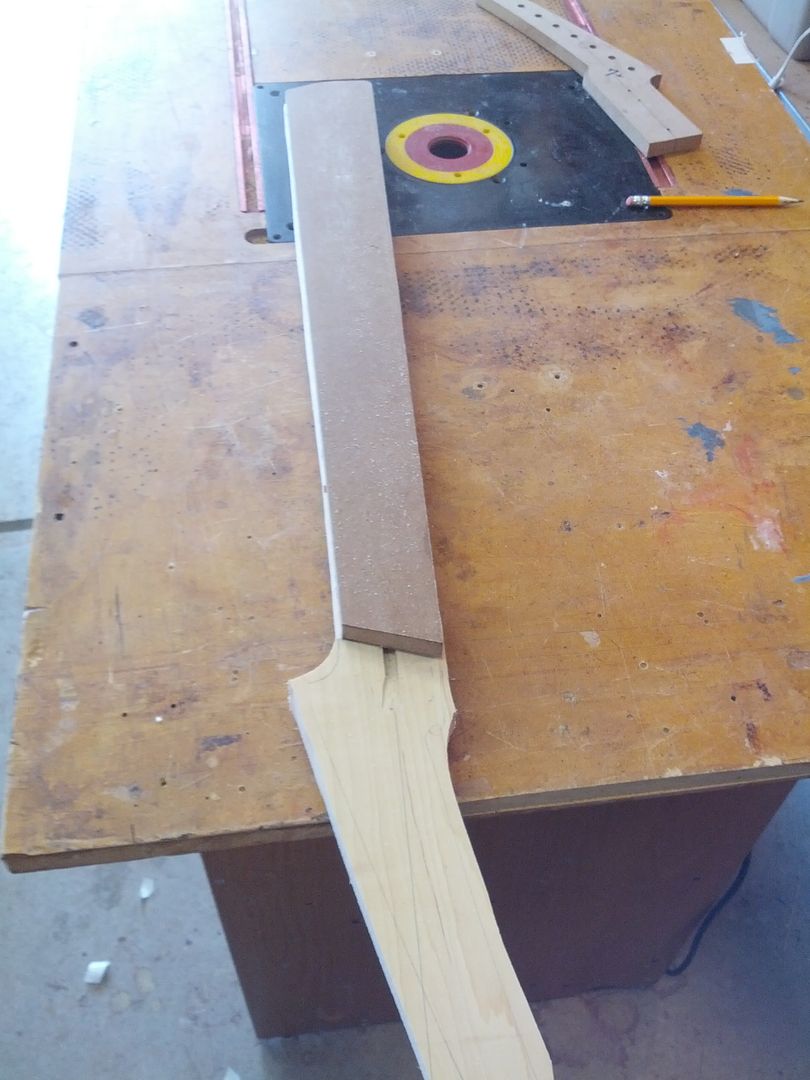
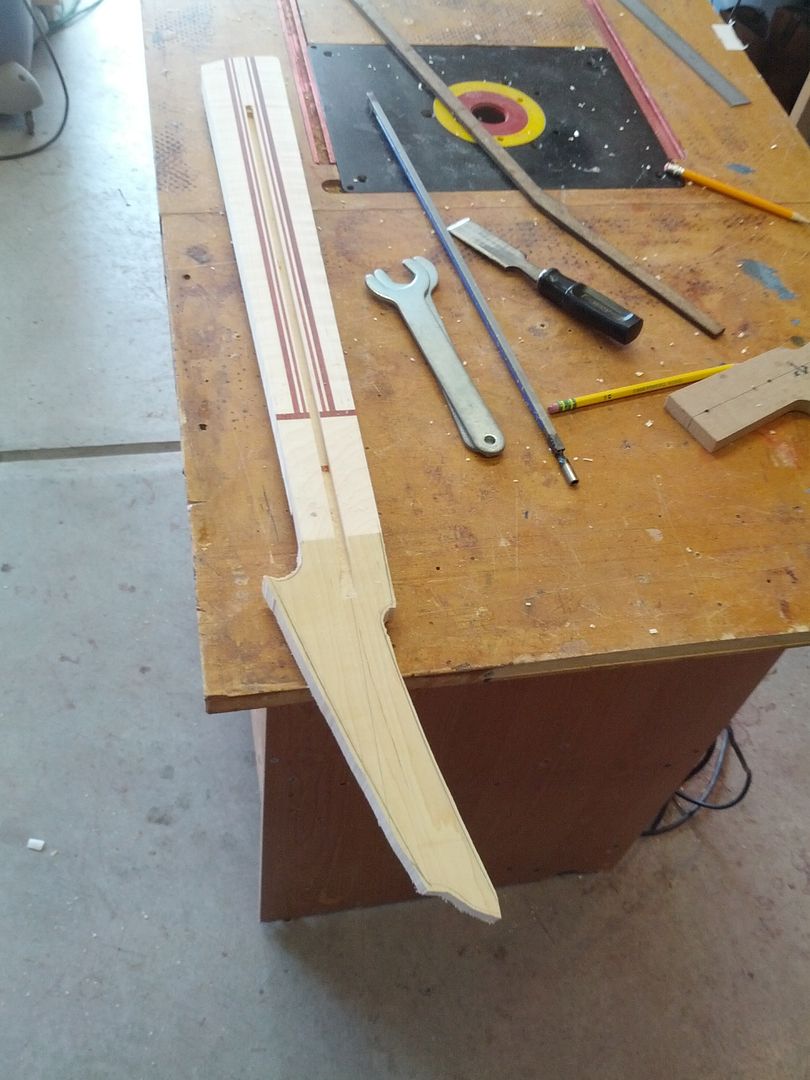
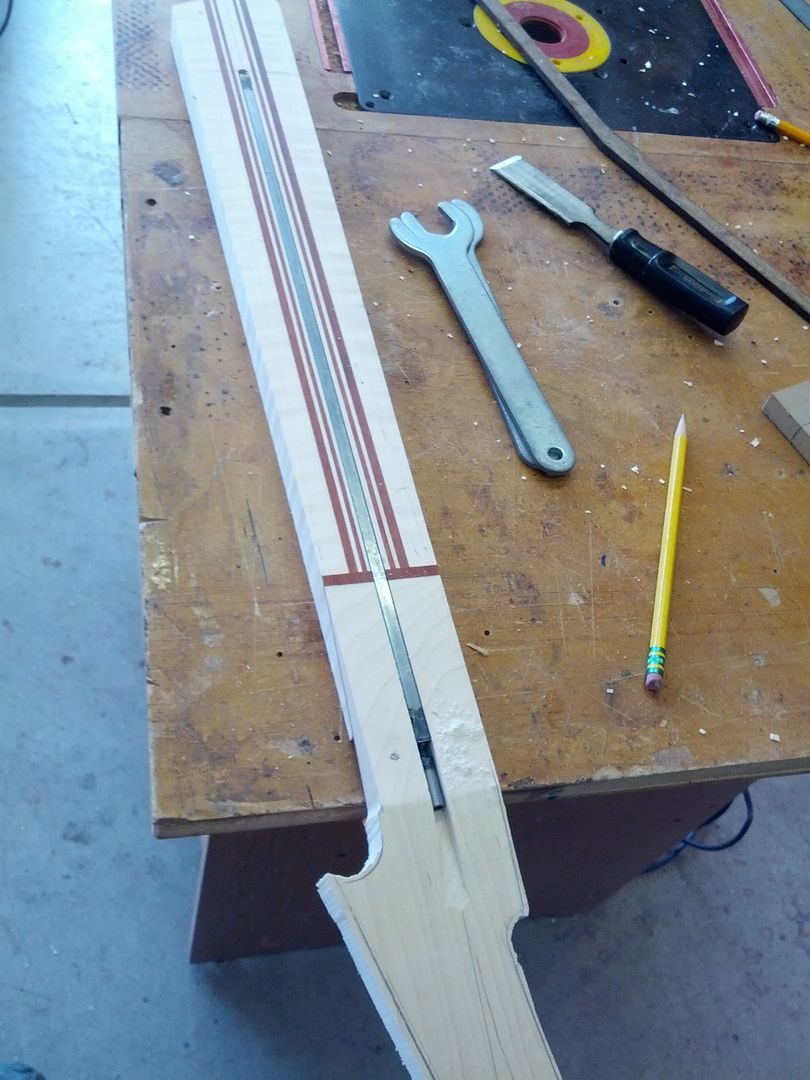
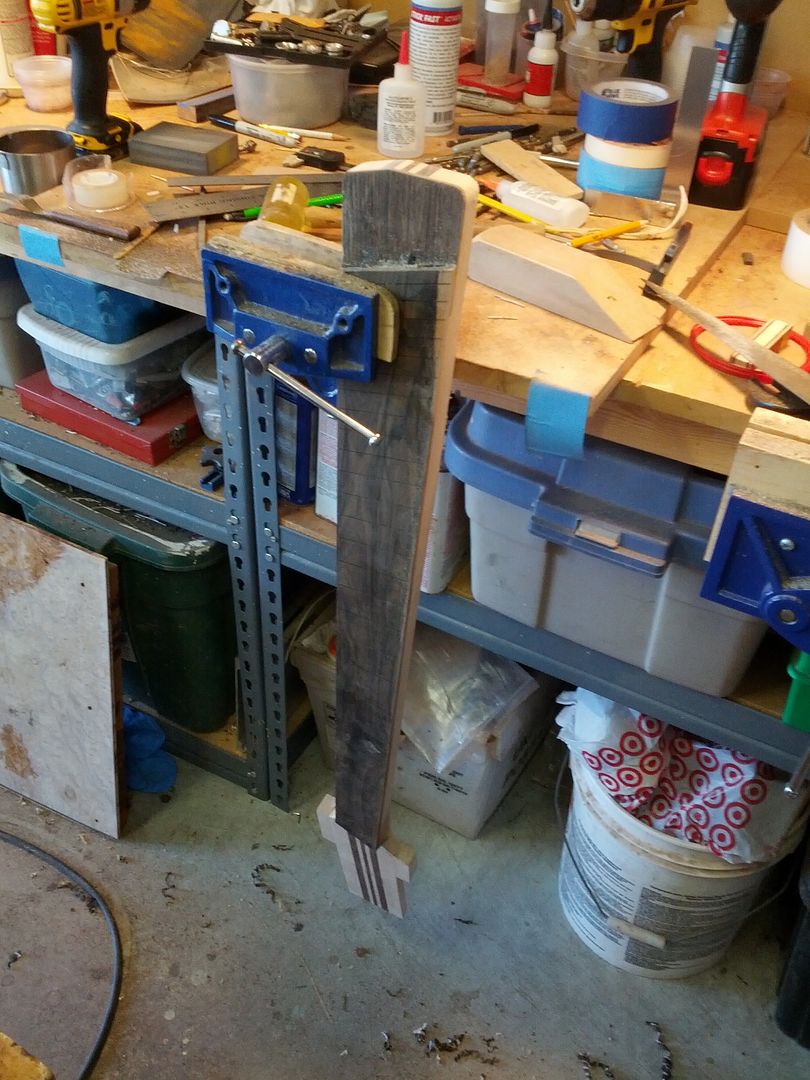
With the router the first pass should always be very small. Just enough to get a clean edge. Since on a neck the only part really left from profiling is the edge of the fretboard this is important. This is after 2 passes
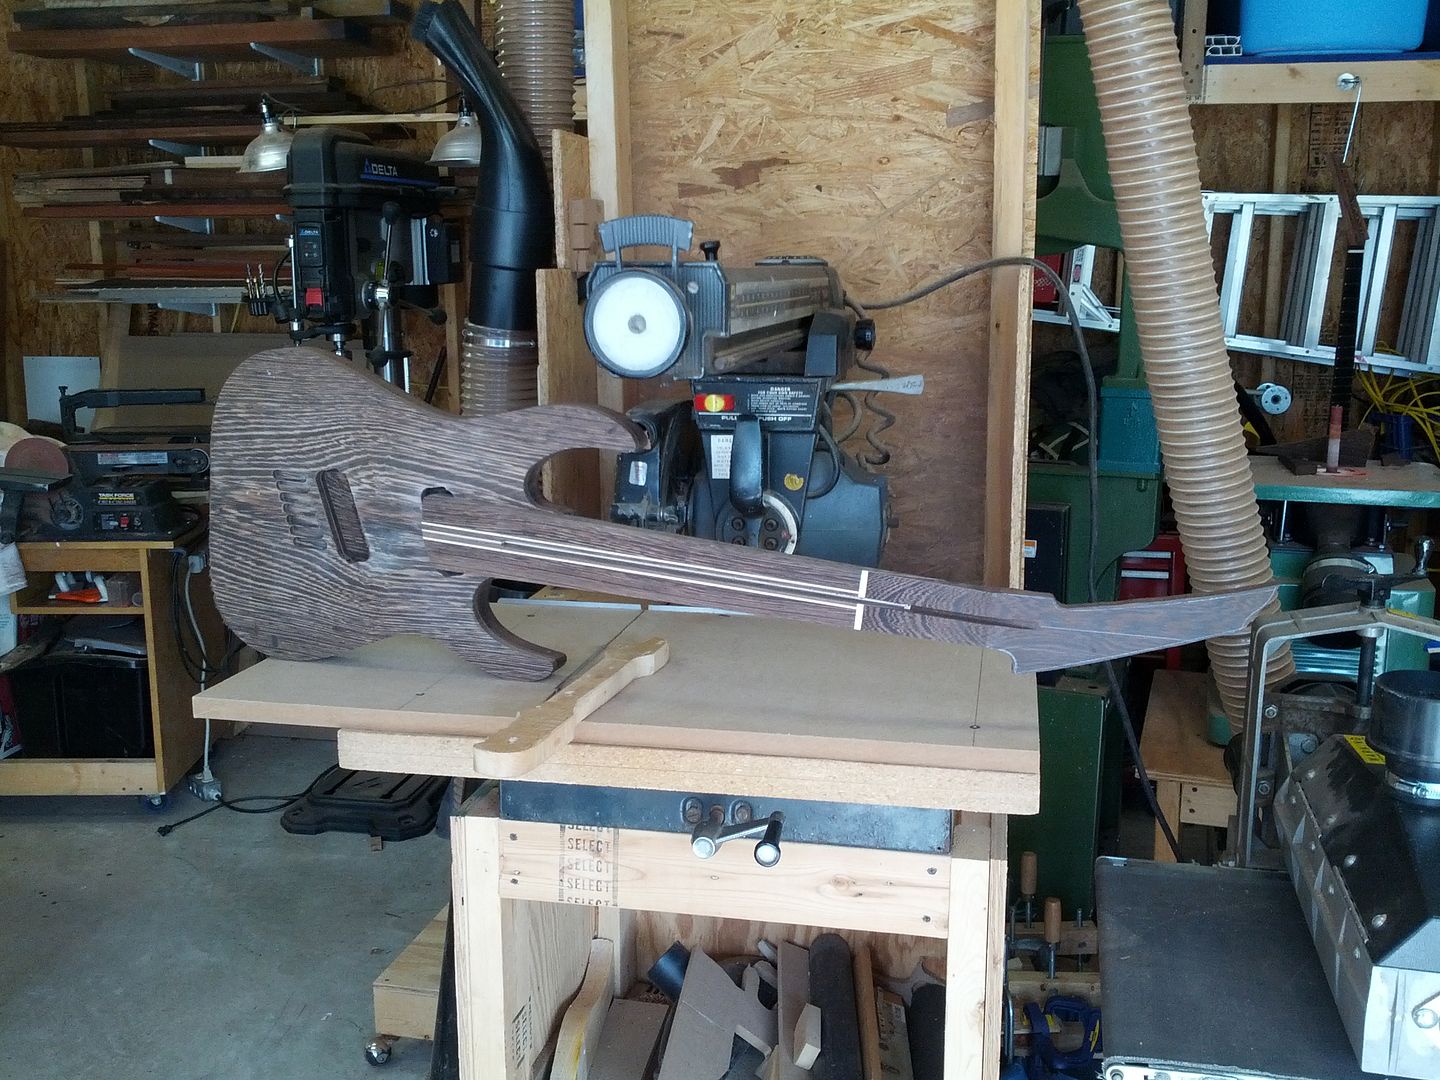
Be careful removing your templates. Now I have to make a new one.
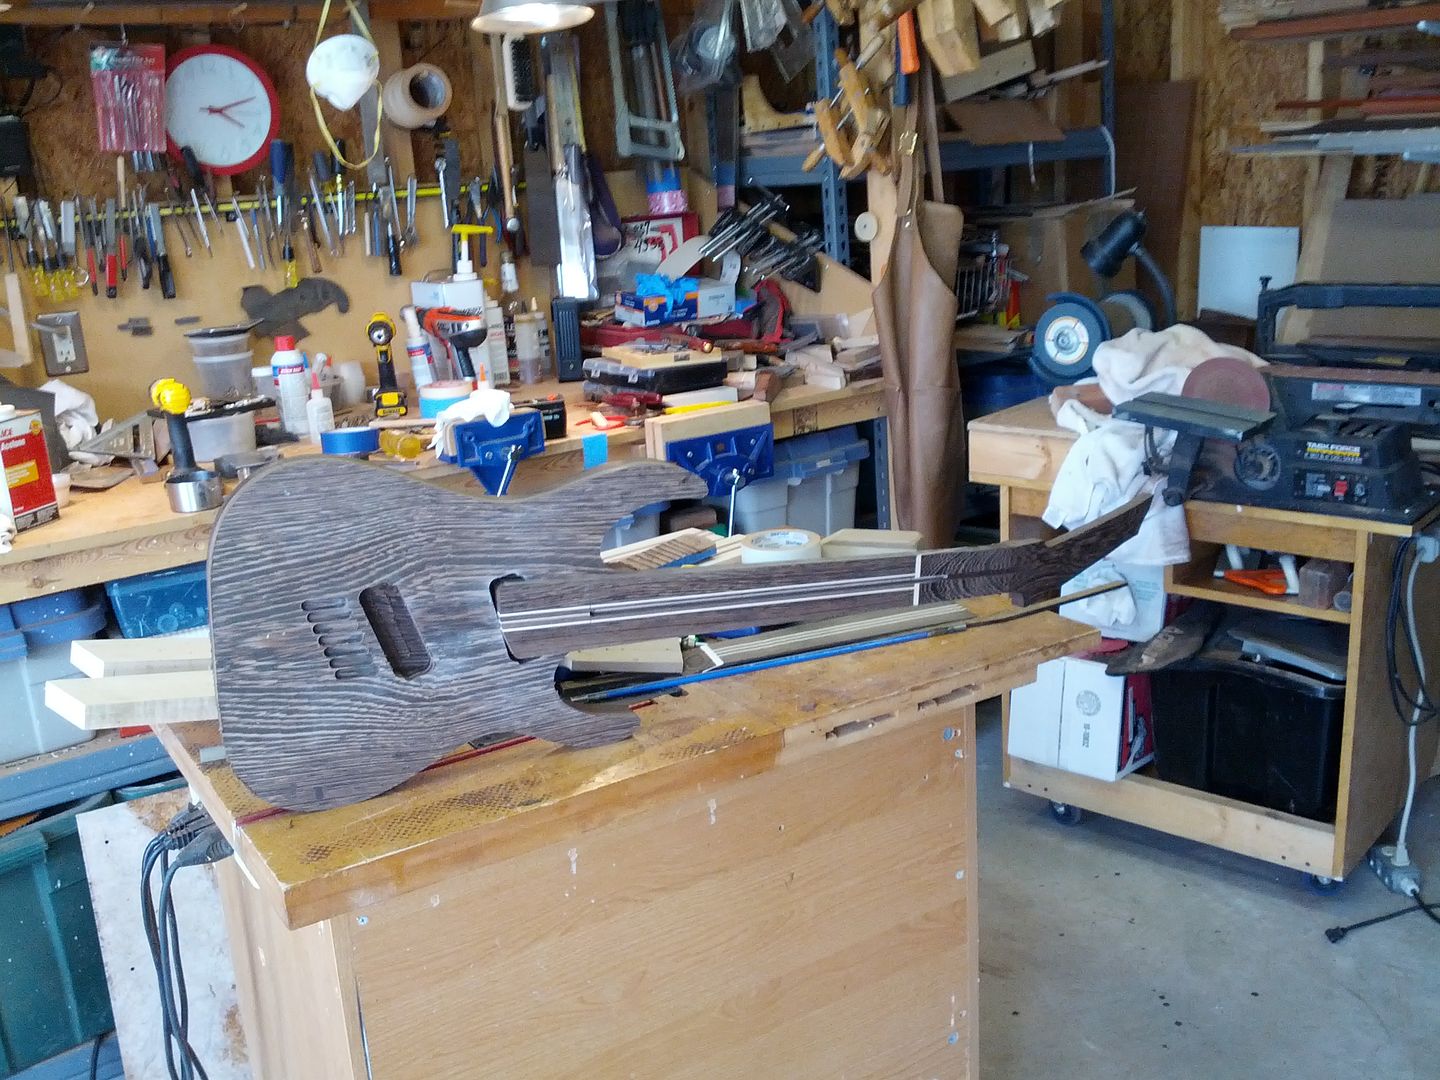
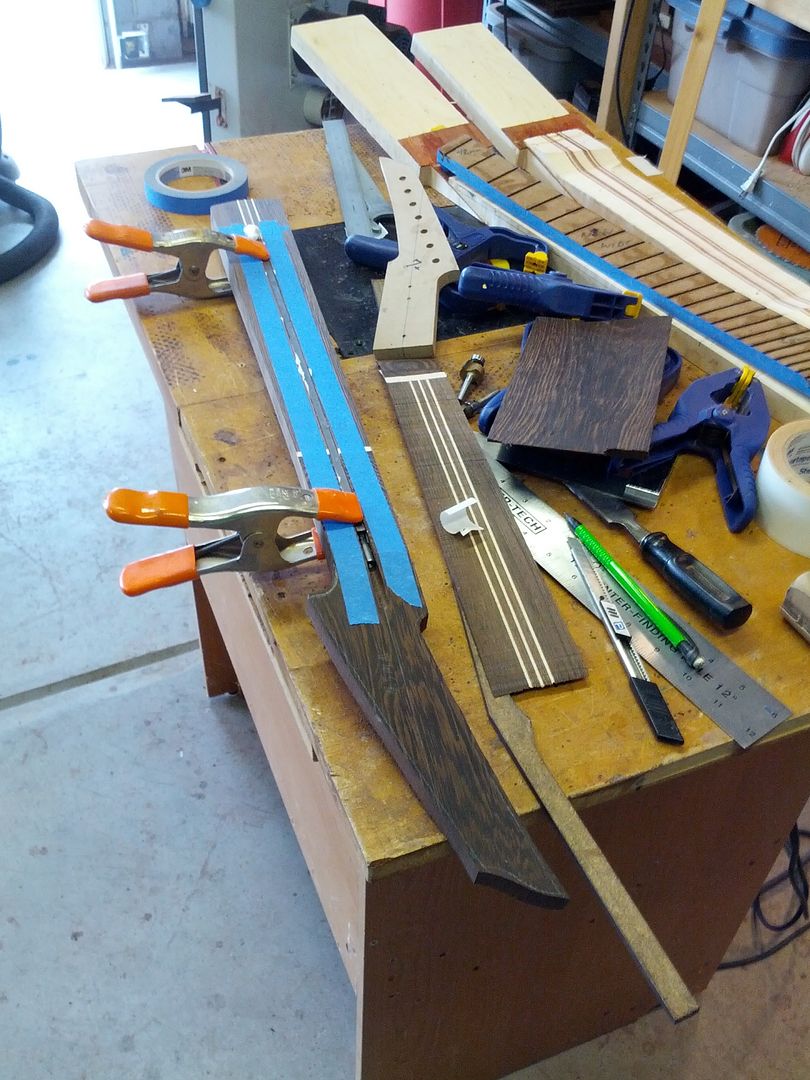
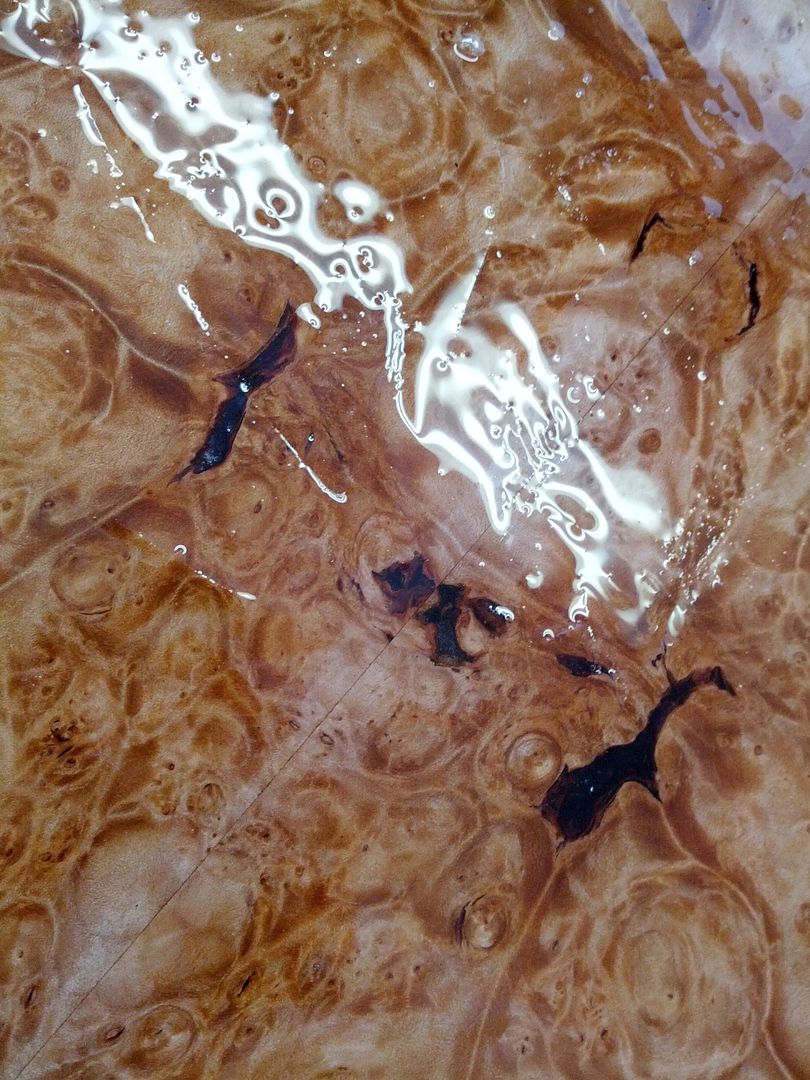
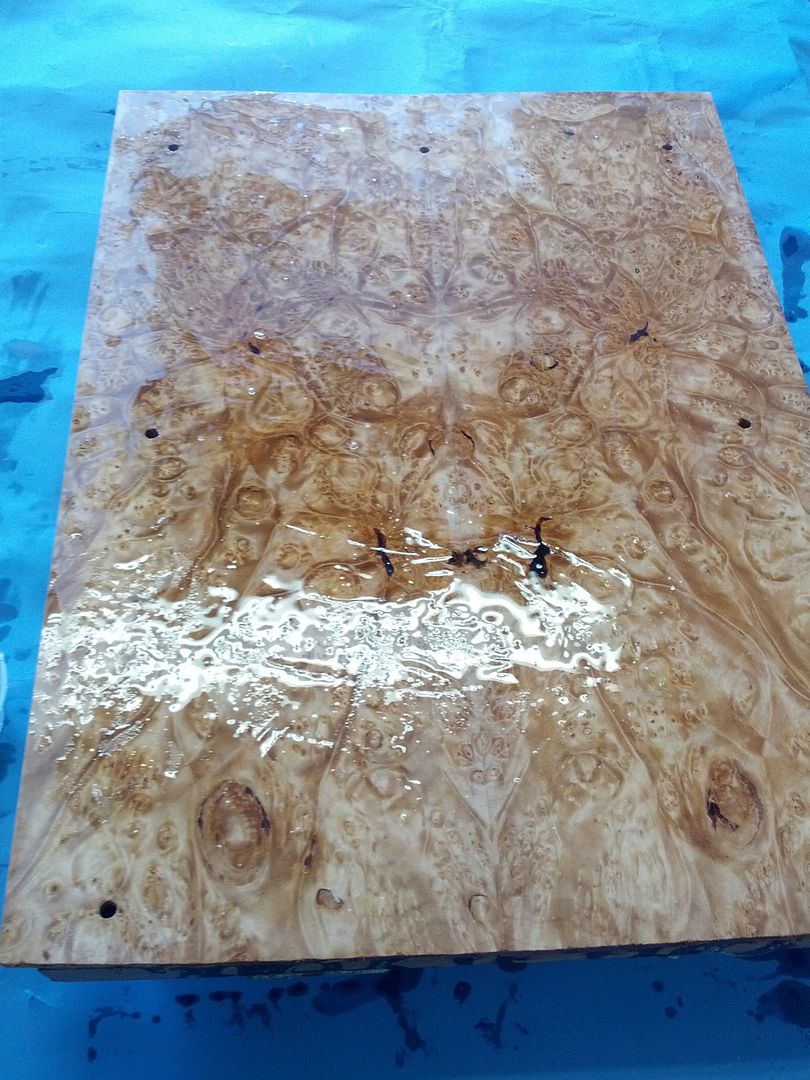
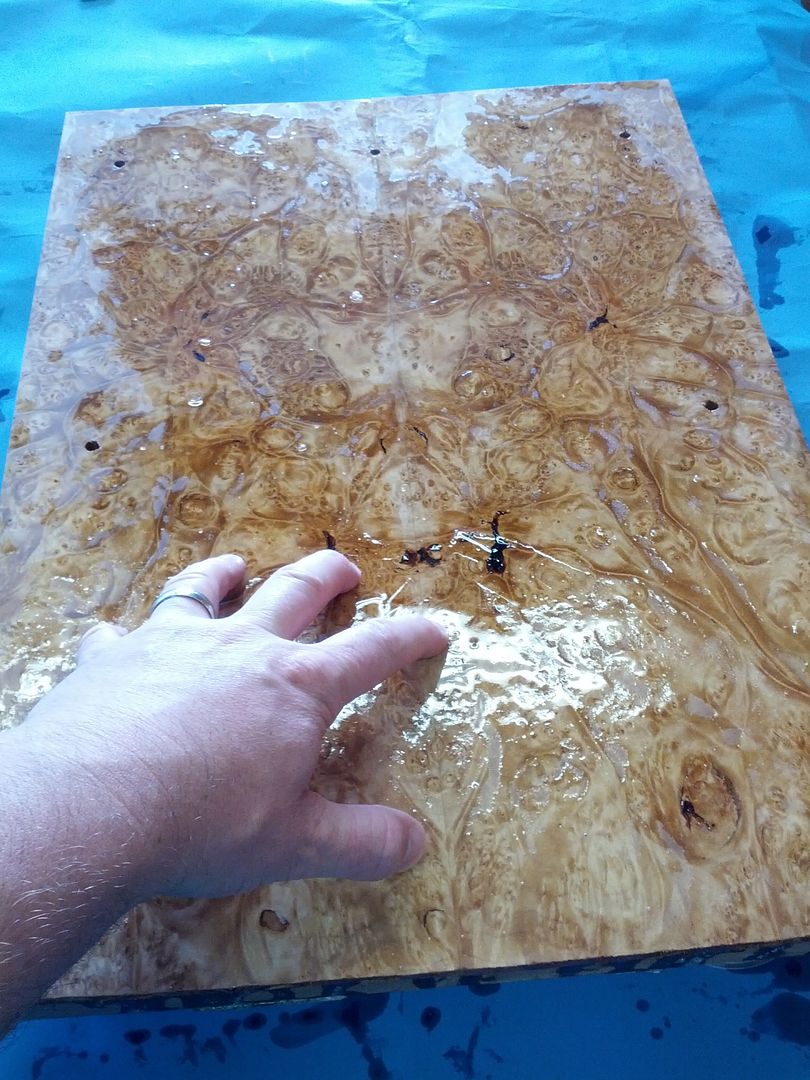
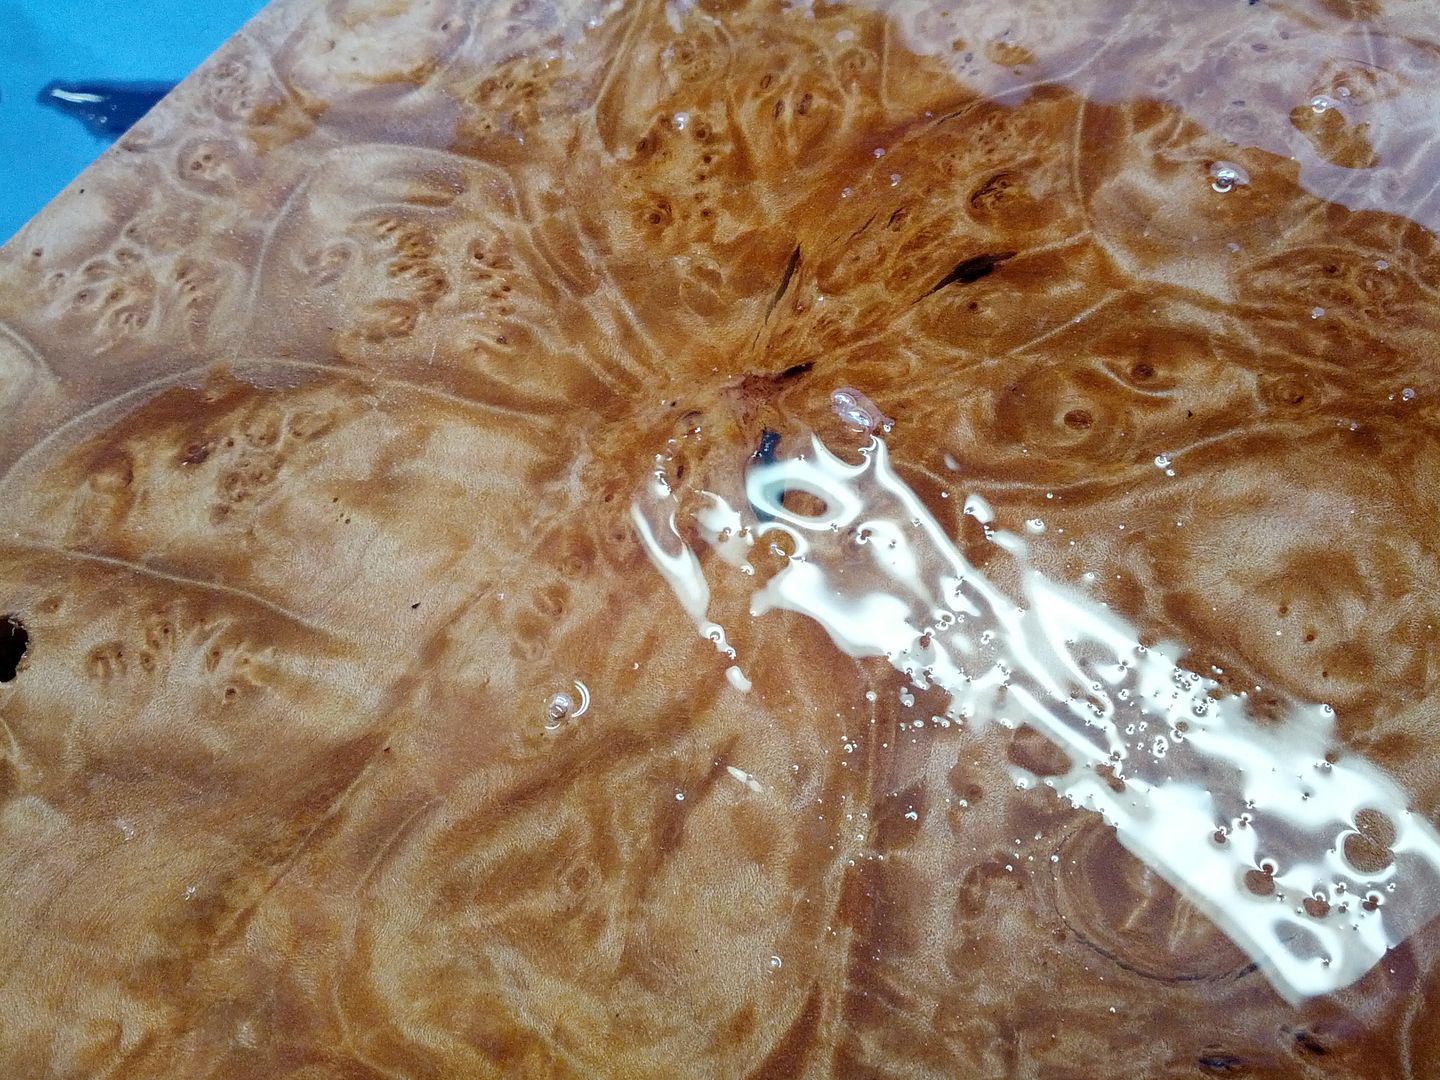
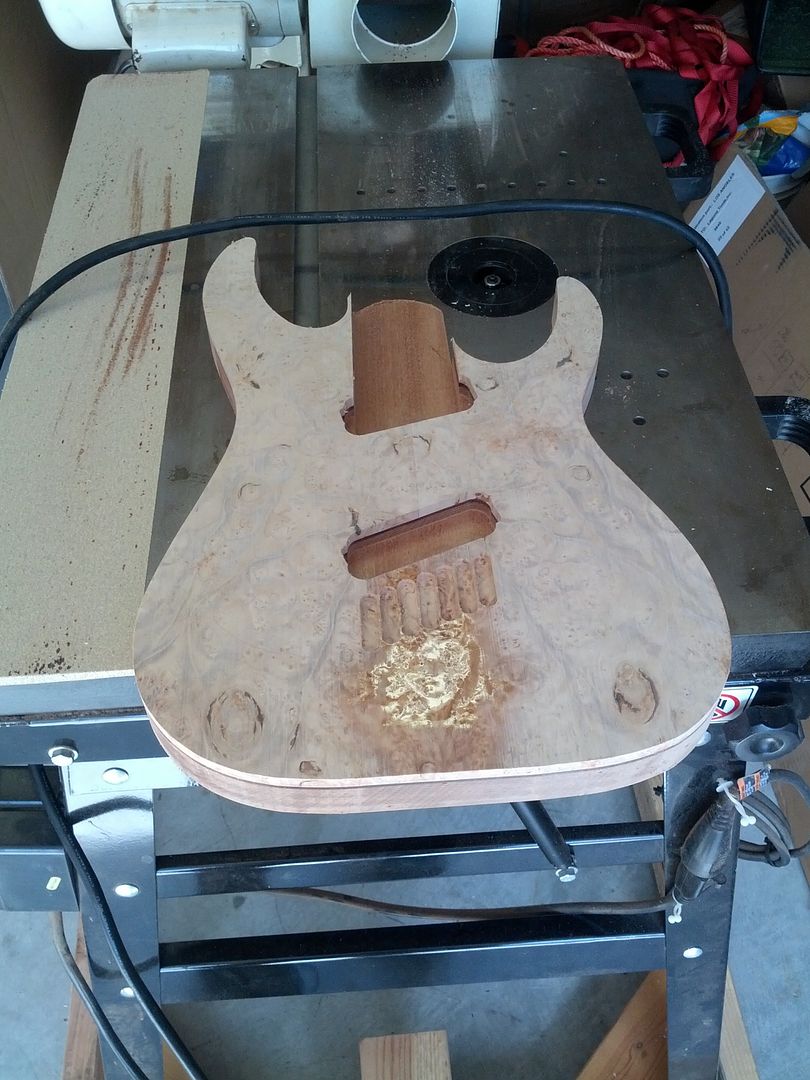
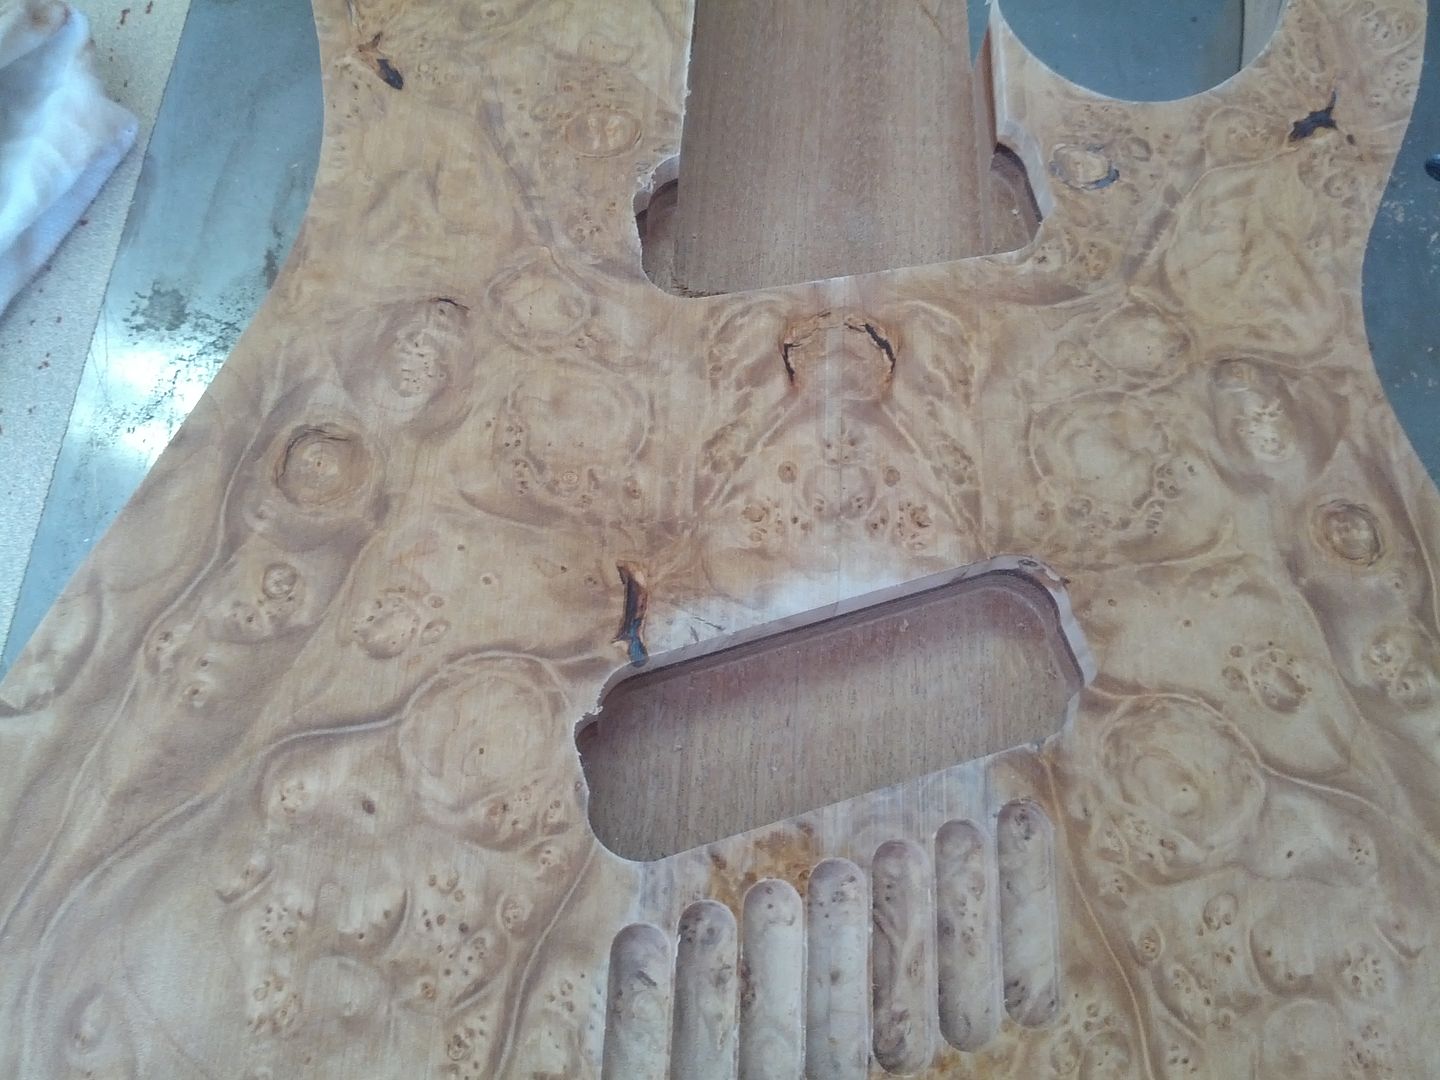
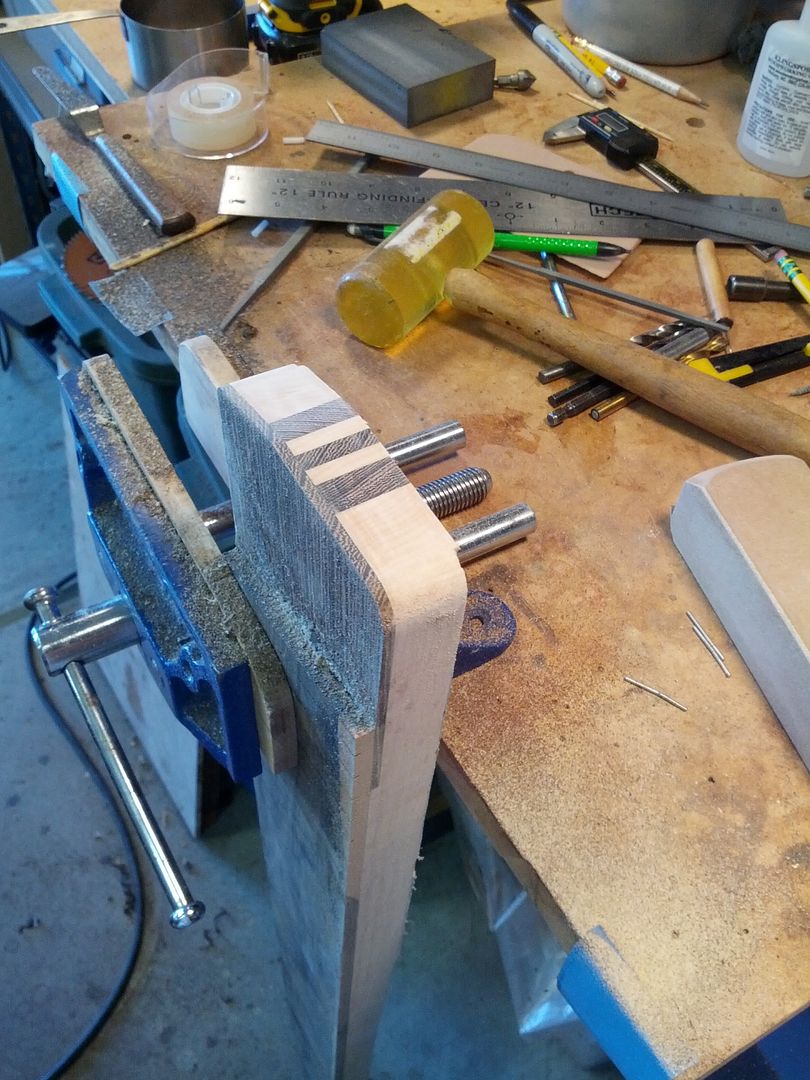
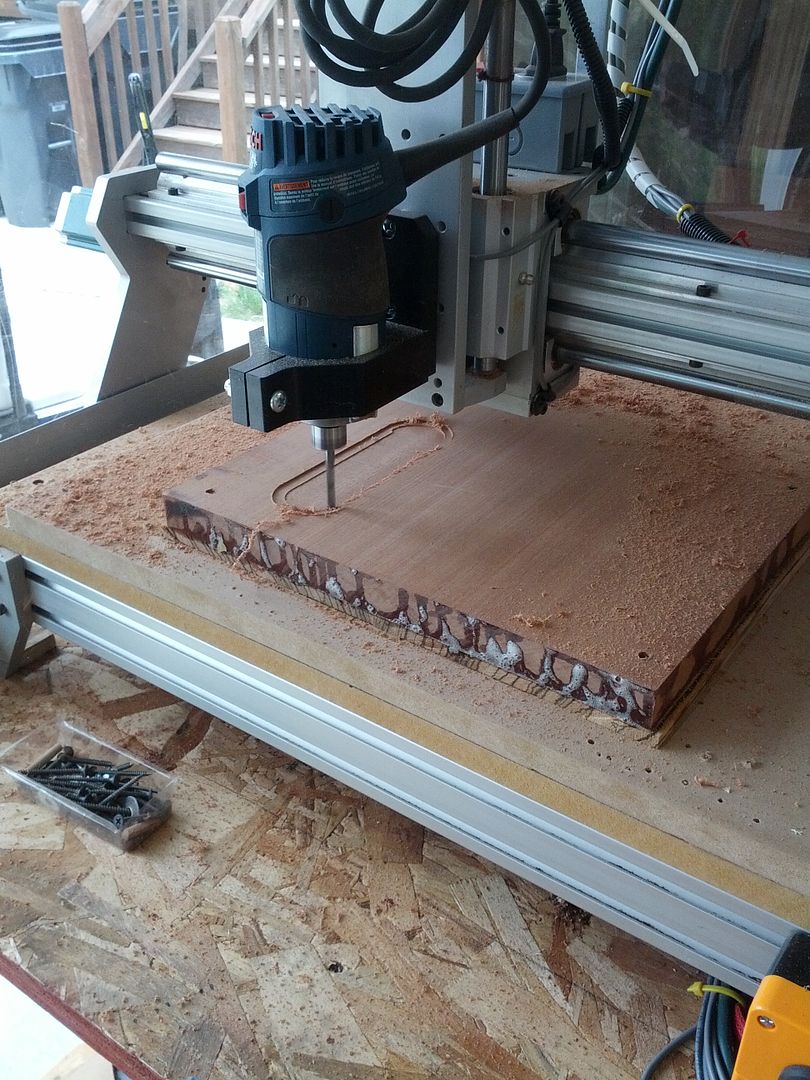
In order to make Burl Maple bullet proof enough for a metal band I have to resort to crazy things. In the past I have used CA to fill voids and harden the soft spots. I always feel like it dulls the coloring though so we are going a different route. Enter System Three Mirror Coat epoxy. It is thin, soaks in, and cures hard as a rock with a very clear and shiny finish. We are not really using at a finish just stabilizing the wood. It does not bubble like normal epoxy when mixing so you don't need a vacuum to get it settled into voids. It doesn't yellow. And it is going to last a lot longer than CA. I coated the blank before machining. This gives the router a solid surface to cut and helped prevent the tear-out common in routing very soft woods.
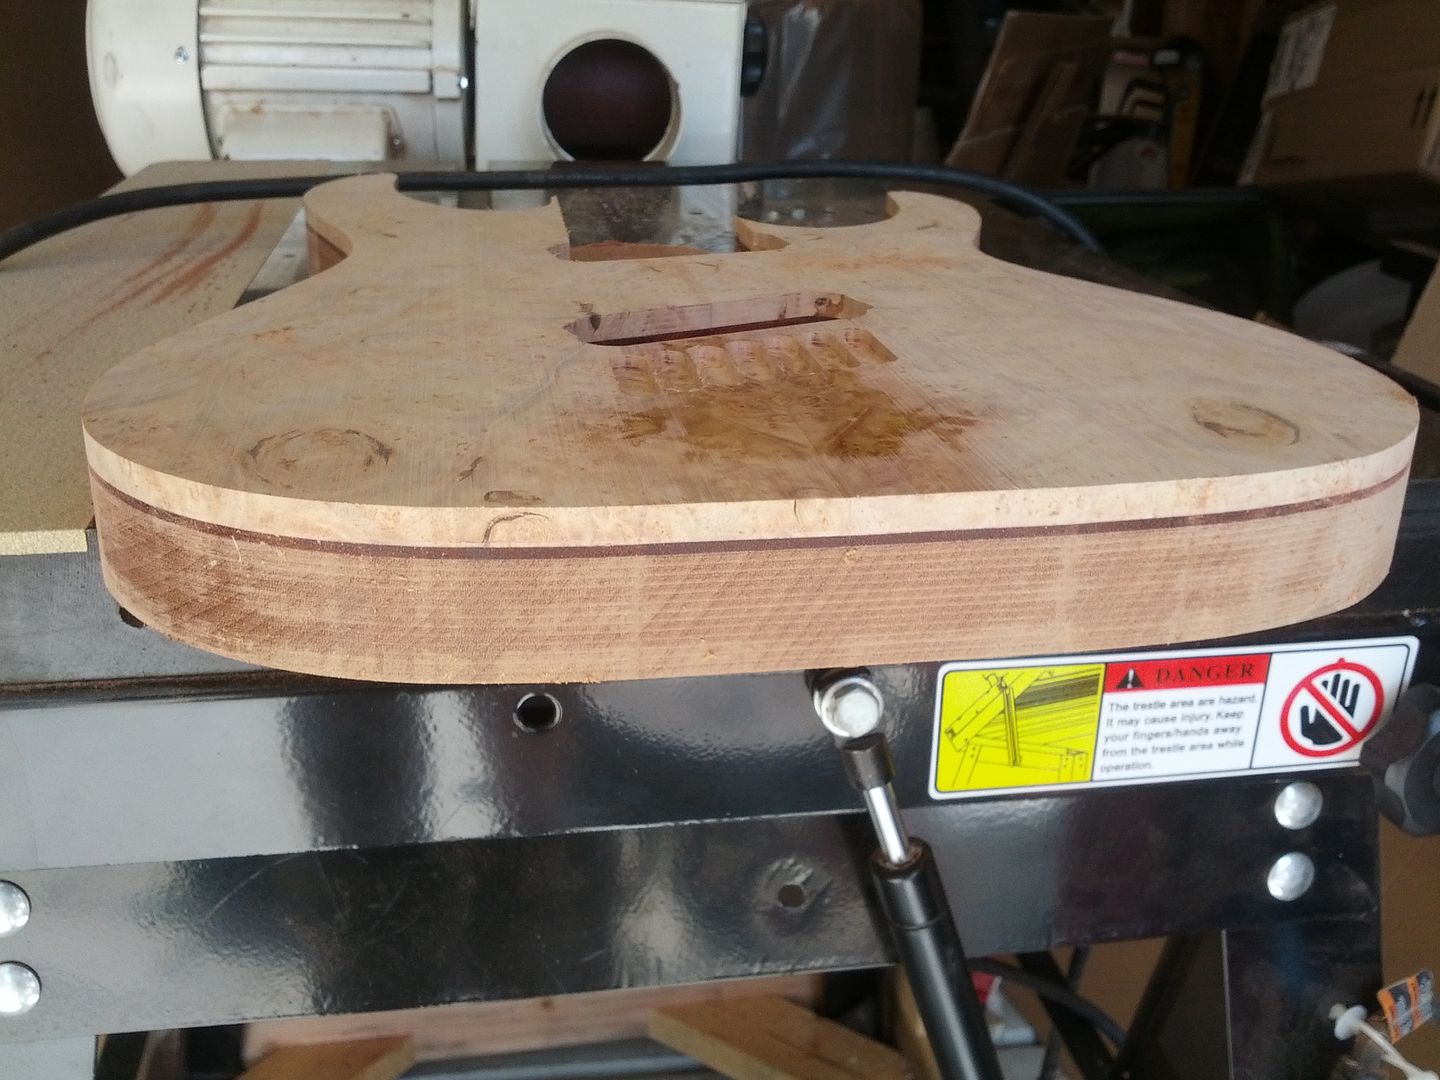
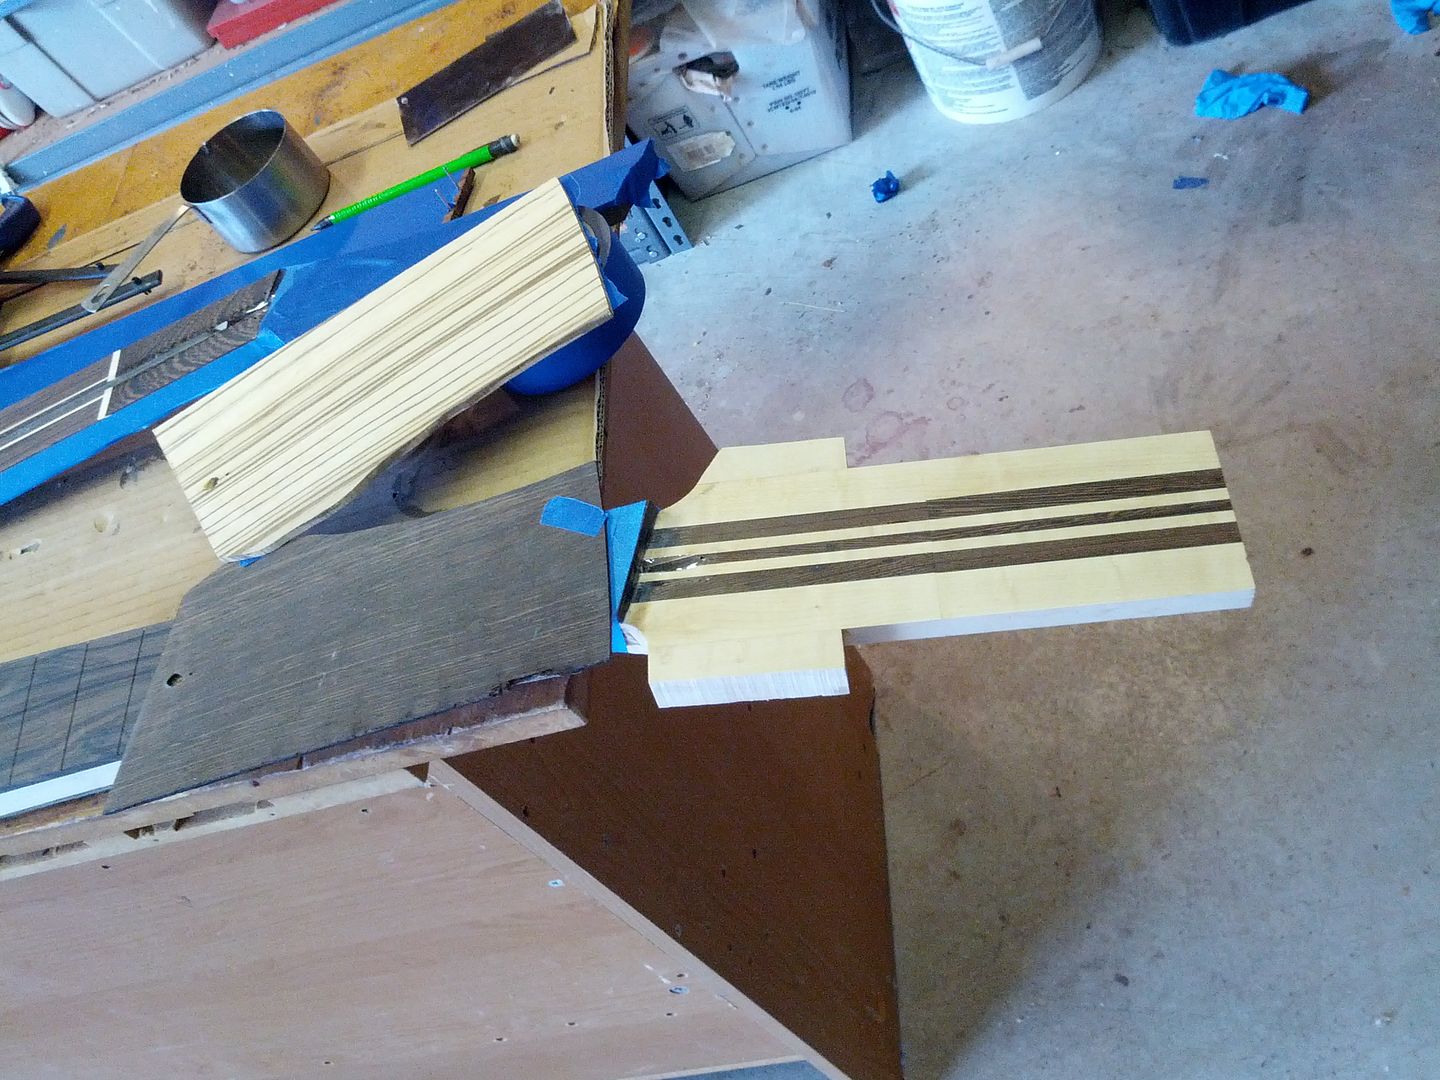
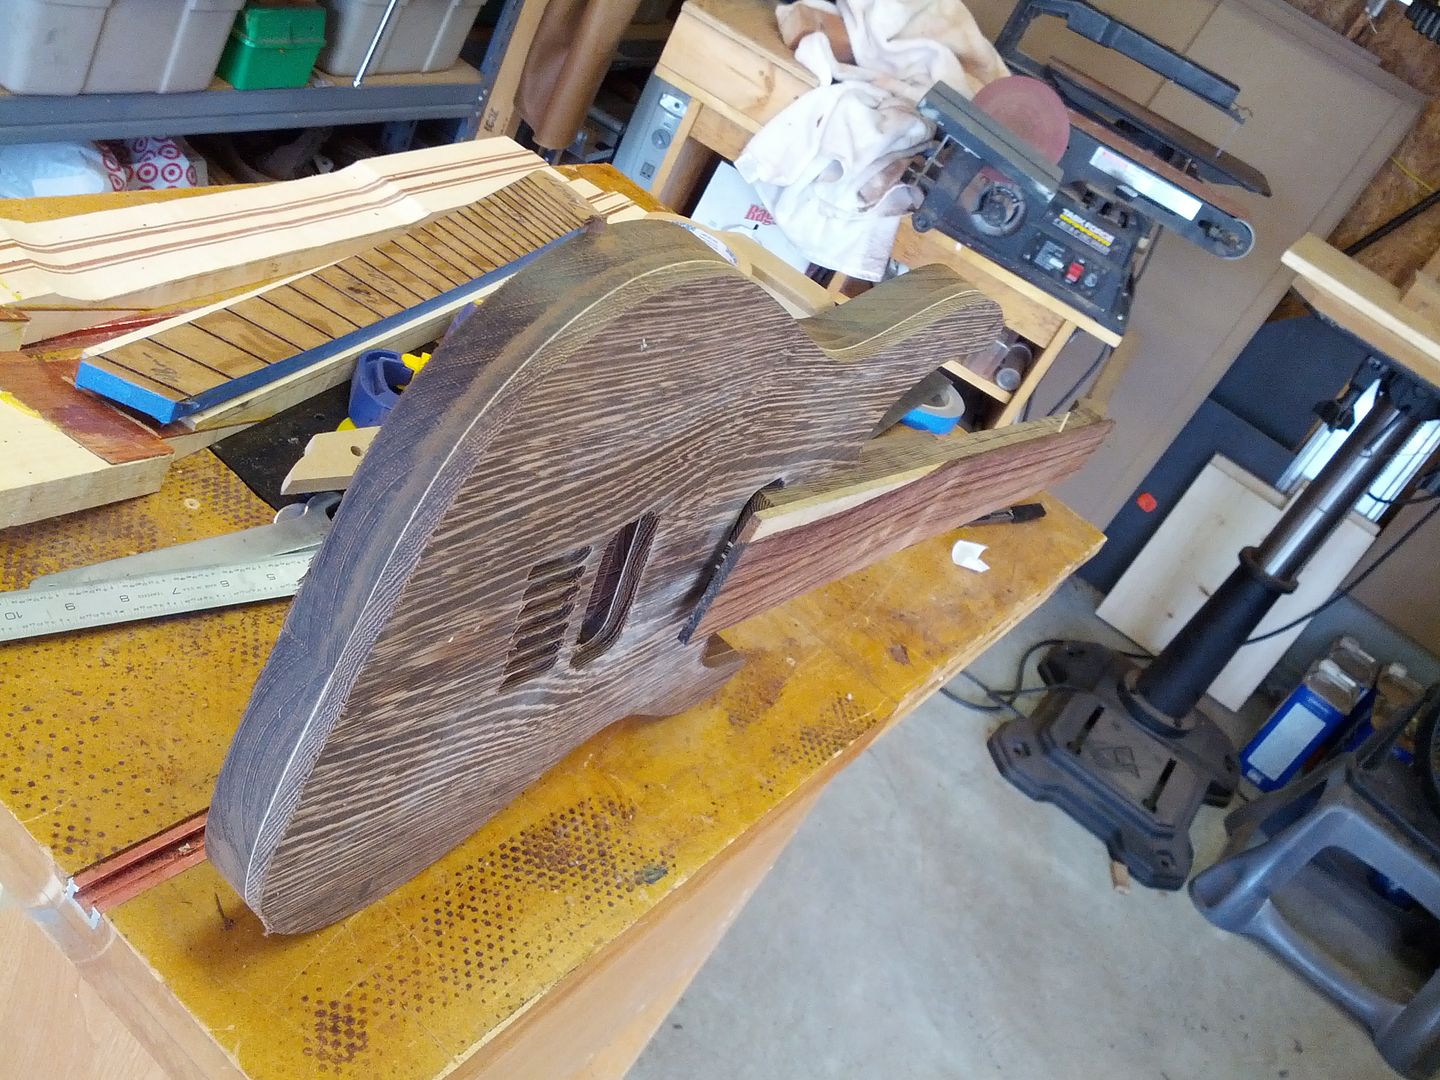
A) MY. GOD. That Burl is sick. Figuring is perfect! (I assume that axe is an order?...)
B) The grain on that Wenge top is pretty awesome as well. Almost looks like the contour lines of a magnetic field bending around where the pickups are, which kind of makes sense if you change the axis around which they'd actually be emanating from...
I have some other projects in the works but have no time to work them right now as these have to get done.
Upcoming will be another single cut, another 7 mutli, a couple of S9 standards and a headless 7. However only one of those is a customer build since it will be summer by the time I start all them. You know vacation, pool, parties...
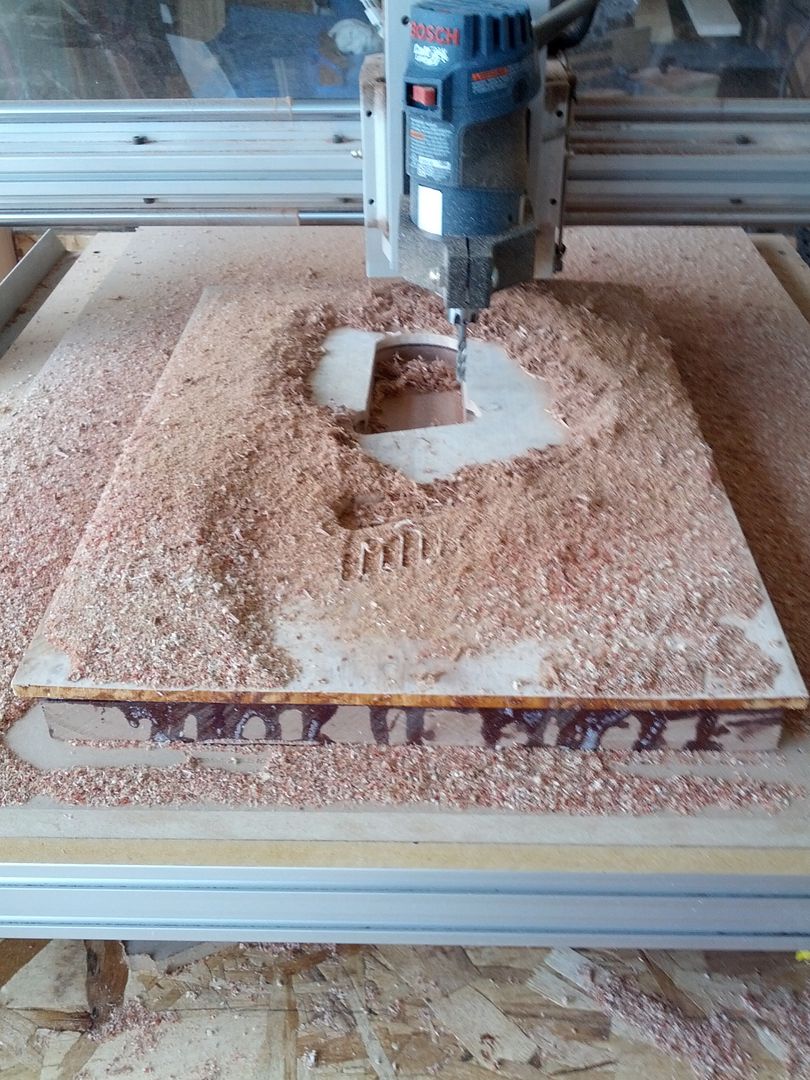
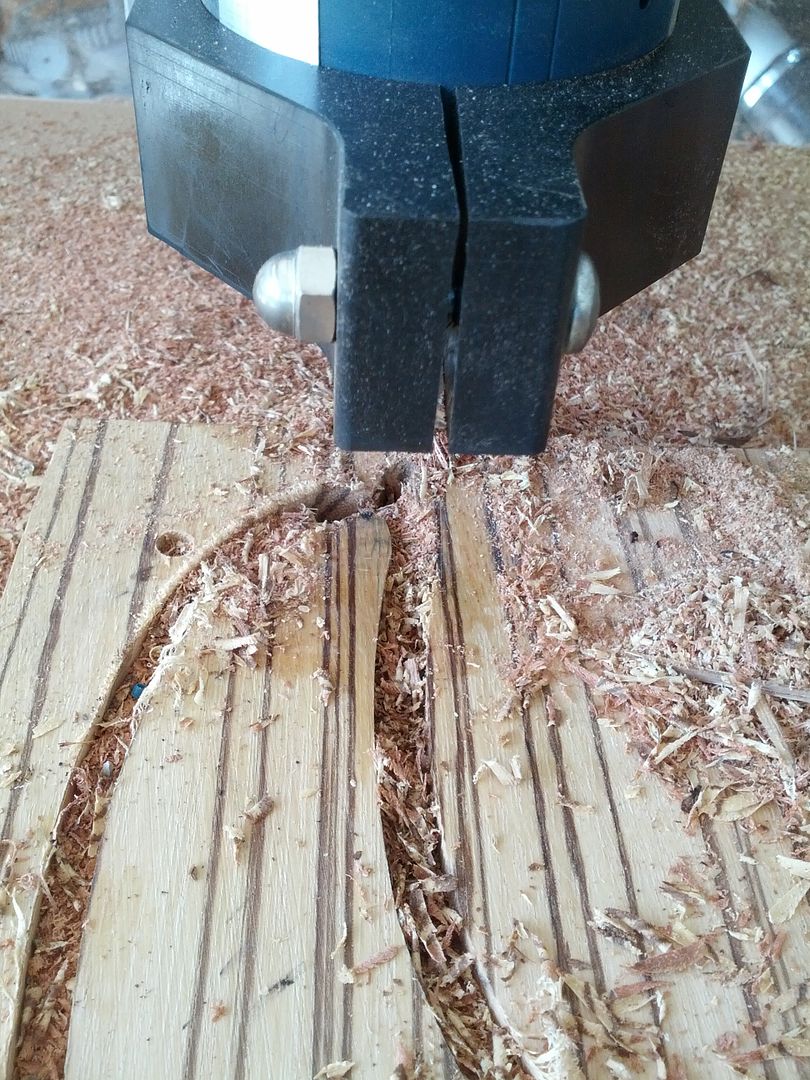
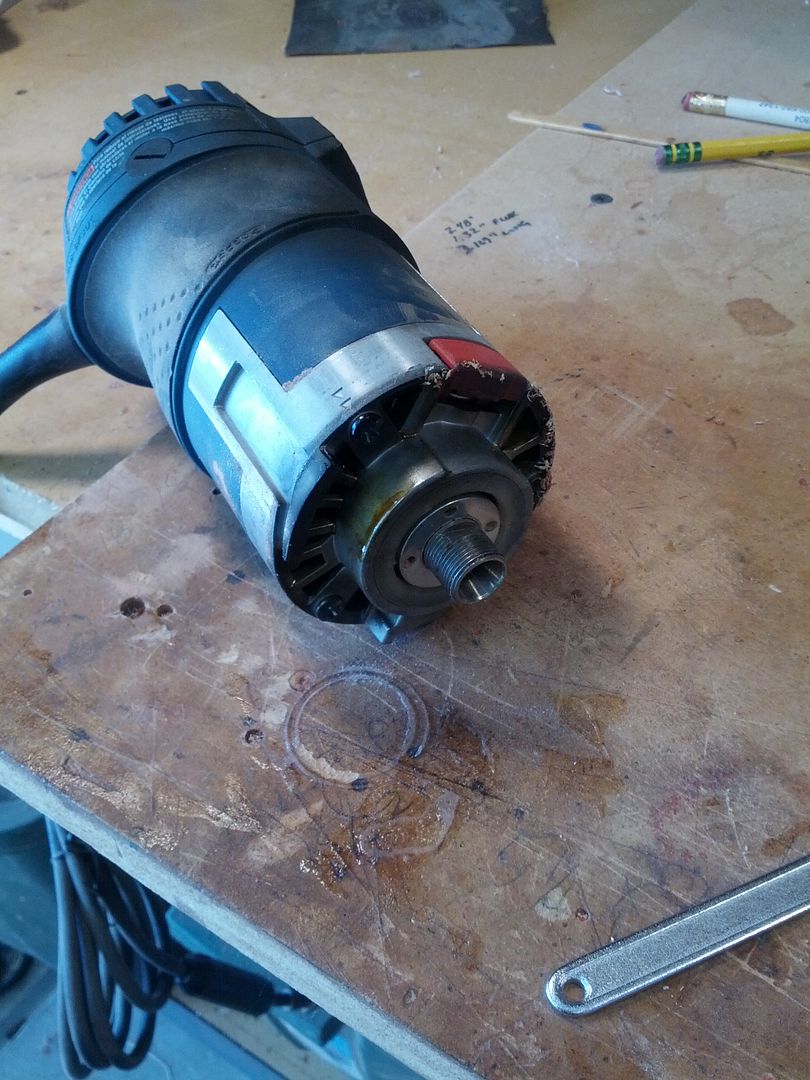
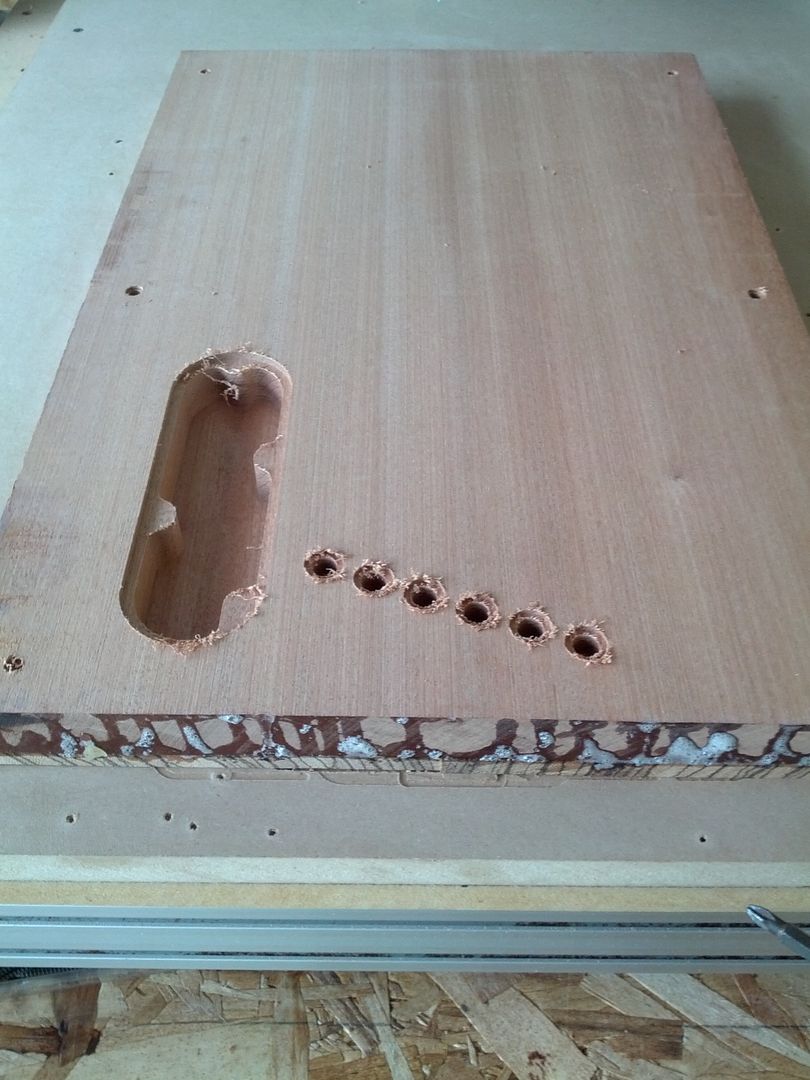
Progress and Regression I hate the smell of electrical smoke in the afternoon... Spindle failure on my CNC machine ruined an otherwise productive weekend. At the end of the day Sunday the Colt Router decided to blow up while I was cleaning up some other stuff. It smoked, stop turning, and the CNC kept moving. All this while working on a very important customer body. In its death throws ate the top horn of the body. If anyone remembers I had a disaster last year as well. The results were pretty bad. The smoke was bad. The dead Colt Palm Router was bad. I would add that luckily my CNC held up and did not break any motors. You can't see the smoke in the picture but it was billowing from the Colt before I could shut it all down.
The damage is where the chips are on the horn. That hole section got eaten. About the size of a dime around. And the dead Colt
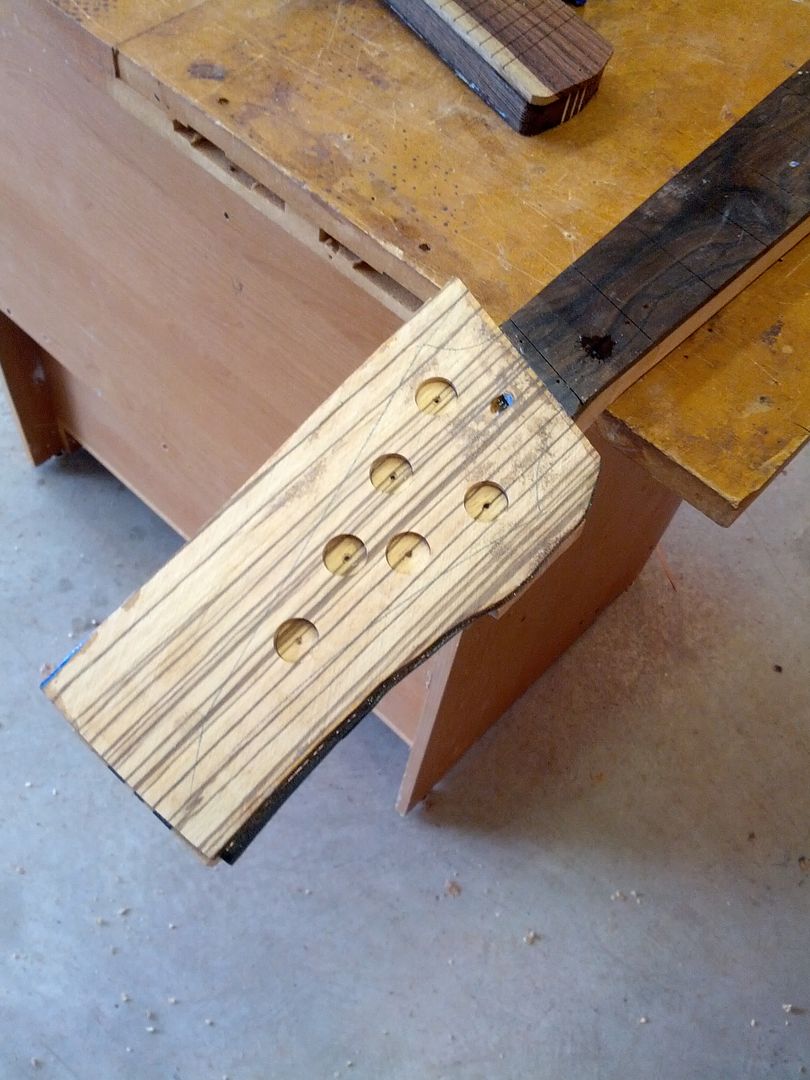
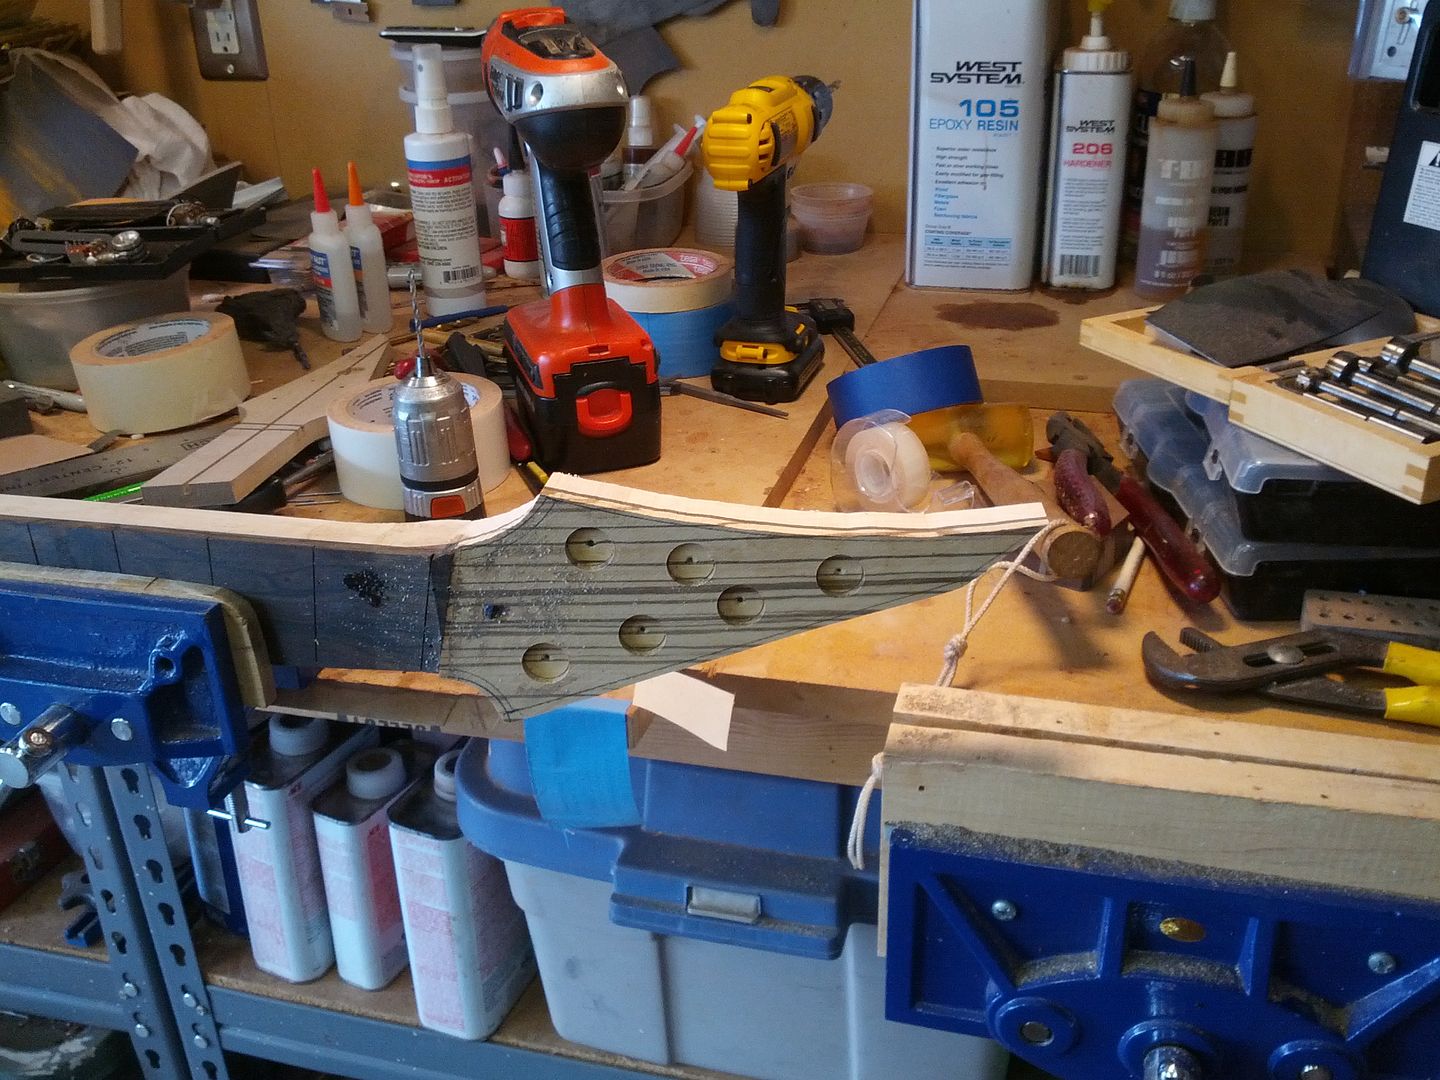
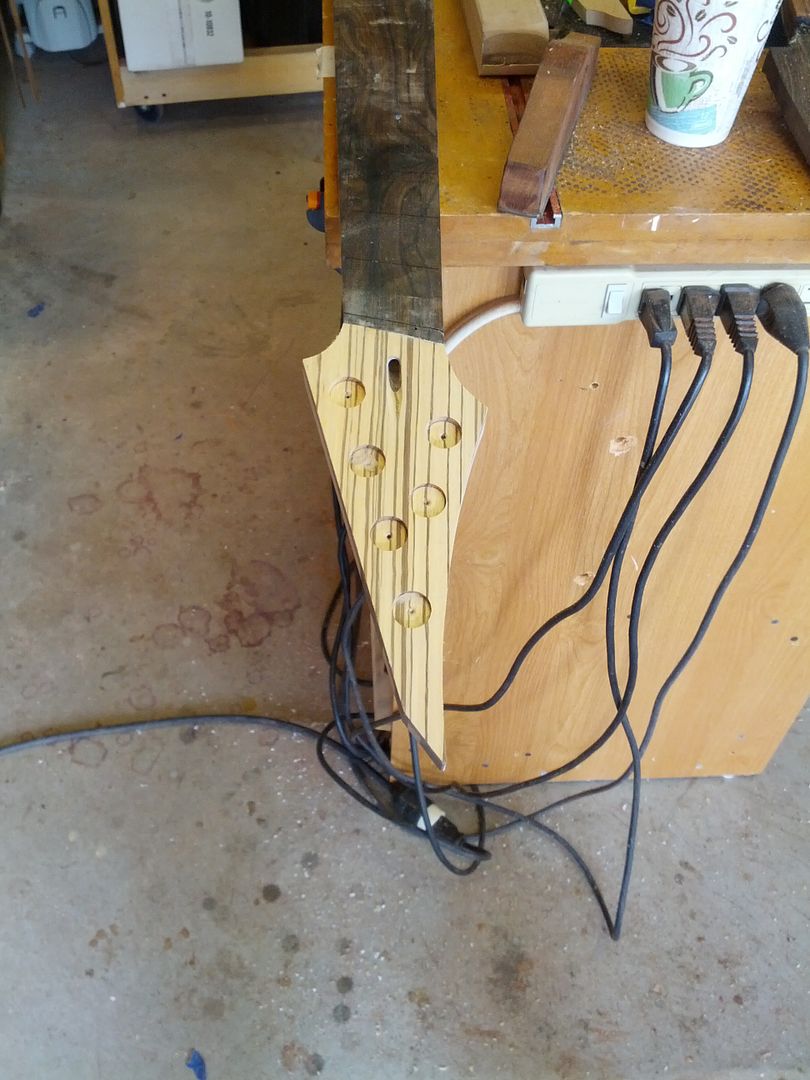
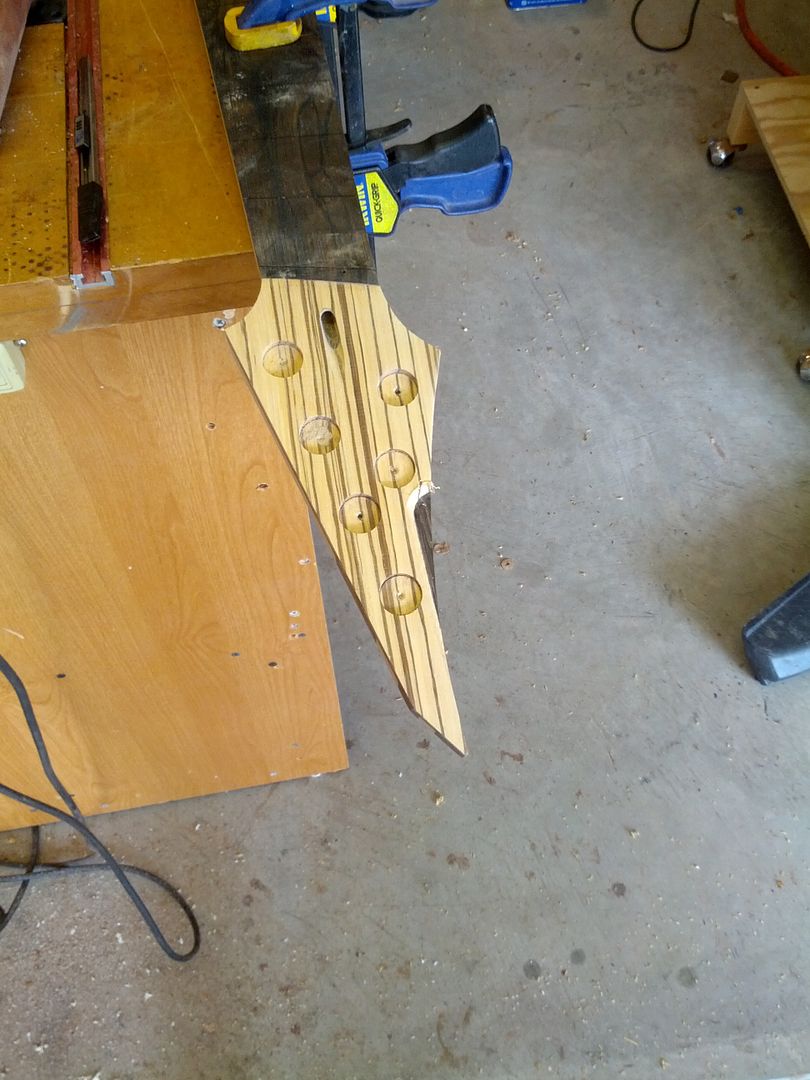
So lets talk about what is right and what worked. Headstock veneers are glued on and tuner recess drilled. However I didn't have the 9/16 in forstner bit I needed to drill the tuner holes. That is on order now.