Old NGD Plus review of Fourth Floor Graphics

  • Thread starter ykcirj
  • Start date
  • This site may earn a commission from merchant affiliate links like Ebay, Amazon, and others.

ykcirj

Well-Known Member
Joined
Apr 24, 2009
Messages
764
Reaction score
69
Location
texas
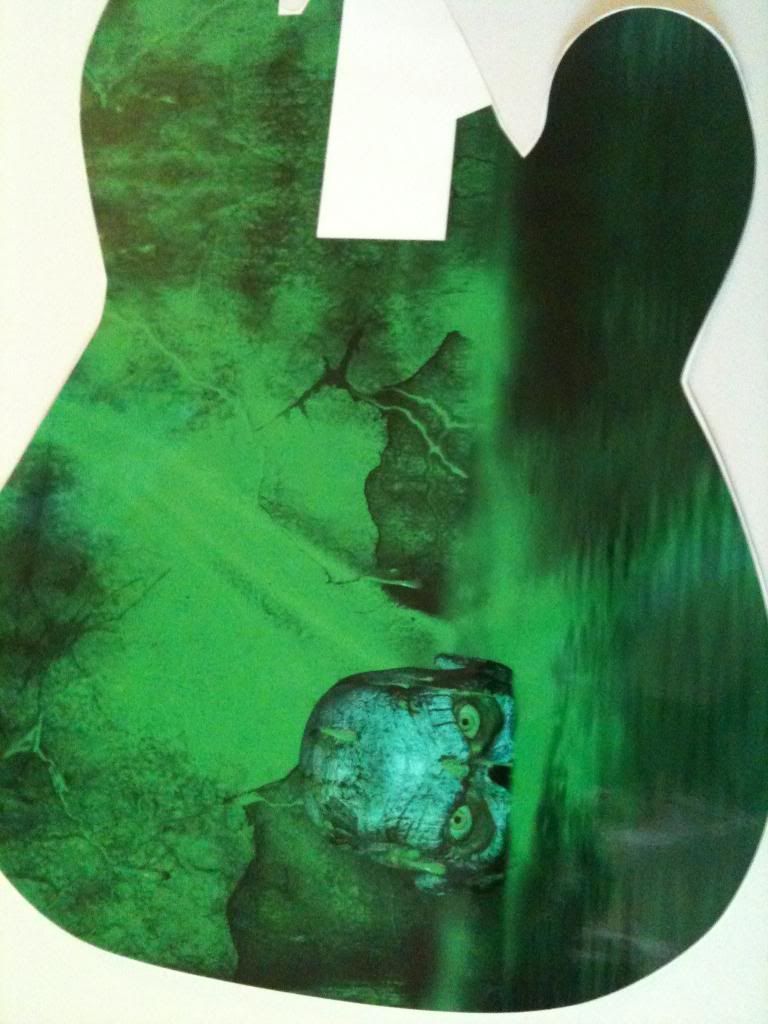
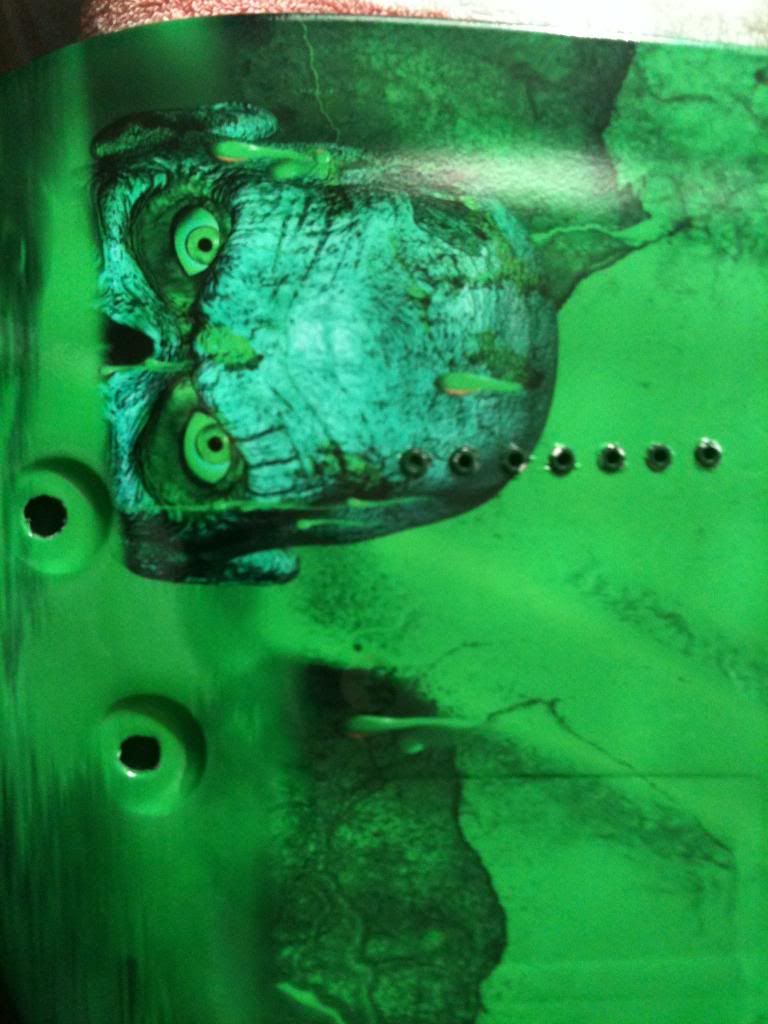
Hello all! It's been a while since I have posted anything. I recently saw a thread in the dealer section about guitar skins by Fourth Floor Graphics. It looked very interesting. I decided to try one of their graphics on my bland and scratched up LTD SC 207. I did a few mods along the way to personalize the guitar. This may be a long post so I apologize in advance for my rambling. First off I ordered the green "submerged graphic". The folks at Fourth Floor seemed super cool and rushed the graphic to me. It came well packed and on time. I REALLY urge you guys to do business with them! I get nothing from them, I just really believe they deserve it! Check out their designs at www.fourthfloorgraphics.com Anyways on to the guitar...

I was not able to apply the graphic until I finished some body work and a few mods on my SC207. Here is the pic story. Not really a "how to", just a documentation of my lame attempt at wood working. Please excuse the iPhone pics :)

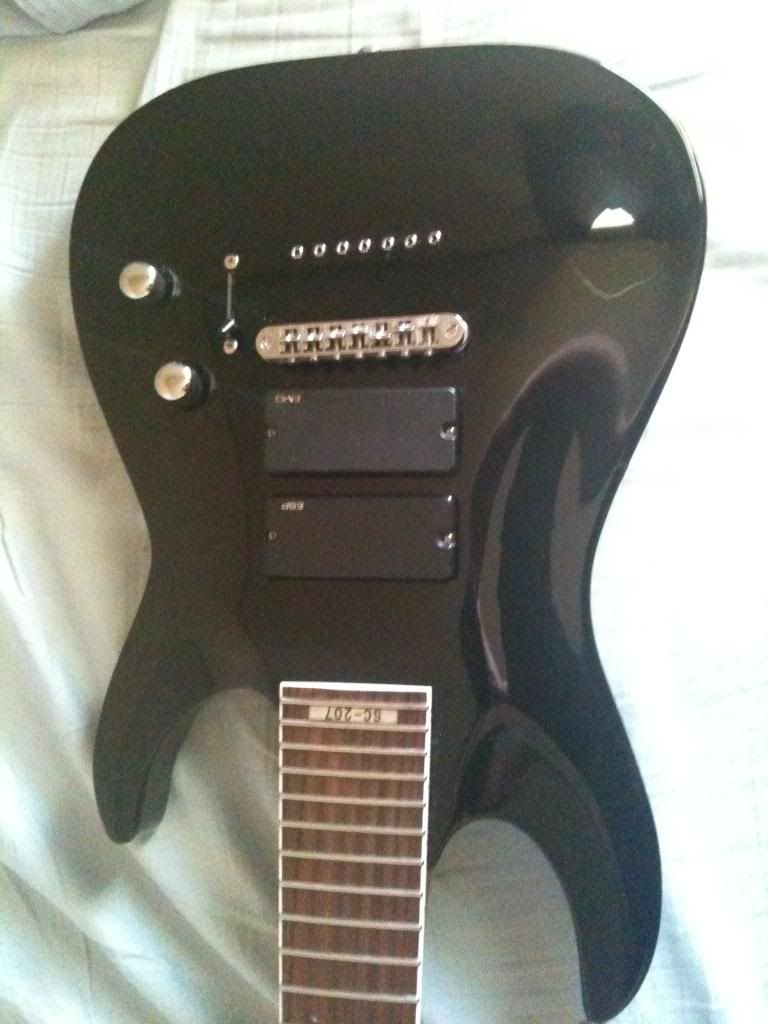
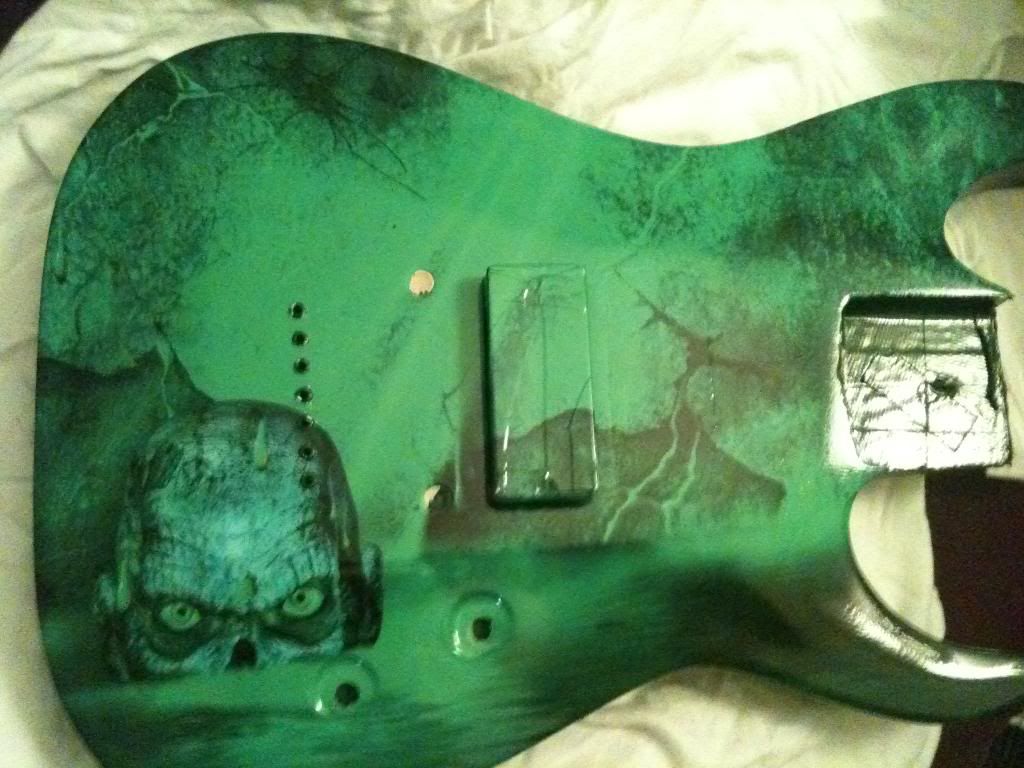
Plain old sc207. Nice but kinda bland.
IMG_0579.jpg


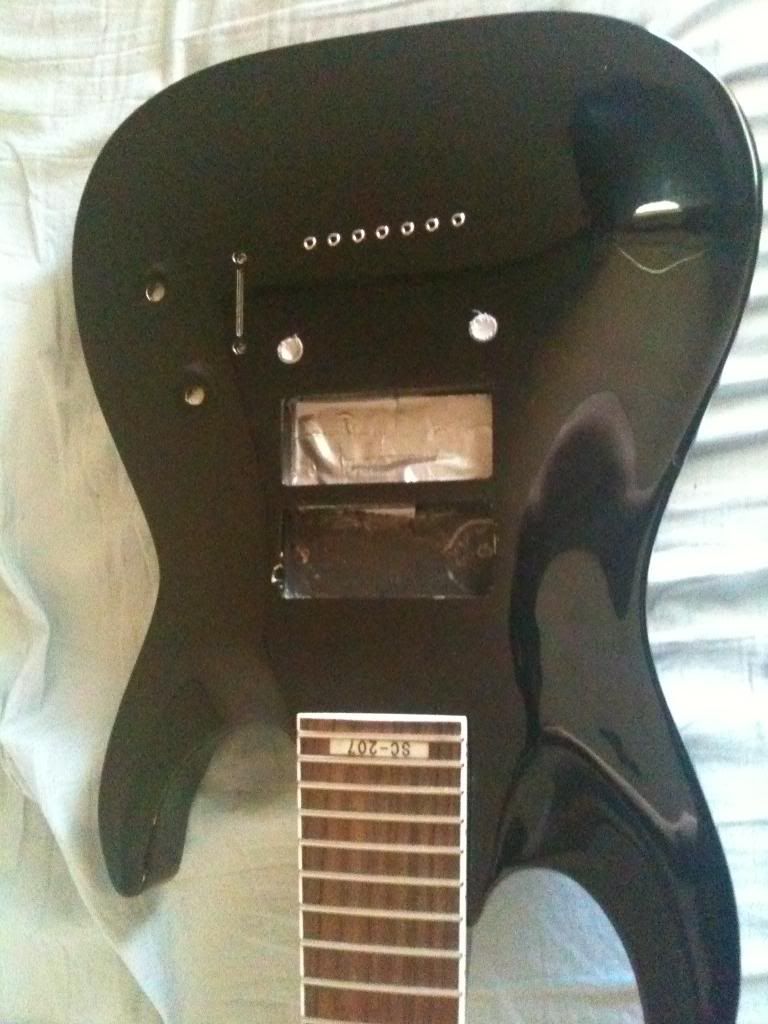
Removed the hardware and pickups

IMG_0582.jpg


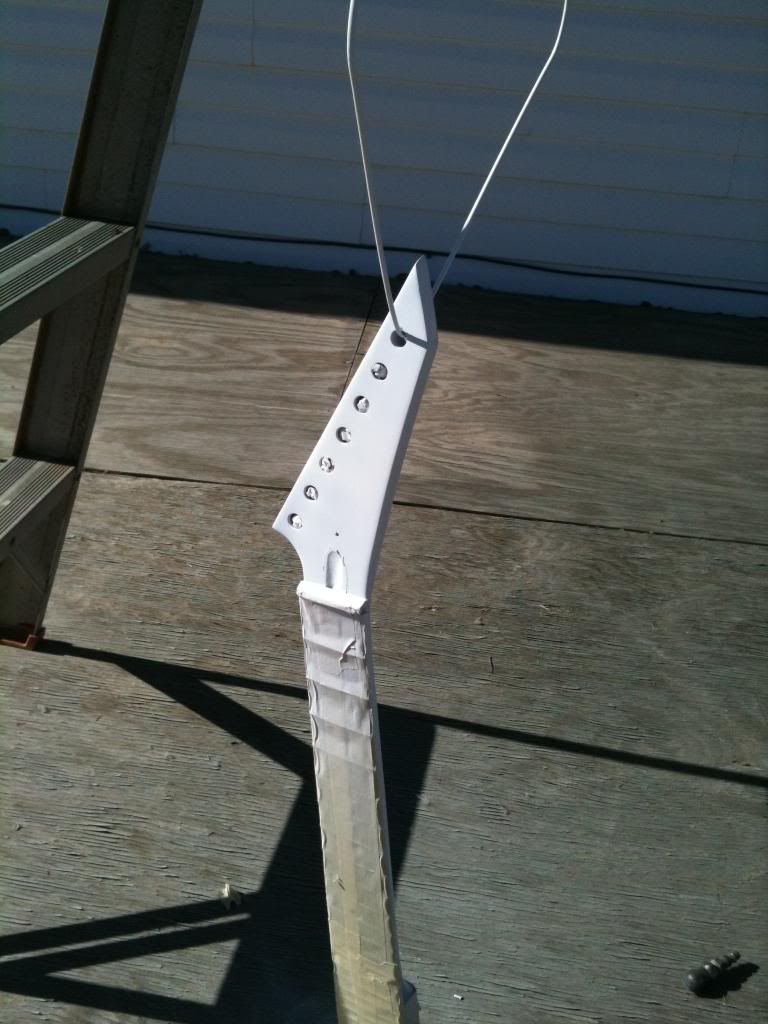
Took off the neck for sanding

IMG_0600.jpg


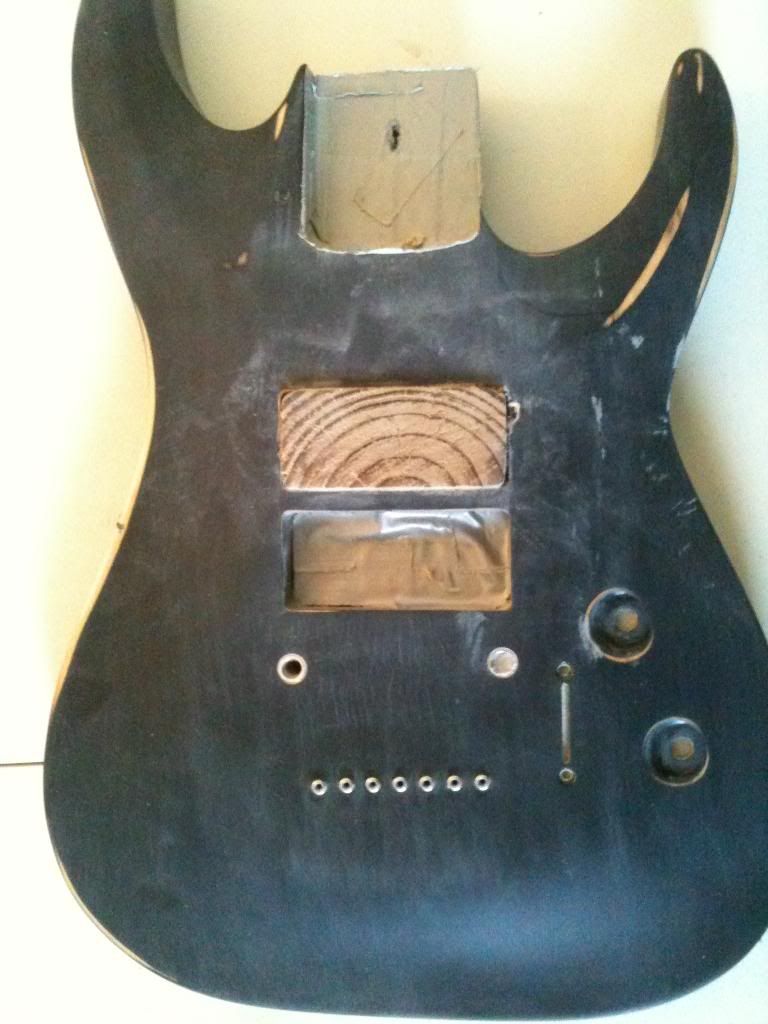
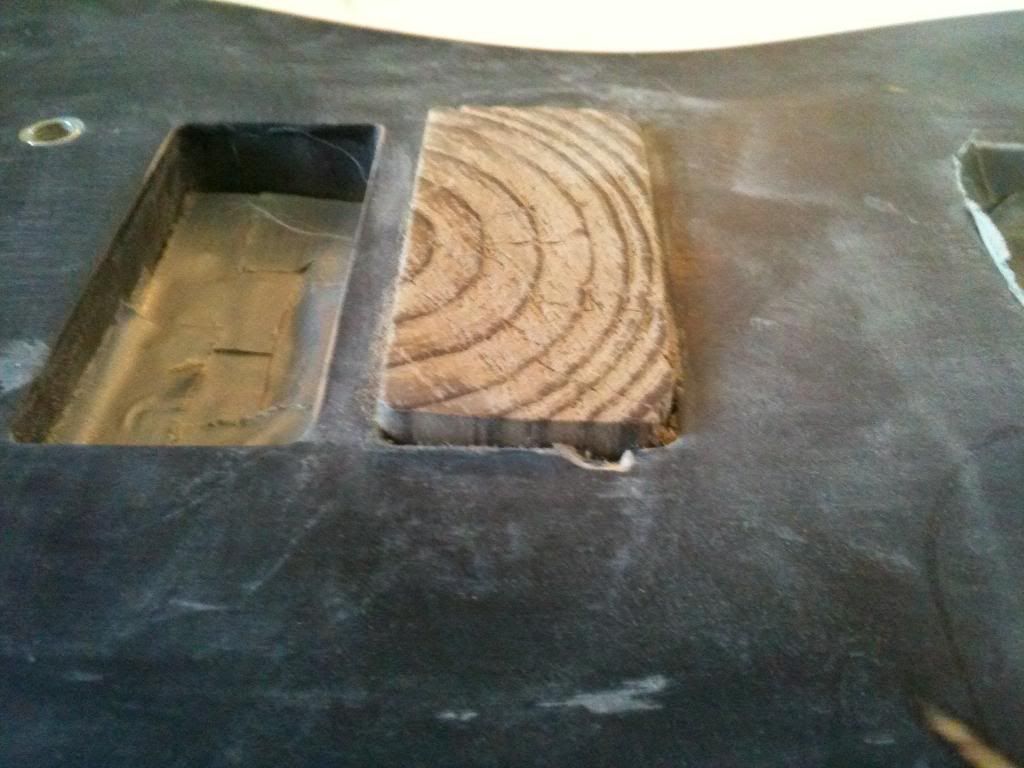
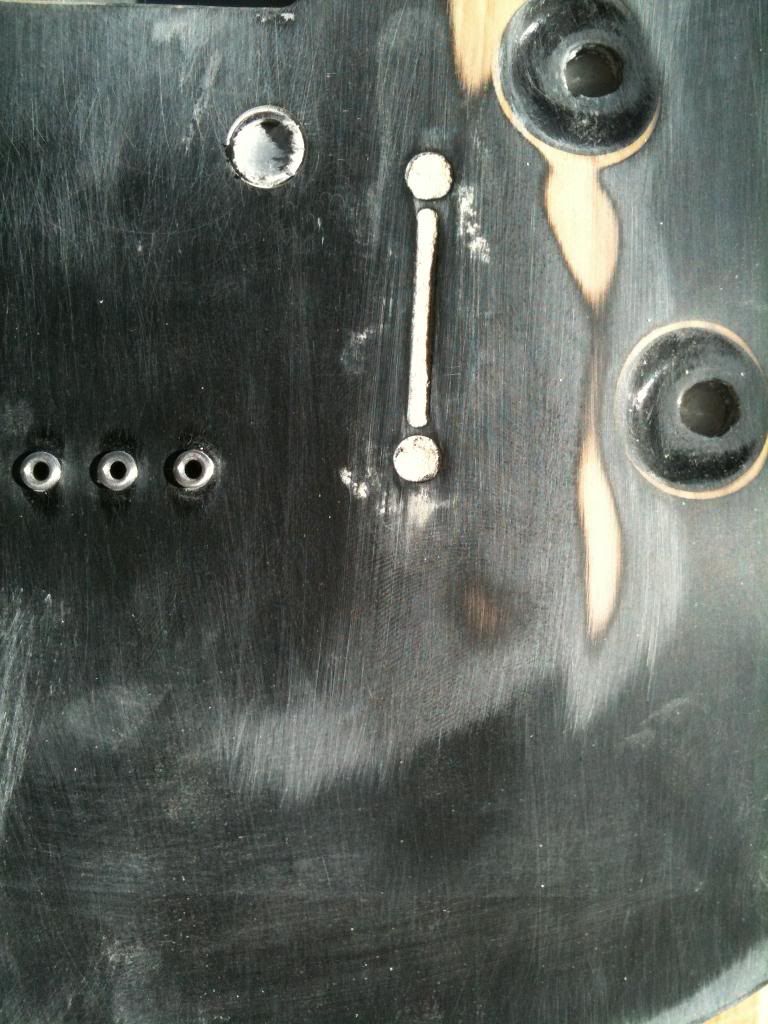
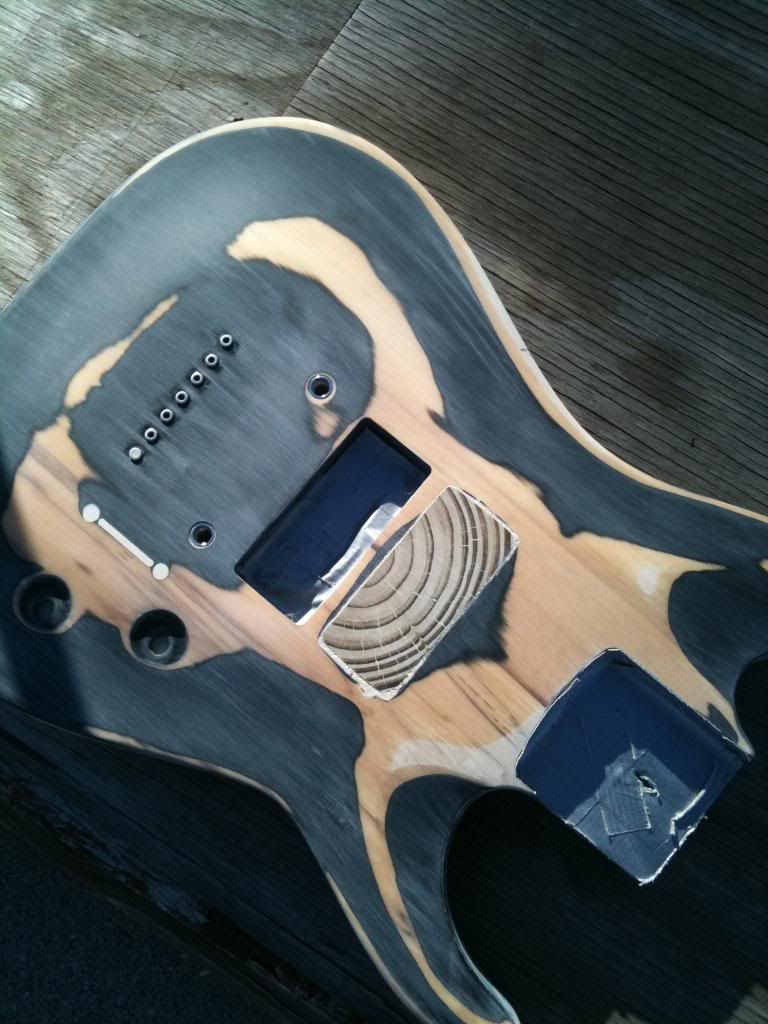
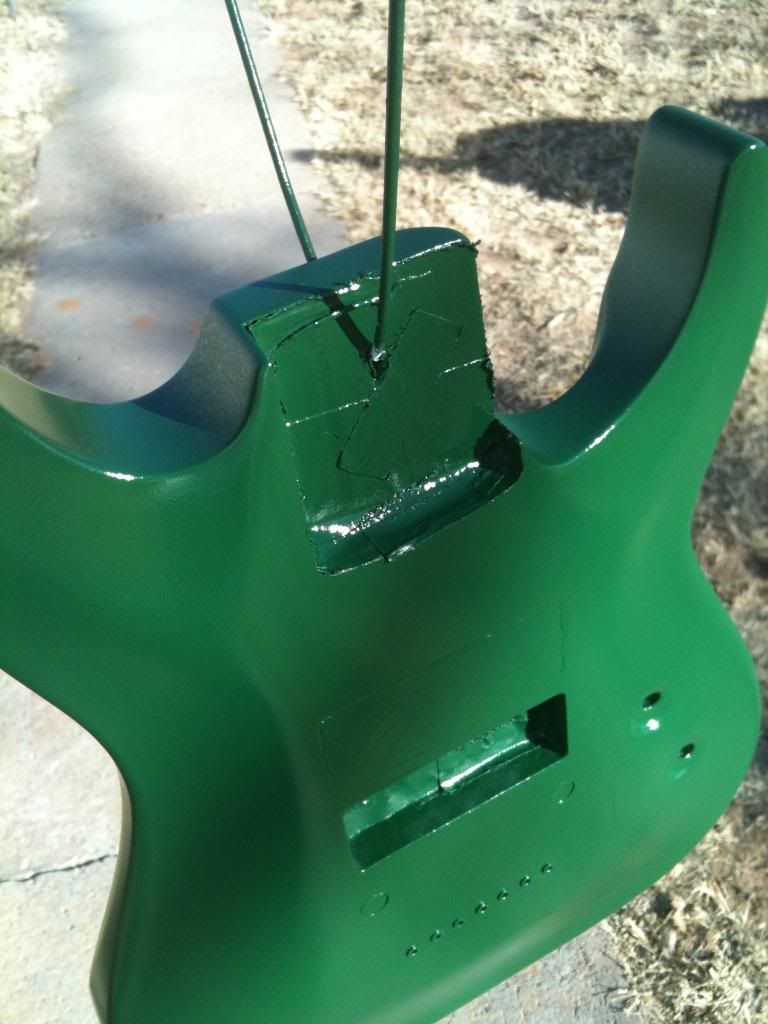
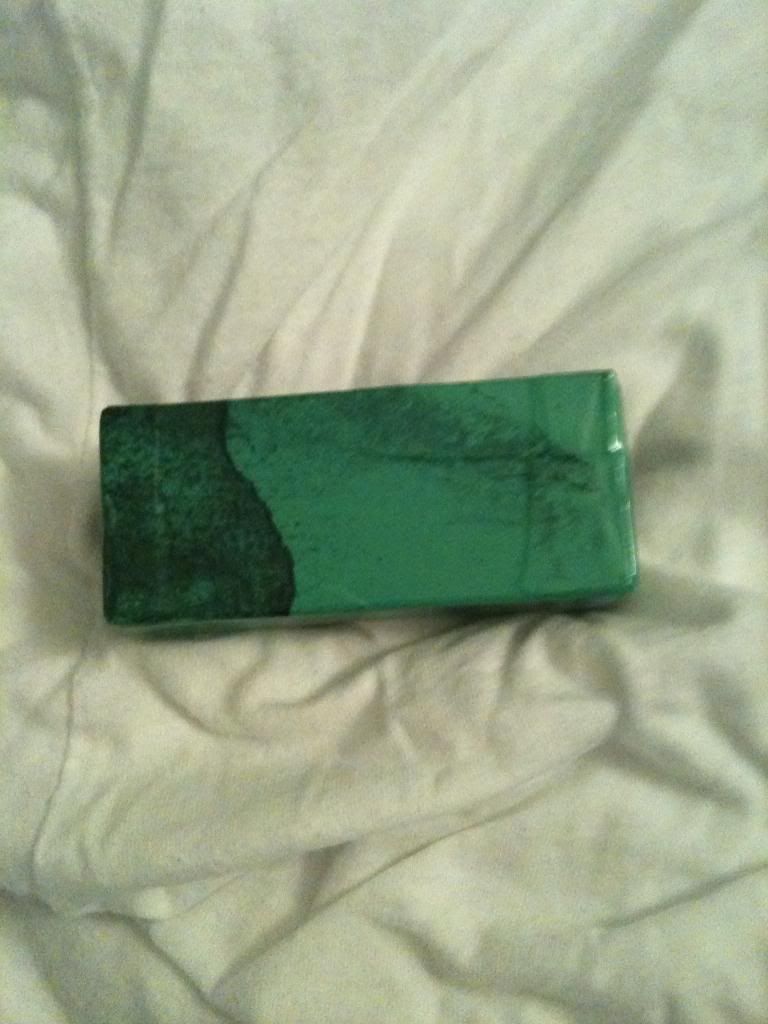
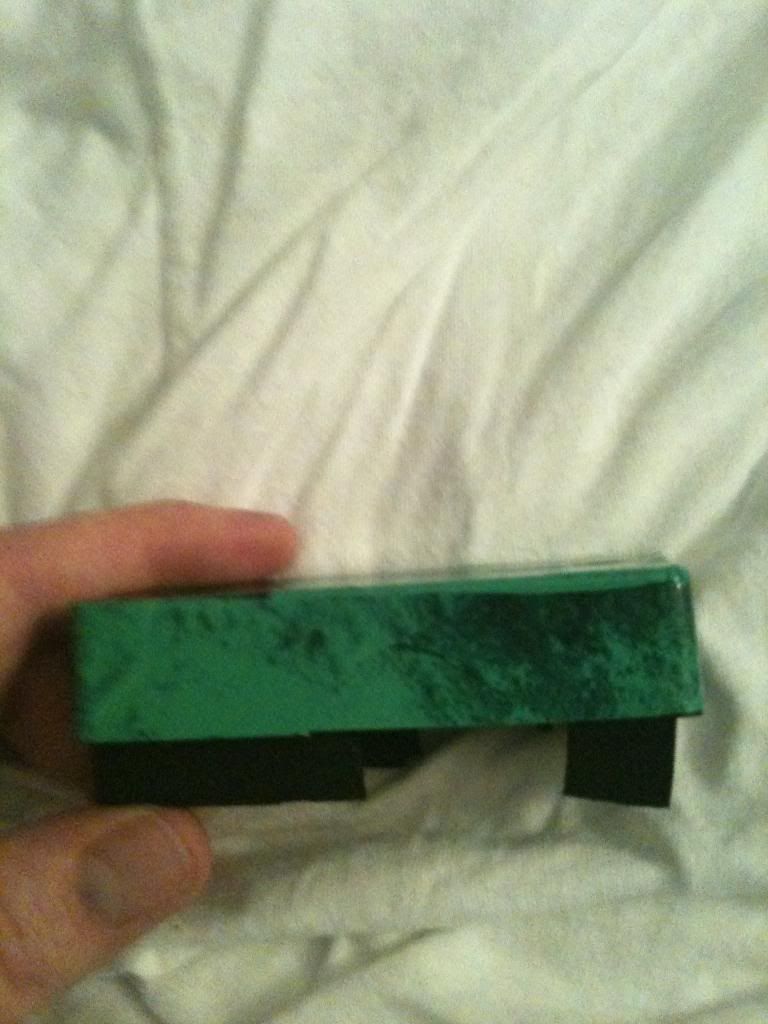
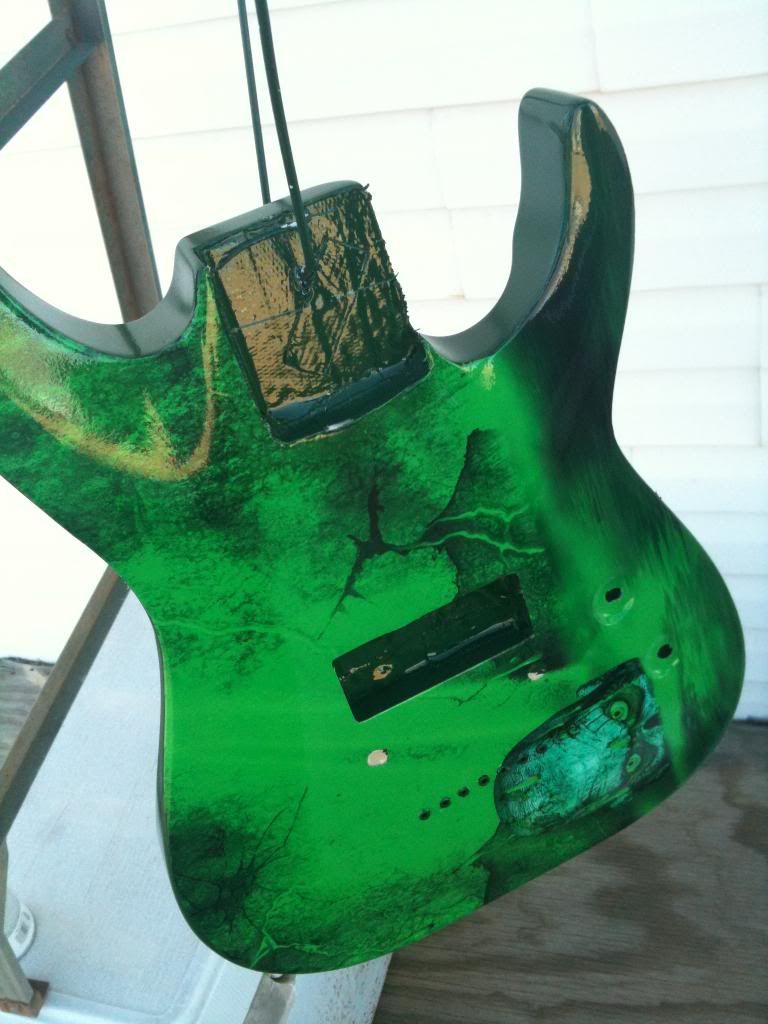
At this point I decided that I wanted to fill in the middle pickup position. I rarely used it. I had an EMG 707 for the bridge and wanted a nice and simple layout. I also decided I wanted to fill in the pickup switch cavaty aswell. I cut a block of wood to fit in the cavaty.

IMG_0603.jpg
 

This site may earn a commission from merchant links like Ebay, Amazon, and others.

ykcirj

Well-Known Member
Joined
Apr 24, 2009
Messages
764
Reaction score
69
Location
texas
Hmm still needs a lot of sanding :)

IMG_0604.jpg


Filled pickup switch with wood putty

IMG_0607.jpg


Almost done sanding...

IMG_0610.jpg


1st Primer coat

IMG_0612.jpg


Primed the neck next

IMG_0614.jpg


Now for my favorite color..GREEN.
The pickup cavity filled in okay..could have been better. a few more coats of paint will be needed to make it seem less noticeable.

IMG_0628.jpg


Here is the graphic I had to work with....pics do not do it justice

IMG_0599.jpg
 

ykcirj

Well-Known Member
Joined
Apr 24, 2009
Messages
764
Reaction score
69
Location
texas
Slowly trimmed it down. I realized you need a REALLY sharp razor and you have to be very patient.

IMG_0650.jpg


It wasn't as difficult as I thought to work the material into the volume/ tone knob bevels.

IMG_0651.jpg


Now for the pickup

plain
IMG_0653.jpg


Wrapped :)
IMG_0655.jpg


IMG_0656.jpg


Now a test fit:

IMG_0659.jpg


Neck before:
IMG_0660.jpg


Neck after

IMG_0661.jpg


IMG_0662.jpg
 

ykcirj

Well-Known Member
Joined
Apr 24, 2009
Messages
764
Reaction score
69
Location
texas
Hmm Now to the present day....I finished over the entire body and neck with clear coat. I definitley reccommend it. It makes the graphic pop and seem as if it is painted on. Here is another quick shot after a few coats of clear

IMG_0665.jpg


Now I just have to wait a few weeks for it to dry and for the black hardware to arrive.

Final Thoughts: The graphics were pretty easy too apply and are definitely easier than painting haha. I am an amatuer when it comes to wood working. I didnt get the pickup cavaty filled as great as I would have liked, but it looks seemless now with the graphic on. Also the string ferrules looked scratched in one of the pics... They were actually taped over so they are fine. The hardest part about applying the graphic for me was trimming around the ferrules. It turned out okay though. Just takes a lot of patience. I do not reccommend using Rustoleum brand paints. They really suck. Stick with Krylon. Overall I'm happy with the job for now. I will update this after I assemble the entire guitar in a few weeks. Please don't be too harsh :ugh:
 

linksys24

Guitar skin maker
Joined
Nov 10, 2010
Messages
58
Reaction score
15
Location
Dubois, Pa
Looks awesome man and thanks!! Did you pop out the string ferrules or did you trim around them?? For string thrus I always pop them out before laying the graphic down. Looks killer dude, can't wait to see some pics of it all back together!!
 

ykcirj

Well-Known Member
Joined
Apr 24, 2009
Messages
764
Reaction score
69
Location
texas
Looks awesome man and thanks!! Did you pop out the string ferrules or did you trim around them?? For string thrus I always pop them out before laying the graphic down. Looks killer dude, can't wait to see some pics of it all back together!!

i left them in and just taped over them. I wasn't exactly sure how to remove them. That would have made it alot easier :wallbash: 
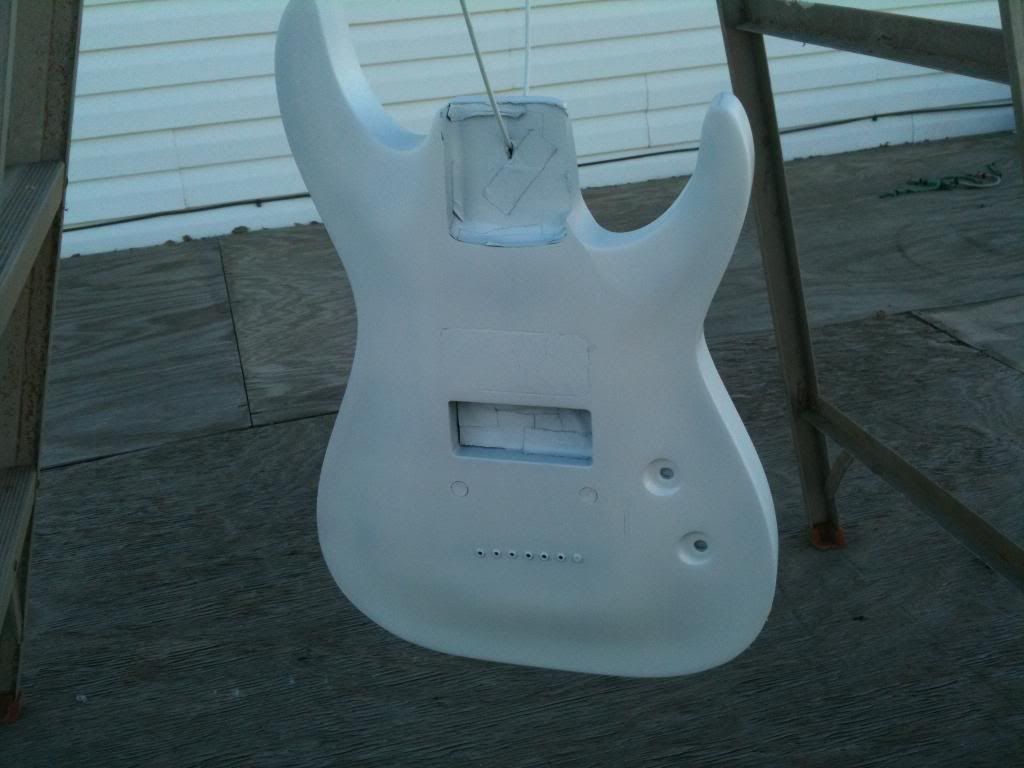
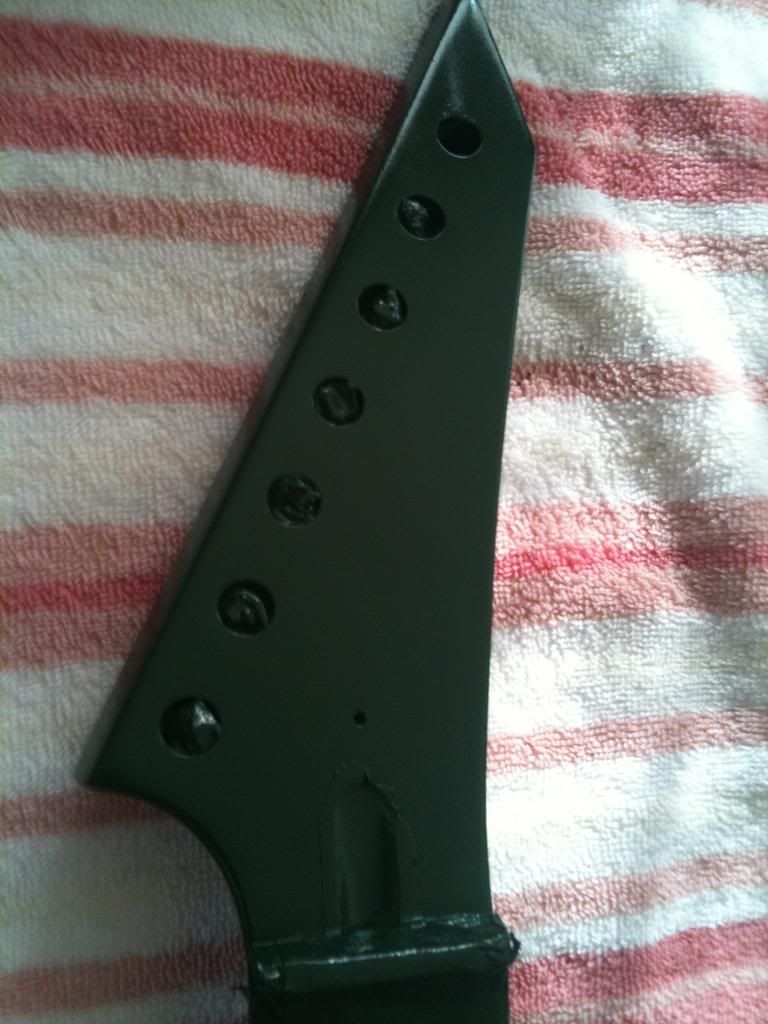
It cleaned up ok though :lol:
 

jymellis

Talk To DeWalt
Joined
Jul 27, 2008
Messages
8,485
Reaction score
1,007
Location
sinsi ohio
dude, that thing is sooooo awesome! will you please take more pics when it dries? i may just clear over mine :)
 

ykcirj

Well-Known Member
Joined
Apr 24, 2009
Messages
764
Reaction score
69
Location
texas
dude, that thing is sooooo awesome! will you please take more pics when it dries? i may just clear over mine :)

Yeah i will for sure :) I just have an iPhone for a camera though.
 

jl_killer

Well-Known Member
Joined
Aug 8, 2010
Messages
93
Reaction score
19
Location
Toronto, ON
Nice thats a cool idea to wrap up the pup cover, its gonna look sweet. How do the edges turn out looking where the skin meets the body?
 

ykcirj

Well-Known Member
Joined
Apr 24, 2009
Messages
764
Reaction score
69
Location
texas
Nice thats a cool idea to wrap up the pup cover, its gonna look sweet. How do the edges turn out looking where the skin meets the body?

They turned out really well. I was worried about the clear coat peeling up the edges but that did not happen at all. You just need a very sharp razor and a steady hand. The vinyl is very durable and sticks to the wood nicely, yet it's easy to pull back up and work the wrinkles out. It's strange how that works to our benefit like that haha. Again I have no skill when it comes to these kinds of things, so I can't wait to see how some of the others come out. If I wasn't a perfectionist I would have just put the graphic on,but the body had some slight damage that really annoyed me.

The clear coat really brings out the depth of the graphics. I definitely reccommend it unless you want to change the look often. Plus I can still polish my guitar like a normal guitar. I can't wait until this thing dries. I'm going to buy a Carvin bolt kit next I think. I'm going to stain the wood and use another FF graphic. :yesway:
 
Top
')