RestorationAD
Well-Known Member
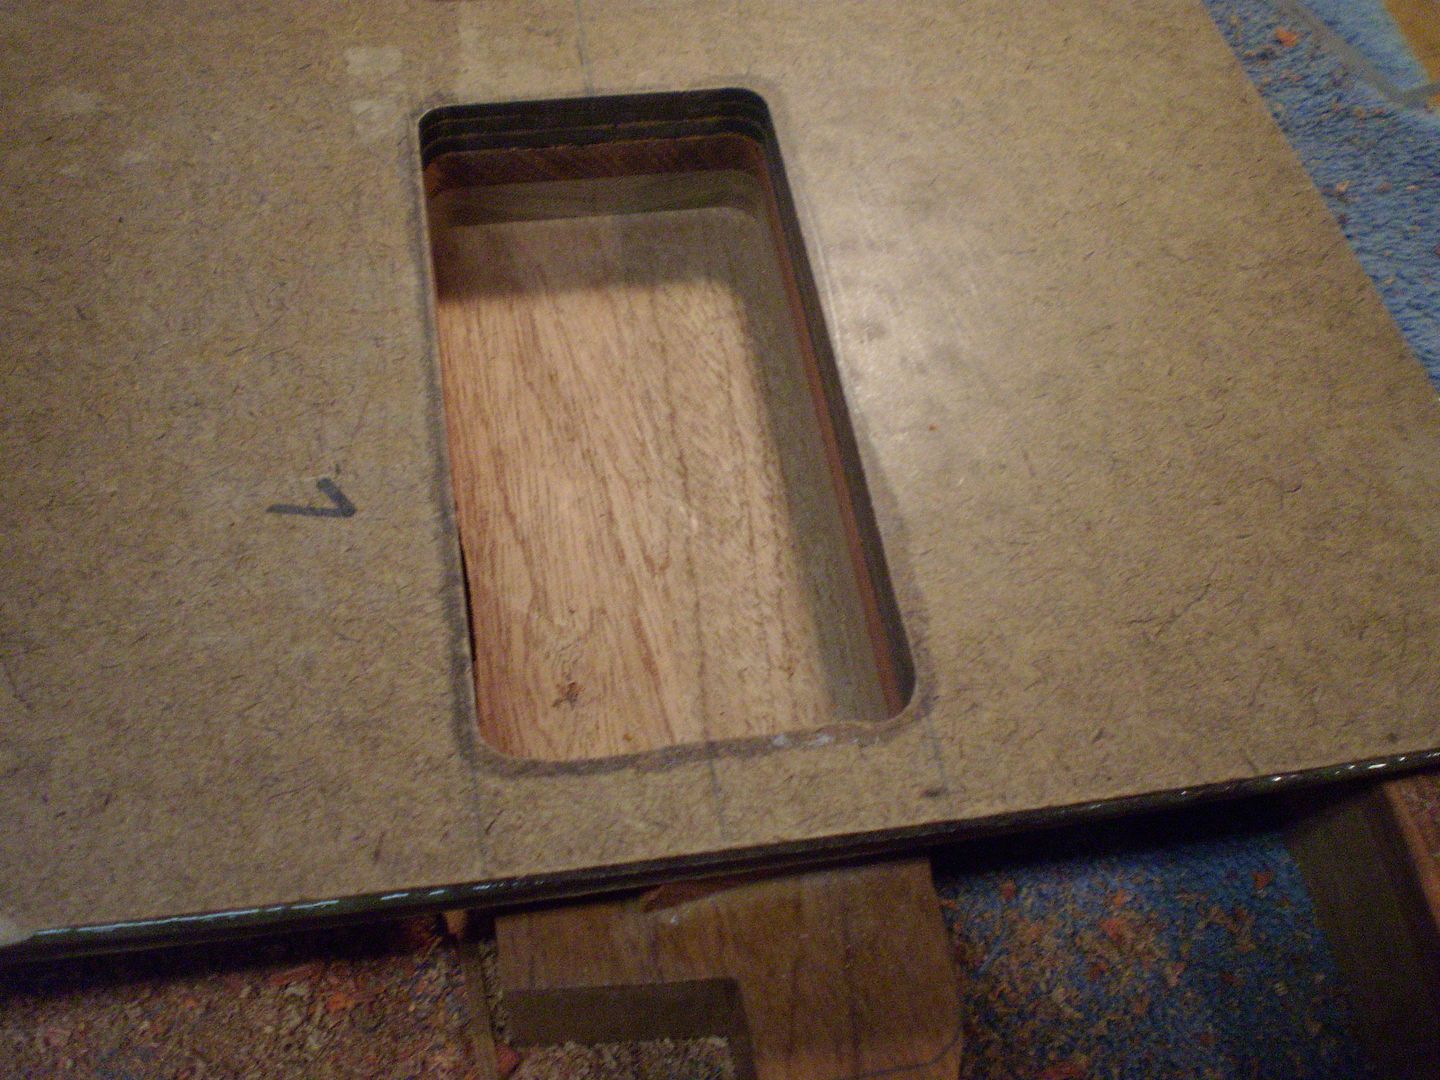
Neck pocket routed.

The neck pocket is cut at the end of the route. Leaving the heal longer on this build because I plan on blending the heal and neck like a neck
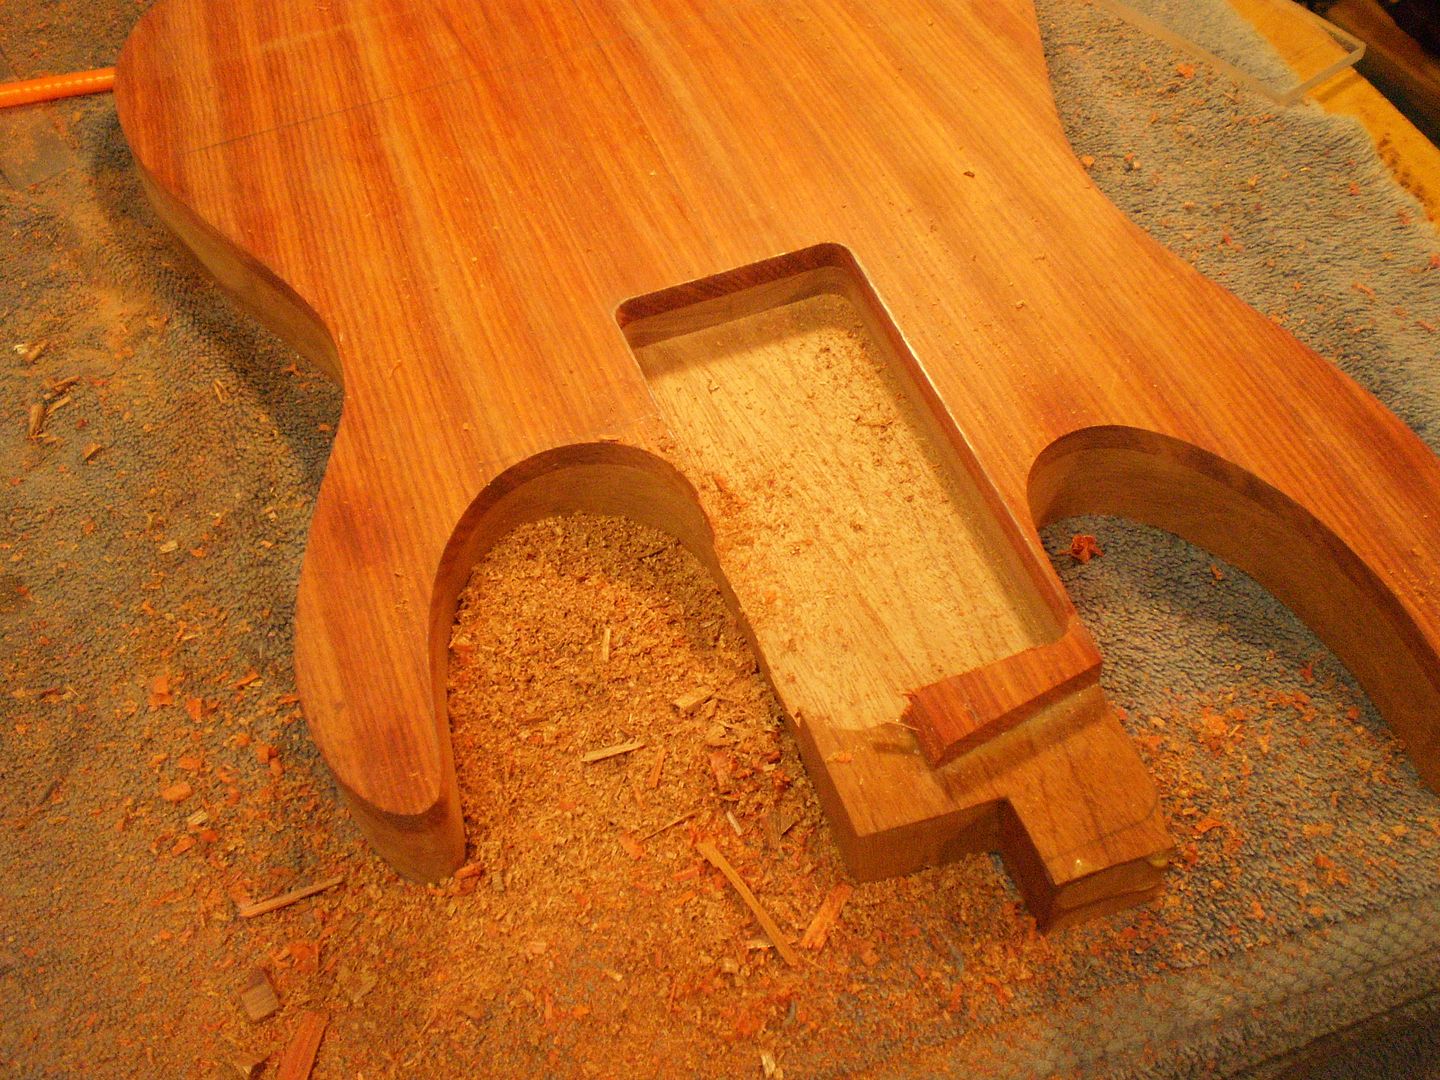


The neck pocket is cut at the end of the route. Leaving the heal longer on this build because I plan on blending the heal and neck like a neck


