Refinishing my RG7620 (Lots of Big Pics)

  • Thread starter MacTown09
  • Start date
  • This site may earn a commission from merchant affiliate links like Ebay, Amazon, and others.

MacTown09

Well-Known Member
Joined
Oct 18, 2008
Messages
997
Reaction score
197
Location
Mckinney/Denton, Tx
Some of you may know that I recently got an RG7620. It is painted black buttt had a lotta chips and scratches on her. The frets looked like they had never been played, the hardware was flawless. I decided my first mod is to give he a finish she deserves. This is highly inspired by Cyril V's RG7 (http://www.sevenstring.org/forum/sevenstring-guitars/97744-rg-7620-refinish.html) refinish and i wanna thank him for all his help :hbang:

Here is the plan:
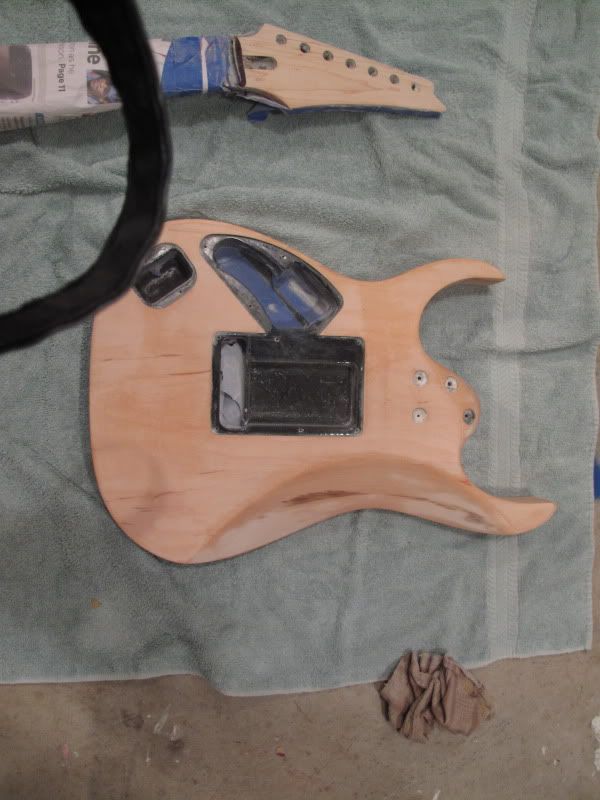
Strip the paint using Citristrip
Sand it down to 320 grit for super smoothness
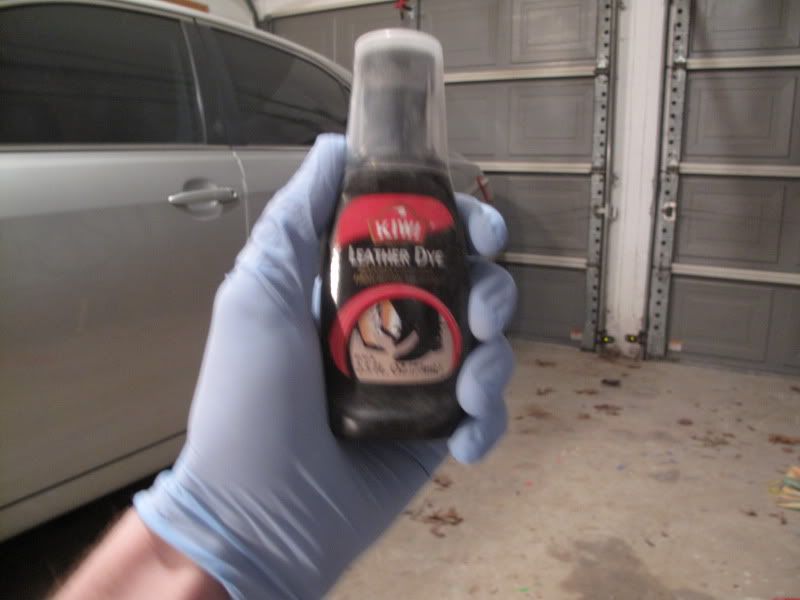
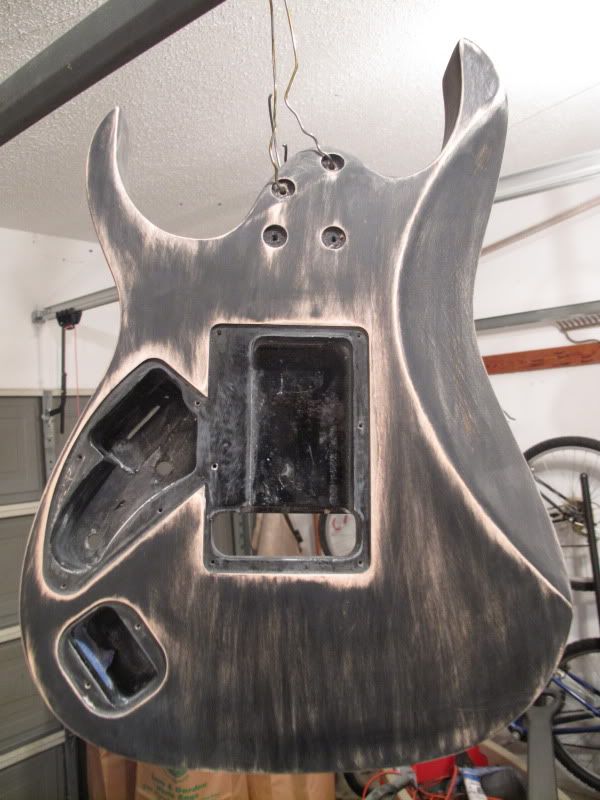
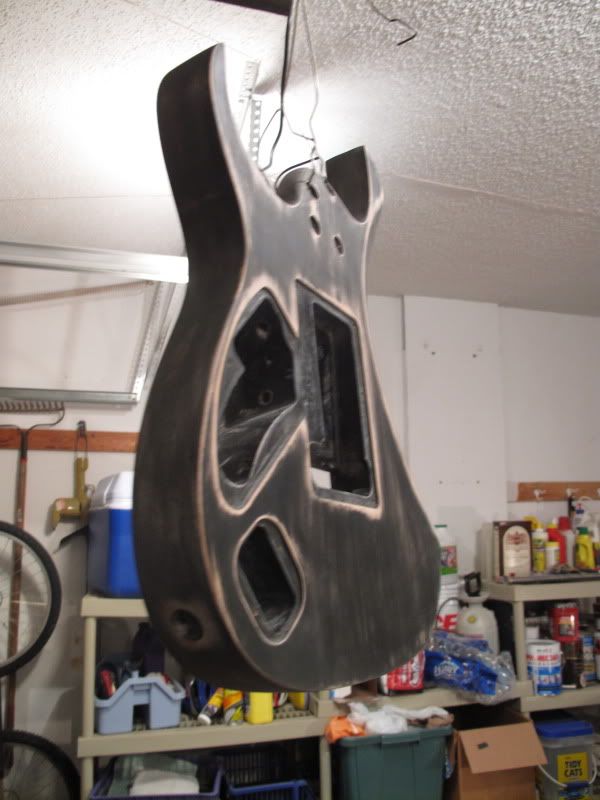
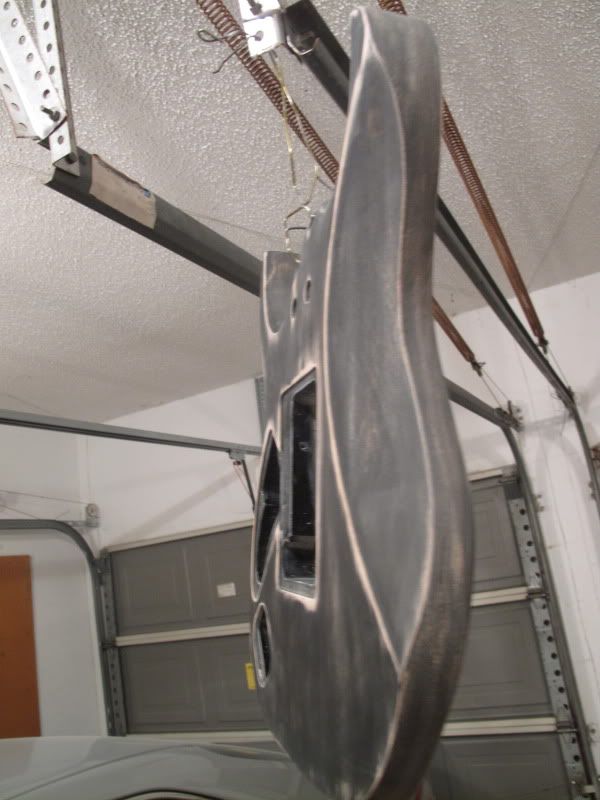
Dye it black with KIWI Leather Dye(sand down and repeat)
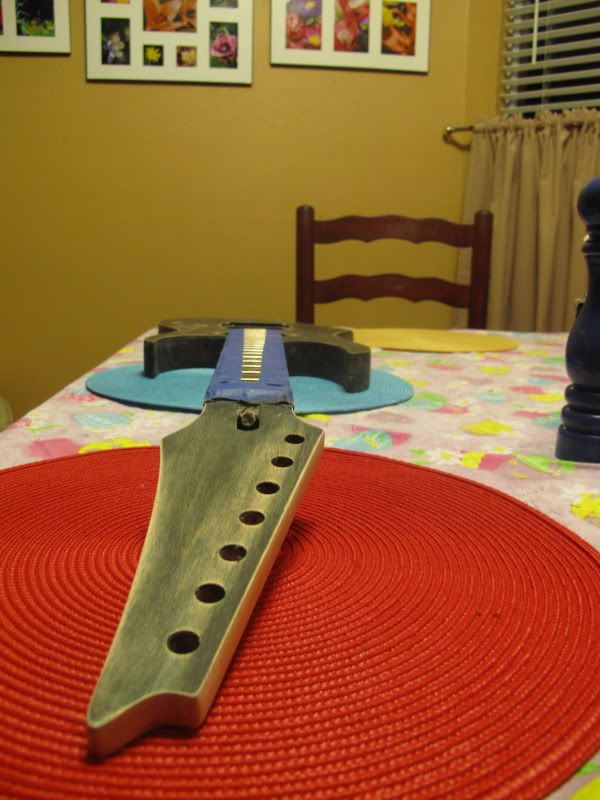
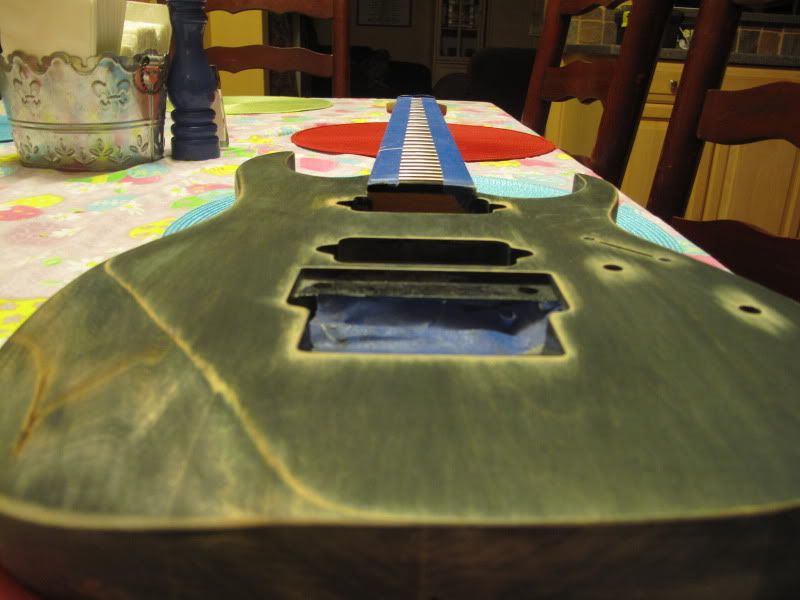
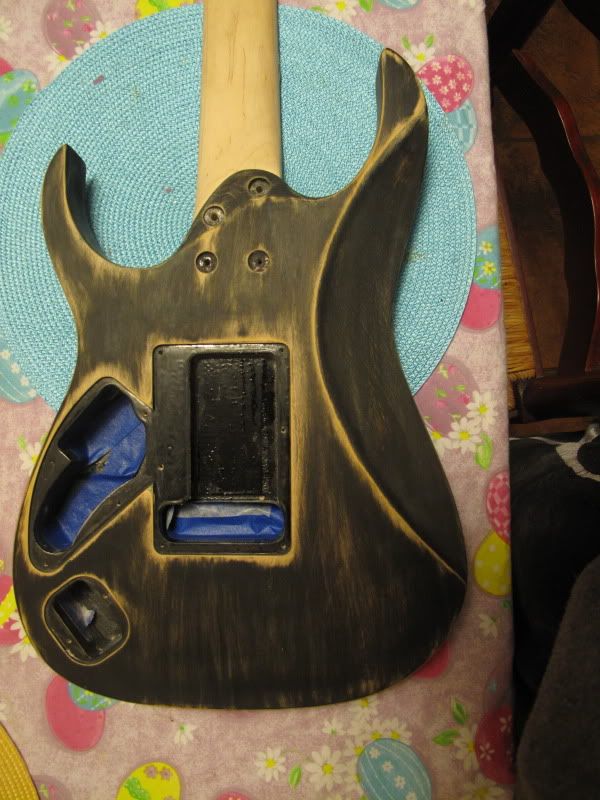
Dye with the greenish stuff a couple times, until the color makes me happy
Depending on how i like it, ill either distress it a little or not.
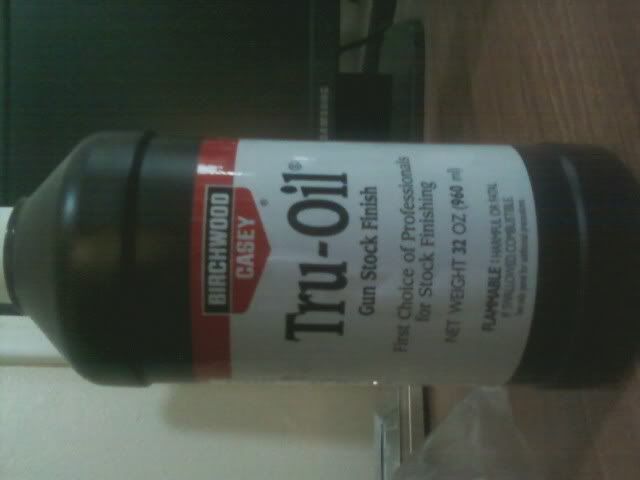
Finish her off with some Birchwood Casey Tru Oil Gunstock Oil
Dye that Fretboard to ebony with some Stewmac

I will also be sanding the neck down to smoothness and refinishing it with some of the magical Tru Oil that everyone talks about.

03/18/2010


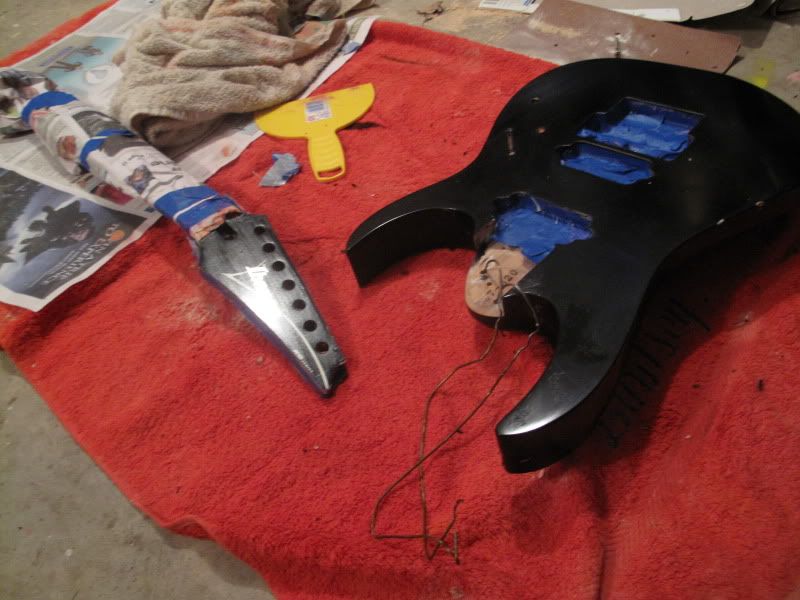
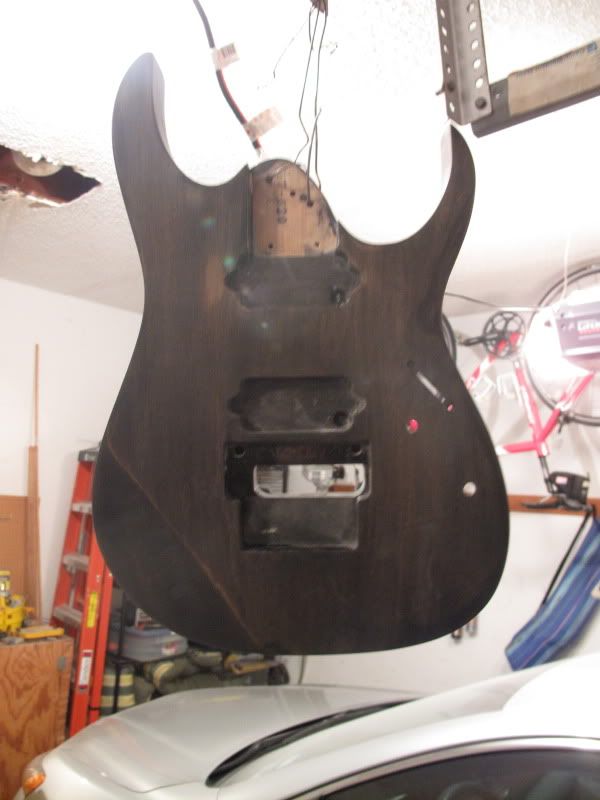
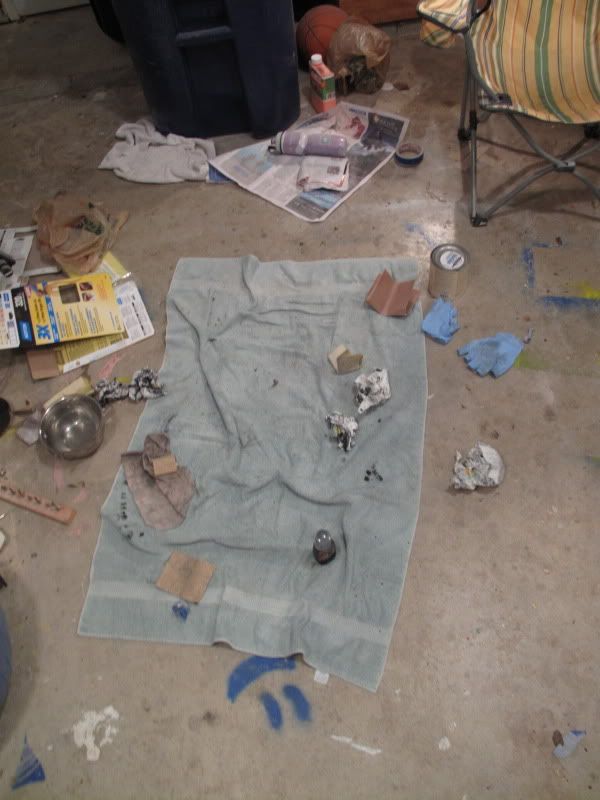
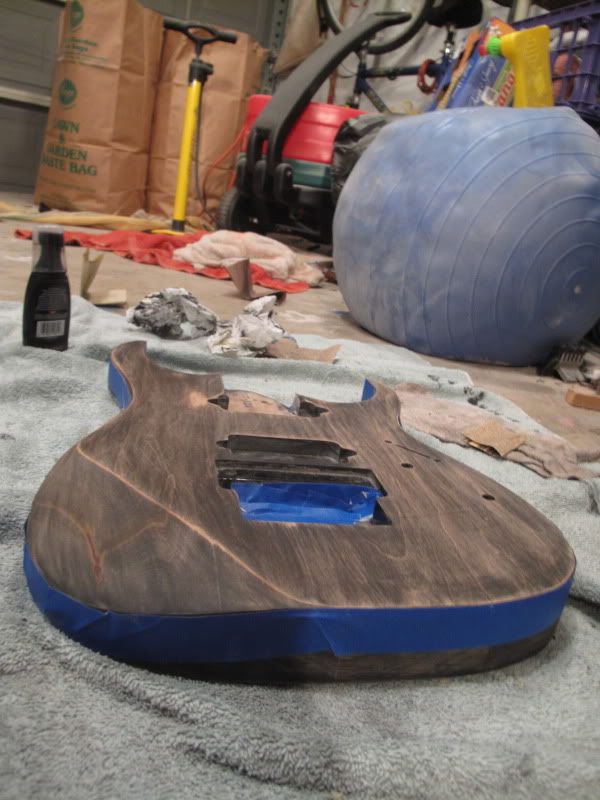
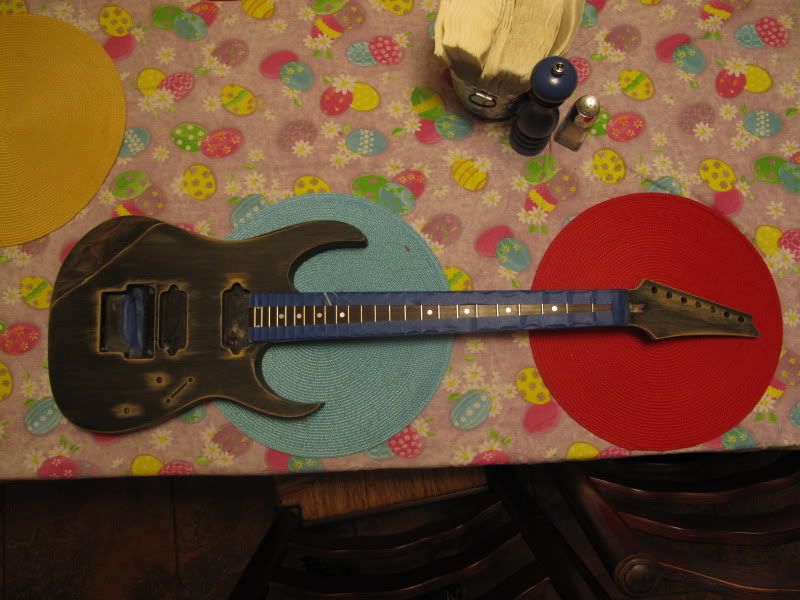
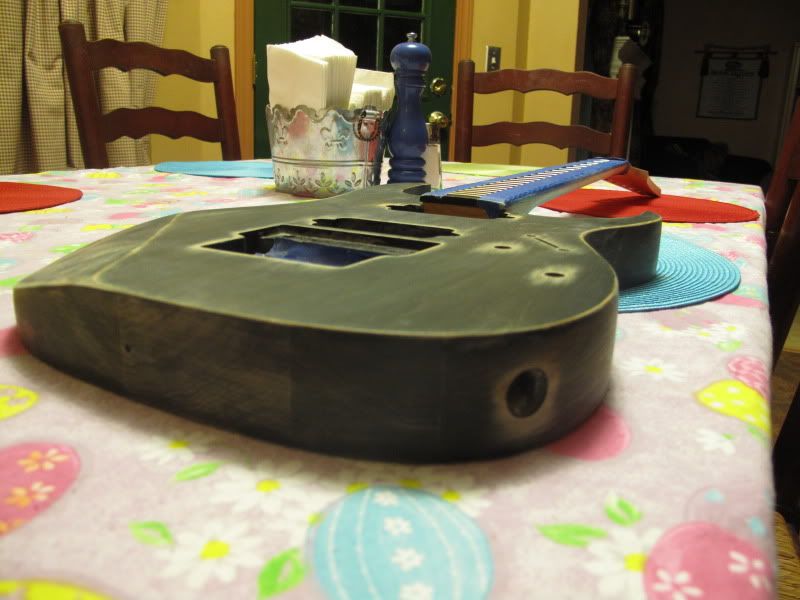
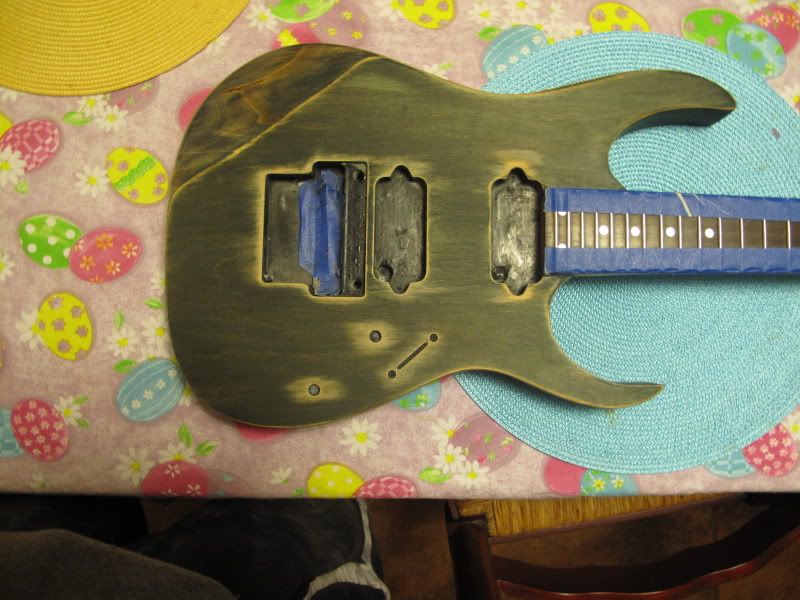
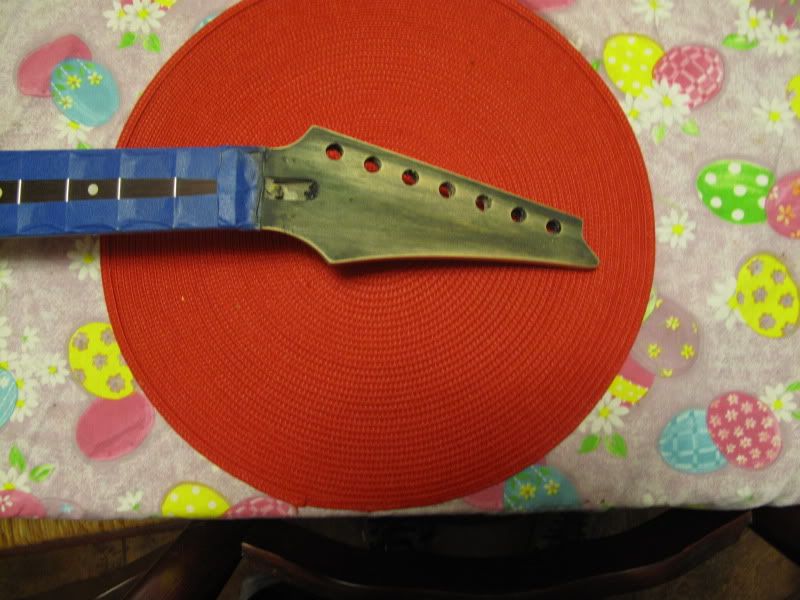
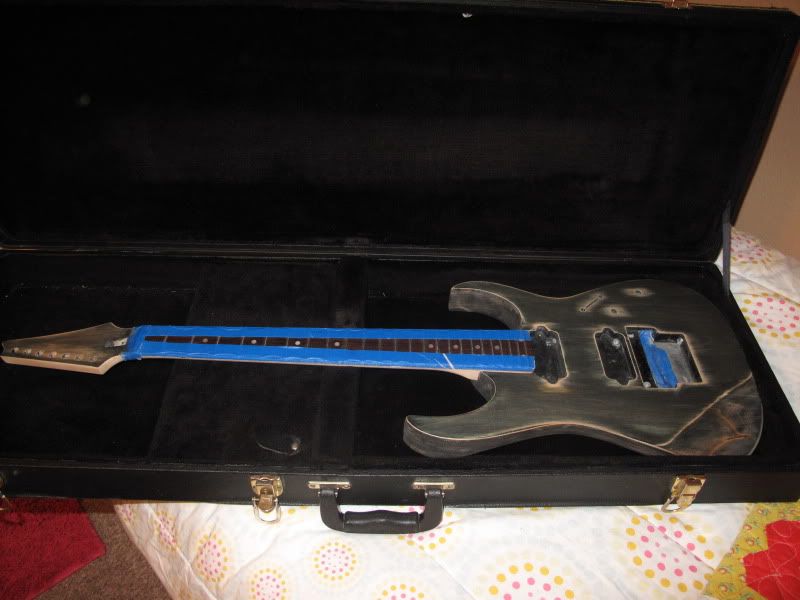
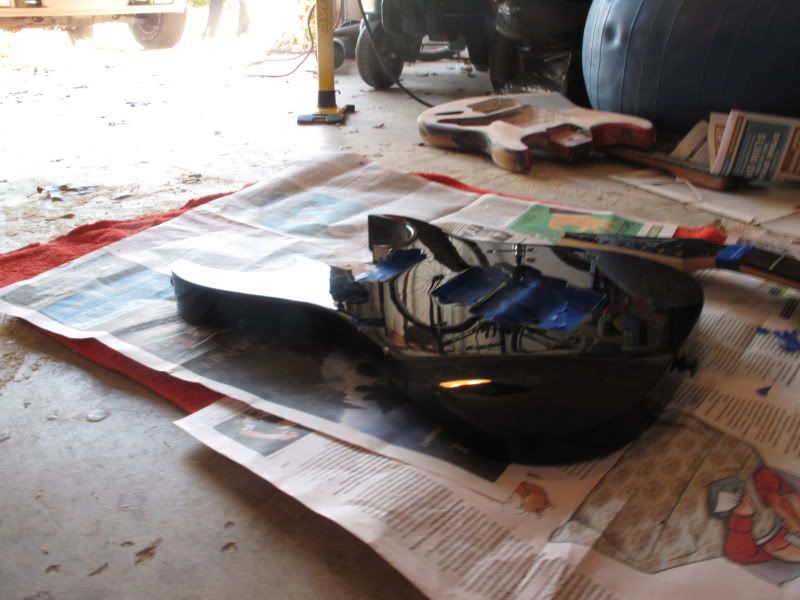
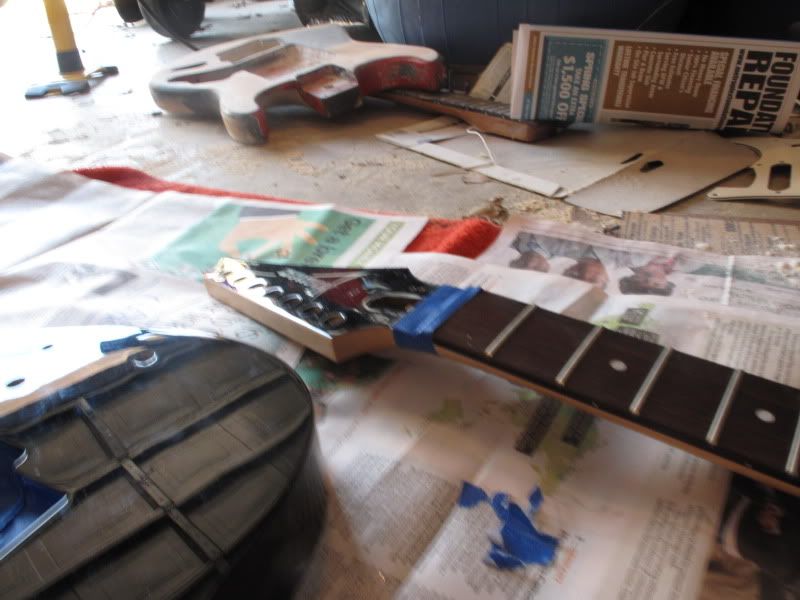
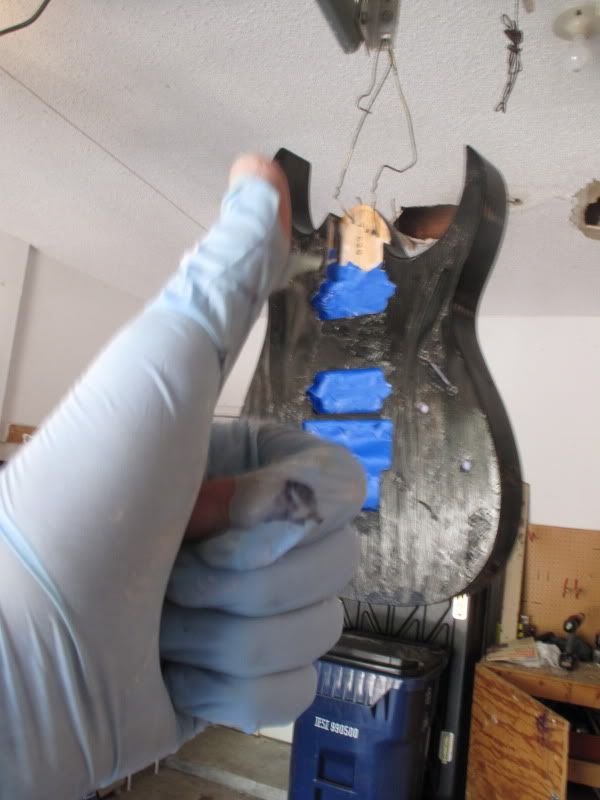
So i began my quest today. Here she is all taped up and ready for some goo.
IMG_0180.jpg

IMG_0181.jpg

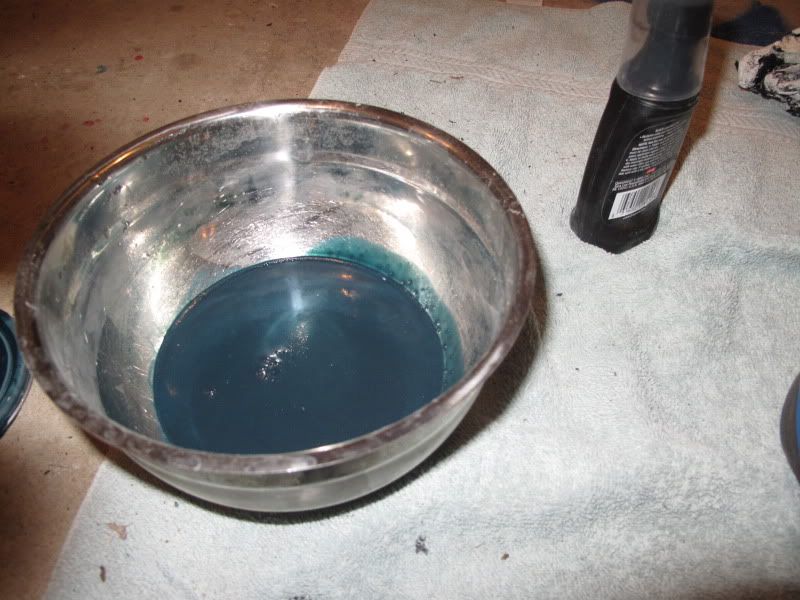
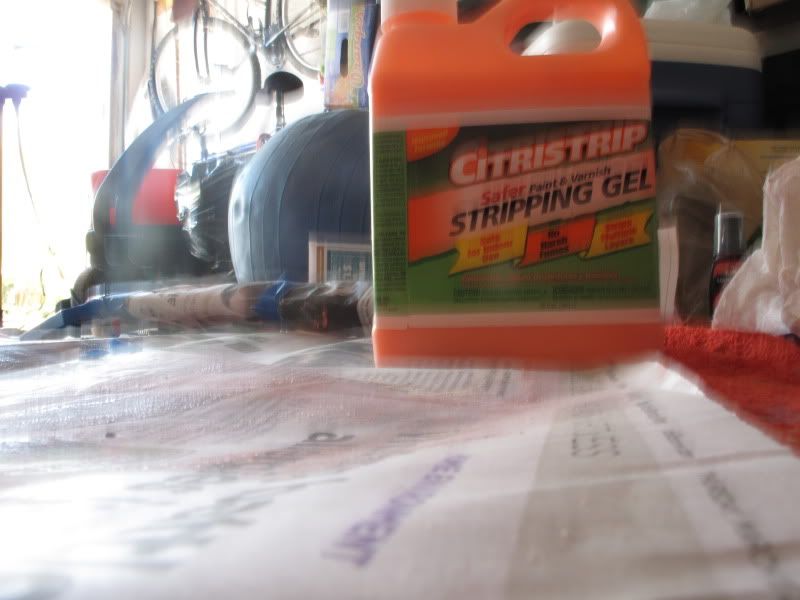
This stuff says it will strip anything. We will see. Smells great though. My stomach was literally growling after a few minutes with it.
IMG_0182.jpg

Here it is with the Stripper applied
IMG_0183.jpg

IMG_0185.jpg

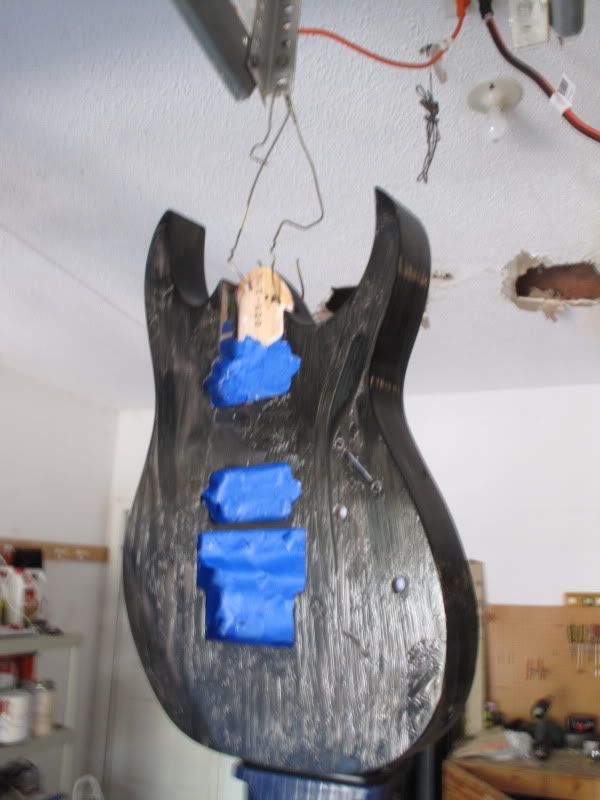
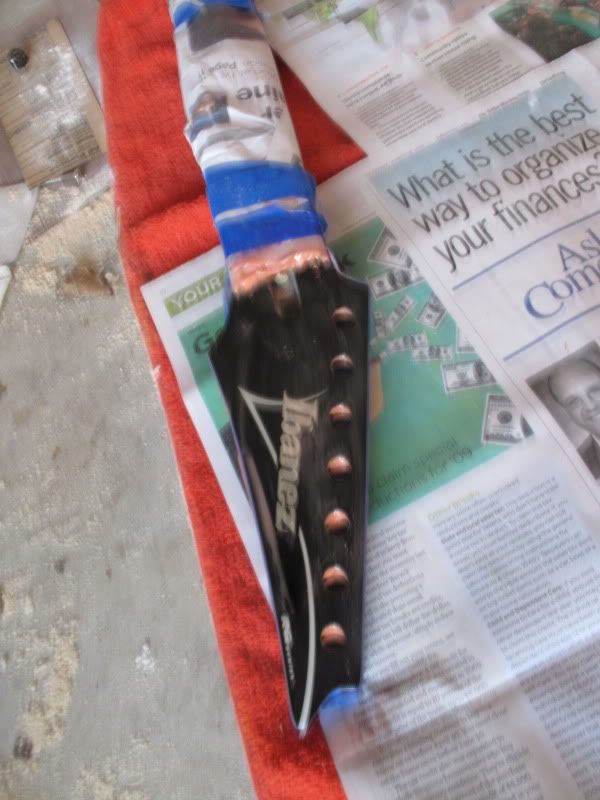
This stuff burn a hole through my gloves. Make sure to wear em when you work with it!
IMG_0187-1.jpg

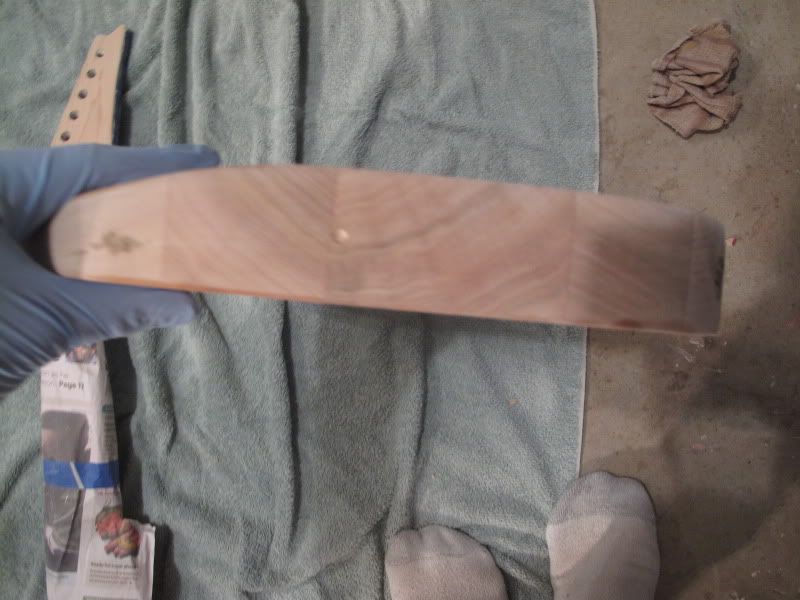
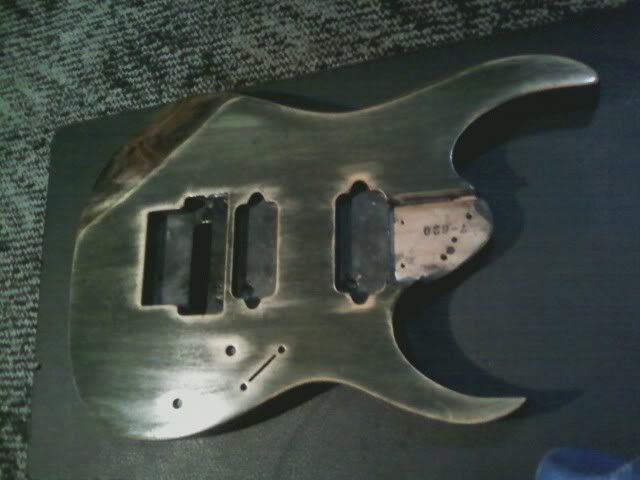
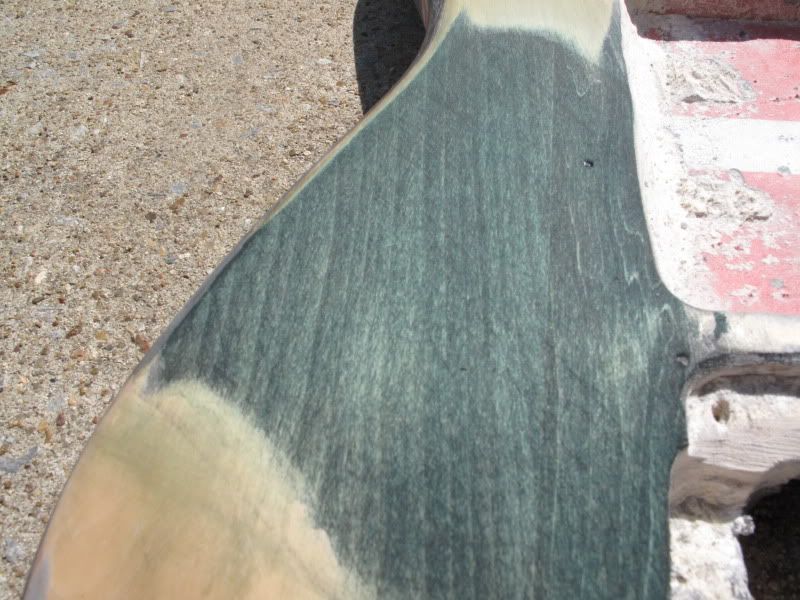
Here is a test piece of guitar wood so you can see the color idea. This was with one very sloppily applied coat of black dye and one coat of green dye on top. Looks pretty though :)
IMG_0188.jpg

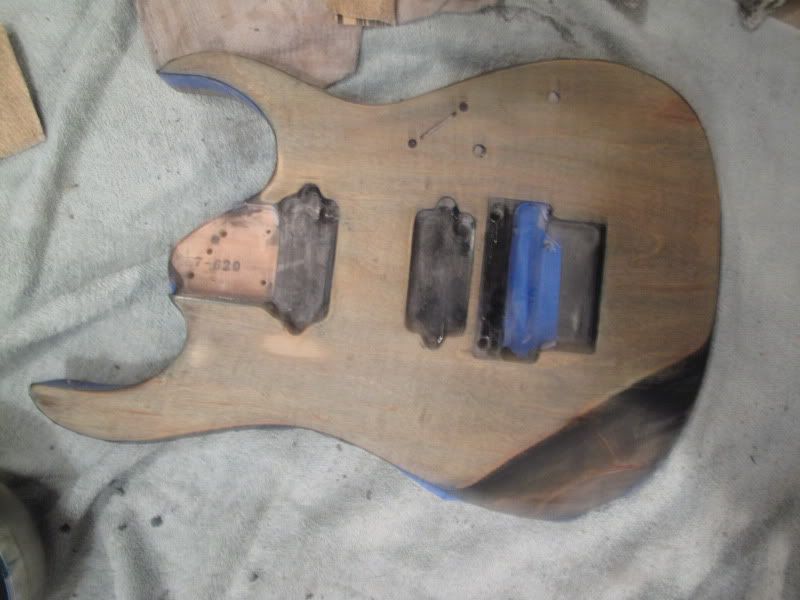
Thats it for now. I have left the stipper on for about 7 hours now. It says let it soak for a minimum of 30 minutes and a max of 24 hours. I keep checkin and the paint aint comin off at all yet when i use my scraper.
 

This site may earn a commission from merchant links like Ebay, Amazon, and others.

Customisbetter

WhiskeyTangoFoxtrot
Contributor
Joined
Jul 20, 2009
Messages
7,605
Reaction score
802
Location
Lansing, MI
In my experience, that citristrip will barely touch the poly on that body. i had to burn mine off and then sand for a few hours. :lol:

god luck dude! :cheers:
 

MacTown09

Well-Known Member
Joined
Oct 18, 2008
Messages
997
Reaction score
197
Location
Mckinney/Denton, Tx
03-20-2010

Okayyyy so i have been workin on this thing for the past few days but havent been updated just to tease you guys.

So first off, the Citristrip was highly successful. You have seen the before pics, here are the after:
IMG_0196.jpg

Yep, there was actually no strippage at all. None. Prehaps you guys were right and it made sanding easier but i still spent a LONGGGG time sanding and the tips of my right hand fingers are all worn out and raw. Hurts pretty bad. I wont be tapping too much for a few days.

Because i want to forget all the time i spent sanding, here is the picture of the goods after all the sanding was done.
IMG_0198.jpg

IMG_0201.jpg

There are some nice bigggggg brown streaks and stuff. It seemed like that white grain filler was CAKED on the brown splotches throughout the body. Took quite a bit of elbow grease to get it off.

I thought this was interesting. It looks like there are about 5 pieces of wood sandwiched between two veneers. The arm and chest contour look pretty different in comparison to the top and the bottom parts too.
IMG_0202.jpg


Here is the black stuff that is gonna make this thing look purdy!
IMG_0204.jpg


And here is what happened after about 6 coats and several retrys. This was inspired by the amazing Patrick Hufschmid

IMG_0218.jpg


IMG_0219.jpg


IMG_0220.jpg


I personally love the way she looks from behind. I am pretty much done with her backside except to let it dry for the night and to dust her off real good tomorrow. These pictures don't do it justice as i am a terrible photographer. I will get my dad to take some better ones tomorrow after i green the whole thing with. There is some really great detail in it.

The front is not done yet. I put down a few layers of the black dye to make the grain pop a little more when i put the green over it. I sanded between each coat after lettin it dry a little. Its getting more even and better lookin but it will take quite a few extra coats of green stuff. The parts that looked distressed on the front on not supposed to be there yet. Its just still gettin alll evened out.

IMG_0221.jpg


And for kicks, here is my little workstation set up on the floor :)

IMG_0222.jpg


Ill update you guys tomorrow. I got some Tru Oil on the way to my dorms at school and ill probably put that on sometime later this week :hbang:
 

Elysian

Banned
Joined
Dec 15, 2004
Messages
6,779
Reaction score
551
Location
Plano, TX
I have yet to see a stripper that actually strips polyester finishes... These things aren't lacquer, or polyurethane, they're basically a thick colored epoxy, the only way through them is sand or heat and a scraper.
 

lctdmf

Well-Known Member
Joined
Oct 20, 2007
Messages
138
Reaction score
5
Location
canada
wow the back looks really great so far, good job.
 

MacTown09

Well-Known Member
Joined
Oct 18, 2008
Messages
997
Reaction score
197
Location
Mckinney/Denton, Tx
Oky Dok so yesterday was my last day of spring break and i worked all day and night on this thing. So here she is sanded a little and taped off for a top layer of paint:

IMG_0225.jpg


Here is the stuff i am gonna be using on the top of it. Let me give you a little background first though:
Originally i wanted it to be all black. Like the front and the back to look the same. butttt my girlfriend was not a fan of this idea and insisted that i paint it a color of some sort. What color is that??

IMG_0228.jpg


Yep its green! We went to Home Depot and she made me match colors with my eyes haha. She said my other guitar was already black and thought something different would be good for me! This is not how the color actually looked on the guitar at all though. Youll get to see that in a minute

First off here is the sanding i did. It had some pretty big scracthes and stuff in the wood so i had to sand like MADDD. I REALLY hate sanding.

IMG_0231.jpg


As you can tell, the arm contour wouldnt sand off easily. Oh well!

Sooo i spent hours trying to get the right even shade of color. Like really. HOURS. It was pretty frustrating. Luckily the girlfriend came over at the last minute and she helped me out. Using some sort of magic she made the color perfect. I left it out to dry and went to get some coffee. After i came back, i took my secret tools to it and it ended up looking like this:

IMG_0232.jpg


Oh yeah it has a neck too! I forgot! Oh and i got the headstock to match perfectly :)

IMG_0233.jpg


Its all about the details :agreed:

IMG_0234.jpg


I set the hardware in there for a second to see what it looked like. I didnt take a picture for you guys cuz i wanna keep the final thing a surprise still :p

IMG_0236.jpg


The headstock was probably the easiest part of the whole thing. Maple is a very workable wood in my opinion.

IMG_0237.jpg


Yep.

IMG_0238.jpg


Ohhh there was still some dust on there. The guitar doesnt actually look so couldy on the arm contour area.

IMG_0239.jpg


Theres the butt again! Lookin purdy of course!

IMG_0240.jpg


Here she is off to college! Gonna get oiled right upppp!

IMG_0235.jpg


Here is G-Fro givin the lip lick of approval.


Well thats all for now. I will hopefully have time to oil her up later this week. Hope you enjoyed it thus far! Feel free to ask questions and what not. Oh and note the easter table cloth and the flower bedspread. Nice like additions to the whole look id say.

Be lookin for updates!
 

maniac mikej

Well-Known Member
Joined
Sep 21, 2009
Messages
84
Reaction score
30
Location
Mayfield, PA
wow dude I just noticed this thread. I must say, Im absolutely LOVING the way this came out. Cant wait to see it with oil & hardware!
 

MacTown09

Well-Known Member
Joined
Oct 18, 2008
Messages
997
Reaction score
197
Location
Mckinney/Denton, Tx
wow dude I just noticed this thread. I must say, Im absolutely LOVING the way this came out. Cant wait to see it with oil & hardware!

Thanks man i am glad you are liking it. I cant wait to oil her up either. I personally love it too.

Does anyone know if i apply a headstock logo before or after i oil it?
 

Sang-Drax

Well-Known Member
Joined
Dec 9, 2005
Messages
2,212
Reaction score
245
Looking good! :yesway:

I quite like the look of sickly green dye. :hbang:

(but really, anything's better than that boring glossy black)
 

Whiskey_Funeral

Well-Known Member
Joined
Jan 13, 2010
Messages
347
Reaction score
95
Location
Charleston, SC
Woah! That idea with the shoe dye was genius. I might try that one on my 7421. I've refinished a few RG's and always hated how bland the basswood was, but that made the grain in the wood really pop. I can't wait to see what this looks like when you're done!:hbang:
 

MacTown09

Well-Known Member
Joined
Oct 18, 2008
Messages
997
Reaction score
197
Location
Mckinney/Denton, Tx
Woah! That idea with the shoe dye was genius. I might try that one on my 7421. I've refinished a few RG's and always hated how bland the basswood was, but that made the grain in the wood really pop. I can't wait to see what this looks like when you're done!:hbang:

Haha props for that idea cyril V. It did work well though!
 

MacTown09

Well-Known Member
Joined
Oct 18, 2008
Messages
997
Reaction score
197
Location
Mckinney/Denton, Tx
Sooo i got my Tru Oil stuff! Here it is:

downsize2.jpg


Buttt because i am at school and have no good camera here. You guys get stuck with a camera phone pic for now.

This is after one coat of this amazing material:

downsize3.jpg


Makes it look like there is a layer of glass on top of this thing and it really enhances the way the grain looks. Amazing stuff. Looks AWESOME on the neck but i couldnt get a picture from a phone to do it justice.

All in all i am probably going to put about 10 layers of this stuff on. I did one today at school but its too much of a hassle so i am going to be doing the rest of it this weekend when i am at home.

Just for kicks, here is my amazing dinner:
downsize.jpg


See ya next weekend!
 
Top
')