I have only posted here a few times but i read here most days 
I am copying this off the UK Guitar Builders Forum and i thought it might be some interest to some of you guys here. This is a little job i did about a year ago.
Maybe this can serve as a tutorial to someone.

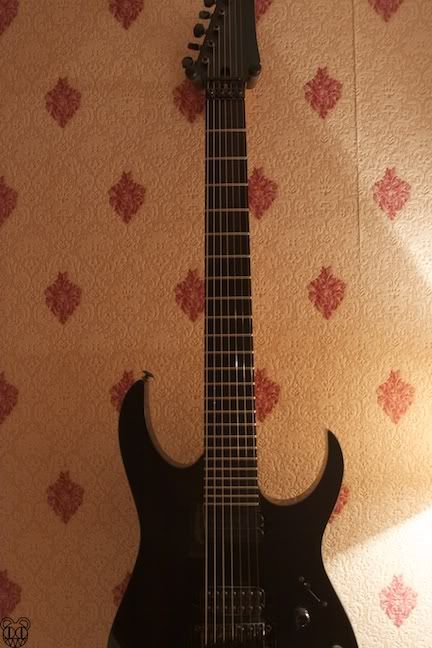
The guitar in question, the ugliest fingerboard ever i think. Dry and brown
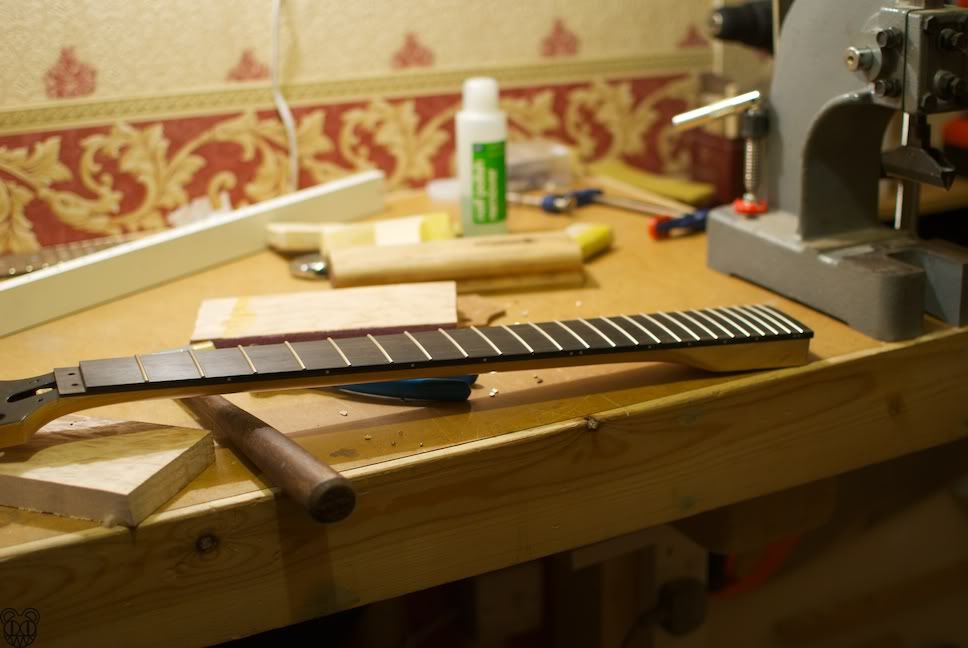
Lets make an Ebony one.
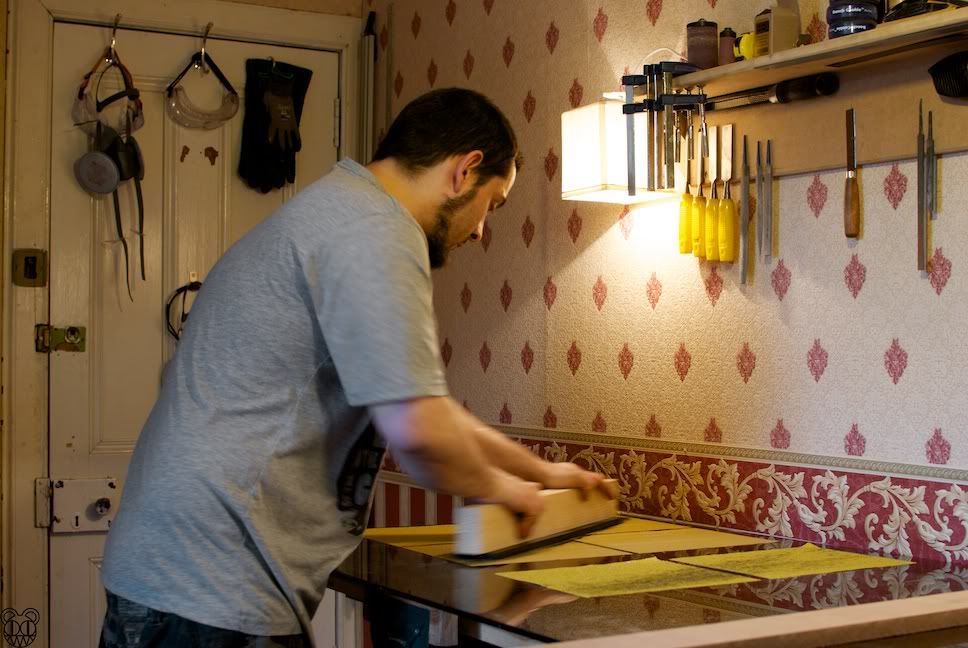
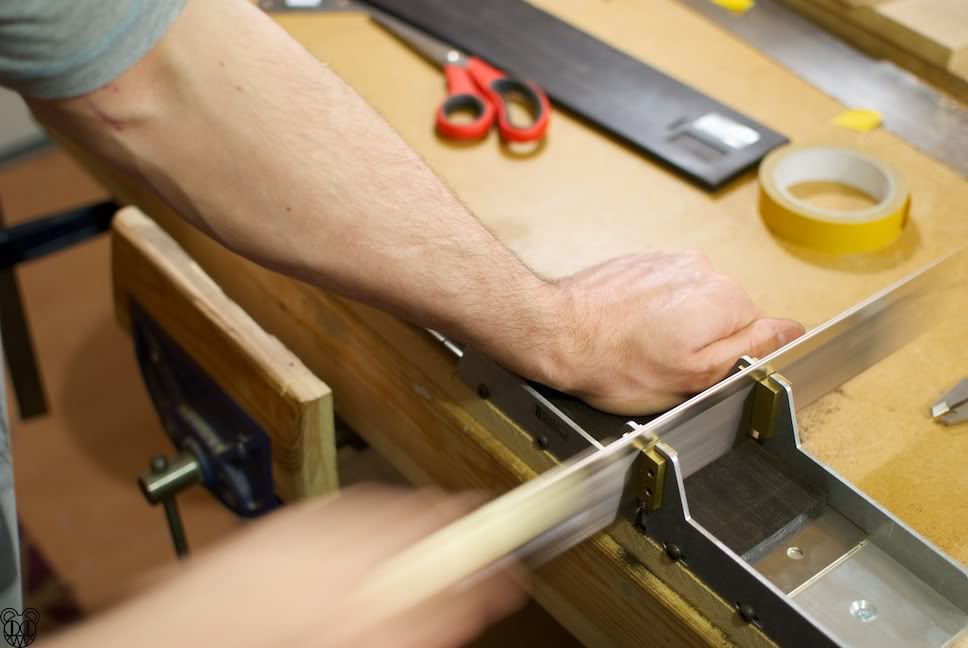
Joint one edge
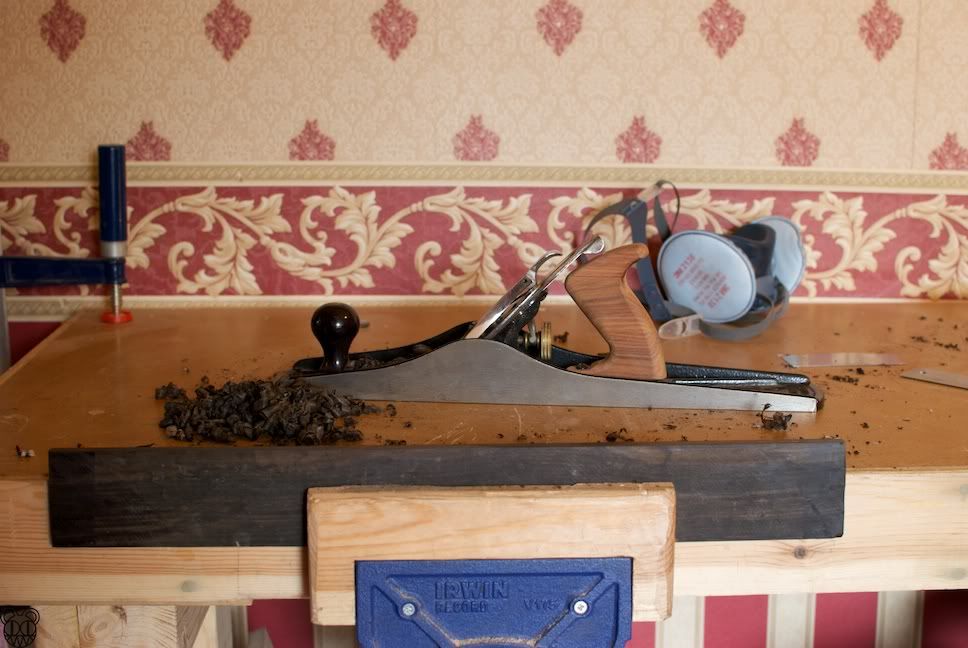
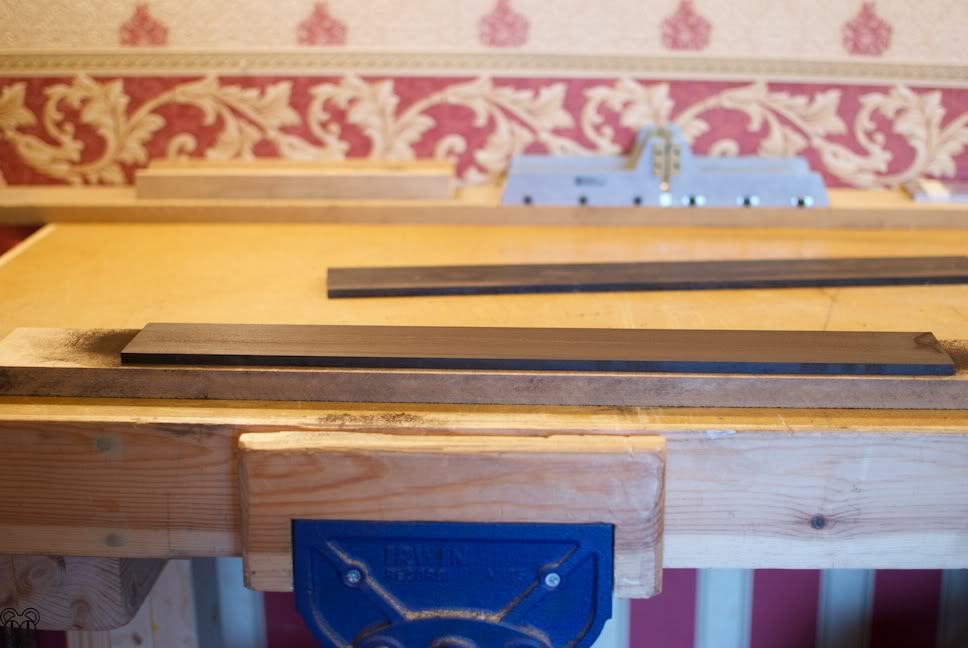
Flatten 1 face
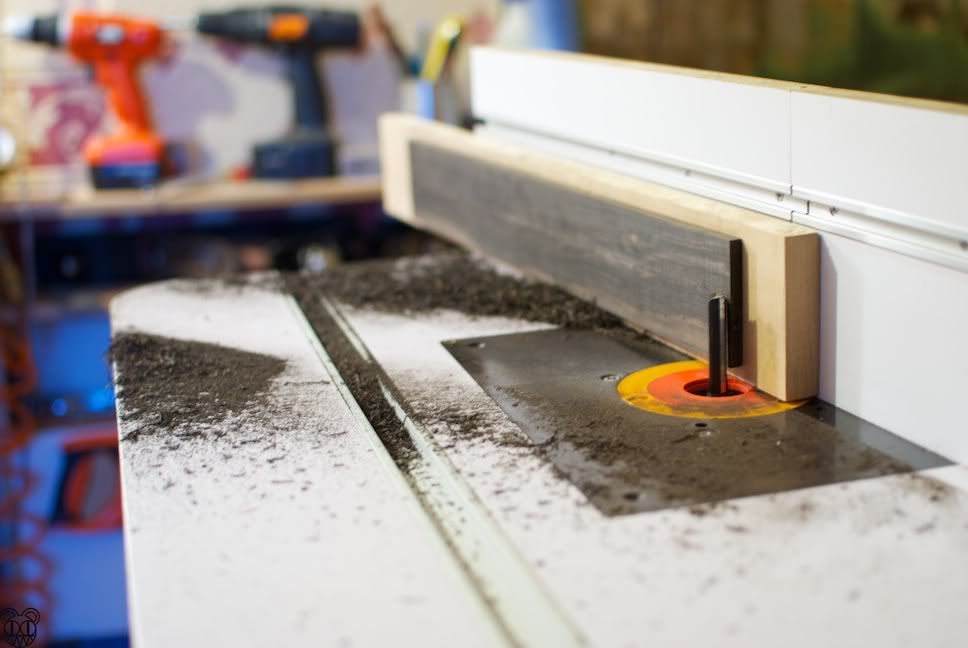
The router table to thickness
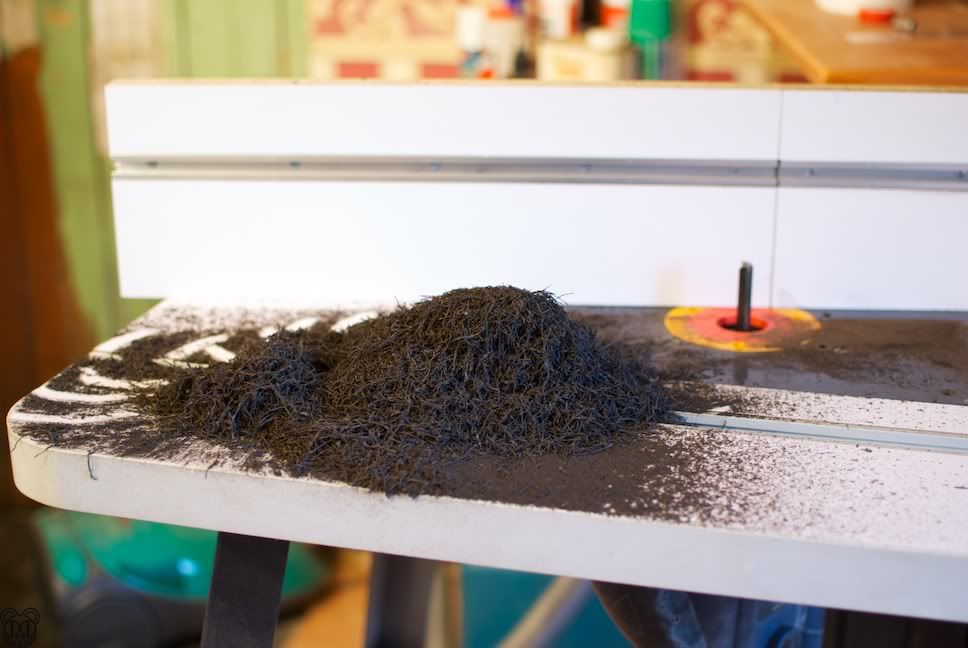
Mess!
MMMM
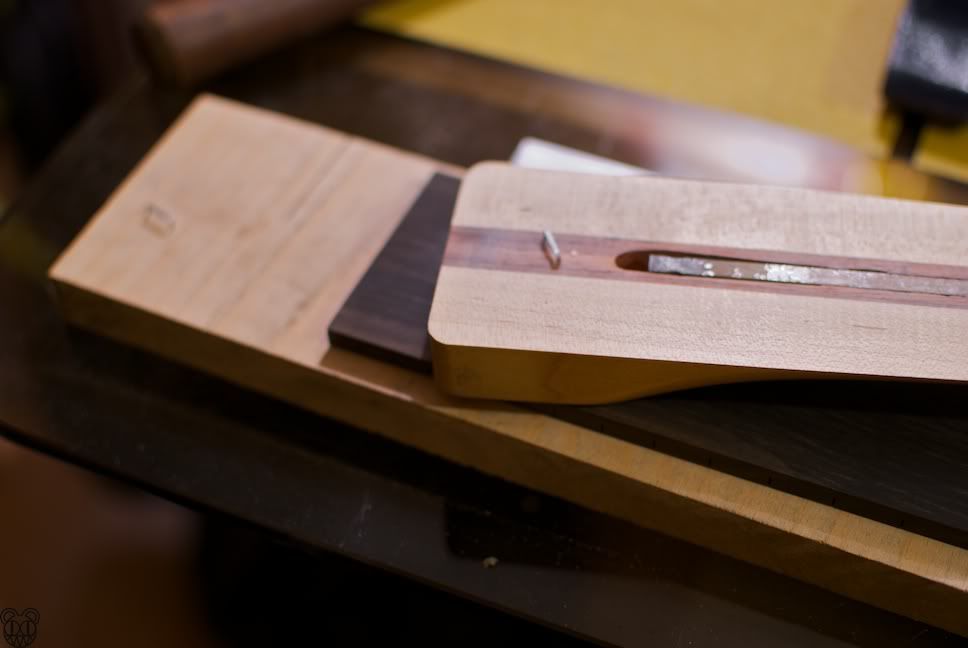
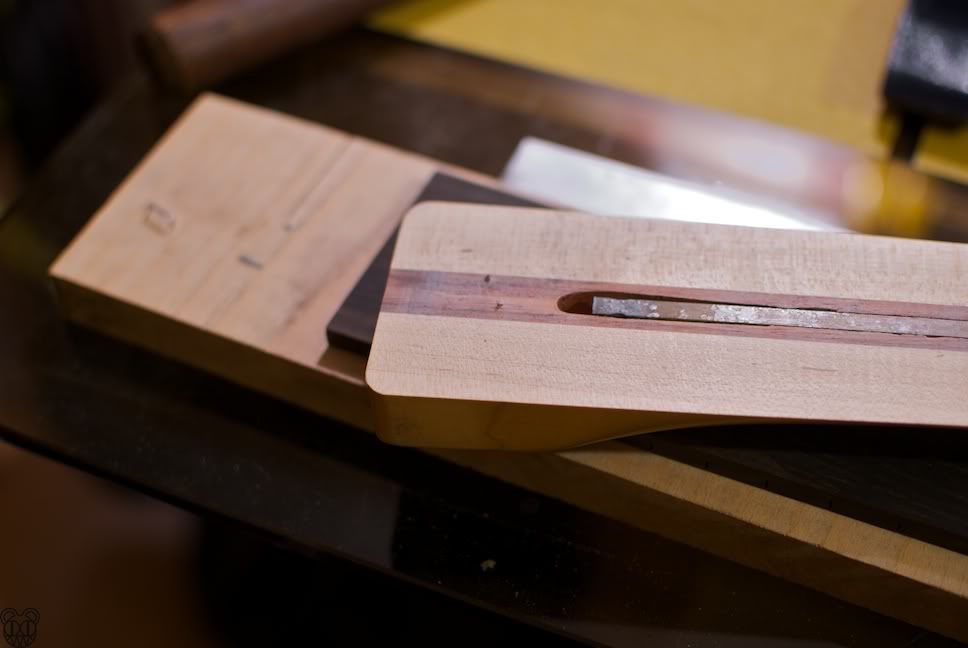
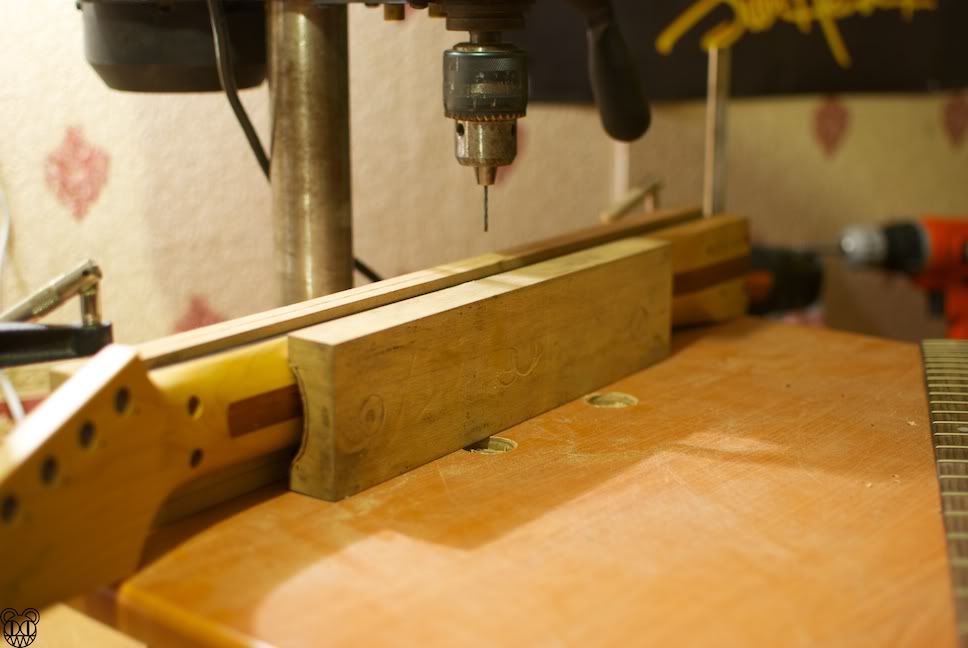
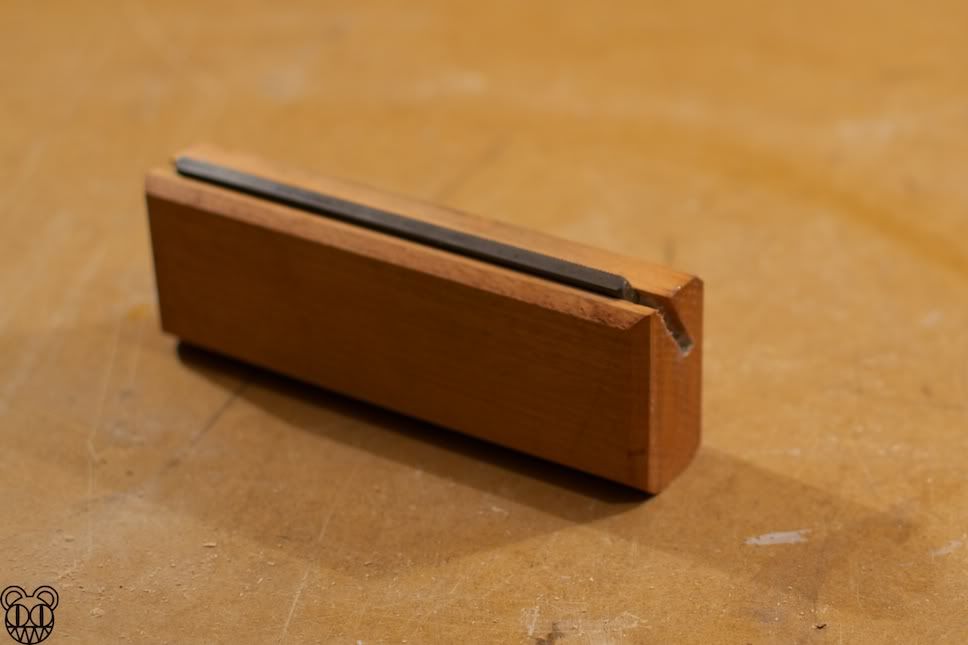
Slot
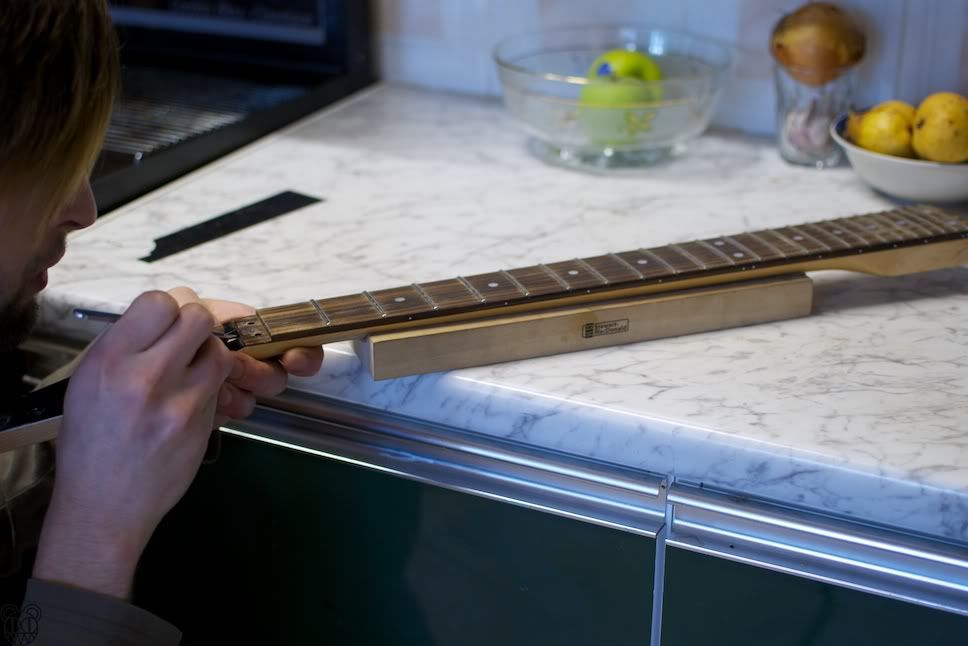
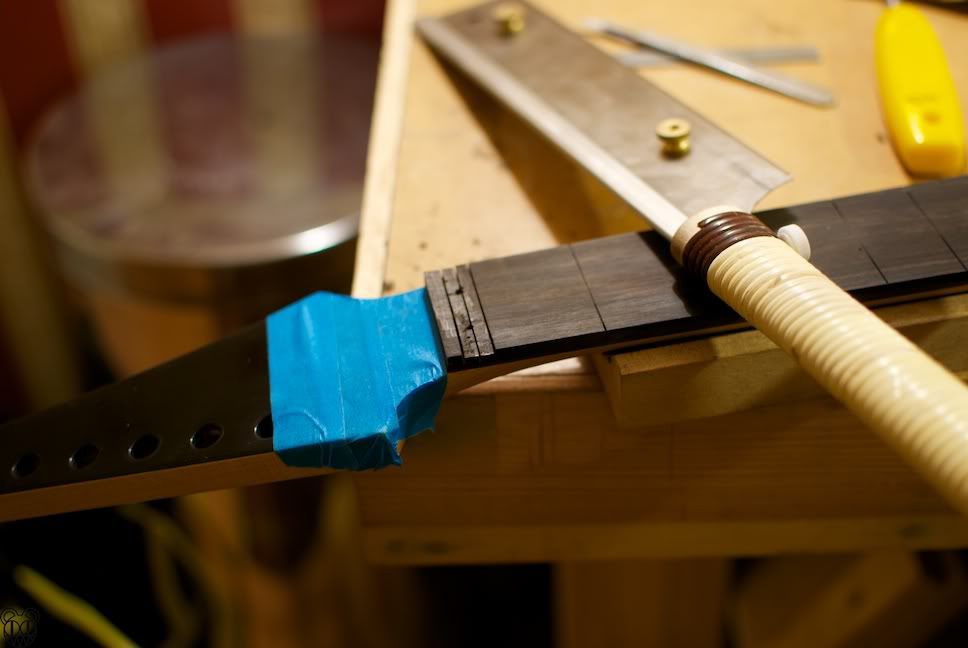
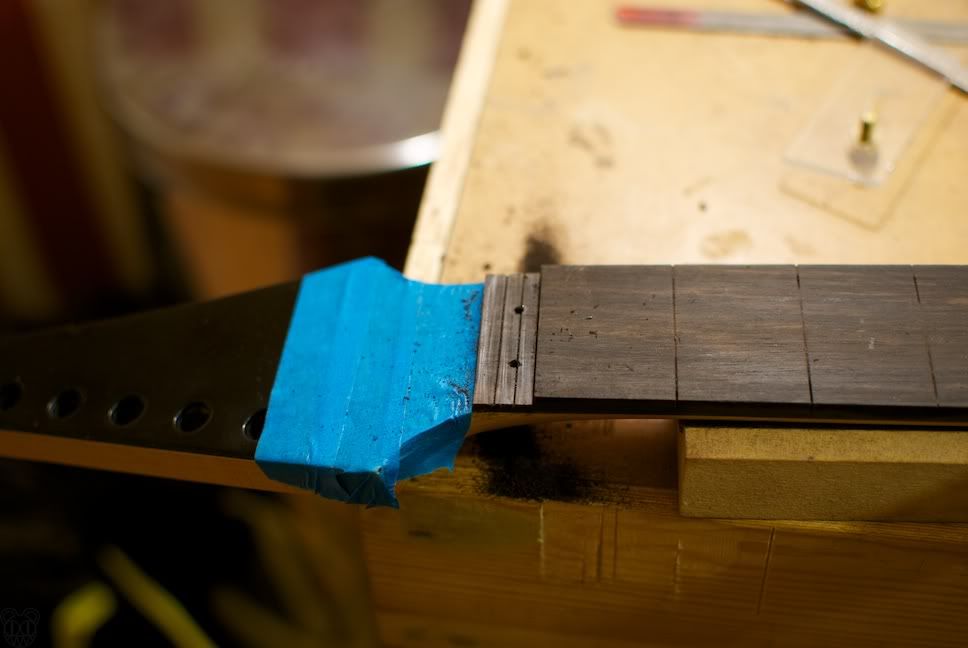
Score around old one
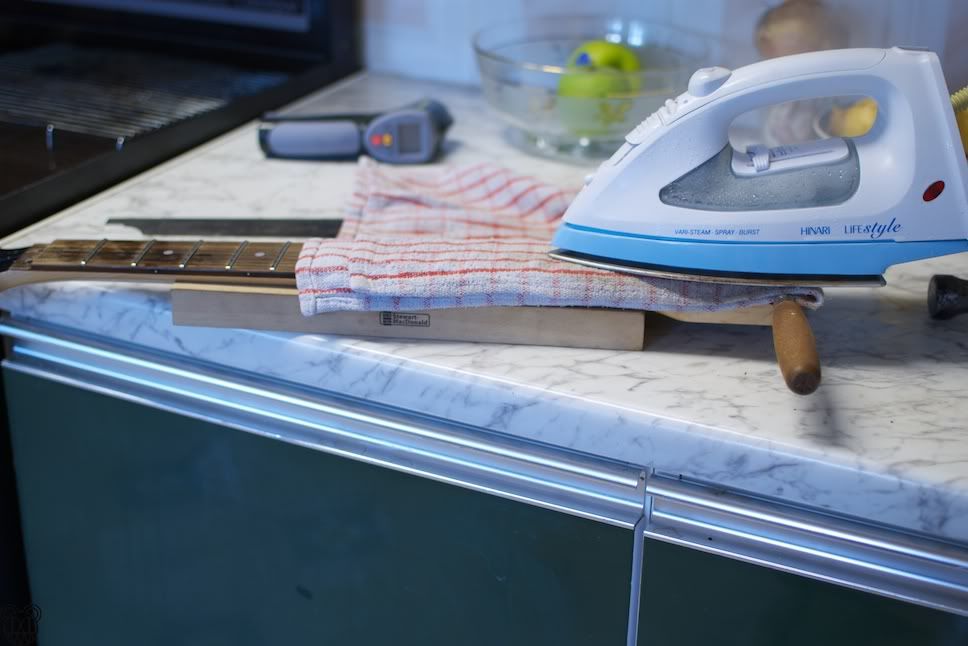
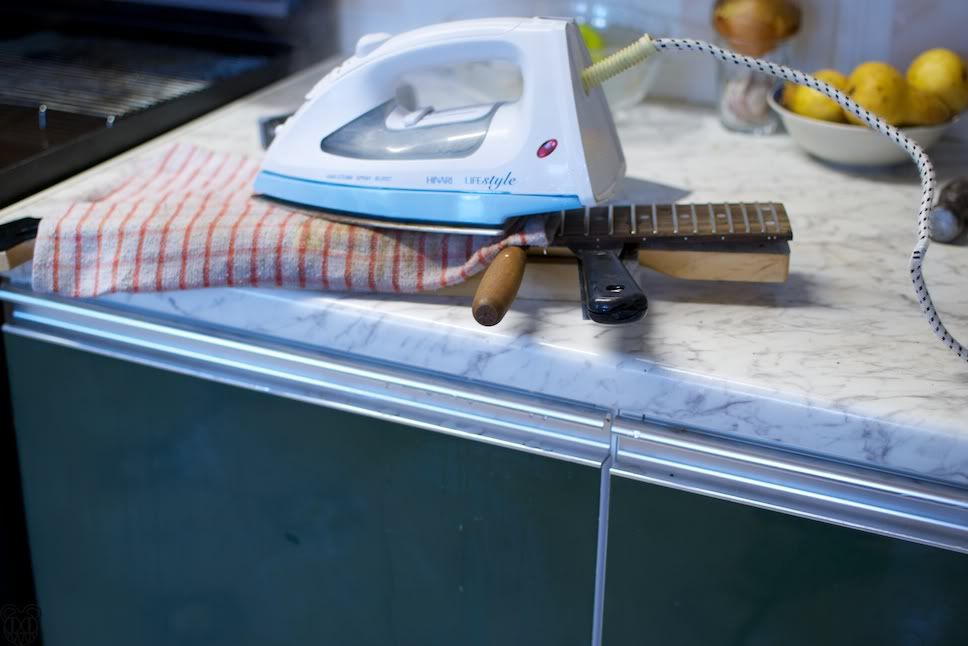
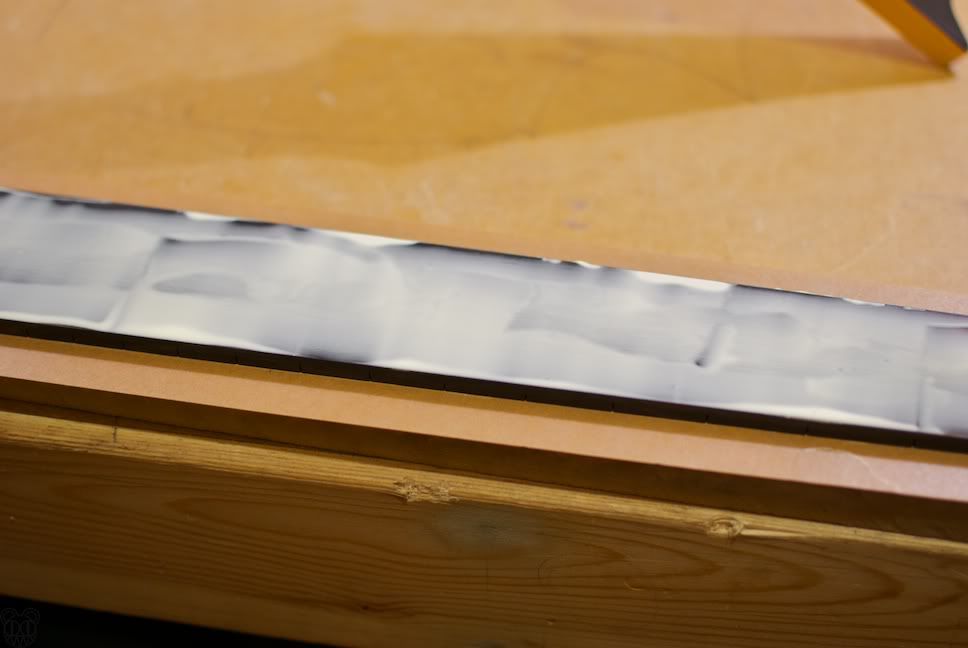
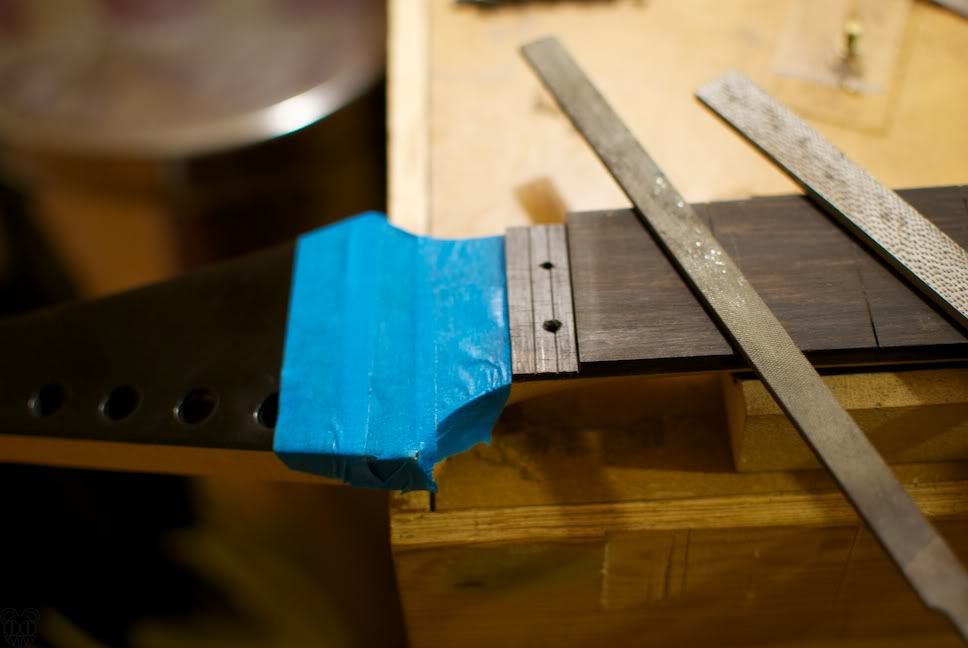
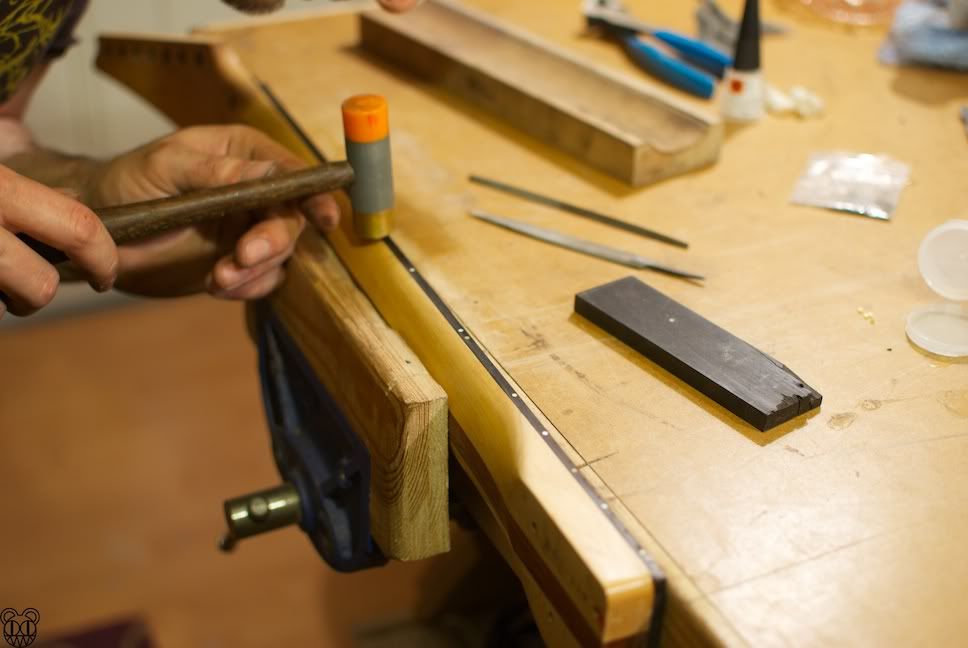
Iron on hot with plenty of steam and a stew mac wedge knife (great tool)
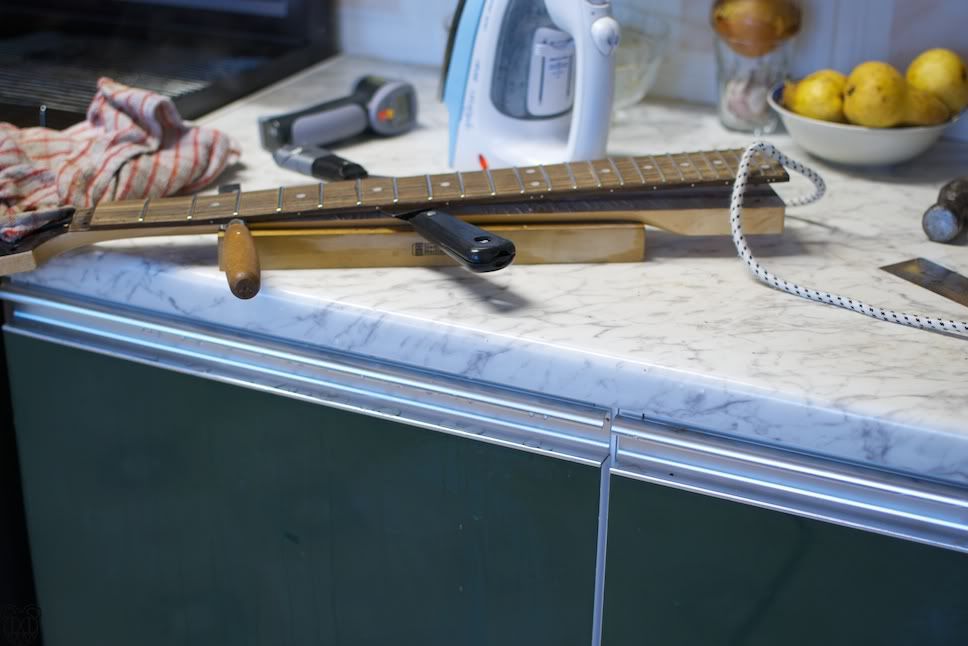
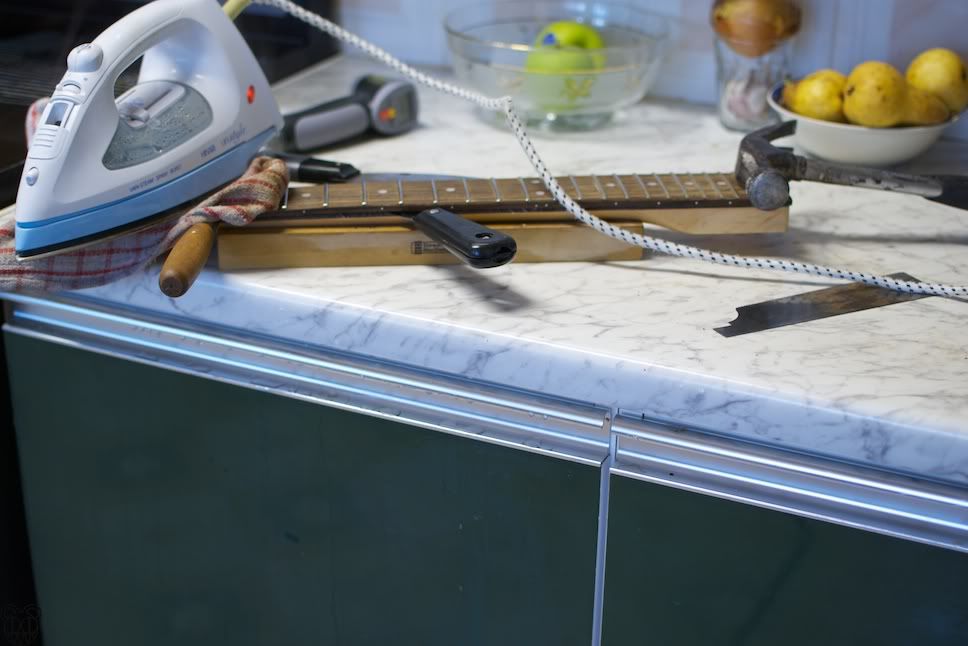
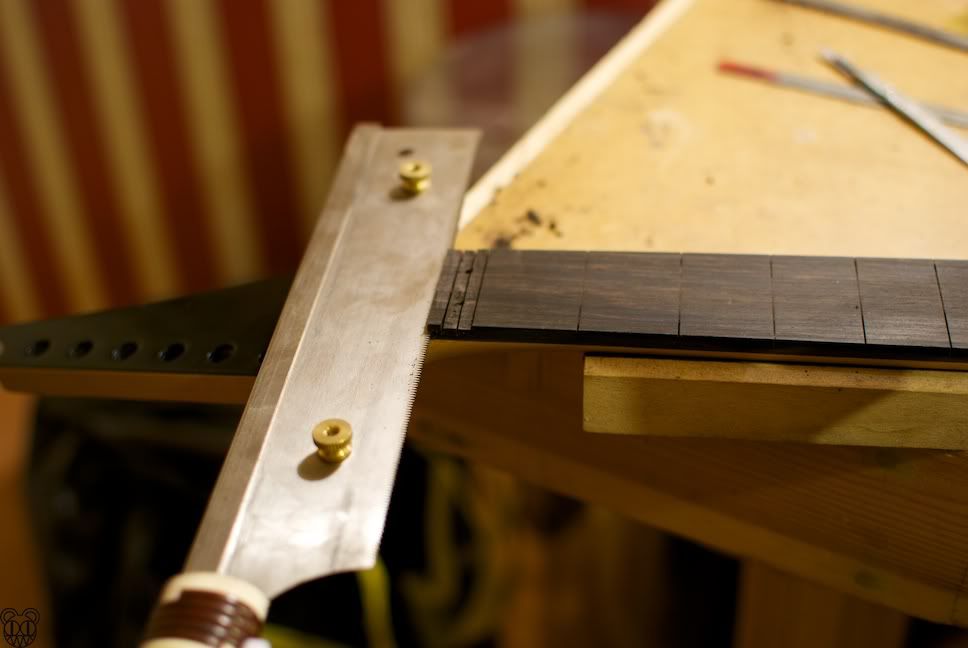
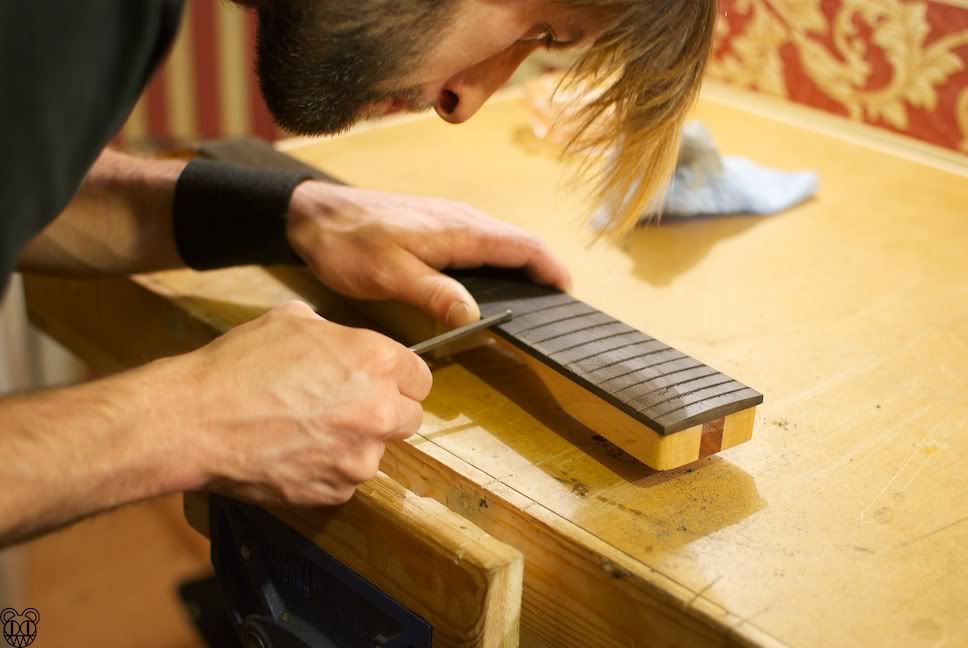
Keep working down......
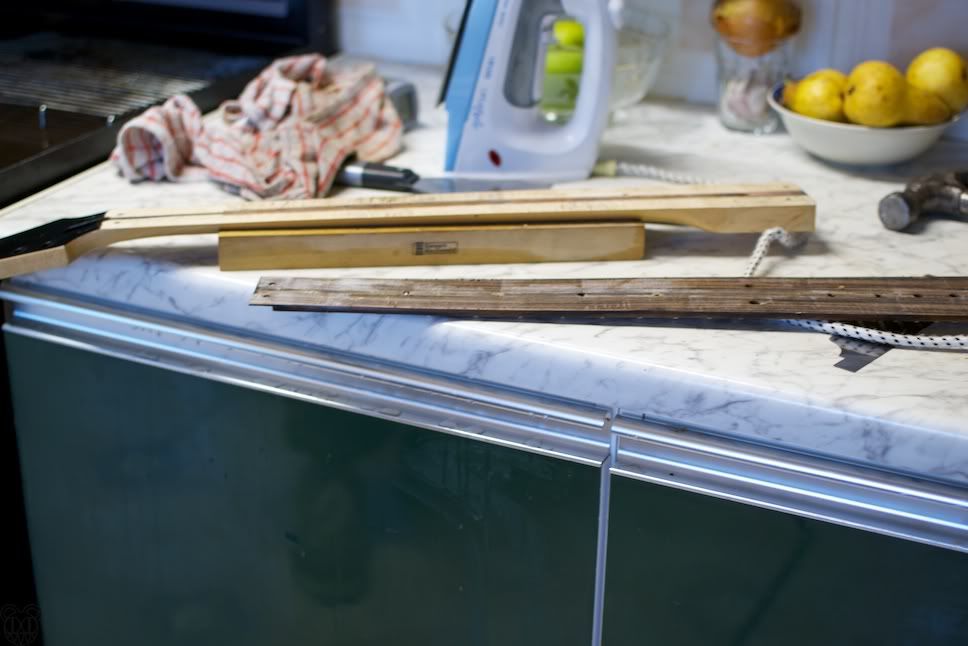
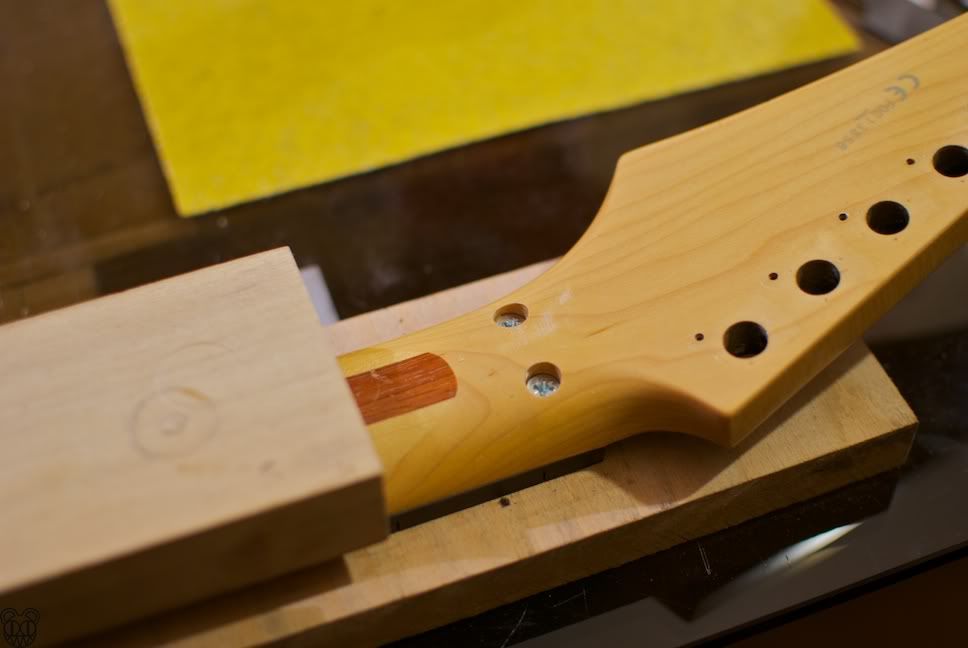
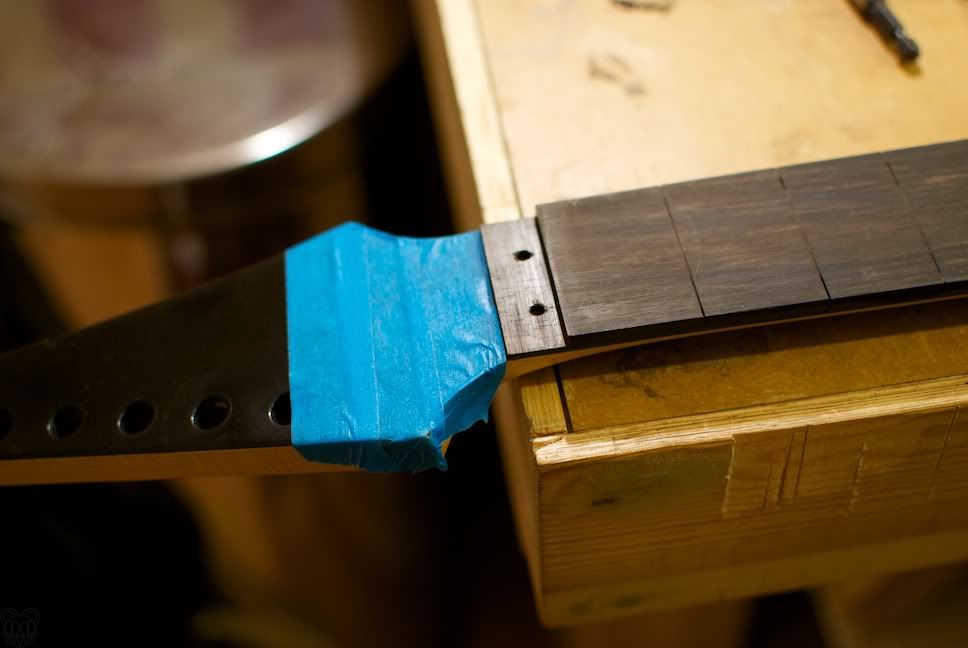
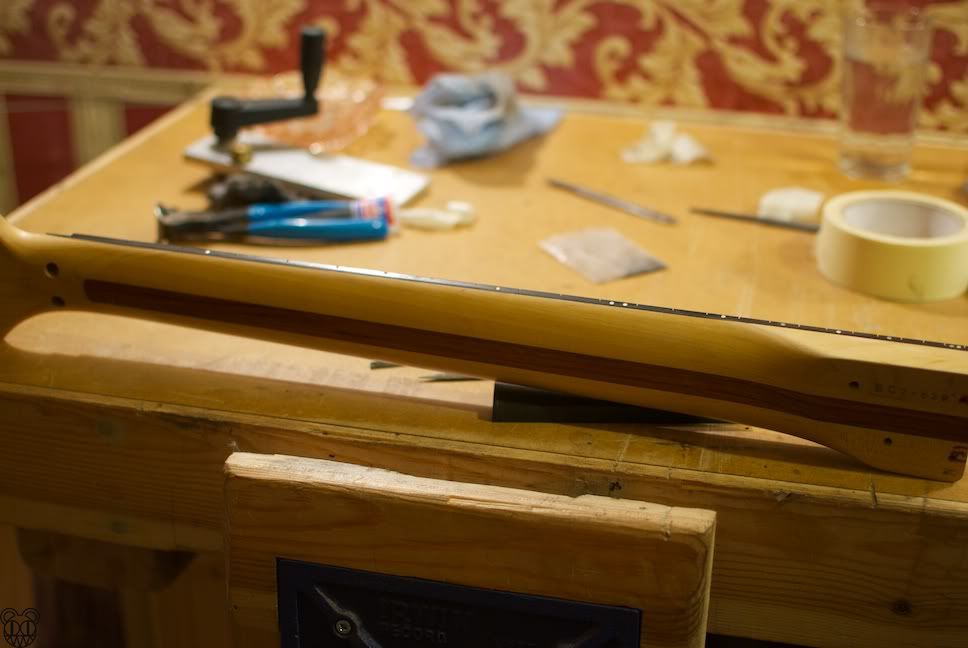
Until it pops off. You can see that ibanez drill their dots all the way through the board.
I am copying this off the UK Guitar Builders Forum and i thought it might be some interest to some of you guys here. This is a little job i did about a year ago.
Maybe this can serve as a tutorial to someone.
The guitar in question, the ugliest fingerboard ever i think. Dry and brown
Lets make an Ebony one.
Joint one edge
Flatten 1 face
The router table to thickness
Mess!
MMMM
Slot
Score around old one
Iron on hot with plenty of steam and a stew mac wedge knife (great tool)
Keep working down......
Until it pops off. You can see that ibanez drill their dots all the way through the board.


")
