shotgunn
Well-Known Member
Hey guys!!!
I started this back in October of 2009. Then H20 set out to destroy my soul. My studio flooded due to a crack in the foundation. 2 months and $3500 later I was 99% finished, then my ejector pump crapped out, and I DO mean CRAPPED OUT, feces EVERYWHERE!!!! THEN my outdoor faucet ruptured and flooded my laundry room, crawlspace AND front room, then my 4 yr old son was making a wave pool in the tub one day. I told him to stop, he didn't I got walked away. When I went back in there was water all the way out to the door leaking beneath my (self installed) NEW laminate floor. I cleaned the mes (screamed and yelled) then went to find solice in my studio.
Then I hear, drip, drip, drip, drip... I think to myself no, NO, NO, NOO!!!!!!! This is NOT happening... SUre enough, water was leaking from the LIGHT FIXTURE in the closet of my studio...
Anyway, that is why this took soooooooofricken long... Not to mention all the uphill battle that directly pertain to the mod itself...
Here it is...
The first ever Ibanez ZR Piezo Mod...
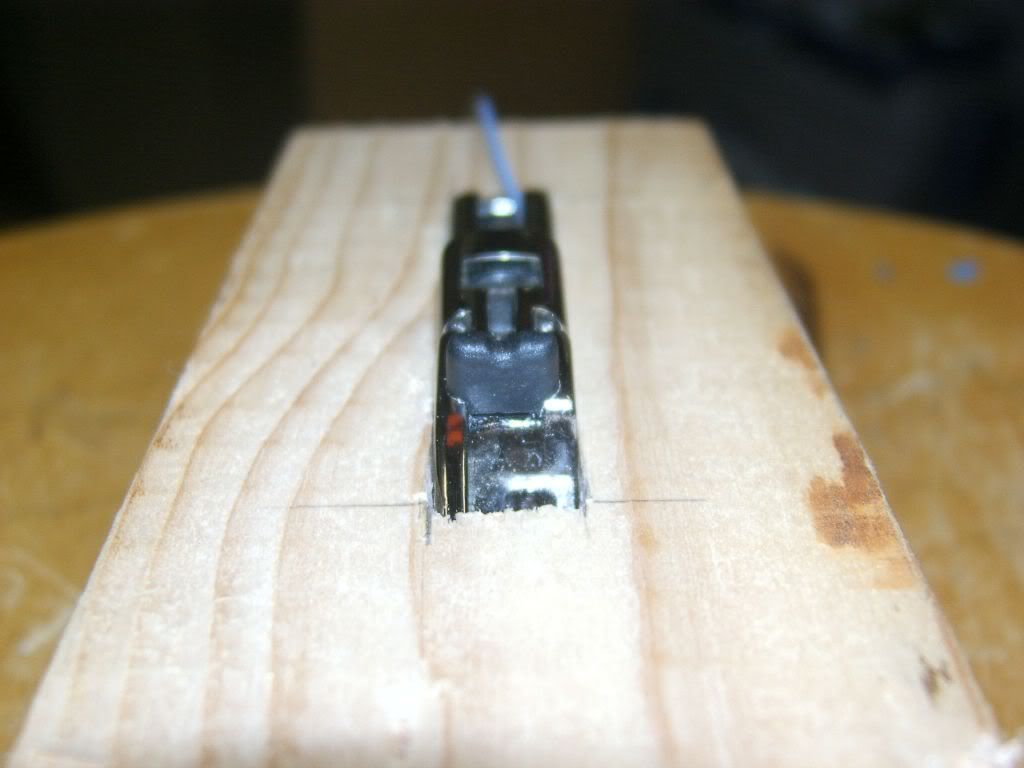
The first saddle, testing the width and length...
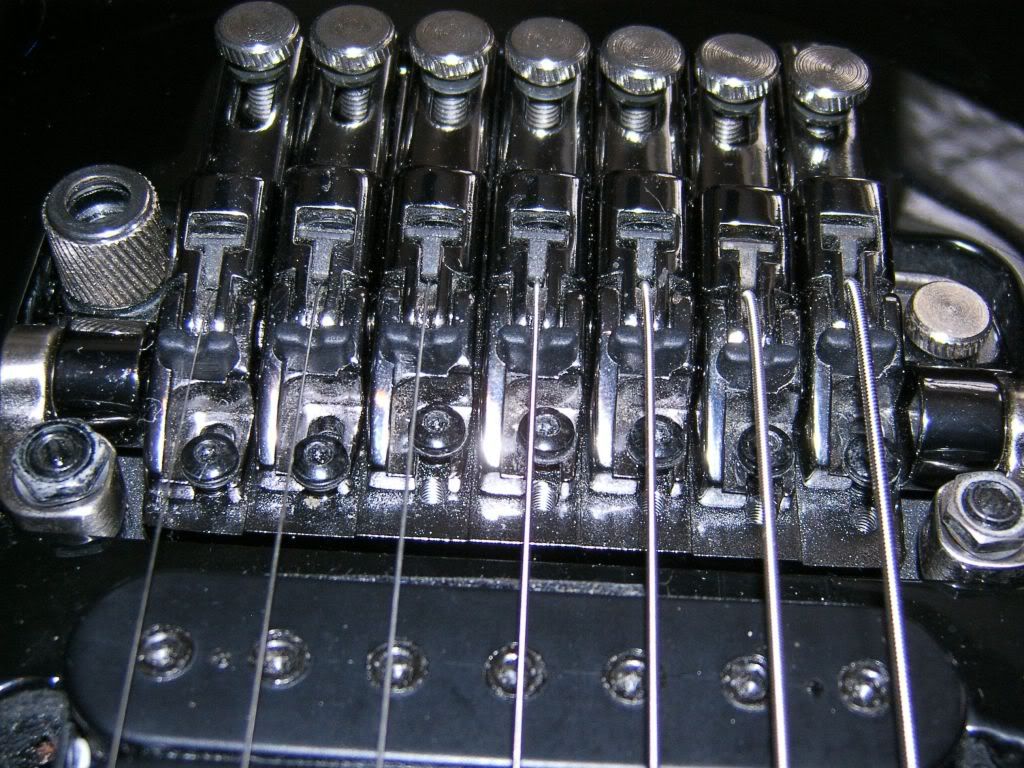
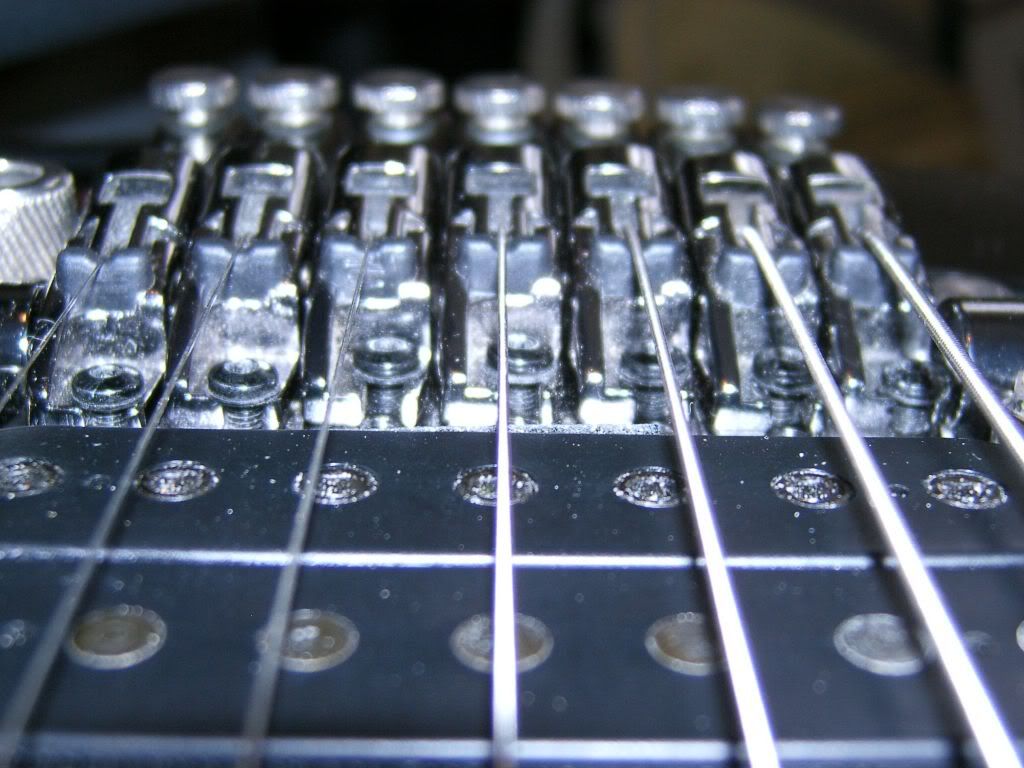
All 7...
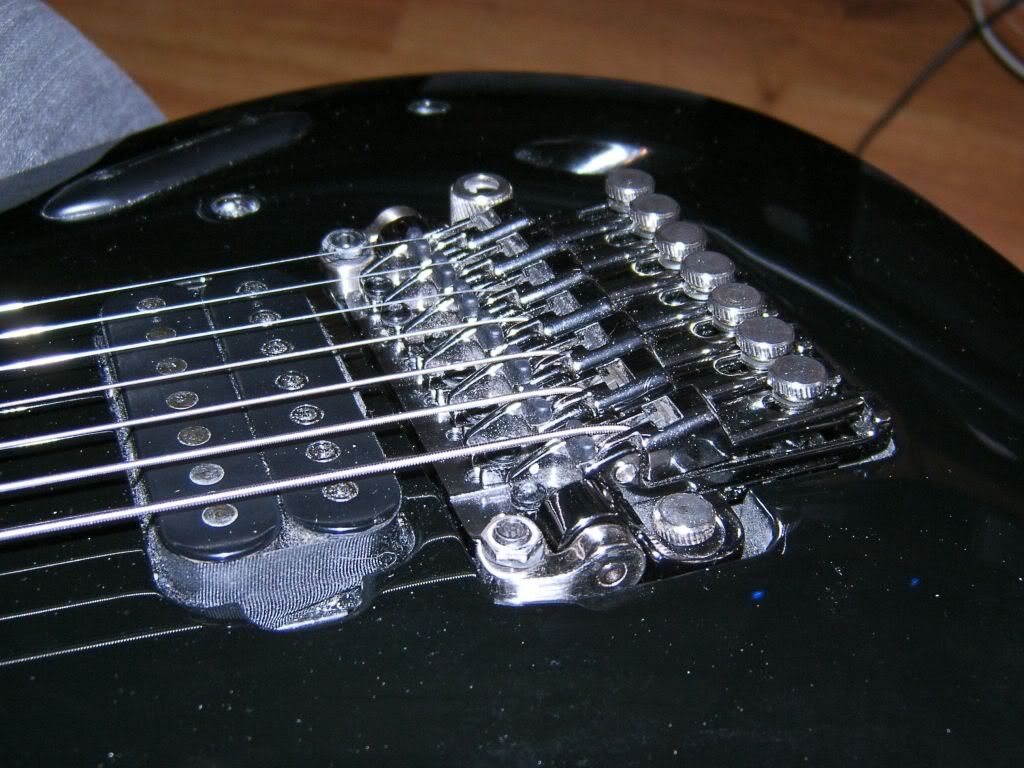
It was at this point that I realized the strings would sit WAAAAAY too high off the fretboard. Not to mention the fact that the whammy bar was useless since the bridge bottomed out in the cavity. I would have to route a new bridge cavity deeper into the VERY slim S series body. I also moved the entire route 1/4" further from the nut, plugged up the post holes and redrilled them further from the nut. This compensates for the new string break point and helps the intonation.
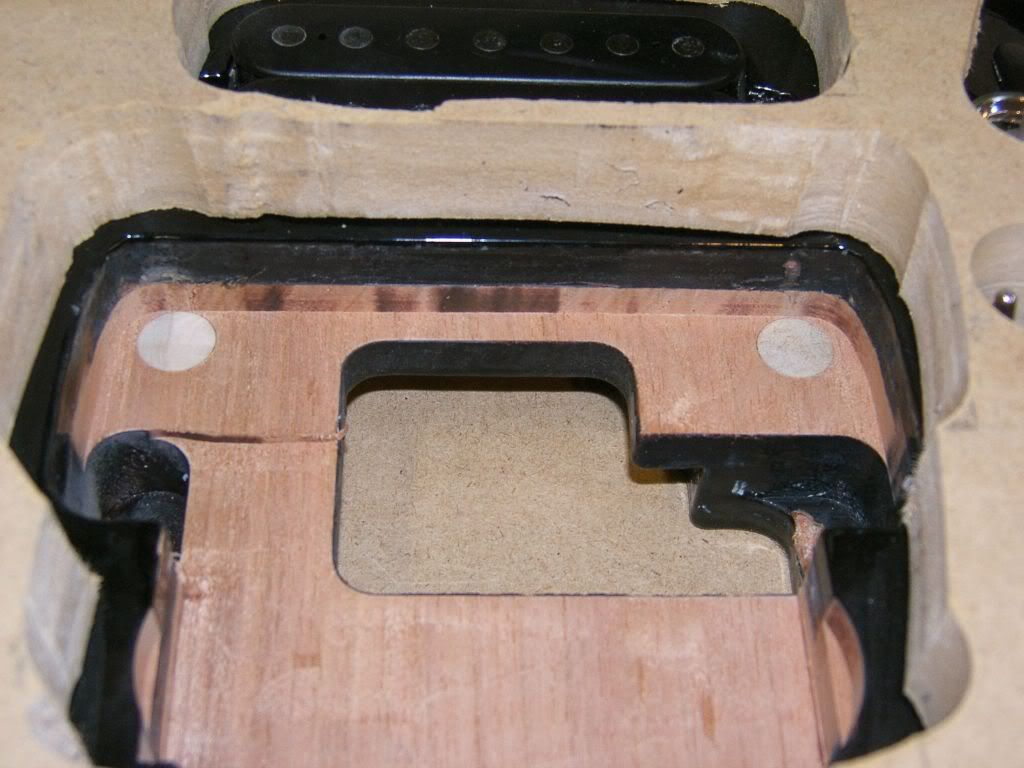
Since I needed to route the surface of the guitar I needed a flat surface to rest the router on. So I made a VERY rough outline of the guitar and sandwiched MDF around the guitar. This gave me a nice flat surface to route off off. This also meant that I did not have to remove ALL of the wiring that had already been completed so masterfully.
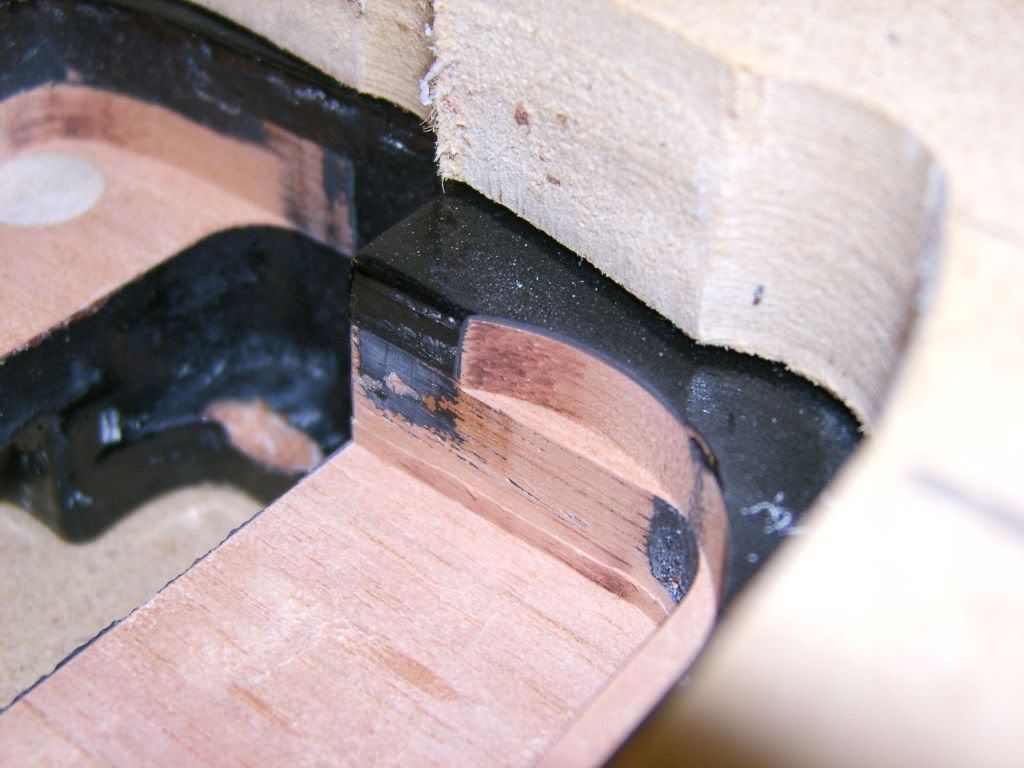
It was here that I went too far with my oversized flush trim router bit that I was not used to using like this...
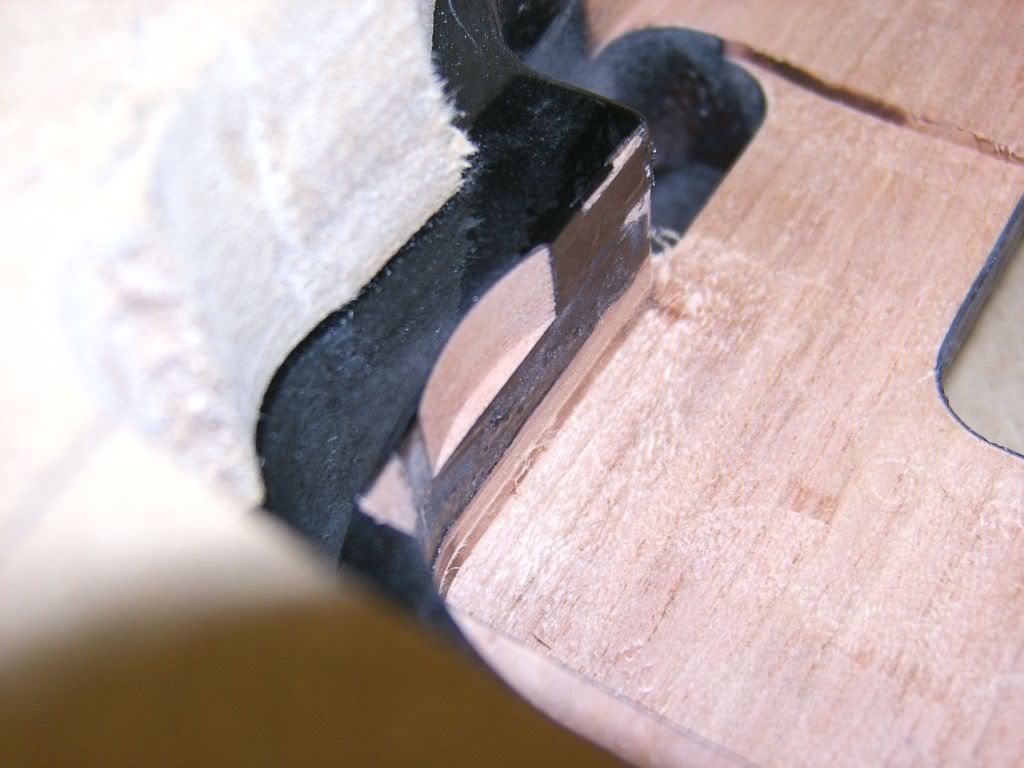
Sometimes the mark of pure genious isn't about not making any mistakes at all... It's all about how you overcome and hide them...

Here you can see the dowel I used to plug the old post holes. I used poplat cause it is a hardwood and cheap.
Ready for priming...
Primed & painted...
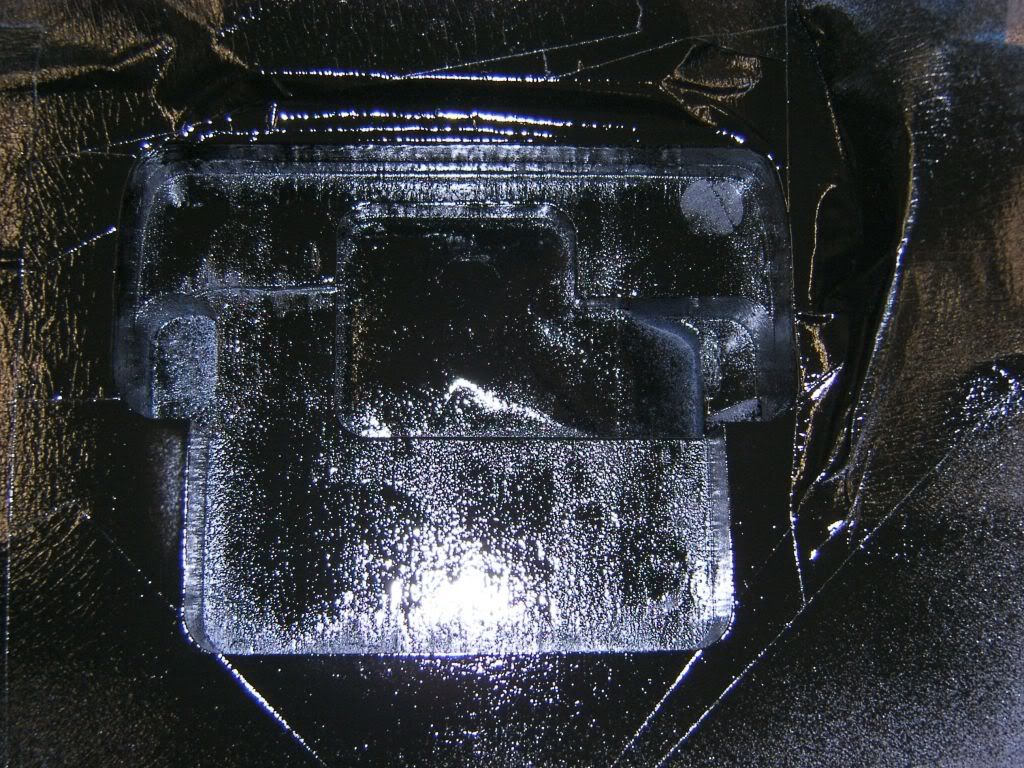
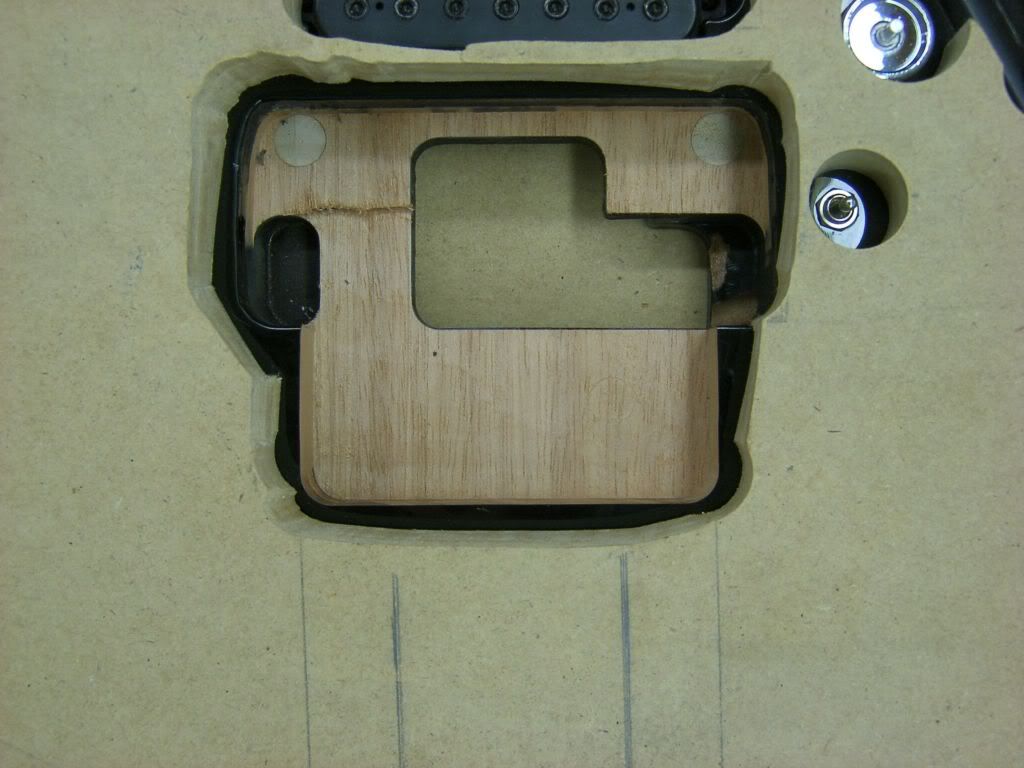
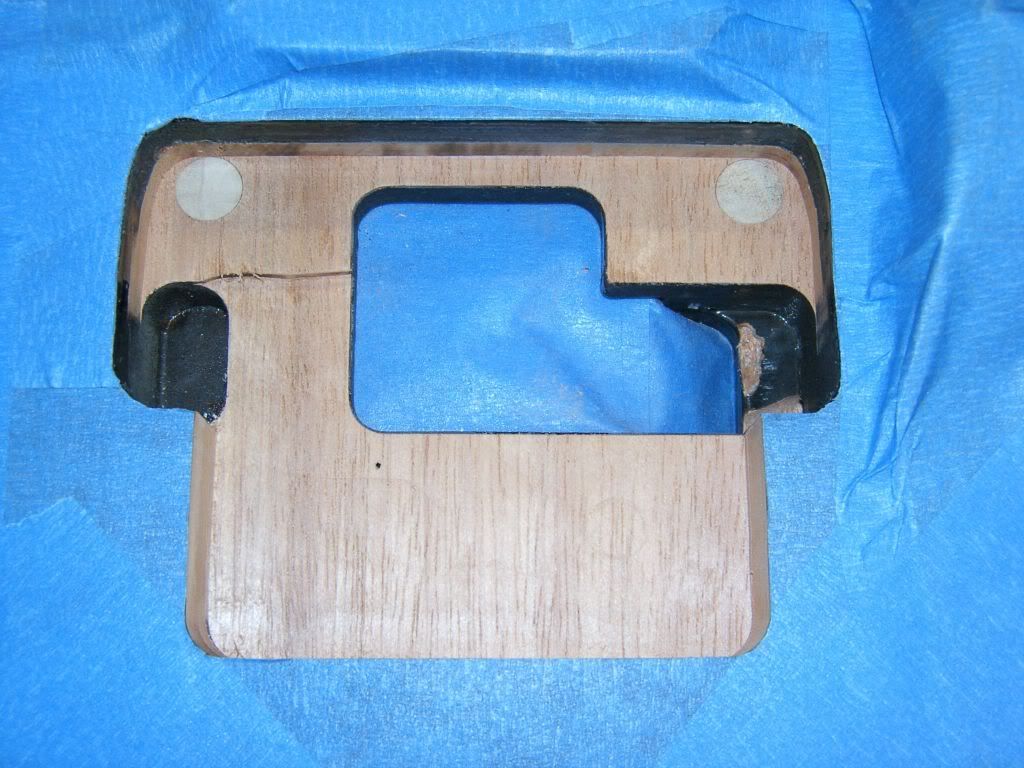
New post holes drilled, cavity painting complete...
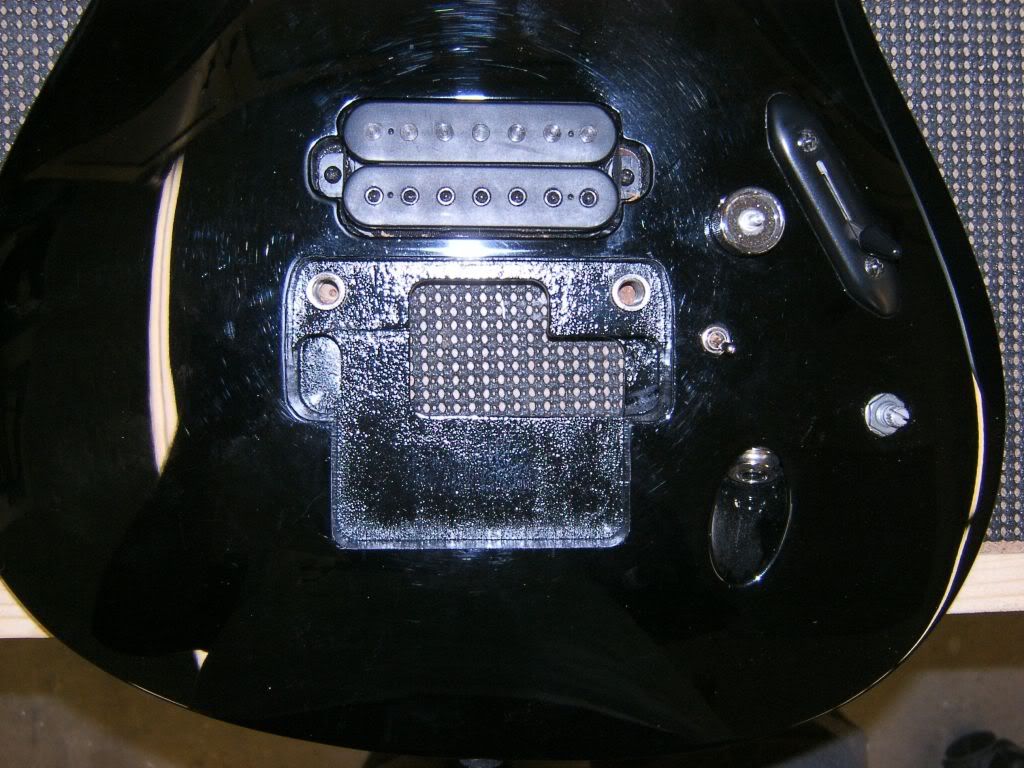
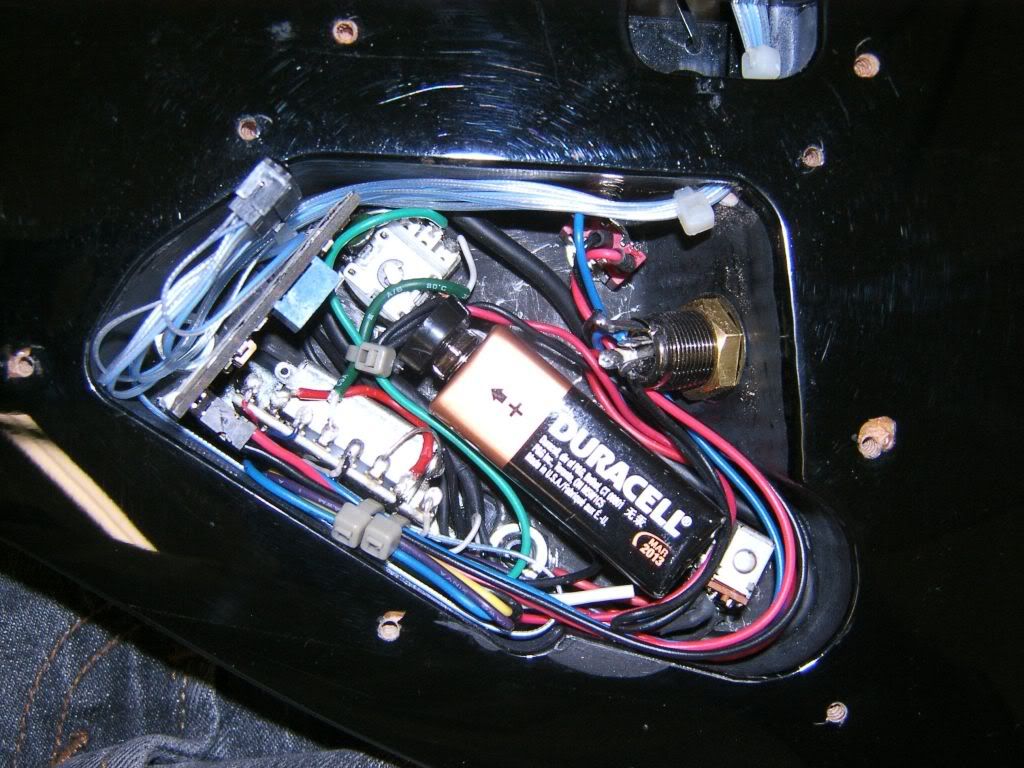
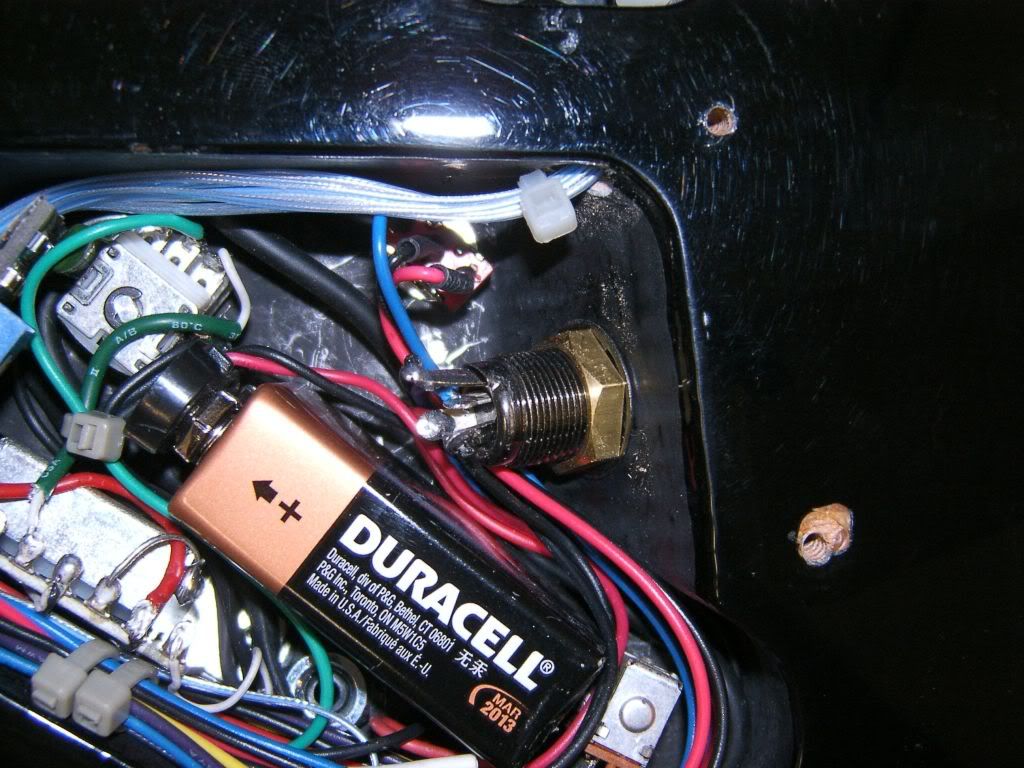
Electronics masterpiece, NO ROUTING AT ALL, not even for a battery.
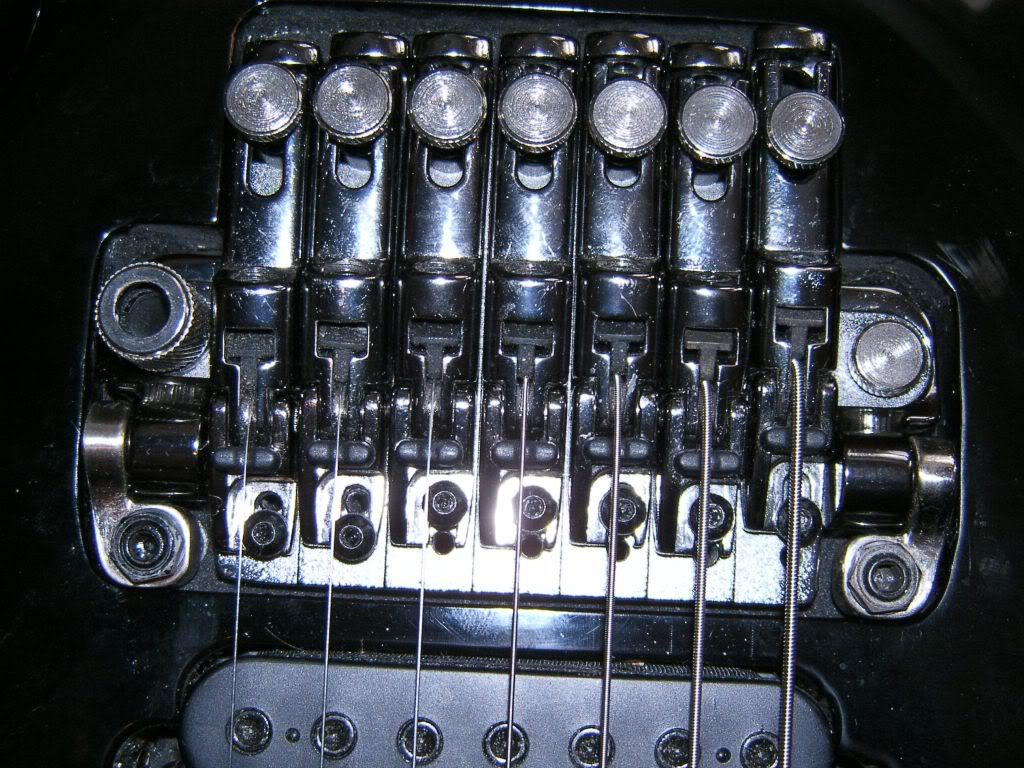
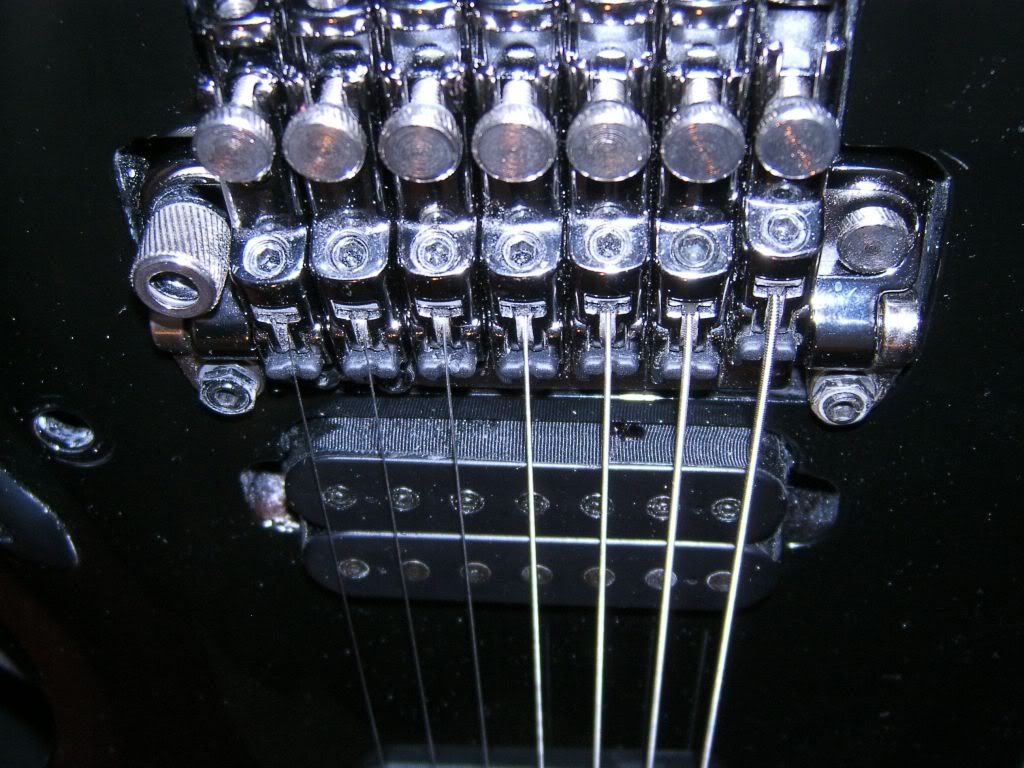
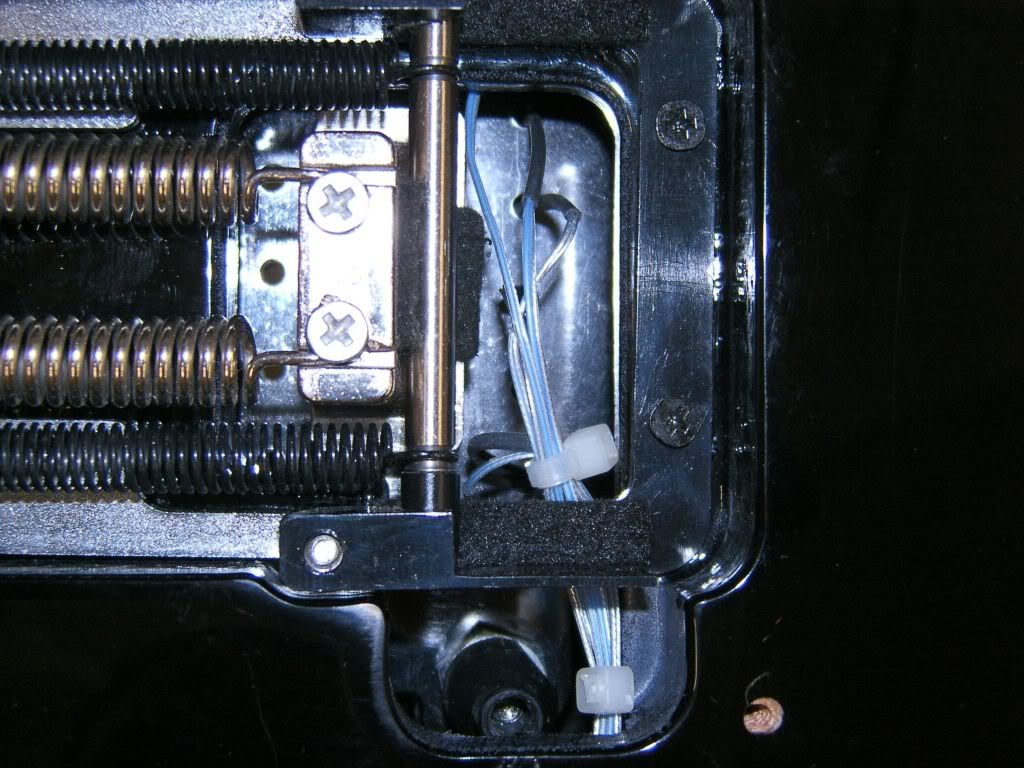
Piezo wires from bridge...
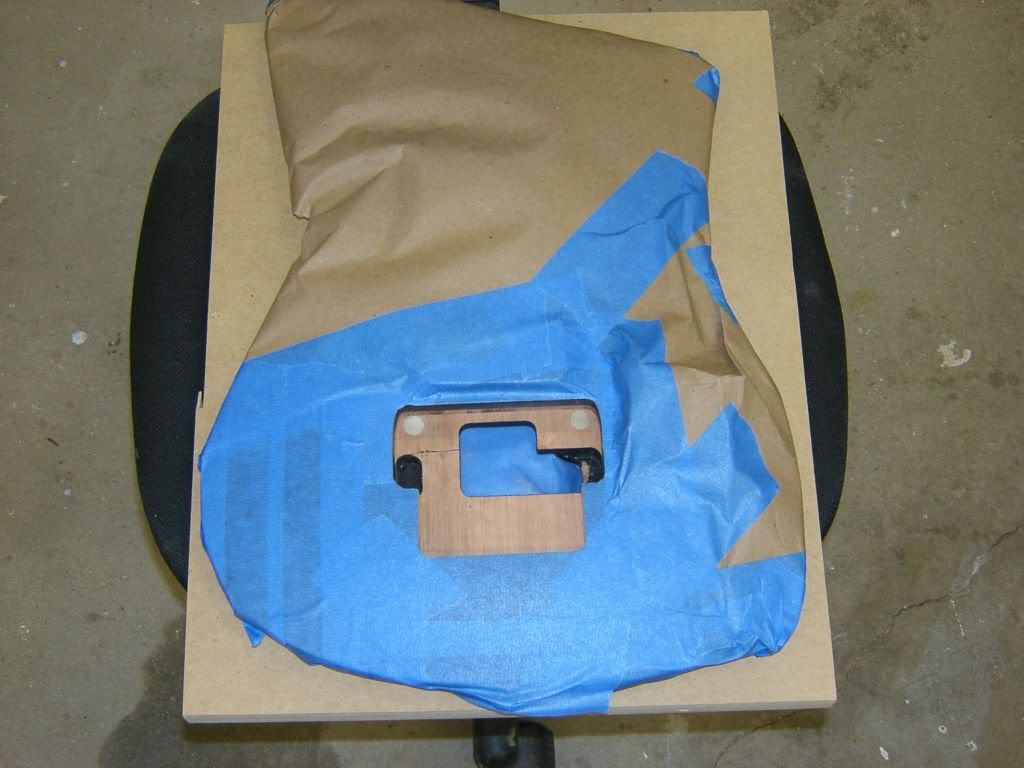
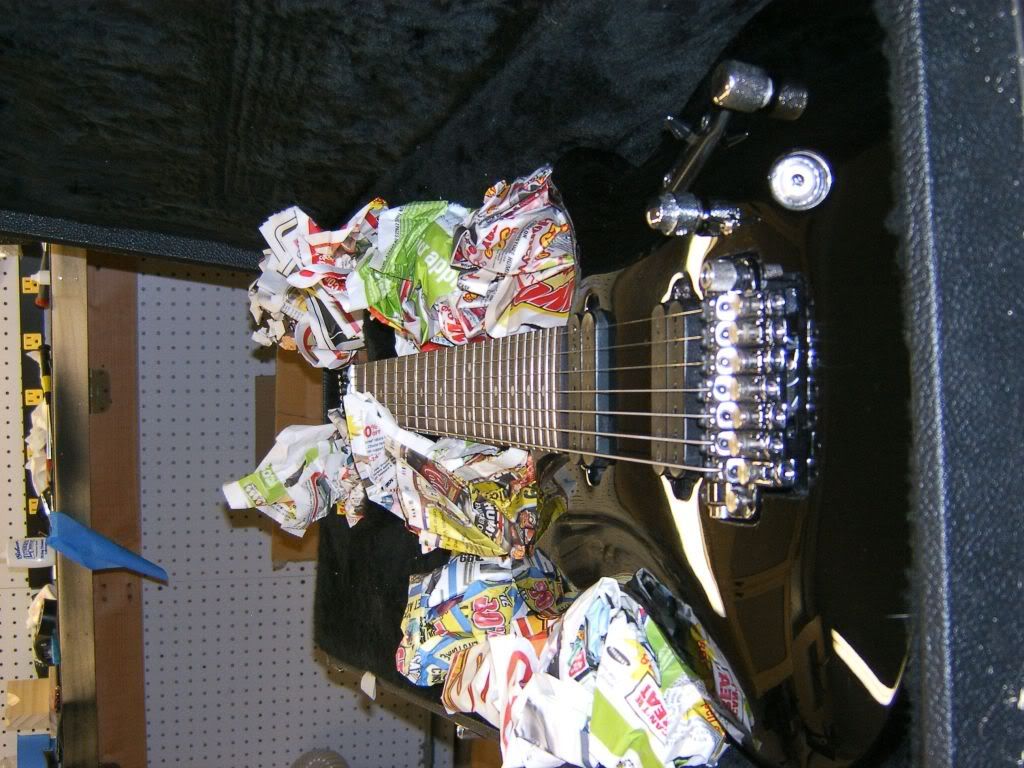
On its way back to Canada...
The only demo video I recorded was before it was totally complete. It was at the point where I realized the guitar simply could not be intonated. From there I was deeply depressed and took SEVERAL much needed weeks off from this project.
PM me for details or pricing if you are interested.
Enjoy,
shotgunn
I started this back in October of 2009. Then H20 set out to destroy my soul. My studio flooded due to a crack in the foundation. 2 months and $3500 later I was 99% finished, then my ejector pump crapped out, and I DO mean CRAPPED OUT, feces EVERYWHERE!!!! THEN my outdoor faucet ruptured and flooded my laundry room, crawlspace AND front room, then my 4 yr old son was making a wave pool in the tub one day. I told him to stop, he didn't I got walked away. When I went back in there was water all the way out to the door leaking beneath my (self installed) NEW laminate floor. I cleaned the mes (screamed and yelled) then went to find solice in my studio.
Then I hear, drip, drip, drip, drip... I think to myself no, NO, NO, NOO!!!!!!! This is NOT happening... SUre enough, water was leaking from the LIGHT FIXTURE in the closet of my studio...
Anyway, that is why this took soooooooofricken long... Not to mention all the uphill battle that directly pertain to the mod itself...
Here it is...
The first ever Ibanez ZR Piezo Mod...
The first saddle, testing the width and length...
All 7...
It was at this point that I realized the strings would sit WAAAAAY too high off the fretboard. Not to mention the fact that the whammy bar was useless since the bridge bottomed out in the cavity. I would have to route a new bridge cavity deeper into the VERY slim S series body. I also moved the entire route 1/4" further from the nut, plugged up the post holes and redrilled them further from the nut. This compensates for the new string break point and helps the intonation.
Since I needed to route the surface of the guitar I needed a flat surface to rest the router on. So I made a VERY rough outline of the guitar and sandwiched MDF around the guitar. This gave me a nice flat surface to route off off. This also meant that I did not have to remove ALL of the wiring that had already been completed so masterfully.
It was here that I went too far with my oversized flush trim router bit that I was not used to using like this...
Sometimes the mark of pure genious isn't about not making any mistakes at all... It's all about how you overcome and hide them...
Here you can see the dowel I used to plug the old post holes. I used poplat cause it is a hardwood and cheap.
Ready for priming...
Primed & painted...
New post holes drilled, cavity painting complete...
Electronics masterpiece, NO ROUTING AT ALL, not even for a battery.
Piezo wires from bridge...
On its way back to Canada...
The only demo video I recorded was before it was totally complete. It was at the point where I realized the guitar simply could not be intonated. From there I was deeply depressed and took SEVERAL much needed weeks off from this project.
PM me for details or pricing if you are interested.
Enjoy,
shotgunn

 Great pics !