Vik Custom Black Lotus build pic's

  • Thread starter fretninjadave
  • Start date
  • This site may earn a commission from merchant affiliate links like Ebay, Amazon, and others.

This site may earn a commission from merchant links like Ebay, Amazon, and others.

ViK-master

Well-Known Member
Joined
Sep 3, 2009
Messages
522
Reaction score
162
Location
Minsk, Belarus
And some progress for today.

First f all I cut frets slots on the fingerboard

160486725.jpg


Time to set the neck

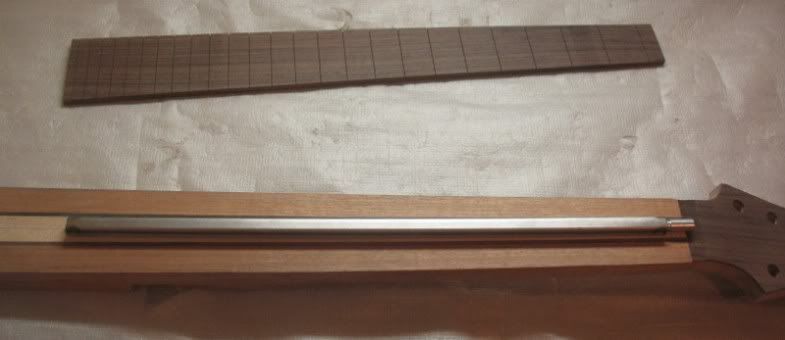
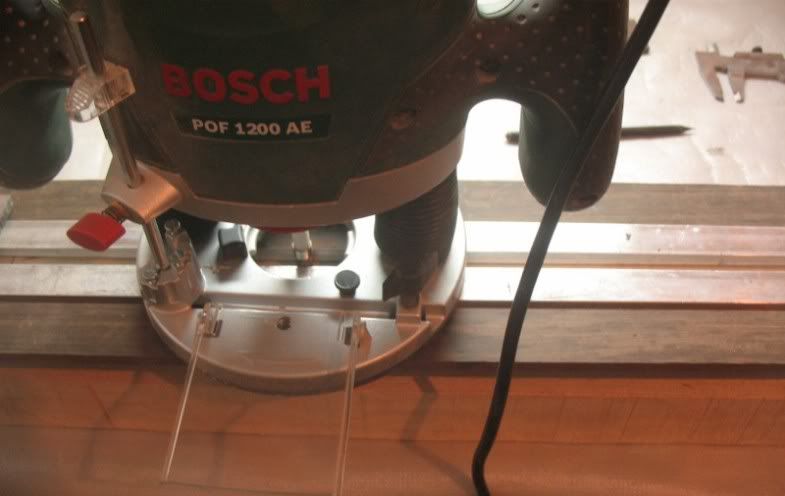
As I've mentioned before I use for Black Lotus 7 model ViK ISNC-S set-neck system which is a little bit shorter that standard ISNC and goes to the end of neck pickup cavity

160486736.jpg


160486740.jpg


This system uses very specific angles for body neck/joint and special "wedge" shape

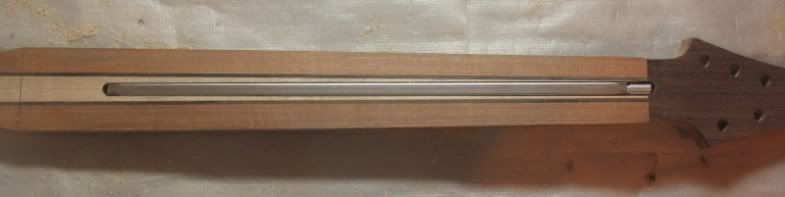
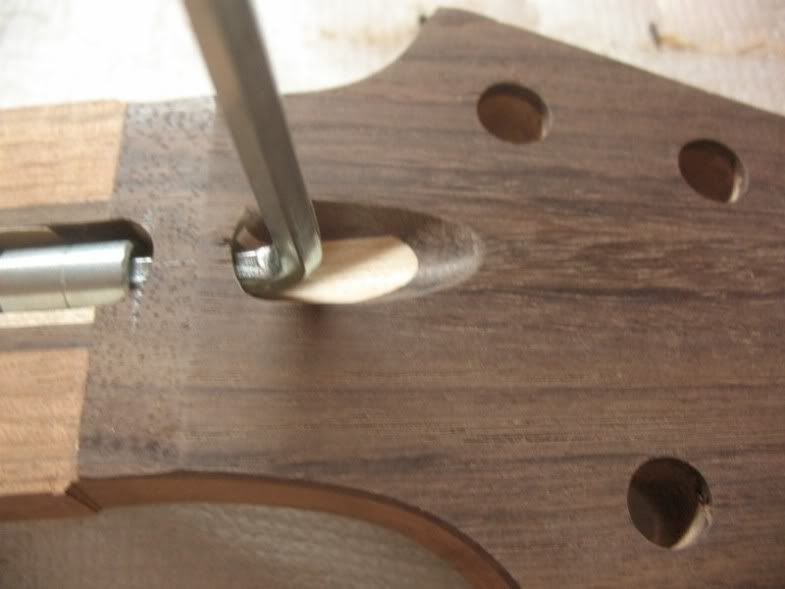
Ready. The neck fits the cavity very well. But I'll glue it only after gluing the fretboard

160486743.jpg


160486753.jpg


160486758.jpg


And here it is - first time ever! - Black Lotus 7 CS David Oh

160486751.jpg
 

ViK-master

Well-Known Member
Joined
Sep 3, 2009
Messages
522
Reaction score
162
Location
Minsk, Belarus
Some progress for today.

160540803.jpg


160540811.jpg


Anf route the controls cavity

160540822.jpg


Angled jack input

160540848.jpg


Rods for wire from pickups

Bridge

160540825.jpg


160540833.jpg


Neck

160541520.jpg


160540839.jpg


Strapbuttons holes

160540842.jpg


Ready

160540858.jpg


Here's what we have for the moment.

160540861.jpg
 

fretninjadave

Seven String Samurai
Joined
May 20, 2008
Messages
718
Reaction score
192
Location
El Paso tx
Installing the Truss rod and fretboard today so here we go
160569523.jpg


160569528.jpg


Slightly angled to compinsate for neck twist

160569536.jpg


160569539.jpg


Degrease and prepair wood for glue
160569543.jpg


clamp it

160569546.jpg
 

ViK-master

Well-Known Member
Joined
Sep 3, 2009
Messages
522
Reaction score
162
Location
Minsk, Belarus
So the neck is glued

160616394.jpg


With help of a plane and sanding paper I profiled compound radius on the fretboard - 12-20"

160616396.jpg


160616401.jpg


160616405.jpg


I cut off the segment under neck pickup

160616408.jpg


And then glued plastic binding with cement

In a few hours I got back to that neck and made it look pretty

160616415.jpg


160616418.jpg


A also planned the headstock to 14mm thick

160616425.jpg


160616421.jpg


Here's what we have for today

160616429.jpg
 

ViK-master

Well-Known Member
Joined
Sep 3, 2009
Messages
522
Reaction score
162
Location
Minsk, Belarus
In a usual way of thing we should do inlay work now, but as far as we haven't come up with final layout I decided not to waste time and procced with the neck

The profile - Shredmaster 7 - in progress.

160727652.jpg


160727980.jpg


160727987.jpg


I always do neck profile by hands, with the help of a plane, chisels and sanding paper. Man made neck always feels warm in hands and always (if done well) feels good and comfortable.

160727657.jpg


160727665.jpg


160727660.jpg


160727668.jpg


I'll make the heal smoothier after glue the neck in

Time to place side markers

160727673.jpg


160727680.jpg


160727844.jpg


160727846.jpg


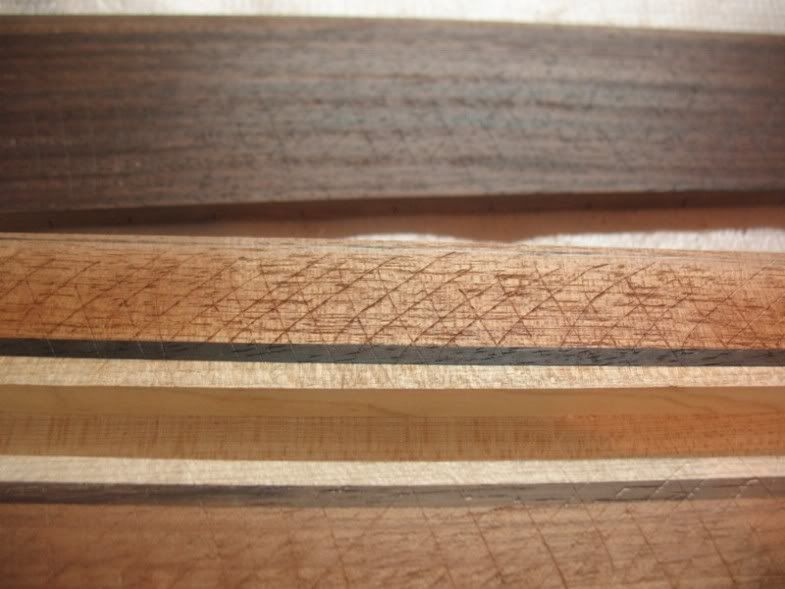
The maple part shows some figuring btw

160728150.jpg


160728155.jpg


As you can see in the pics the nek is pretty thin - 18.5mm at the 1th fret and 20.5mm at 12.
It's basically a modern D or ellipse shape, very sleak and fast. Dave, you'll have to lock your seat-belts before playing ;D

Say the headstock has been glued here, huh?

160727662.jpg


And the whole stuff as it's now

160728159.jpg


160727856.jpg
 

ViK-master

Well-Known Member
Joined
Sep 3, 2009
Messages
522
Reaction score
162
Location
Minsk, Belarus
Thanks!

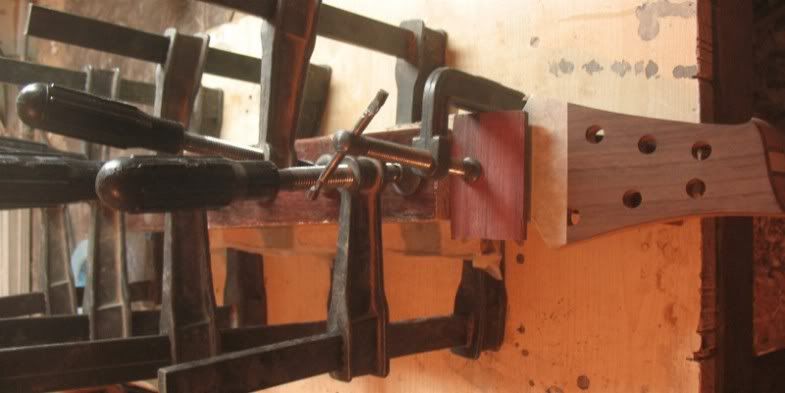
So, finally some progress after the shop moving.
The neck is set-in, I worked on he "heal" shape to make it extremely comfortable.

160892176.jpg


160892179.jpg


160892185.jpg


Here it is now:

160892227.jpg


160892229.jpg


And then time to work on the inlays came.

These funny guys are gonna be sitting on this fretboard soon

160892190.jpg


White mop blanks

160892195.jpg


Some drawing

160892198.jpg


this is how it's gonna look without "shades"

160892202.jpg


Nik proposed an idea to make every skull to "bite" the fret which was supposed to cover the thees otherway. Like this:

160892205.jpg


The second

160892208.jpg


160892217.jpg


160892222.jpg


That is the first stage only. Afterall the skulls are gonna look pretty similar to the way they look on the printed pics. eyeholes etc will be black as well as the contours.
 

ViK-master

Well-Known Member
Joined
Sep 3, 2009
Messages
522
Reaction score
162
Location
Minsk, Belarus
Hi everybody!

Due to the customer's doubts about inlay pattern we basically had no movements within the last two weeks.
I did cut the whole picture of MOP

161073515.jpg


Then I cut the slash of Black MOP blanks

161073517.jpg


161073522.jpg


161073518.jpg


161073524.jpg


161073526.jpg


But then suddently David asked me to do another thing as he'd changed his mind and found smth he did really like. So, it's not so easy to give up that piece of work but my rule is: the best client is happy client, so I draw the layout

161264130.jpg


Then turned it to black mop

161264132.jpg


161264136.jpg


161264137.jpg


I hope this time we'll do it faster as I'm eager to give that Black Lotus a try asap.
 

ILuvPillows

Baby seal will destr
Joined
Jan 23, 2010
Messages
465
Reaction score
30
Location
Bath, England
Really respectable that you were willing to make the change and didnt hold any grudges. Kudos on that.

Love the new inlay (never keen on skulls in general)
 
Top
')