So I decided to do my very first guitar refinish on a Kramer Vanguard FR440S.
This is what I got from eBay:
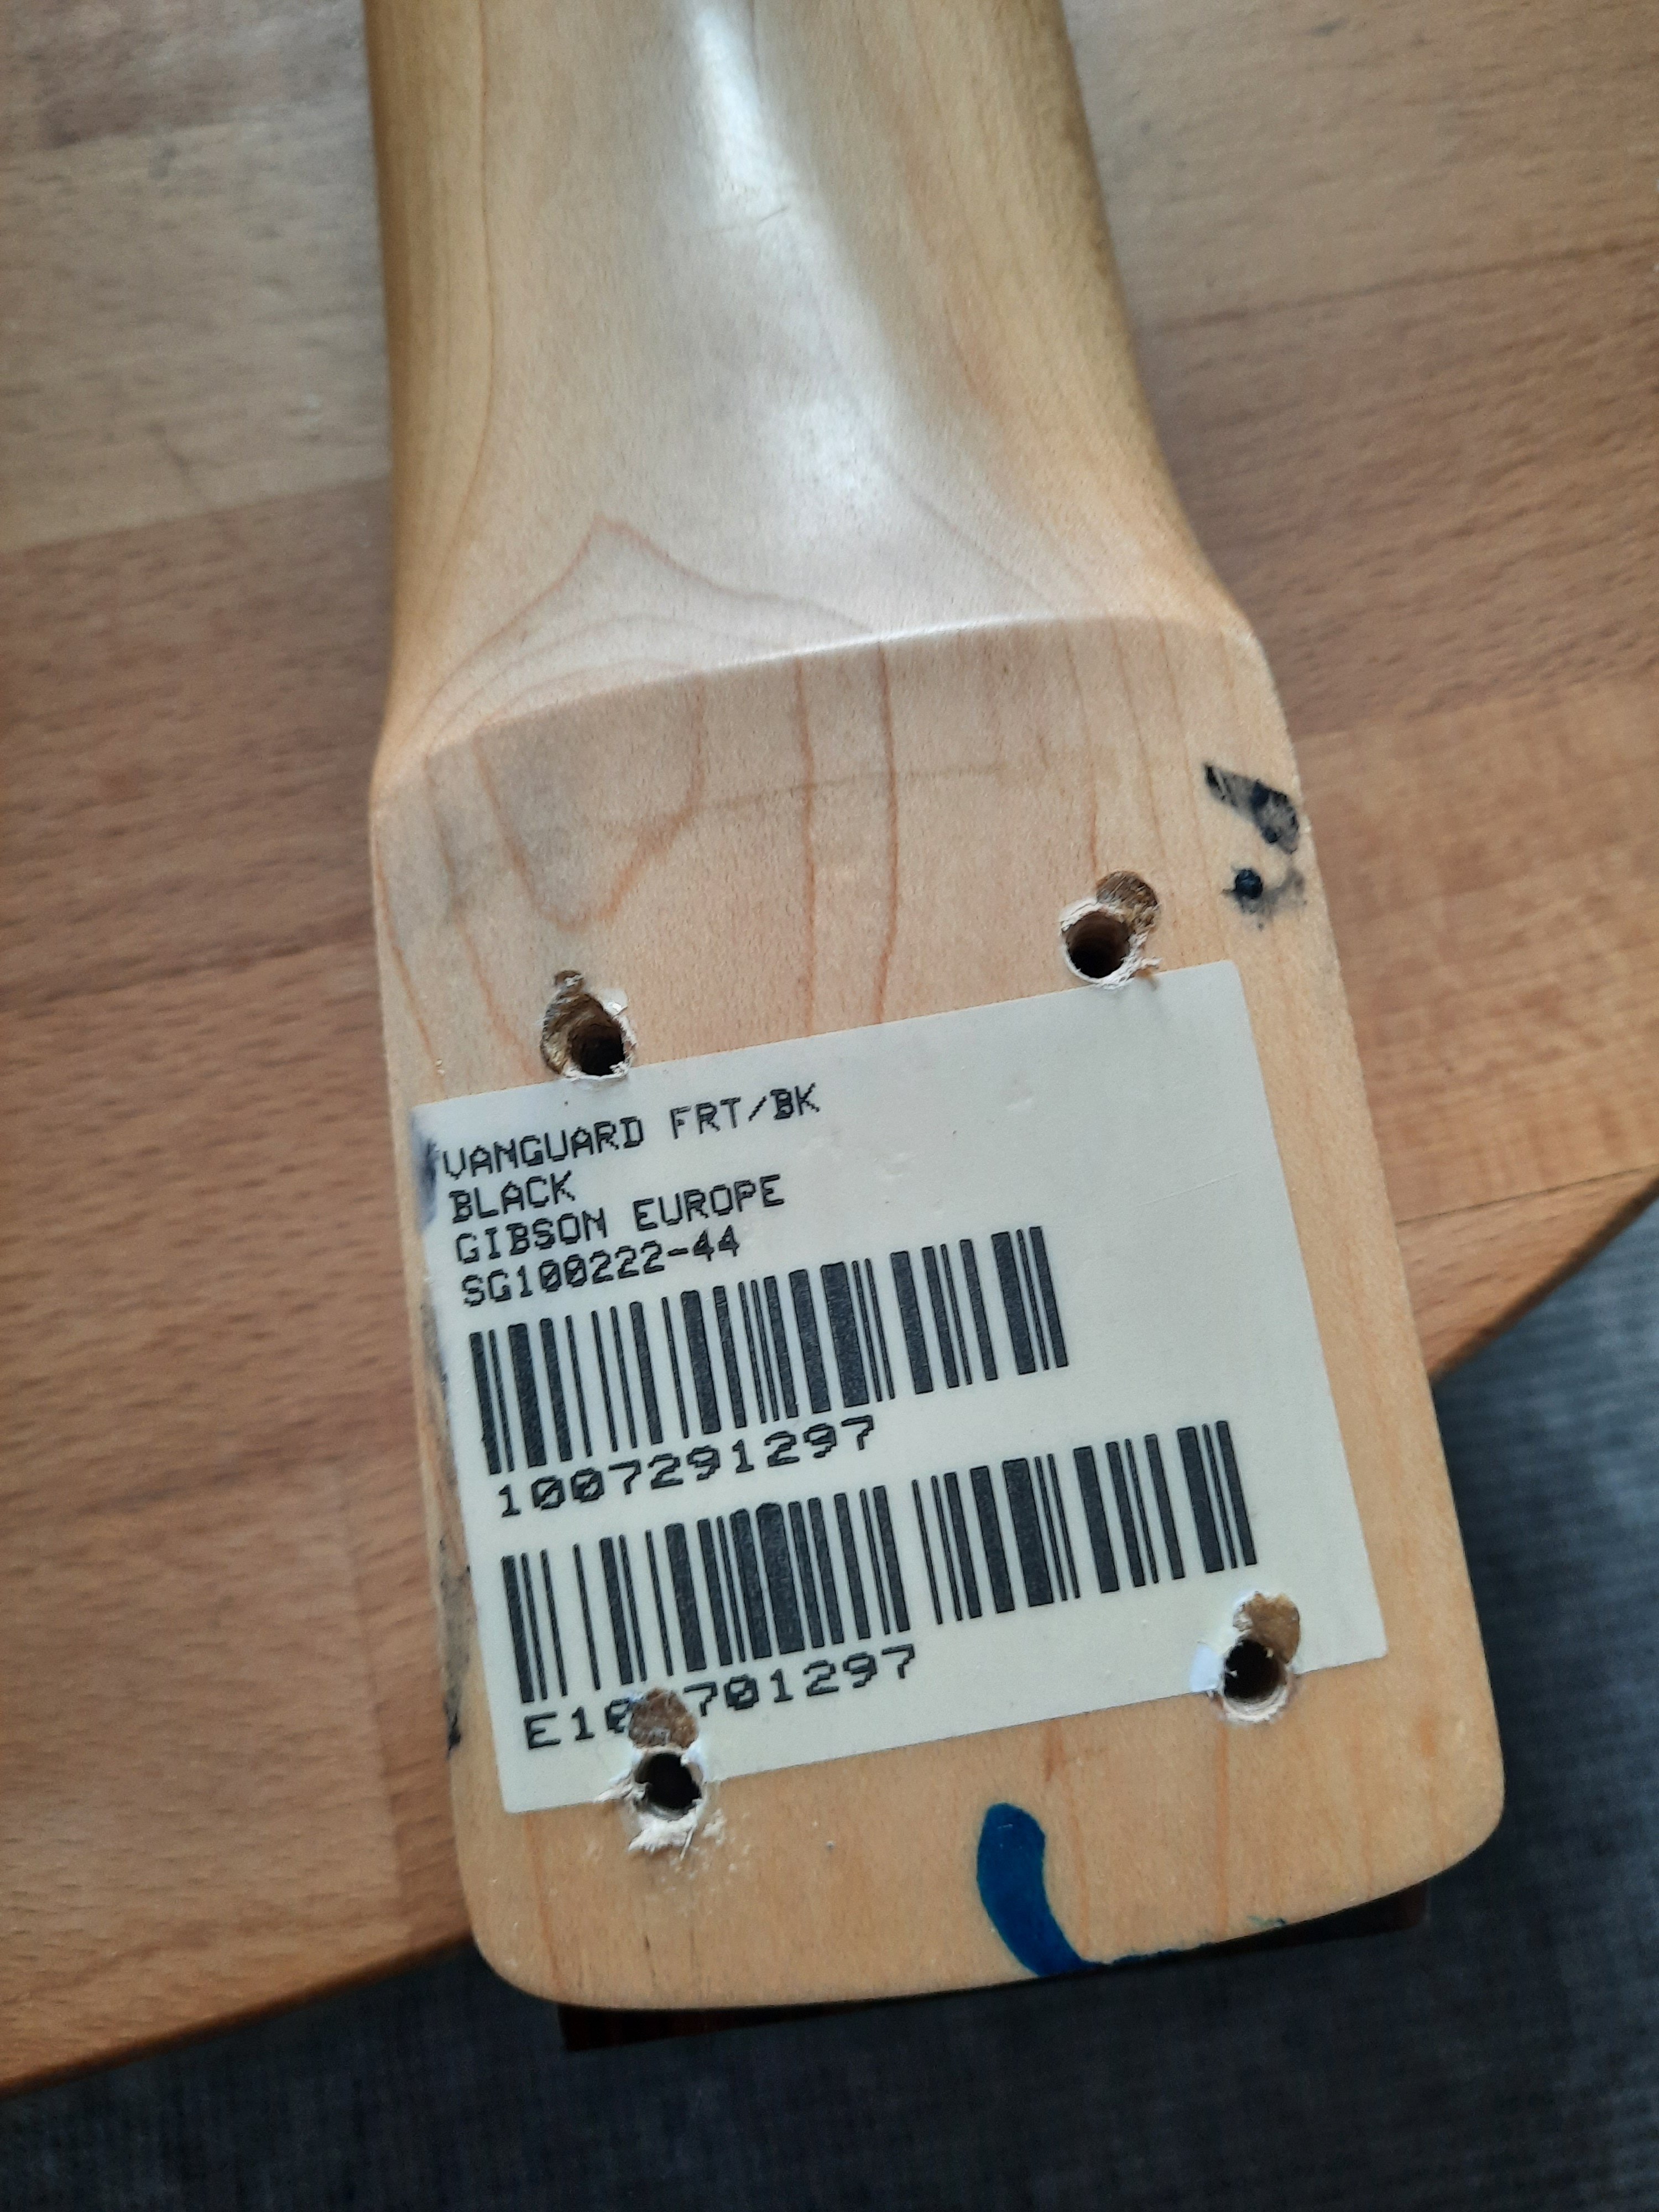
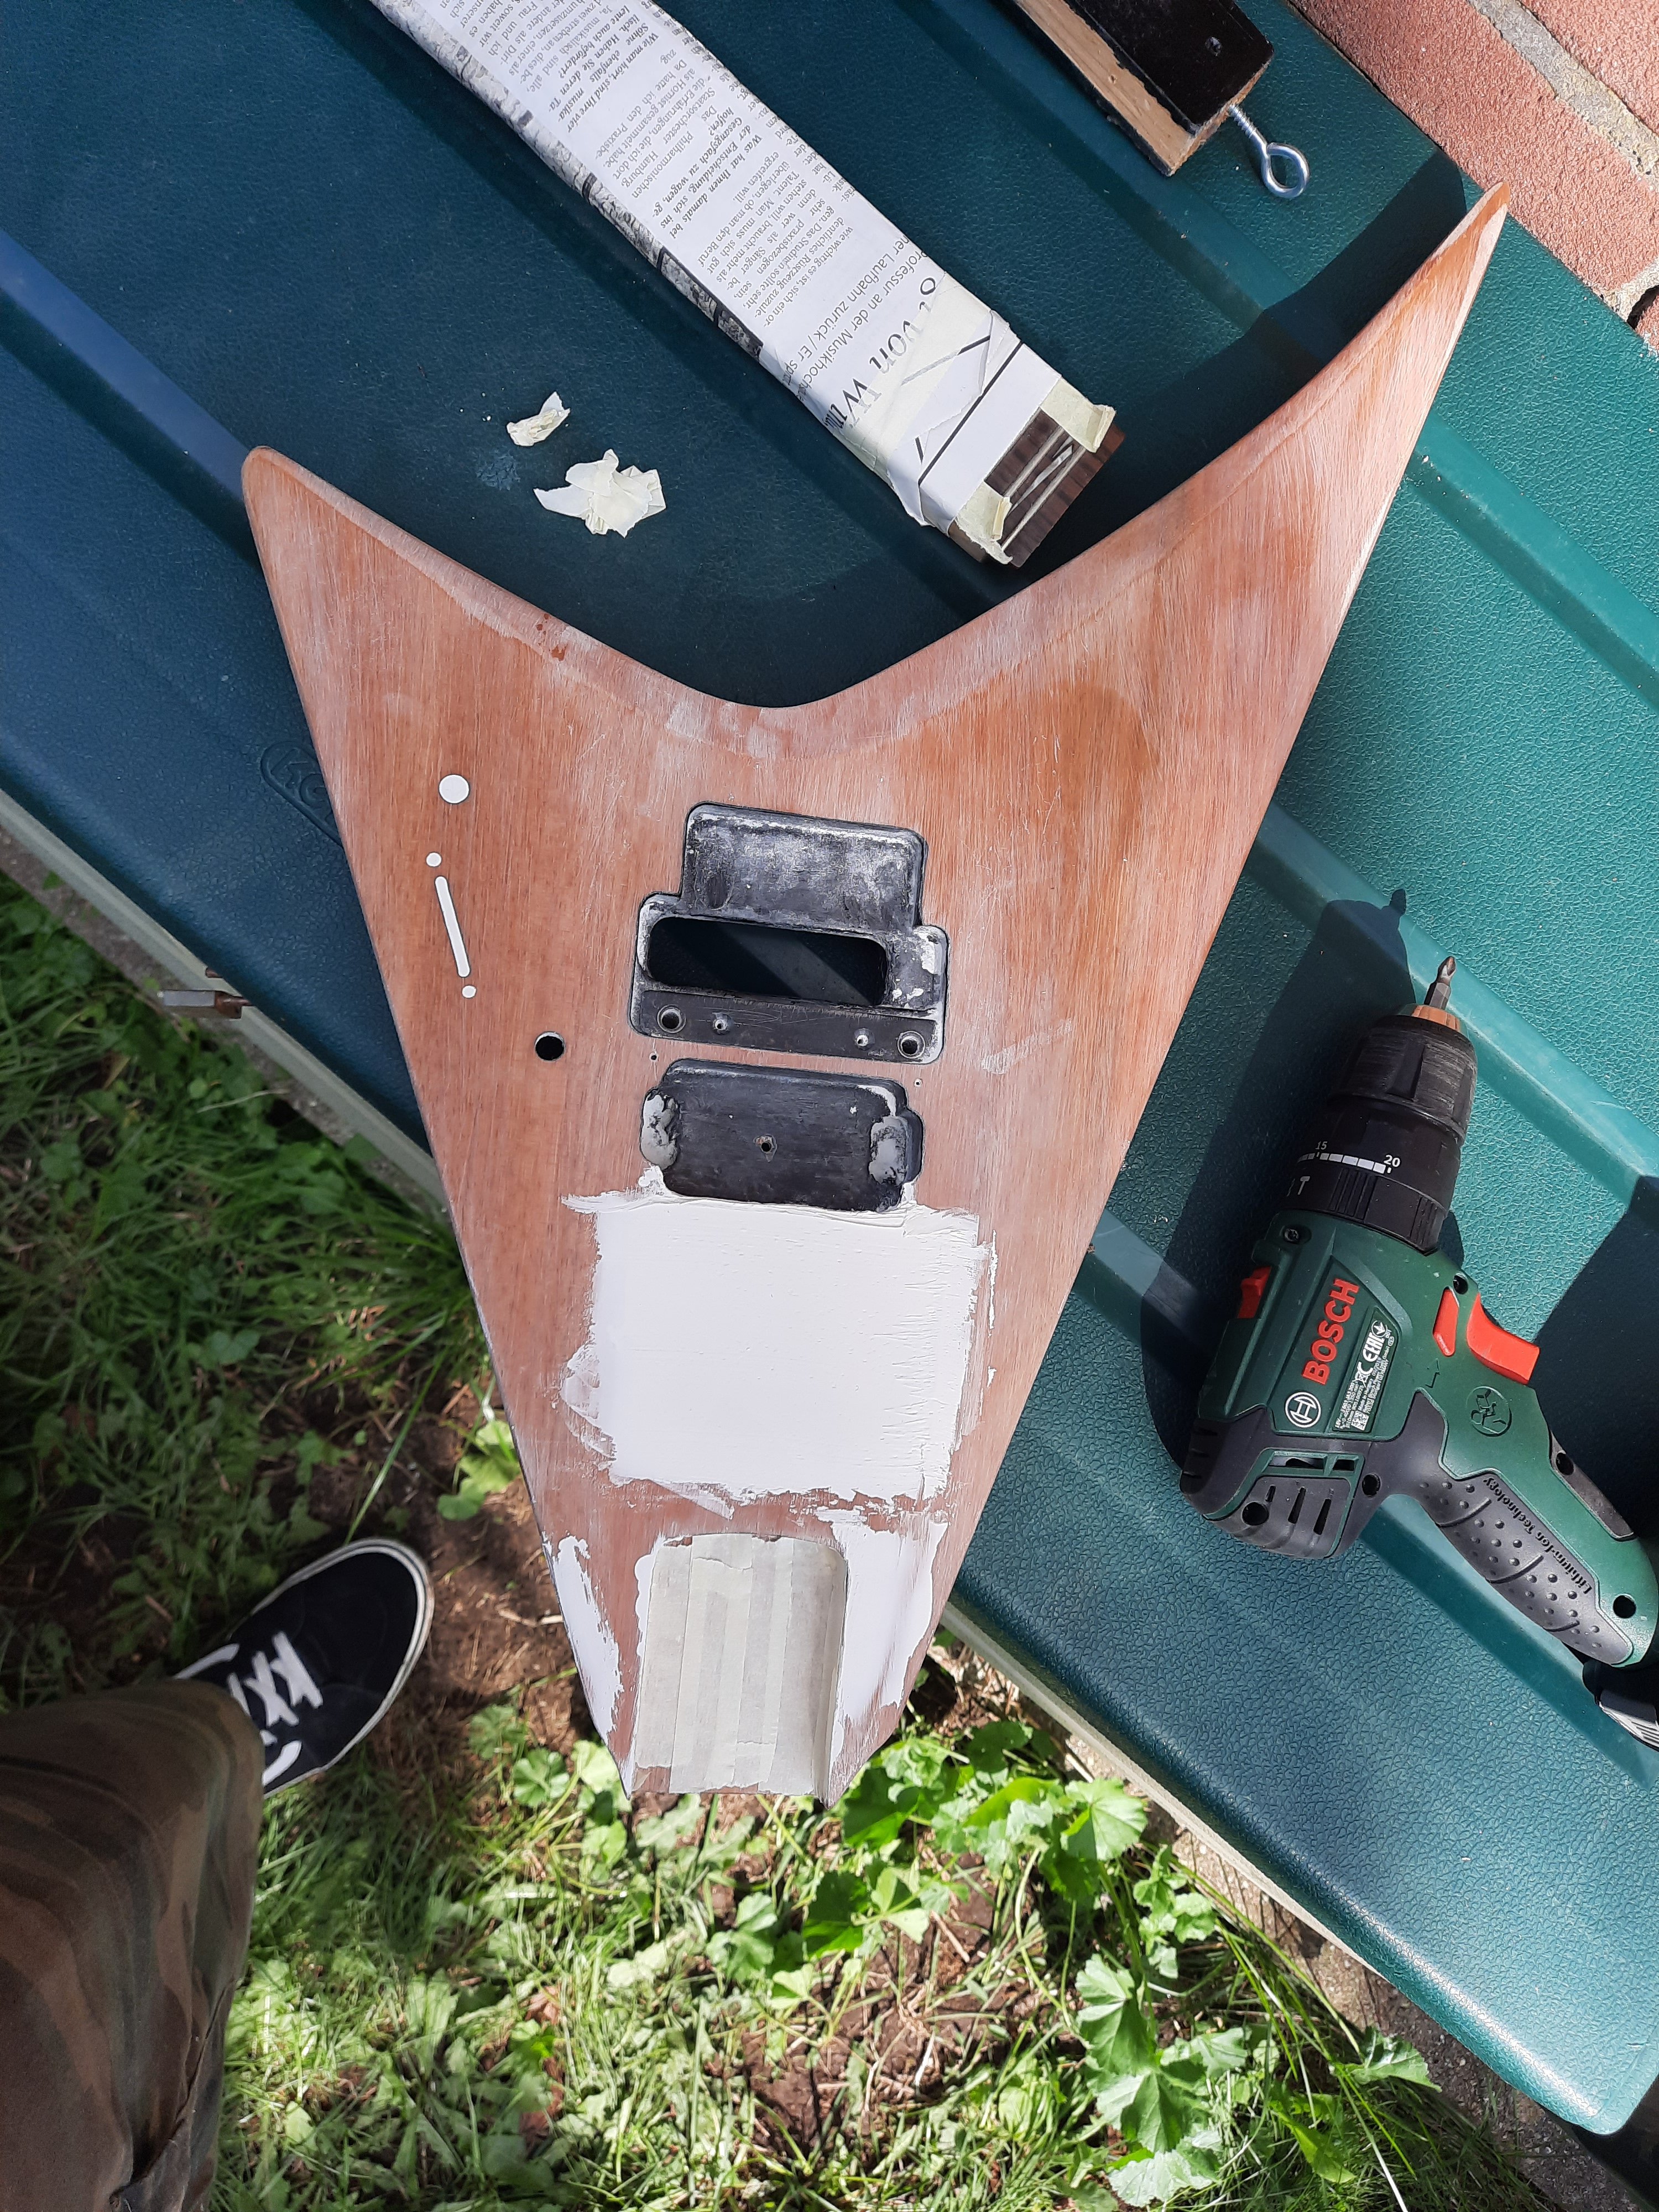
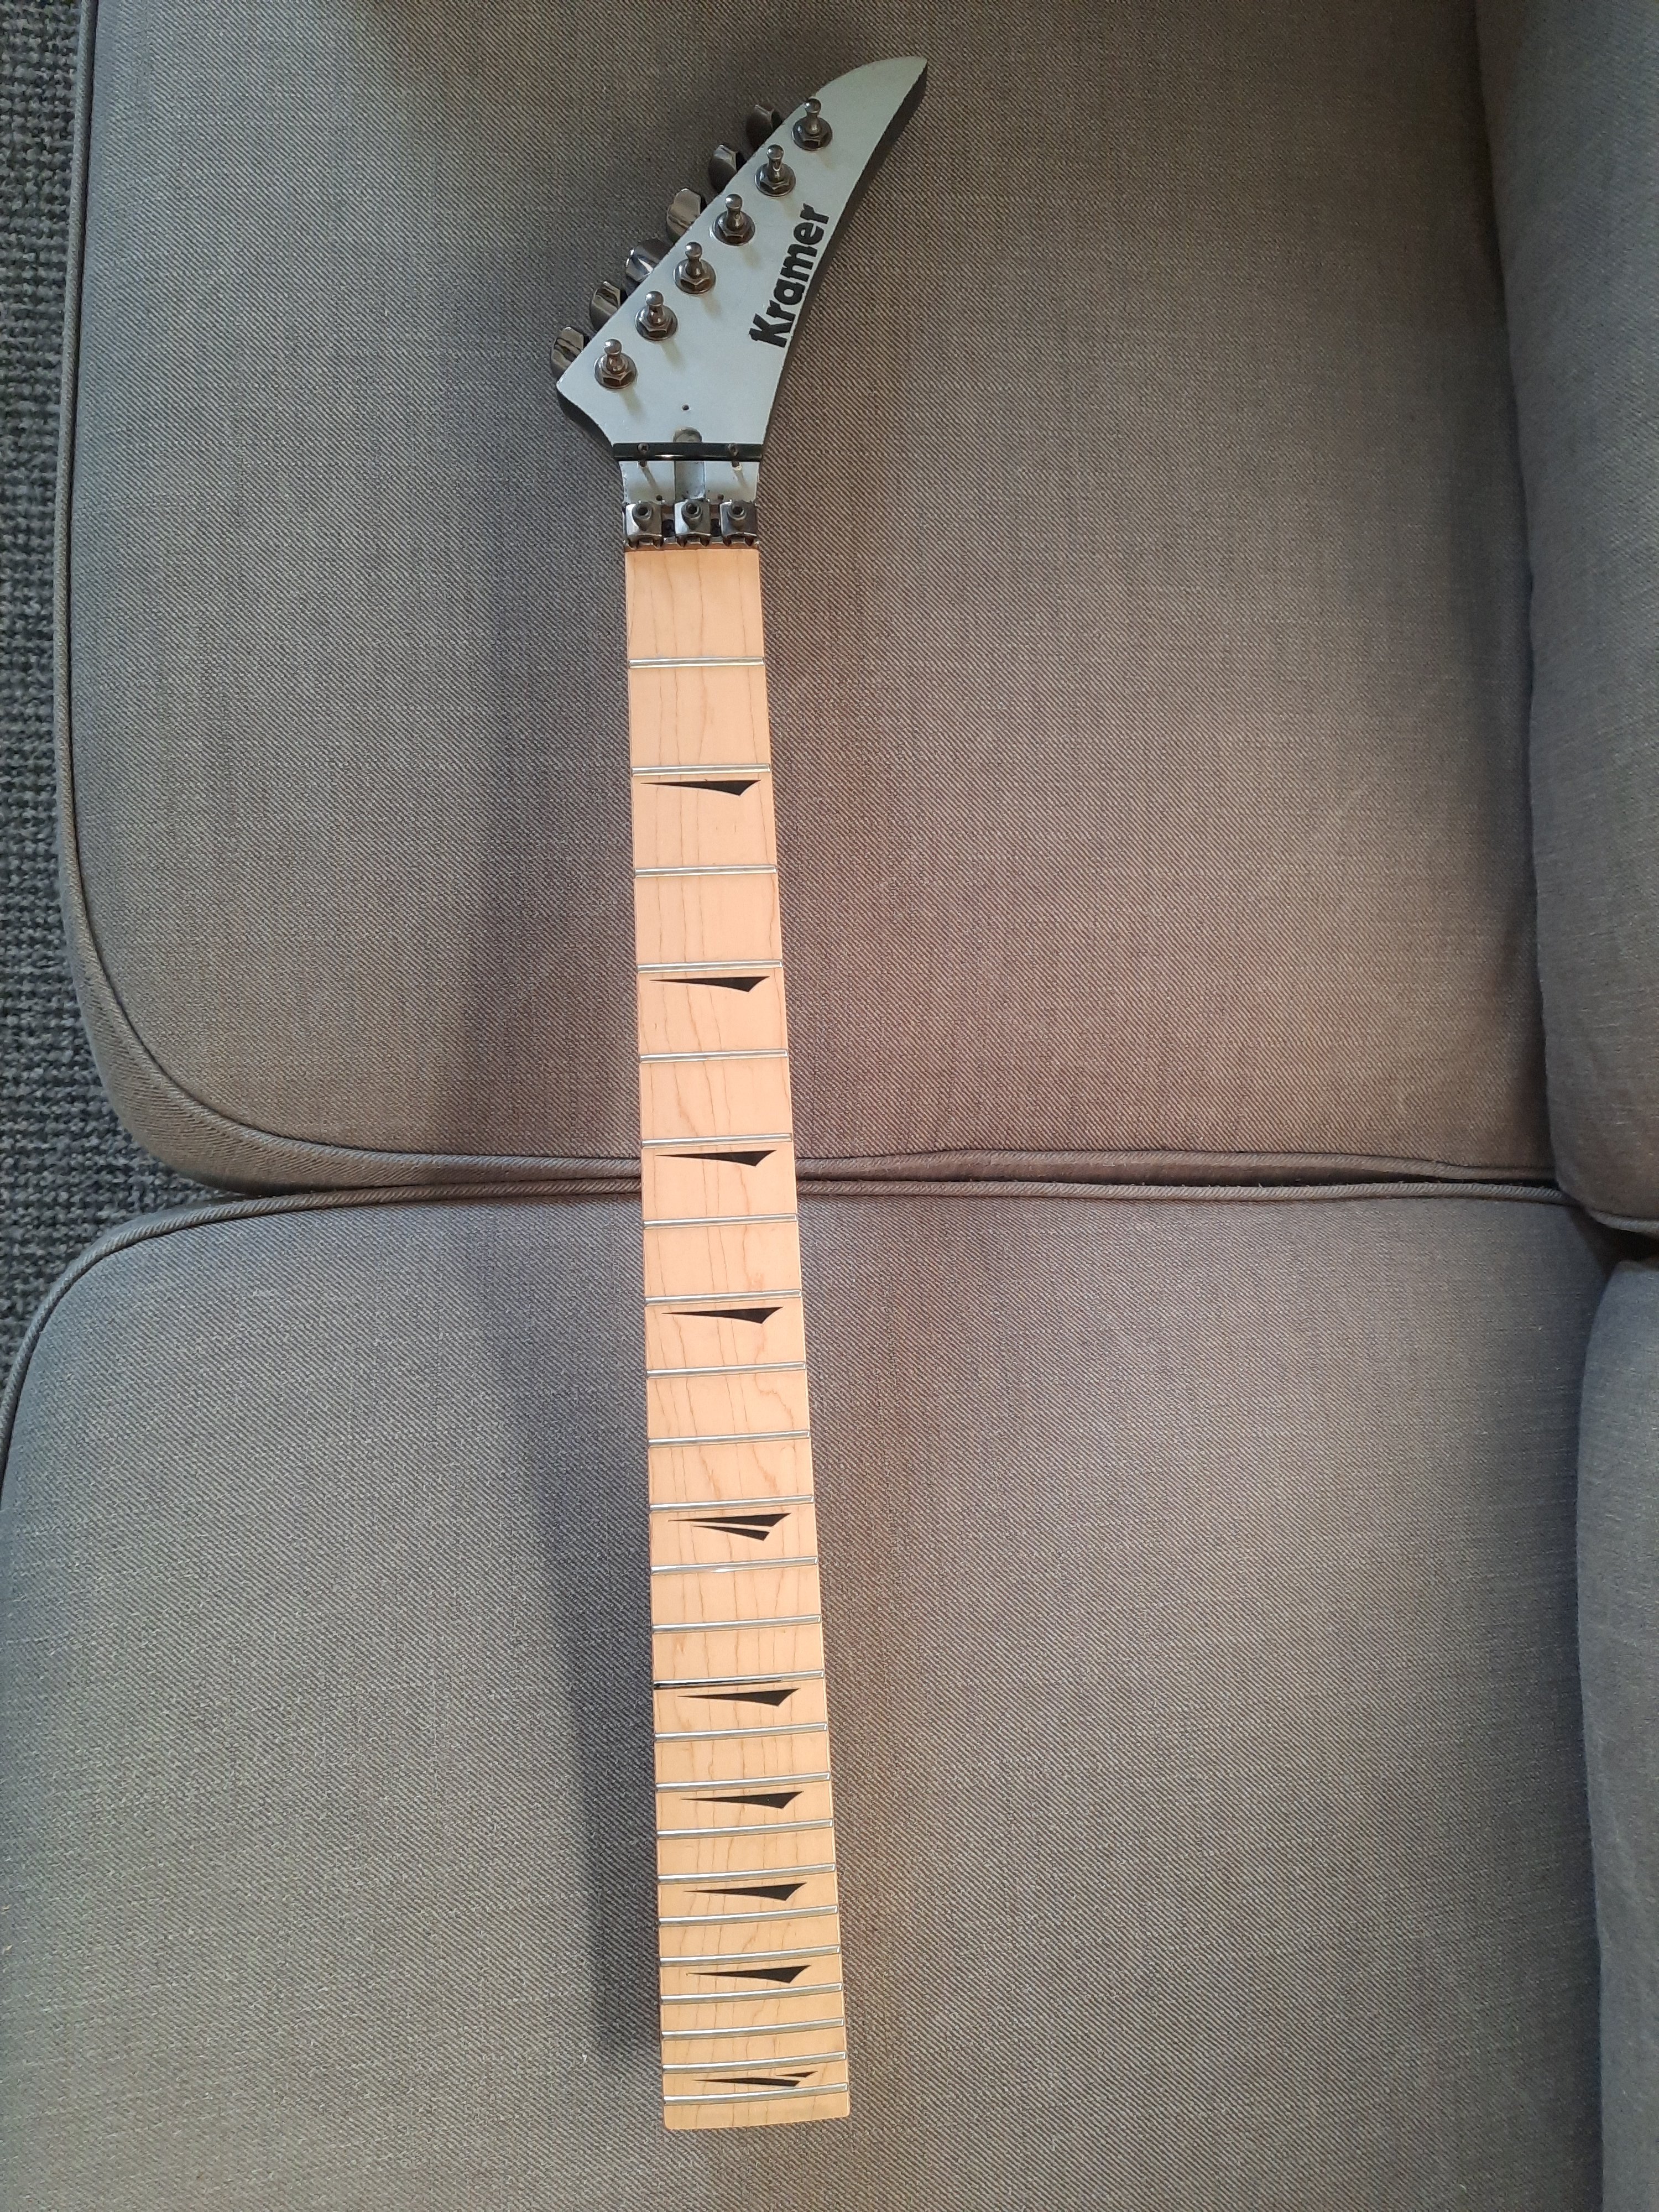
Besides the new finish I'm going to fill the middle pickup cavity and the holes from the toggle switch and tone poti. Also I got a new neck for this guitar, it's coming from a Kramer SC211 that came with a Vanguard neck. At least it says so on the sticker.
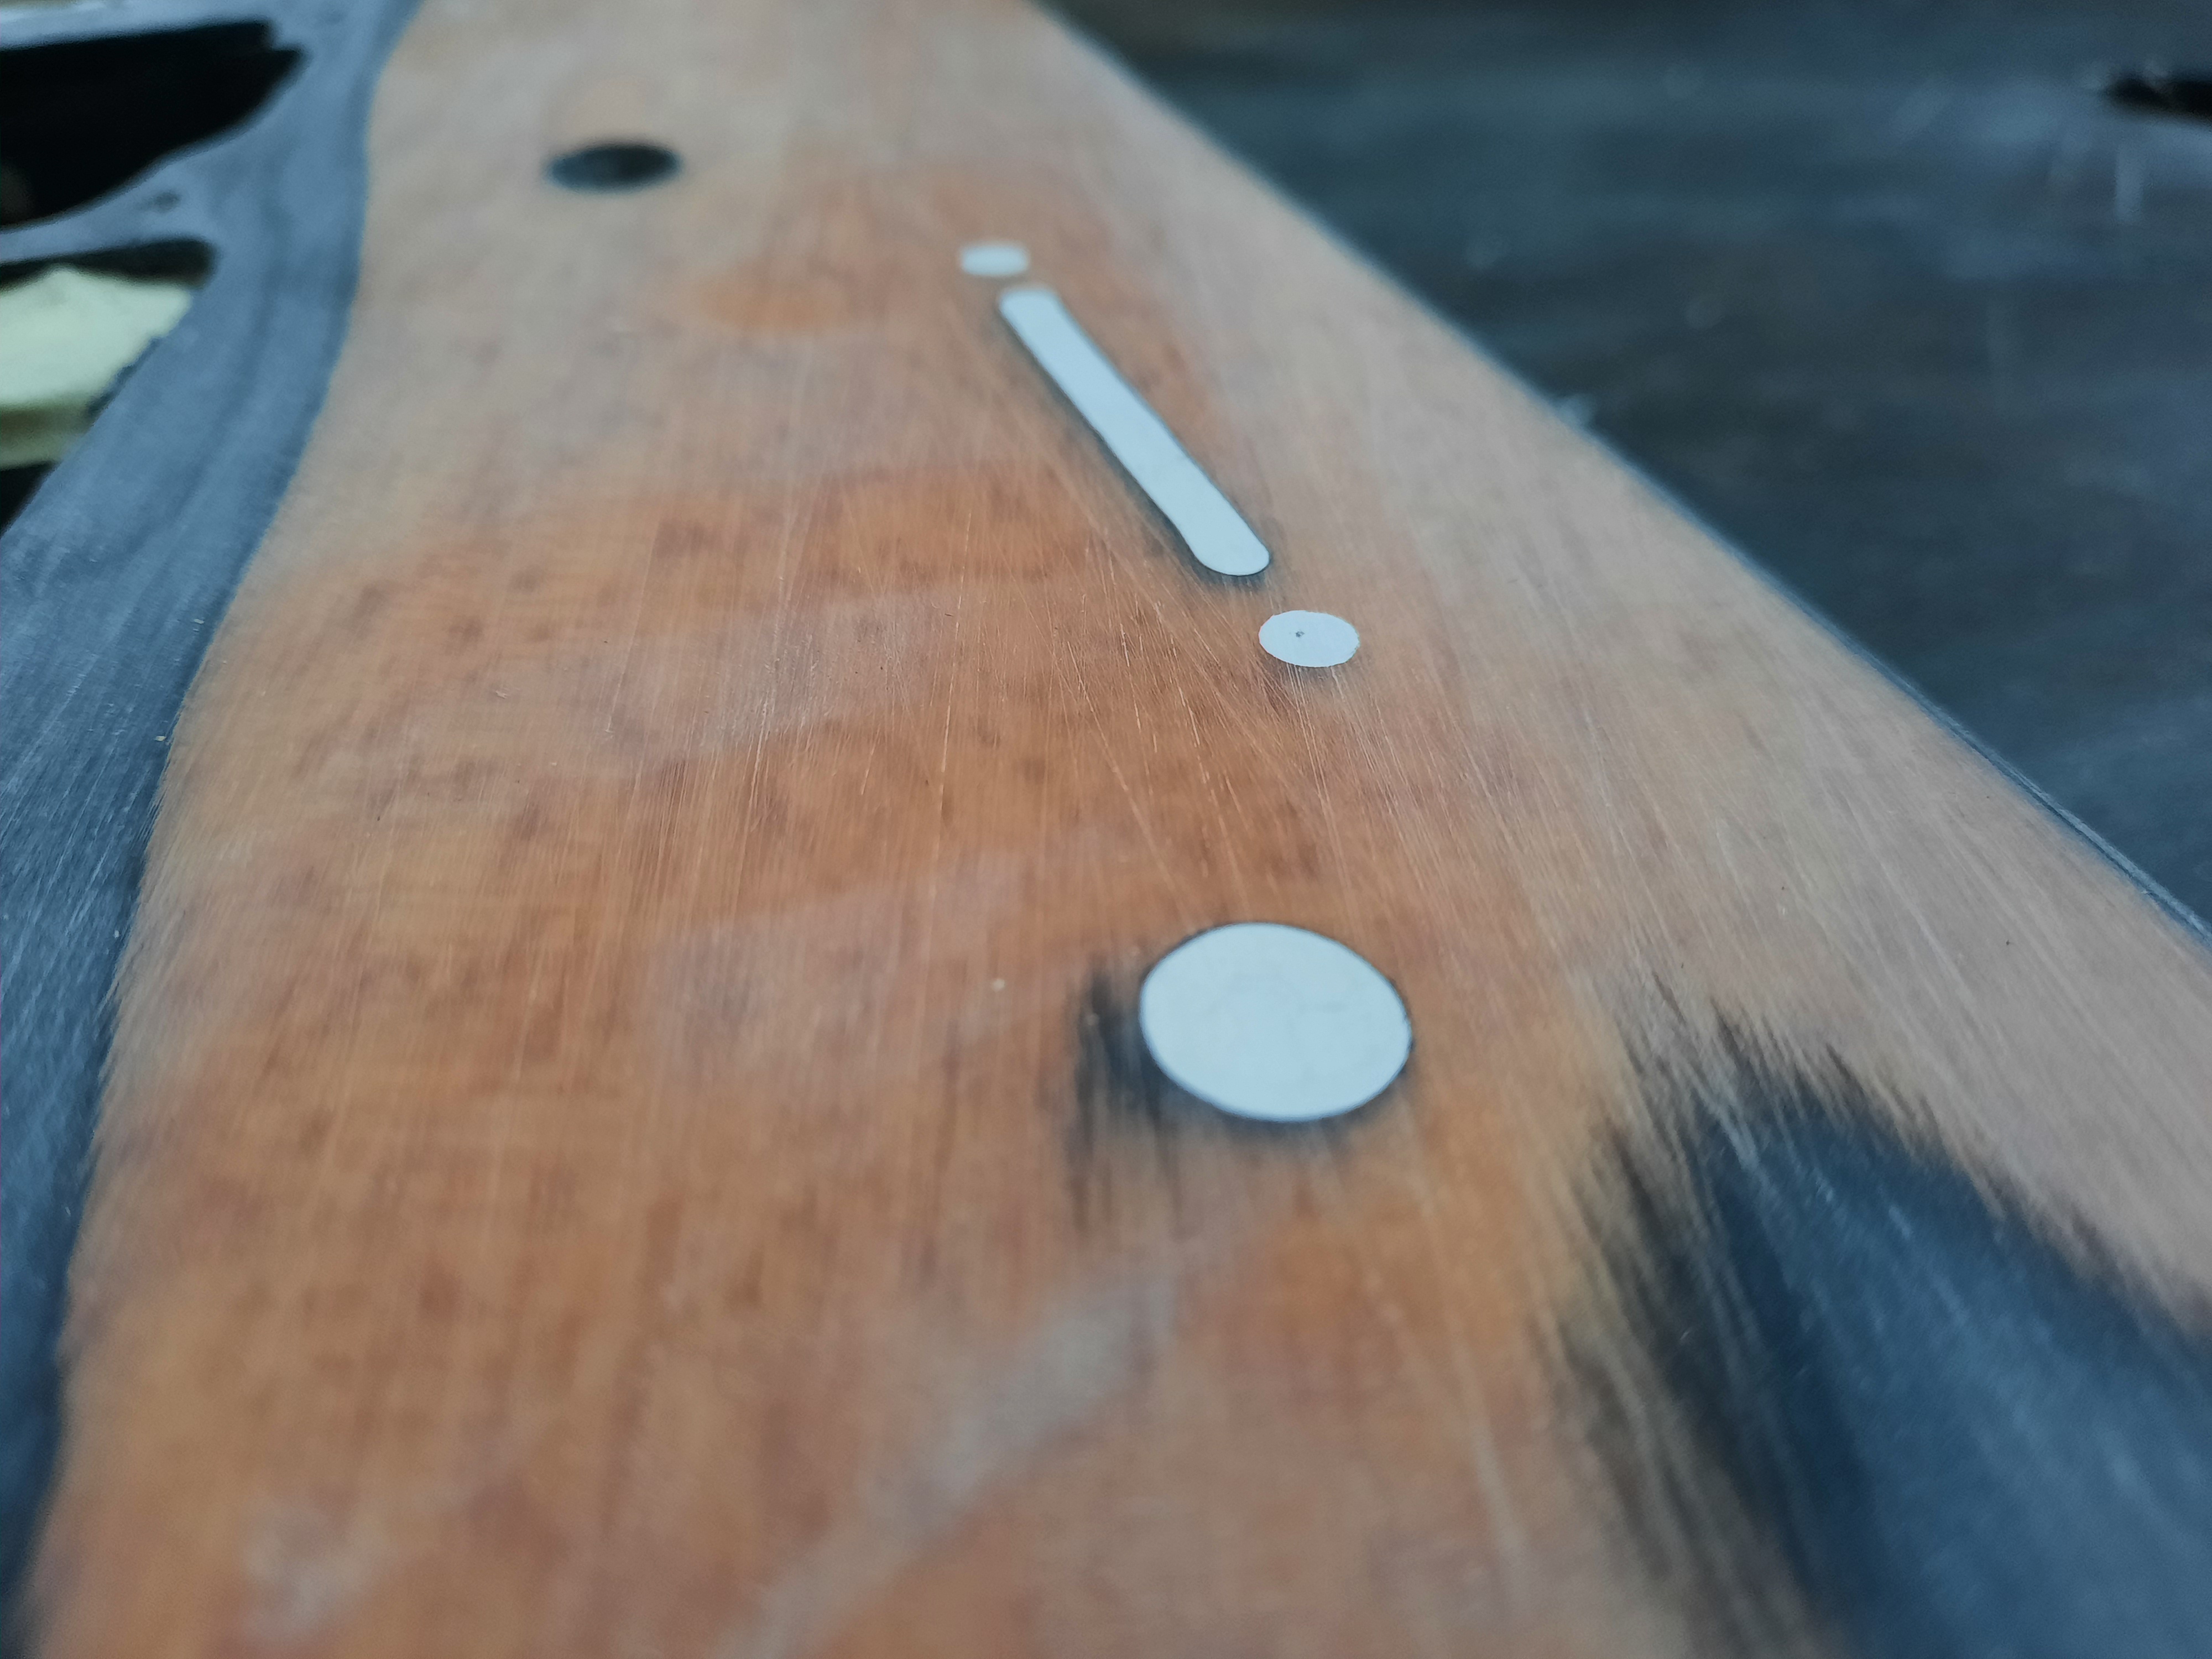
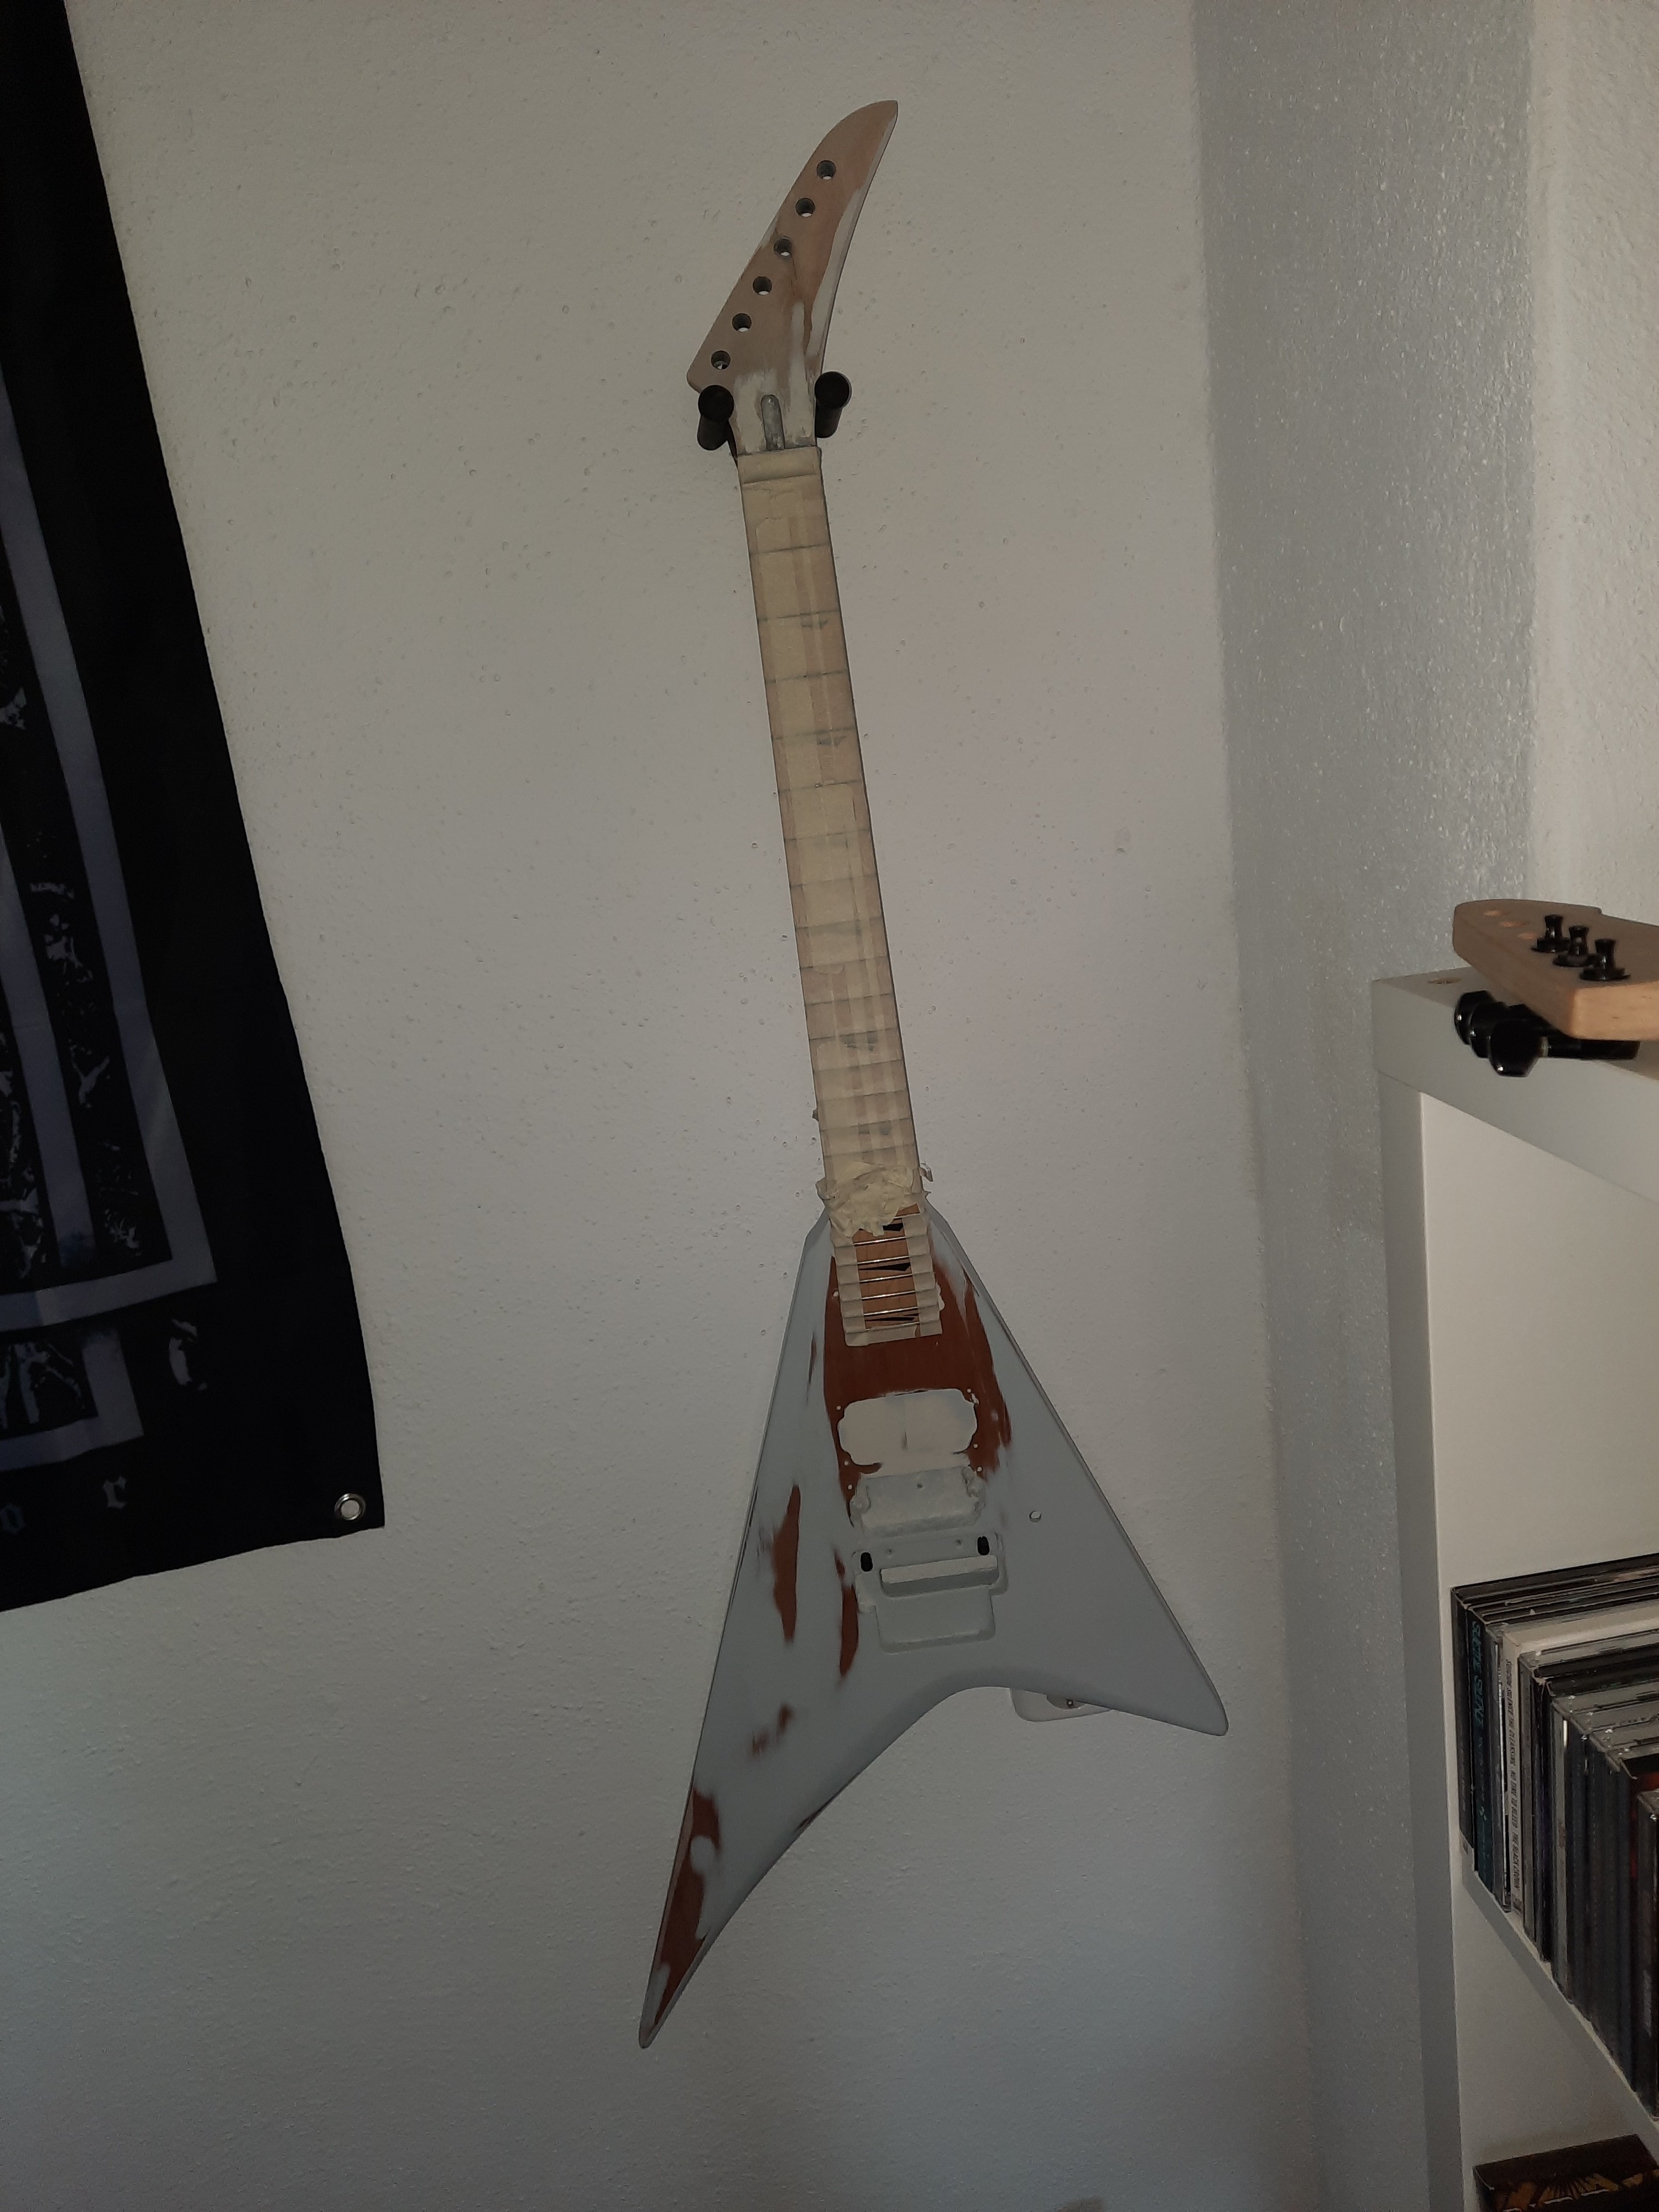
So I used some wood filler to get rid of the tone control and the toggle switch.
I glued a piece of wood into the pickup cavity (didn't take pics while doing that) and applied some wood filler on top
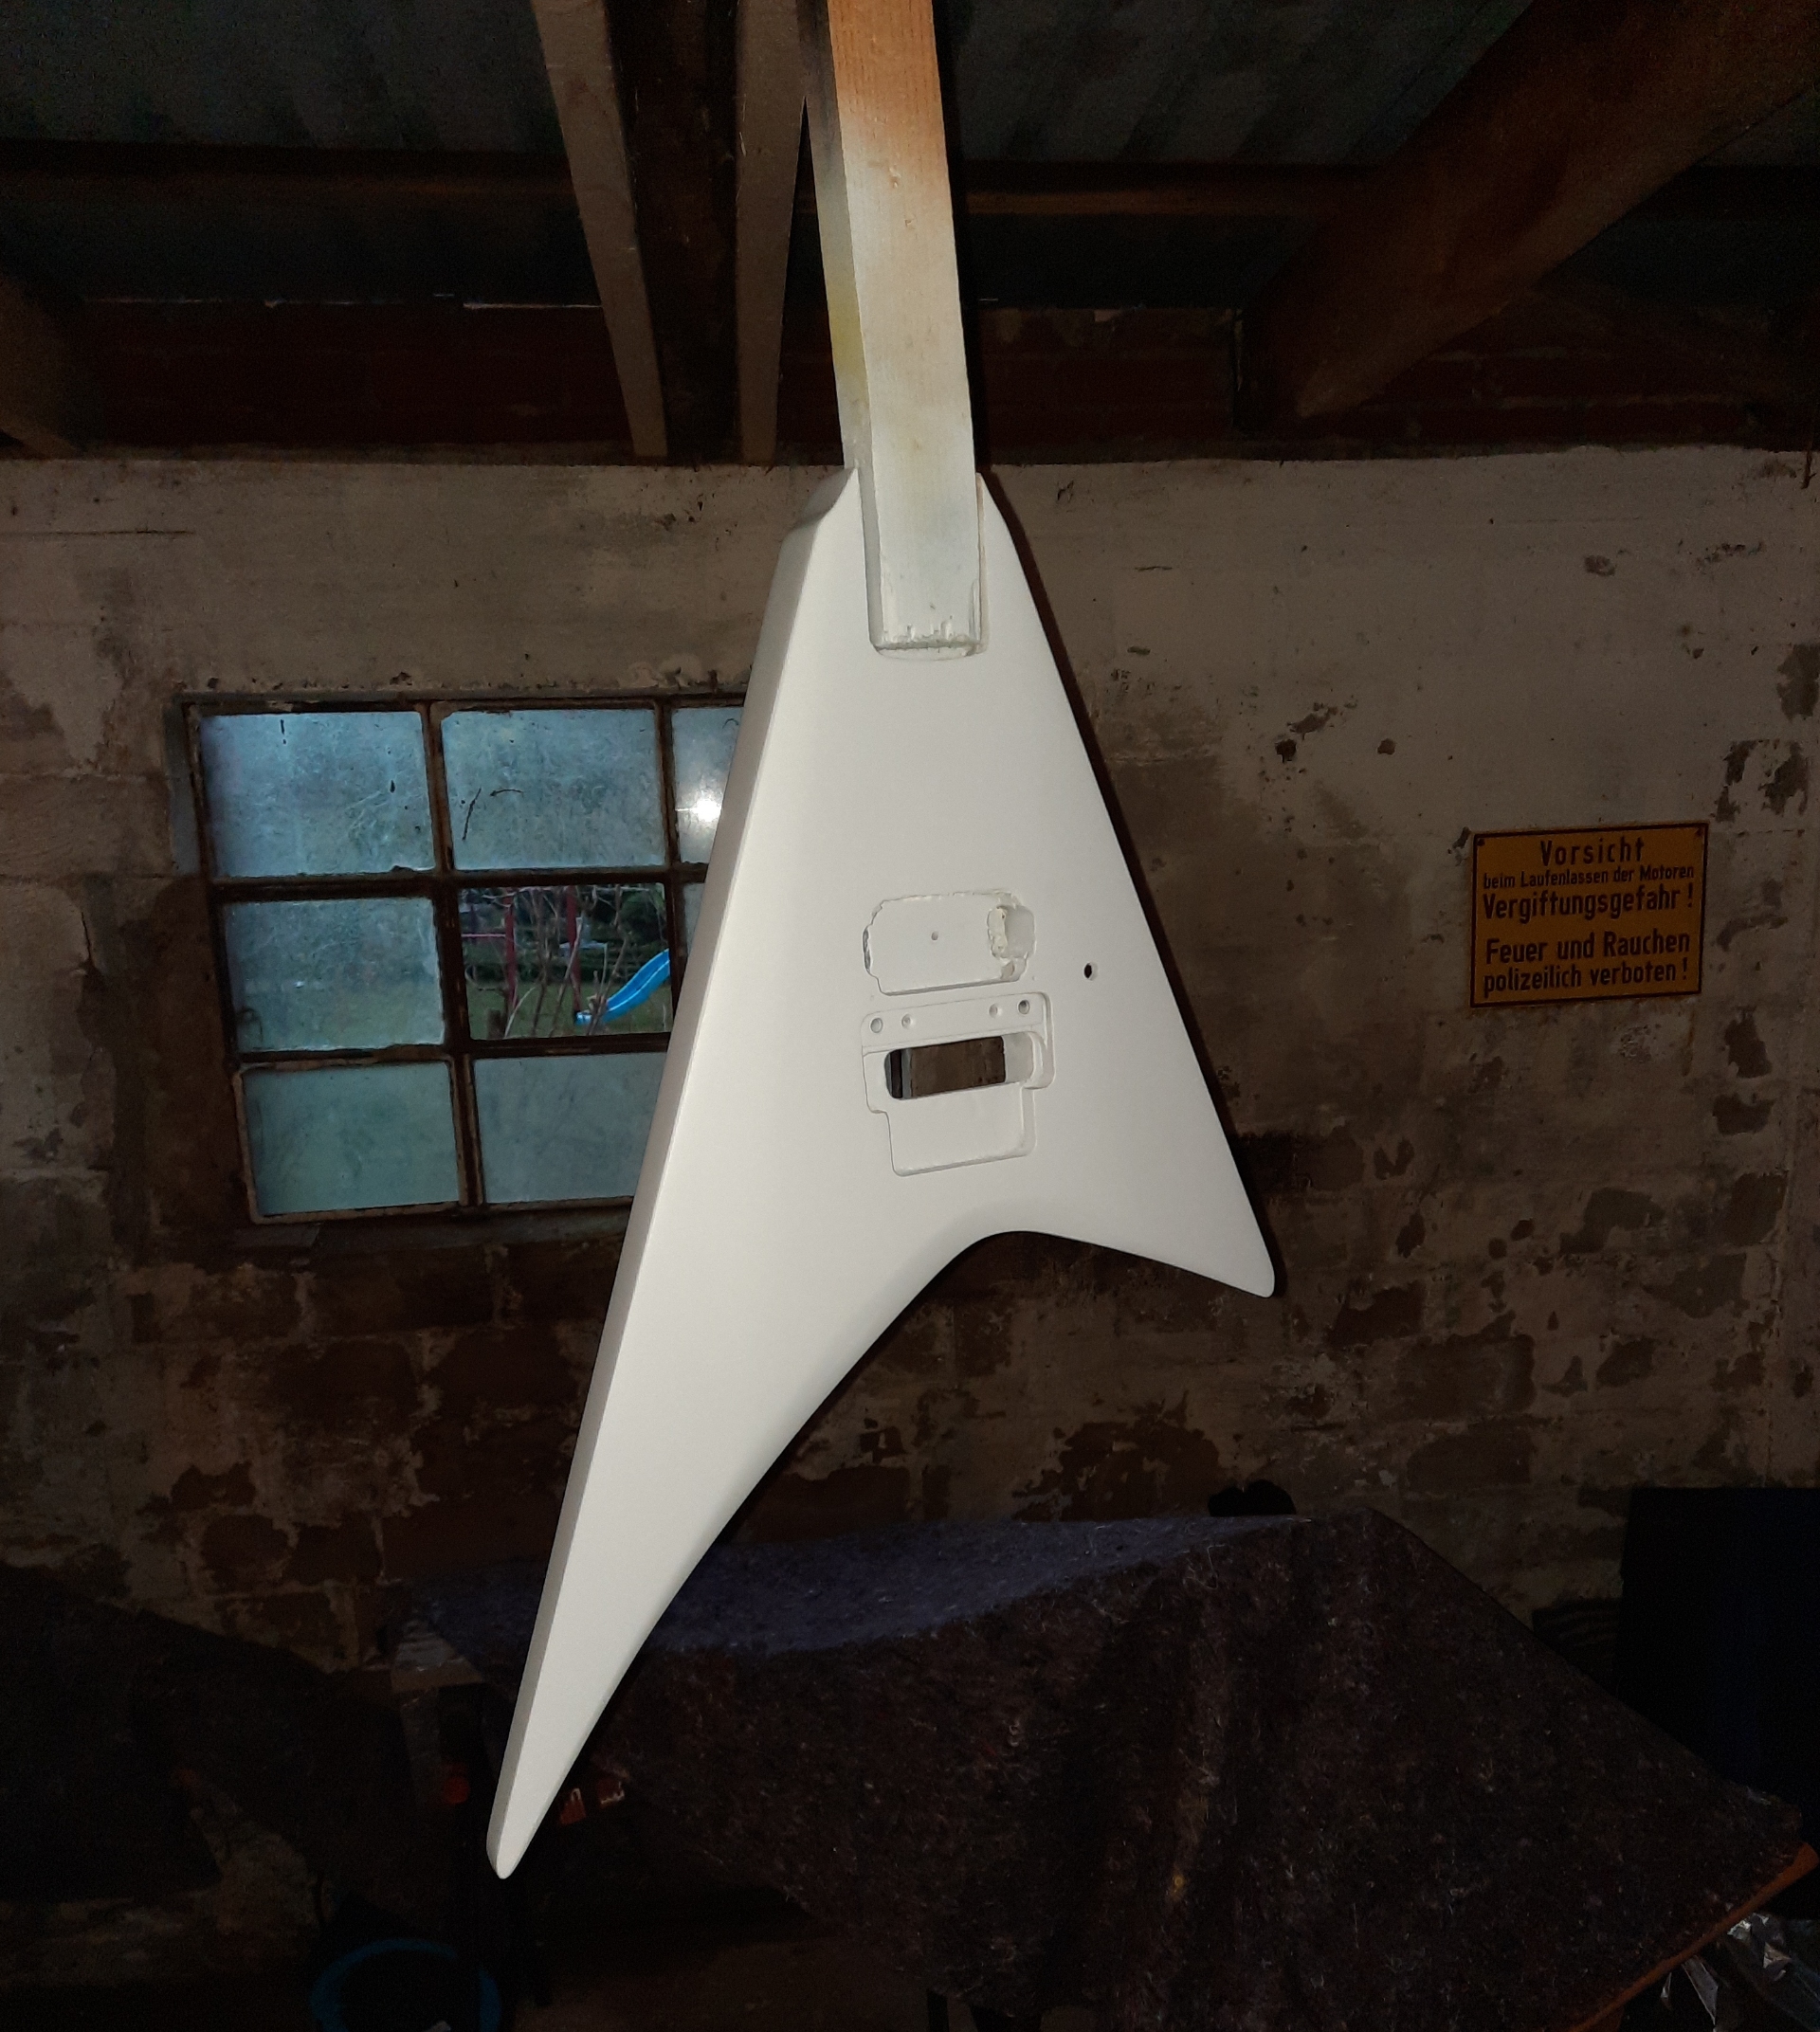
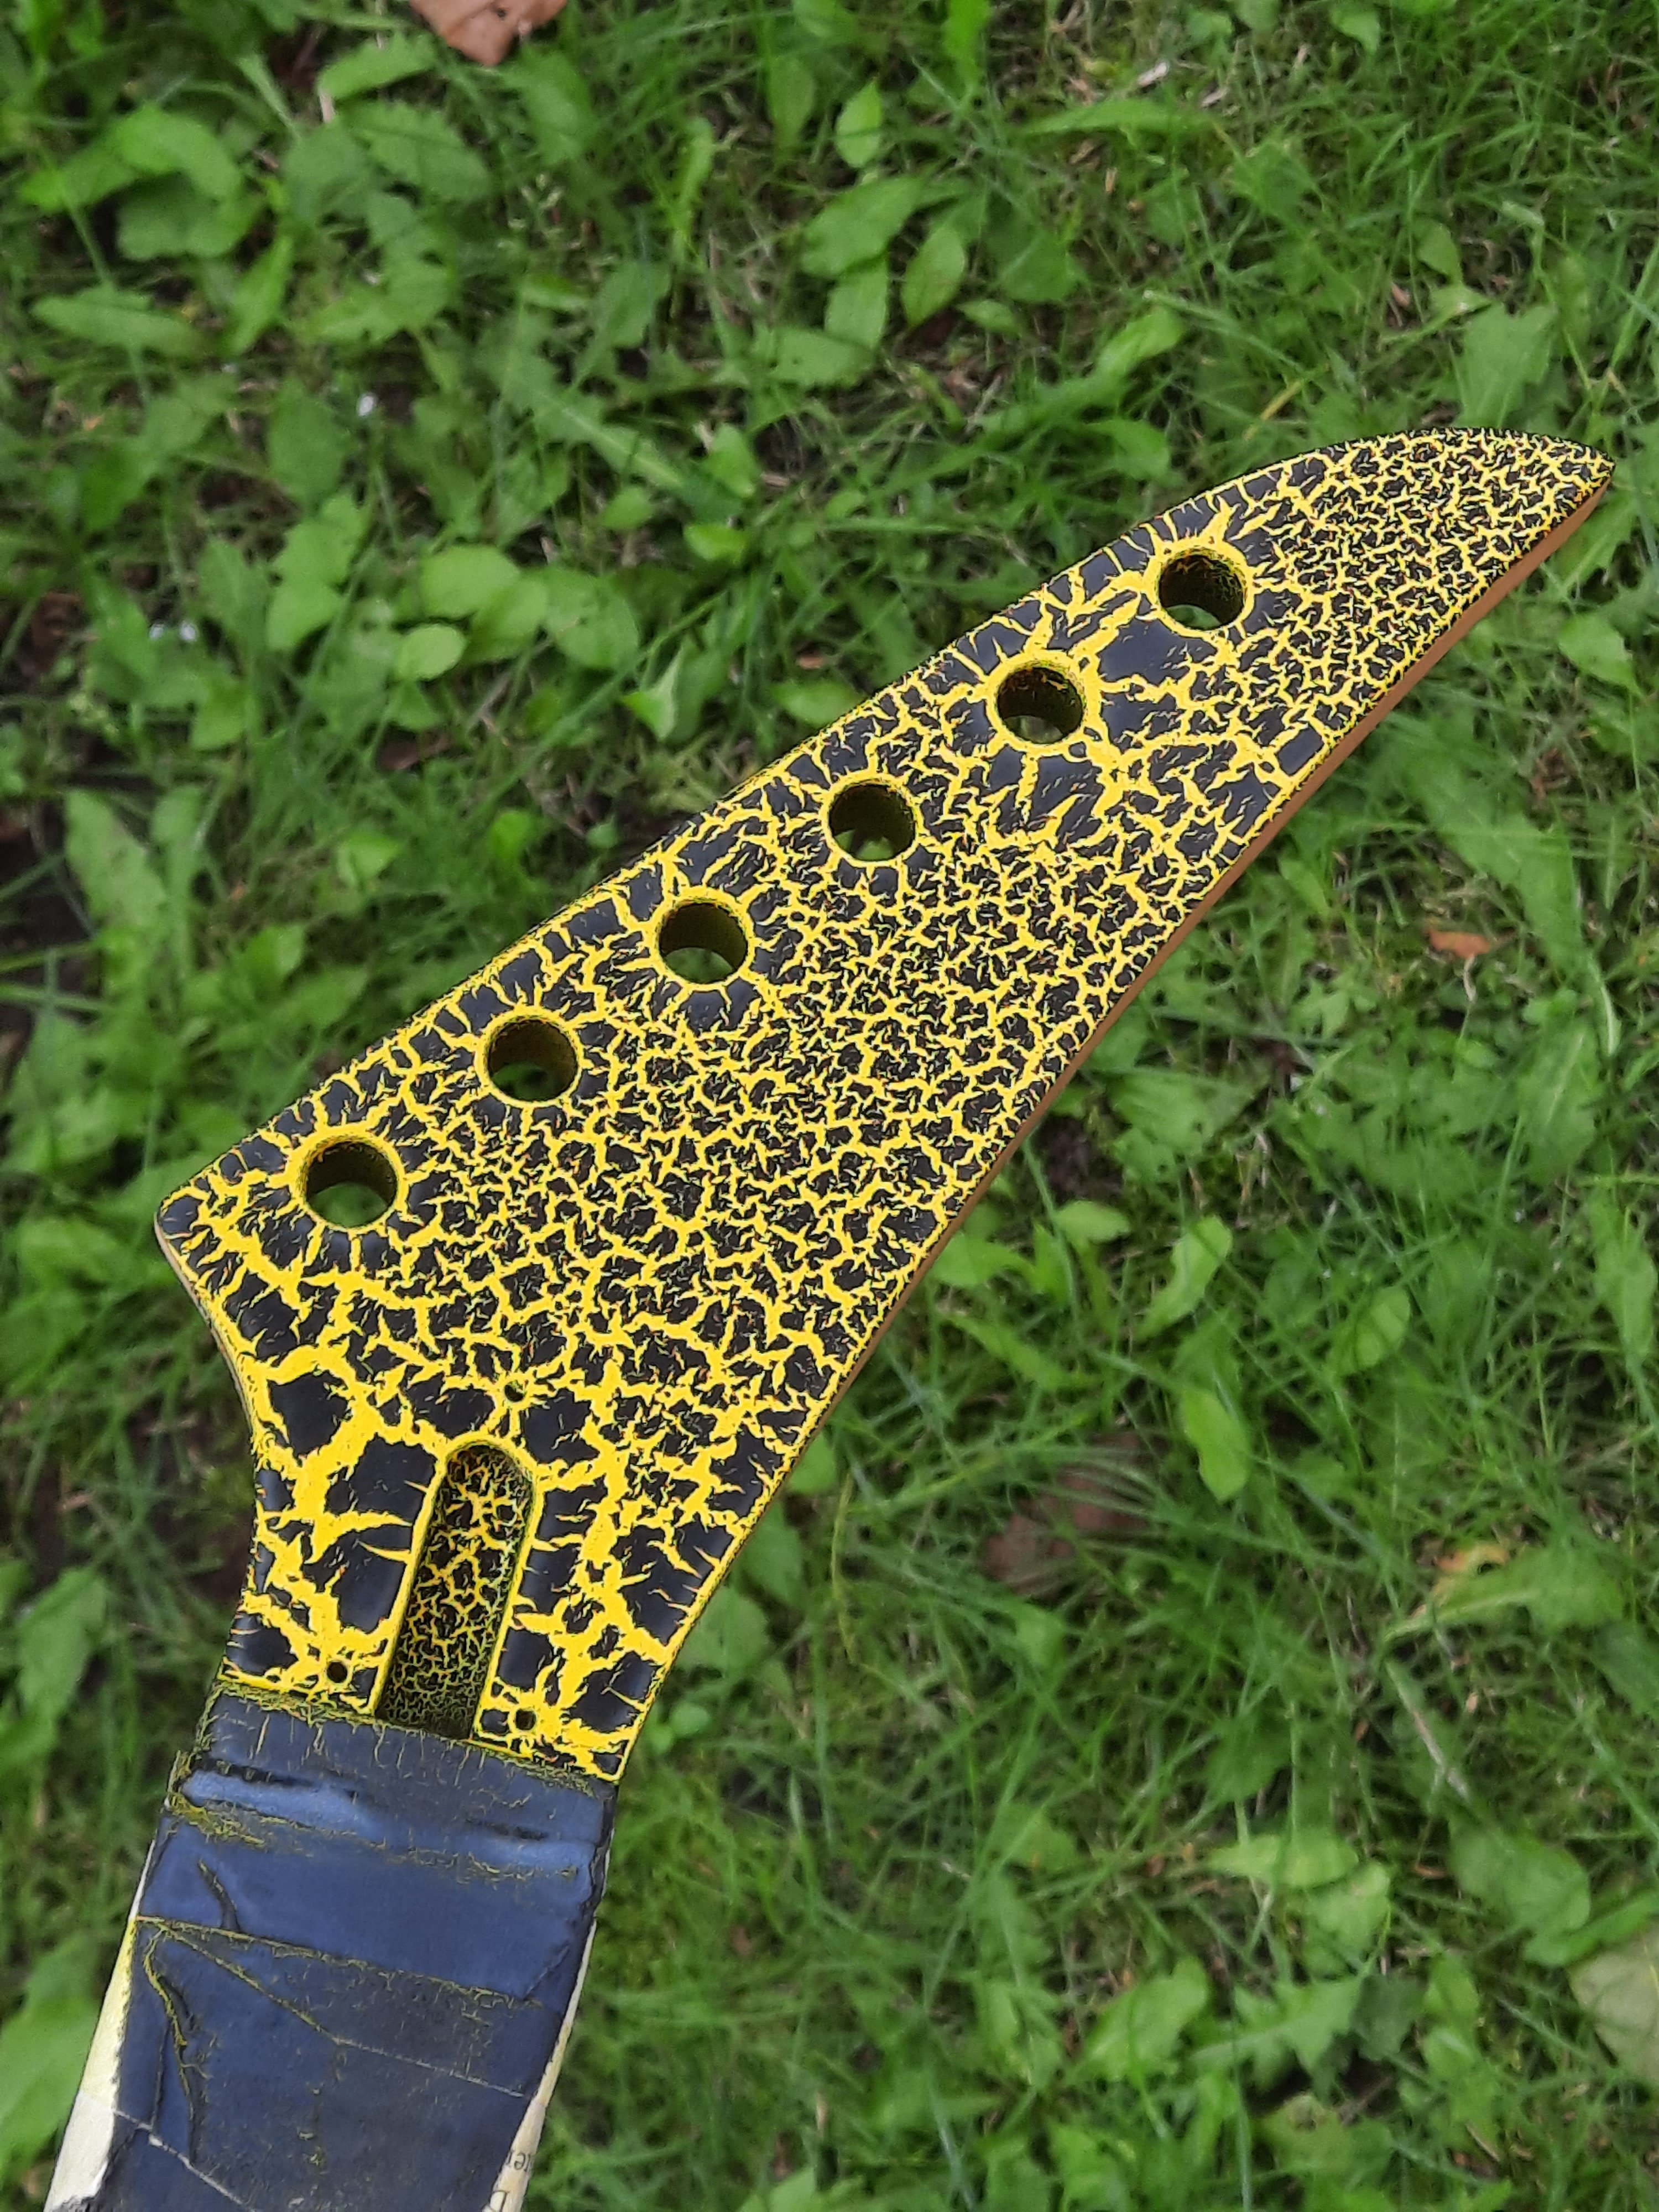
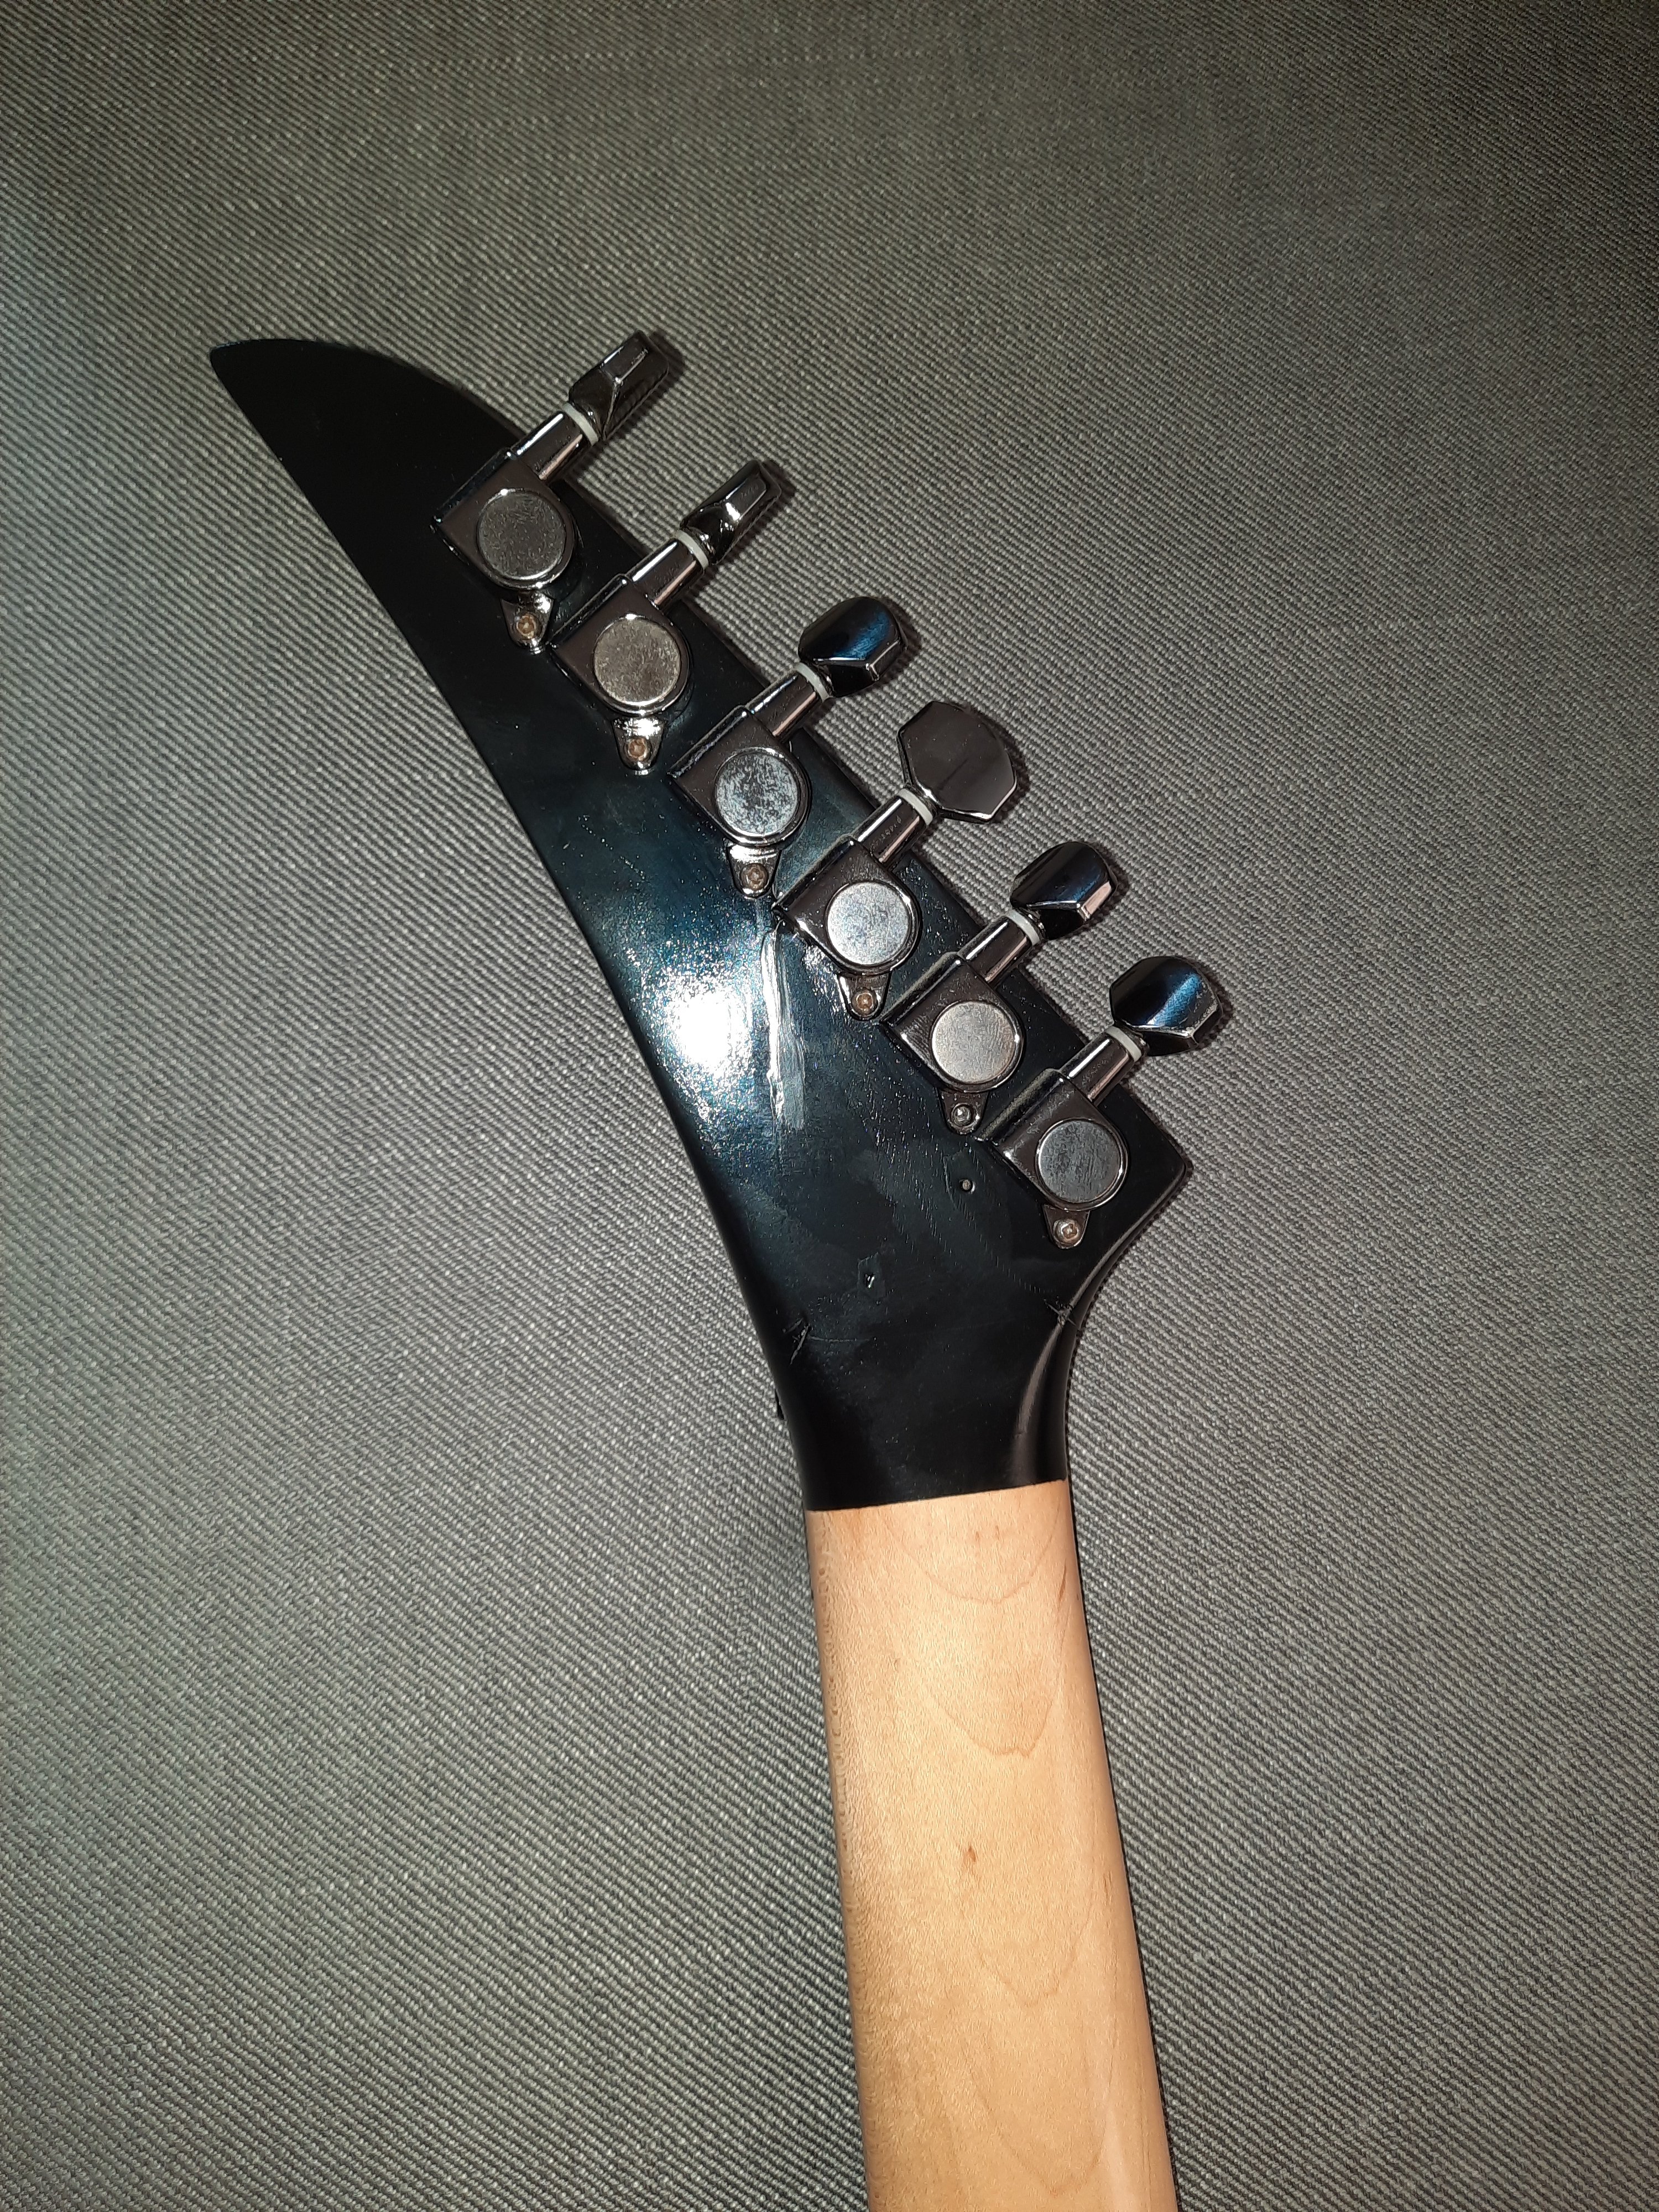
The body still needs lots of sanding but I made some good progress with the headstock:
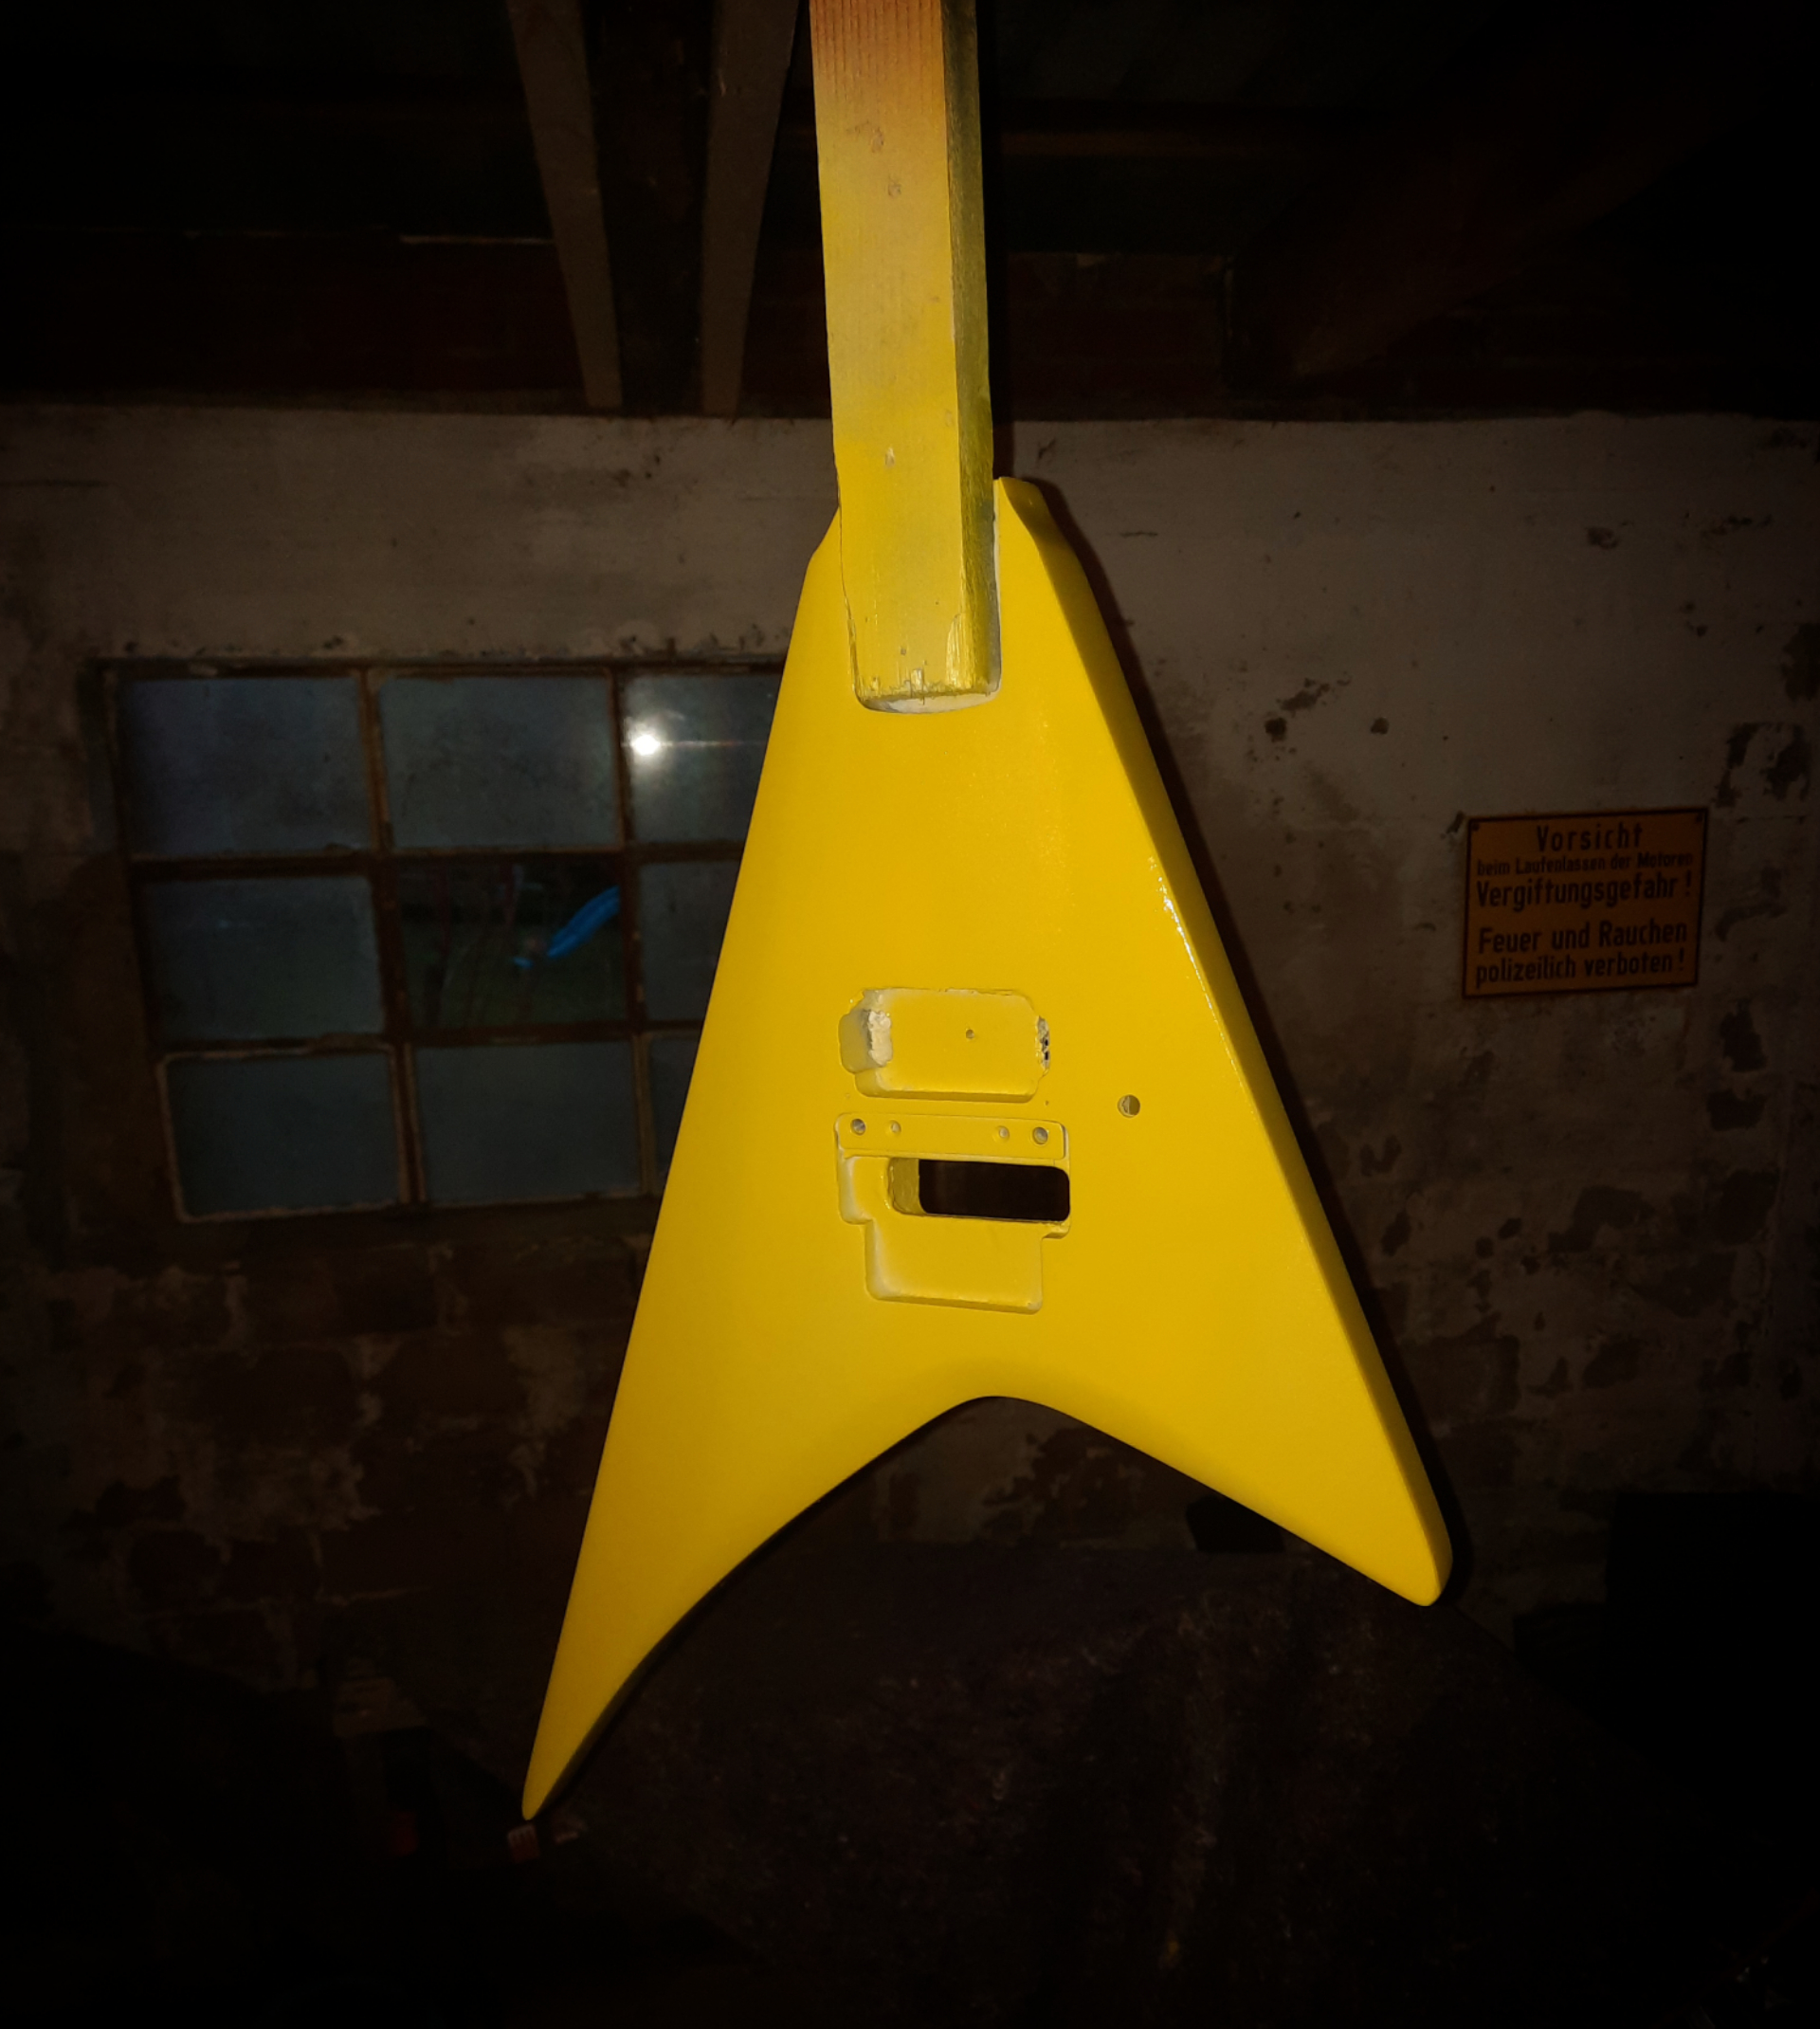
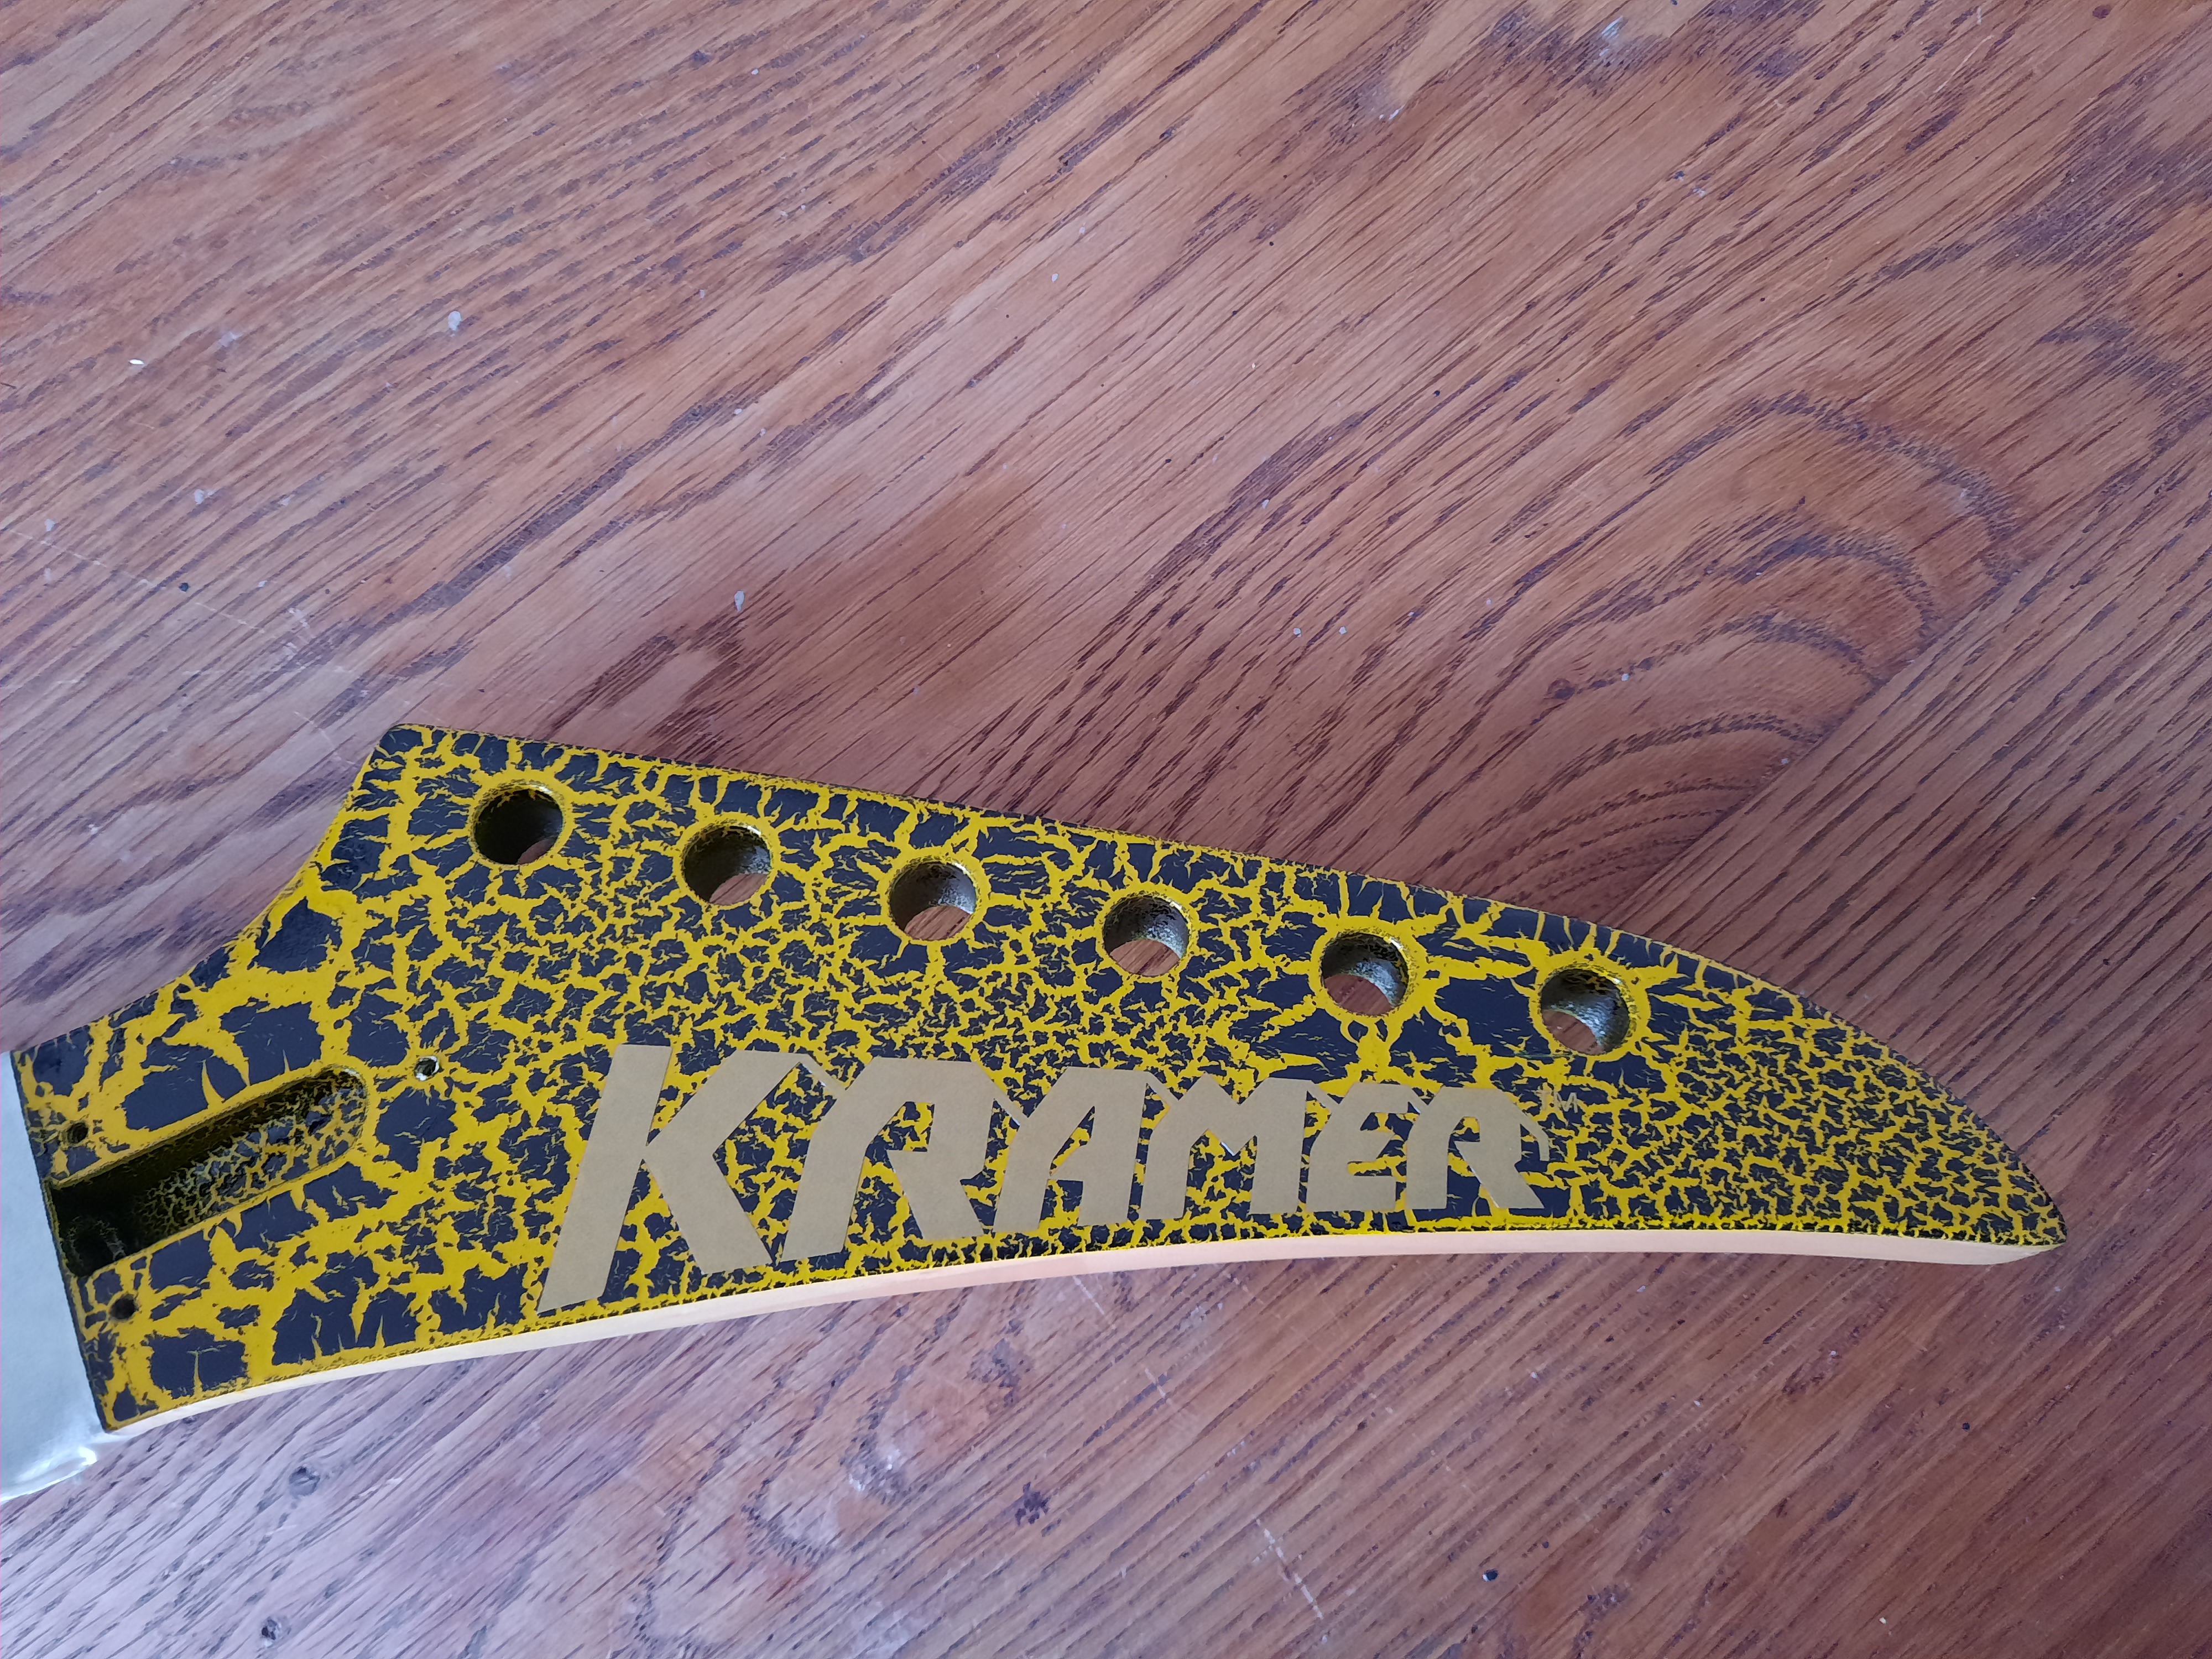
Time for some clear coat and a new logo.
So much for now, I hope I can get some more stuff done within the next weeks.
This is what I got from eBay:
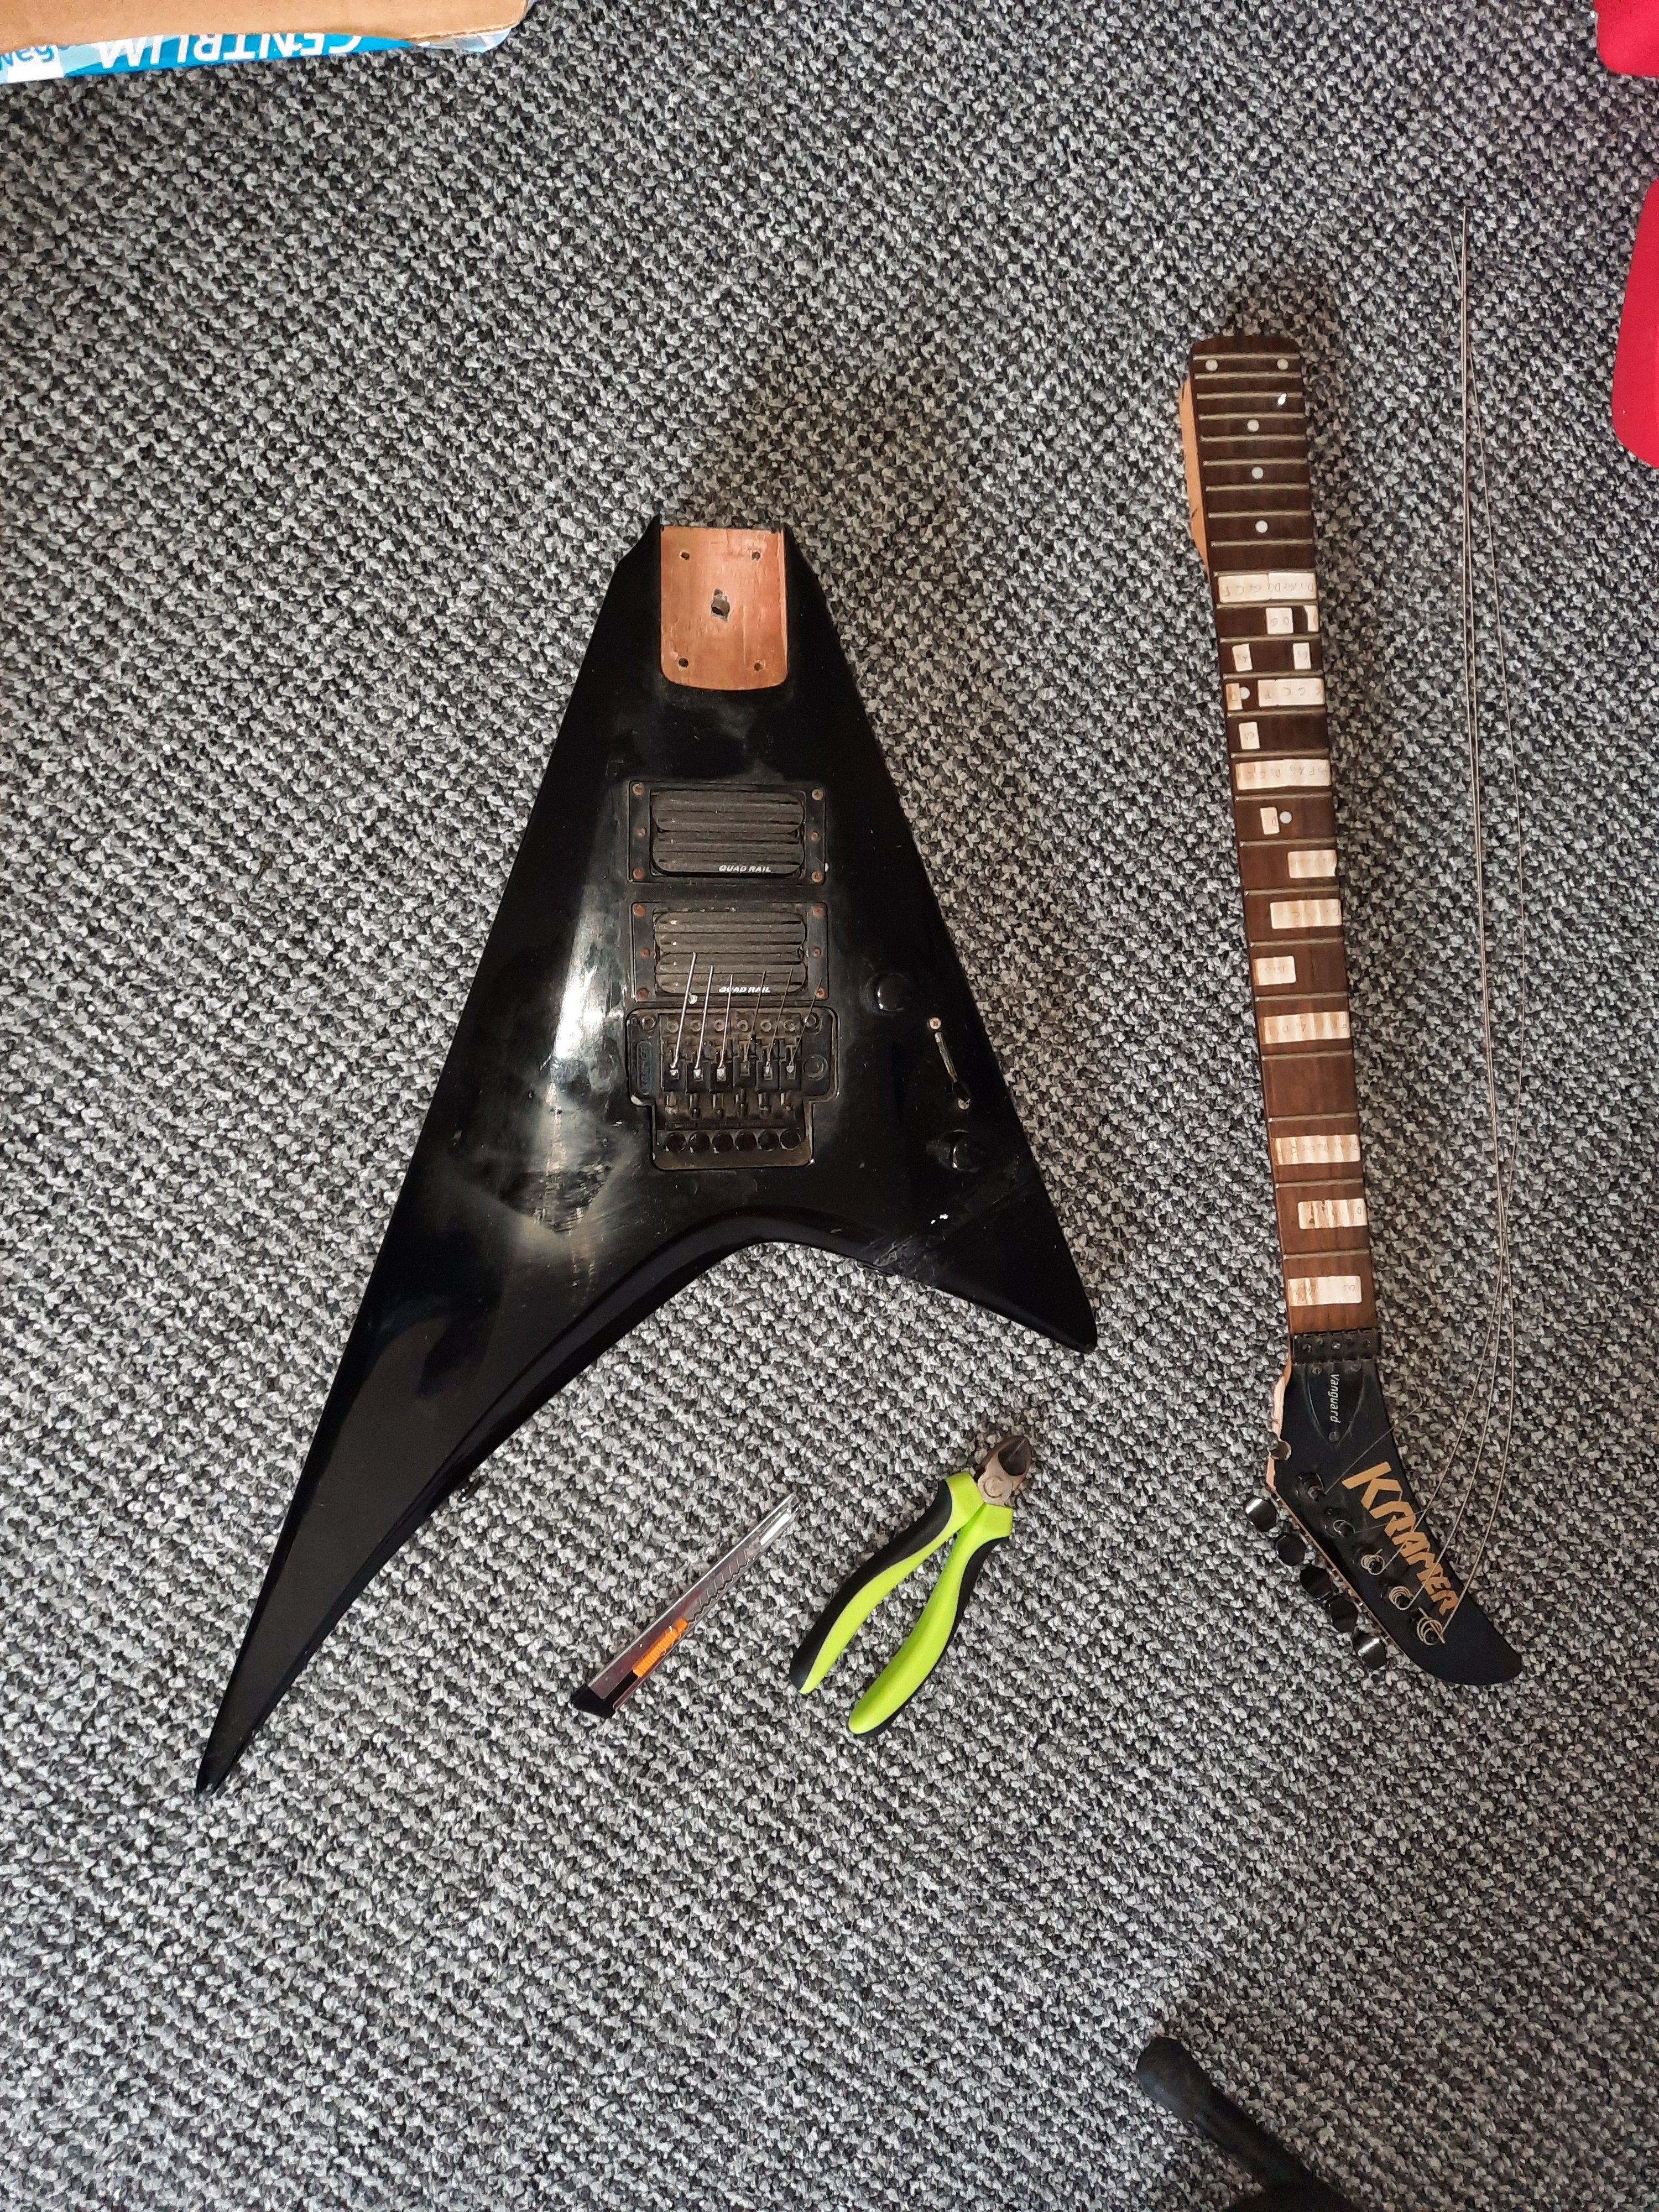
Besides the new finish I'm going to fill the middle pickup cavity and the holes from the toggle switch and tone poti. Also I got a new neck for this guitar, it's coming from a Kramer SC211 that came with a Vanguard neck. At least it says so on the sticker.
So I used some wood filler to get rid of the tone control and the toggle switch.
I glued a piece of wood into the pickup cavity (didn't take pics while doing that) and applied some wood filler on top
The body still needs lots of sanding but I made some good progress with the headstock:
Time for some clear coat and a new logo.
So much for now, I hope I can get some more stuff done within the next weeks.


")