No2EMGs4Me
Fosterocalypse
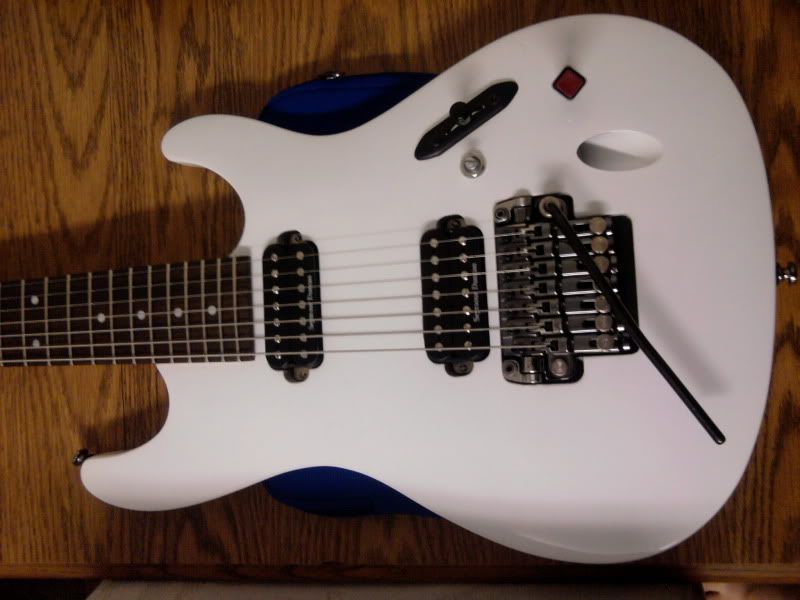
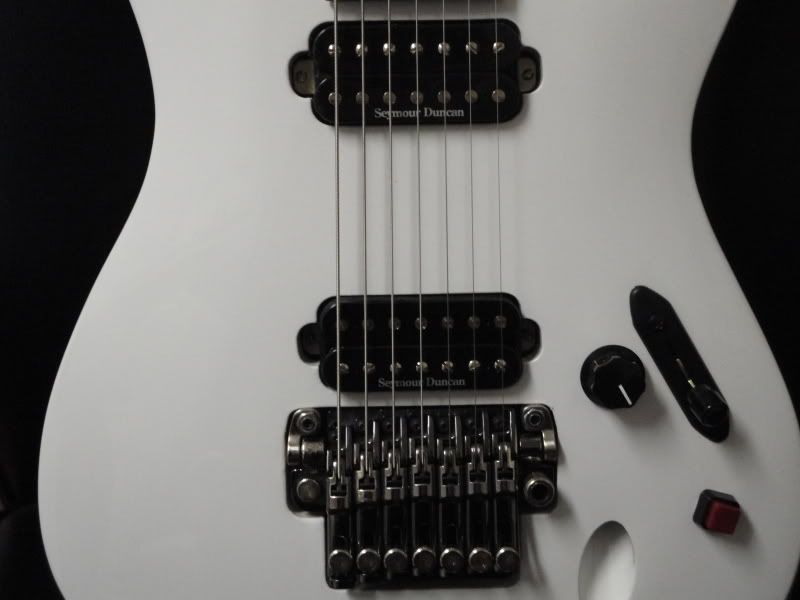
So i picked up this guy used @ the local GC, which i prefer not to give business to but with used stuff sometimes you gotta bend the rules. Groghunter was present to witness the shenanigans. I didn't think to take any pics until I had already begun so i have no true before and after but it'll be close. A quick run down...it came loaded with Blackouts....I hate active pickups (hence my 7string.org name). So first thing first GUT IT!! My plans are to have 2 Seymour Duncans, distortion=bridge and a 59=neck, then wire it for a 3 way switch, 1 vol and a killswitch.
Here's where the thought struck me to document for the fellow 7 stringers
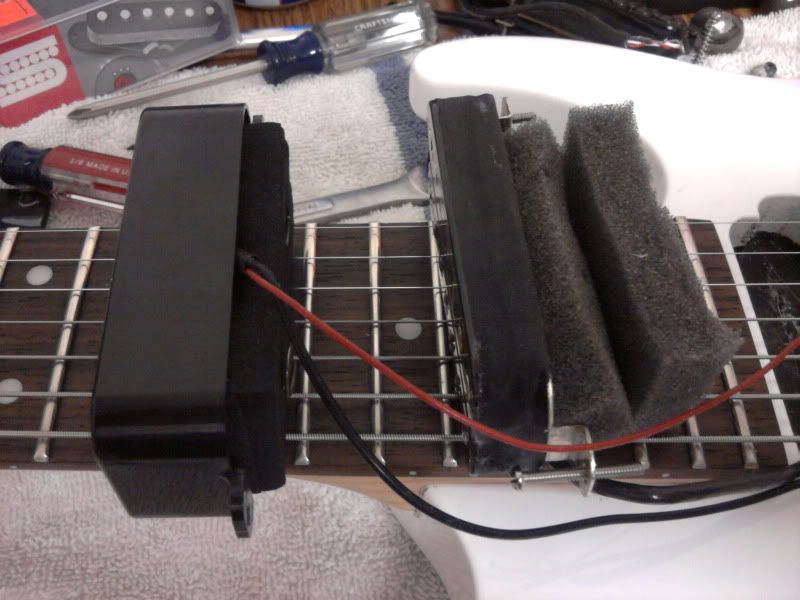
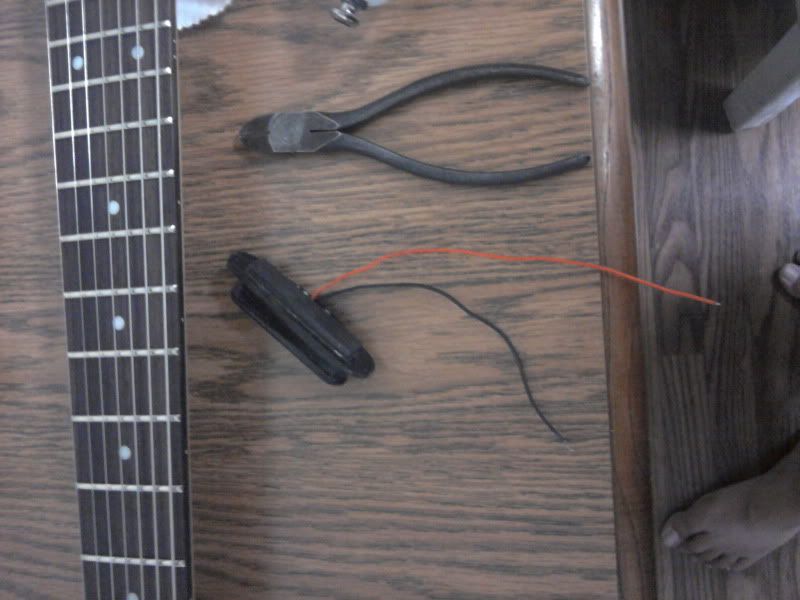
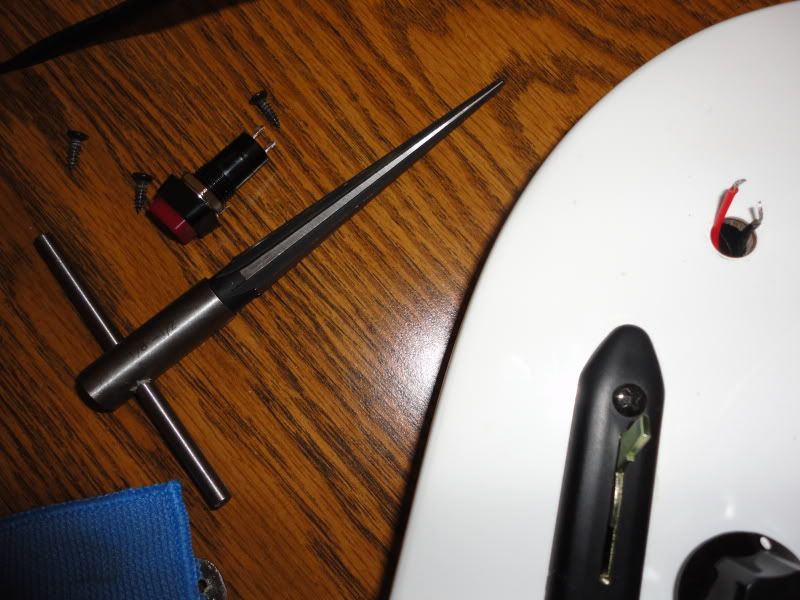
For those who haven't seen these pickups in person here is the difference in depth. Looking at schematics is one thing but heres side by side
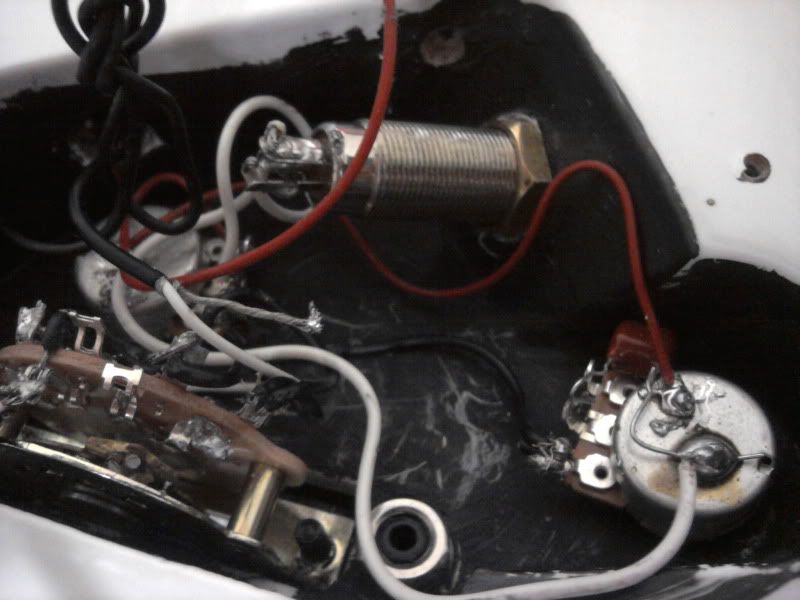
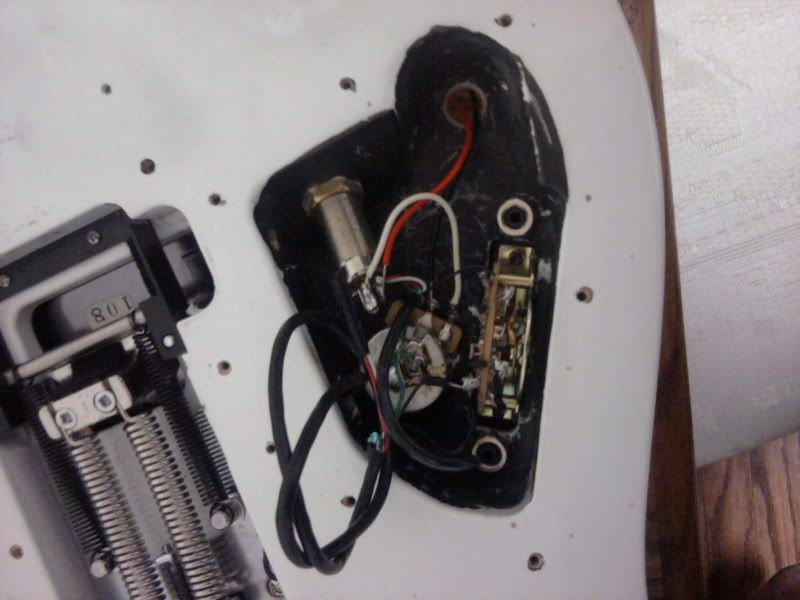
Another reason to gut...this work was horrendous but i have to give credit the pickups did work. Rule #1 for beginners or the less experienced..Less solder is more. I can't stress enough.
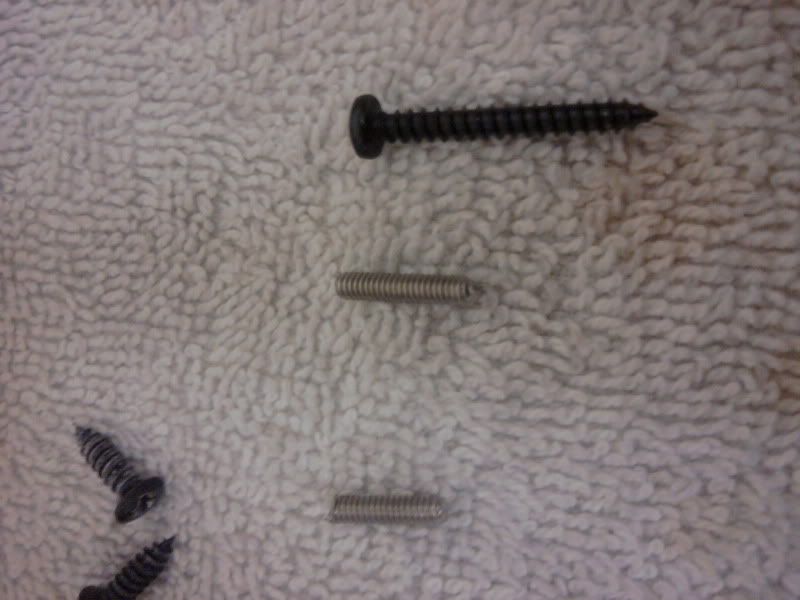
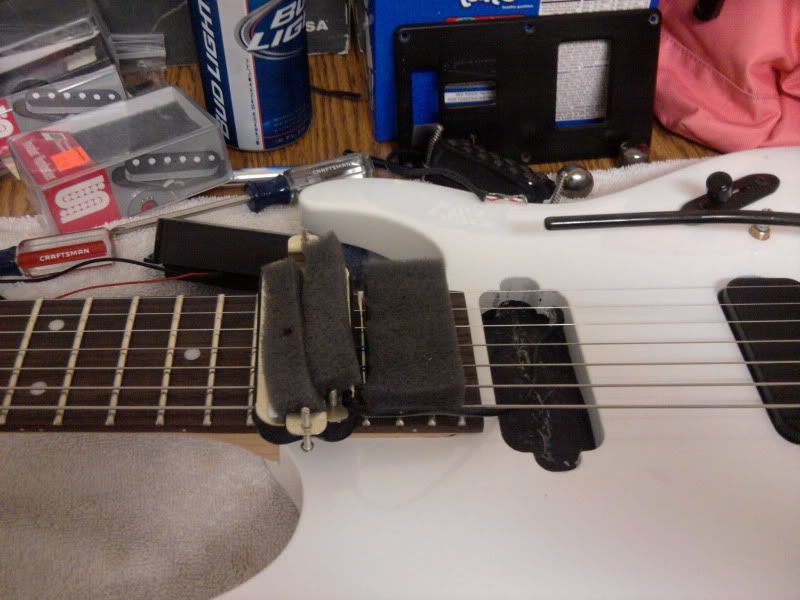
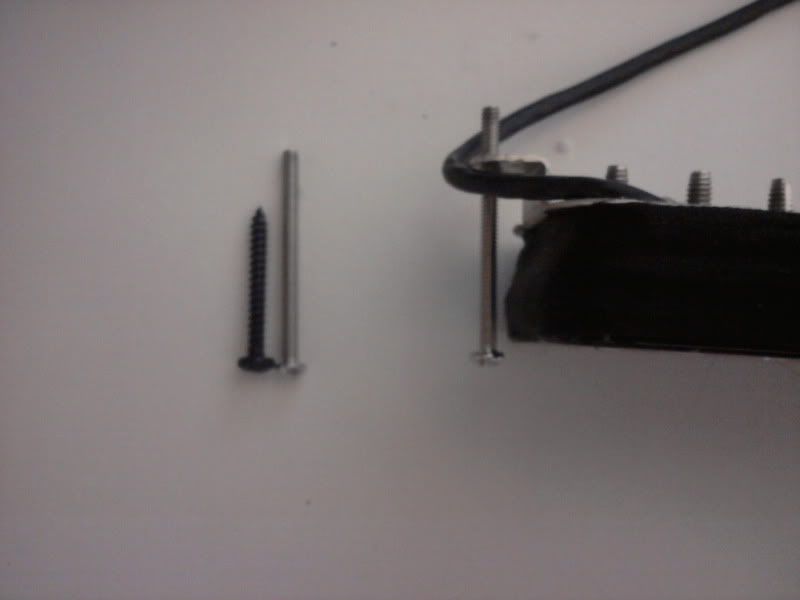
First obstacle is the different screws used the ones that come with the passive SD's are a lot longer so you have to thread them a bit then i used wire cutters to cut about 1/2" off to make them about the same legth as the ones that were used with the blackouts. Second was getting the pickup close enough to the strings but still have it directly mounted to the body. I didn't want to mount a pickup ring to the top of the body. I used foam out of the pickup case and a good amount cause i wanted it pretty snug when compressed.
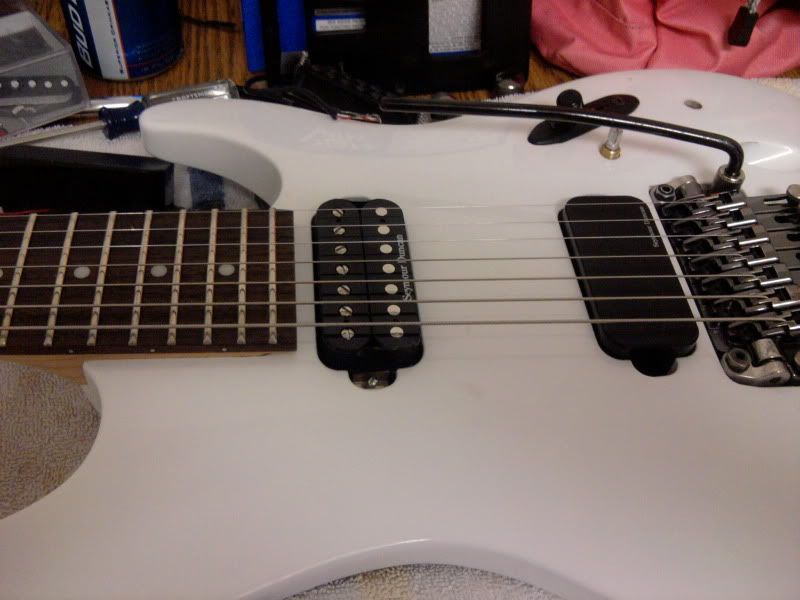
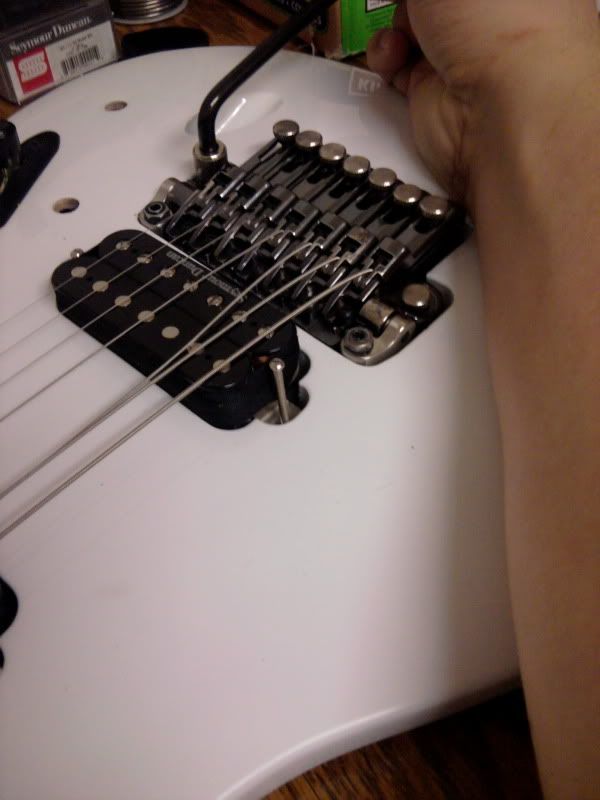
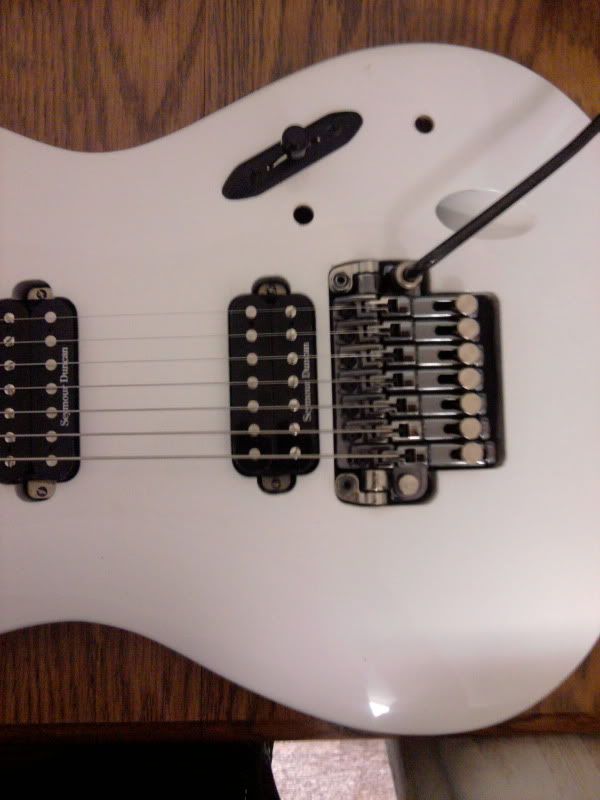
Here's what I have so far after about 1 hour of work. I would have kept going but the invader (you can see the SOB in the background) I had I thought was a 7 string but turned out to be a 6 string invader. I was only planning on using it because it was sitting around but now i must play the waiting game for my Distortion to come in.
Here's where the thought struck me to document for the fellow 7 stringers
For those who haven't seen these pickups in person here is the difference in depth. Looking at schematics is one thing but heres side by side
Another reason to gut...this work was horrendous but i have to give credit the pickups did work. Rule #1 for beginners or the less experienced..Less solder is more. I can't stress enough.
First obstacle is the different screws used the ones that come with the passive SD's are a lot longer so you have to thread them a bit then i used wire cutters to cut about 1/2" off to make them about the same legth as the ones that were used with the blackouts. Second was getting the pickup close enough to the strings but still have it directly mounted to the body. I didn't want to mount a pickup ring to the top of the body. I used foam out of the pickup case and a good amount cause i wanted it pretty snug when compressed.
Here's what I have so far after about 1 hour of work. I would have kept going but the invader (you can see the SOB in the background) I had I thought was a 7 string but turned out to be a 6 string invader. I was only planning on using it because it was sitting around but now i must play the waiting game for my Distortion to come in.

")