You are using an out of date browser. It may not display this or other websites correctly.
You should upgrade or use an alternative browser.
You should upgrade or use an alternative browser.
New fan fret 8 string build!
- Thread starter Serratus
- Start date
This site may earn a commission from merchant affiliate links like Ebay, Amazon, and others.
This site may earn a commission from merchant links like Ebay, Amazon, and others.
Obstsalat
Well-Known Member
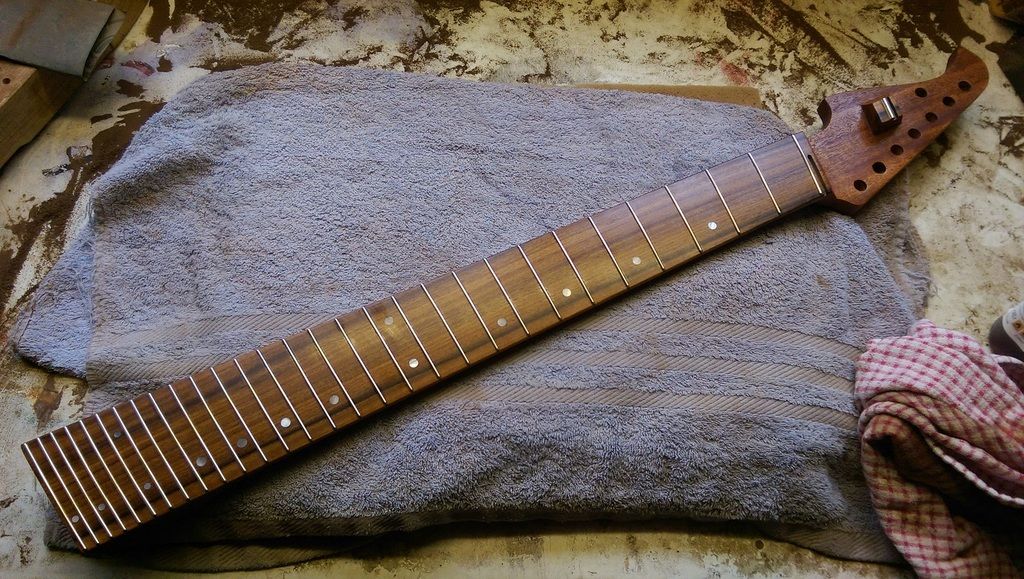
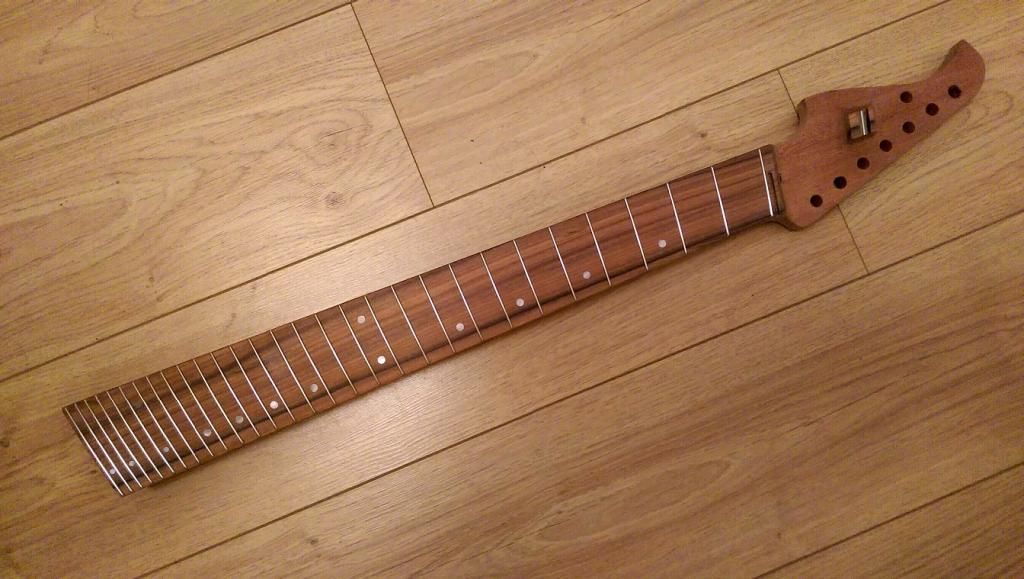
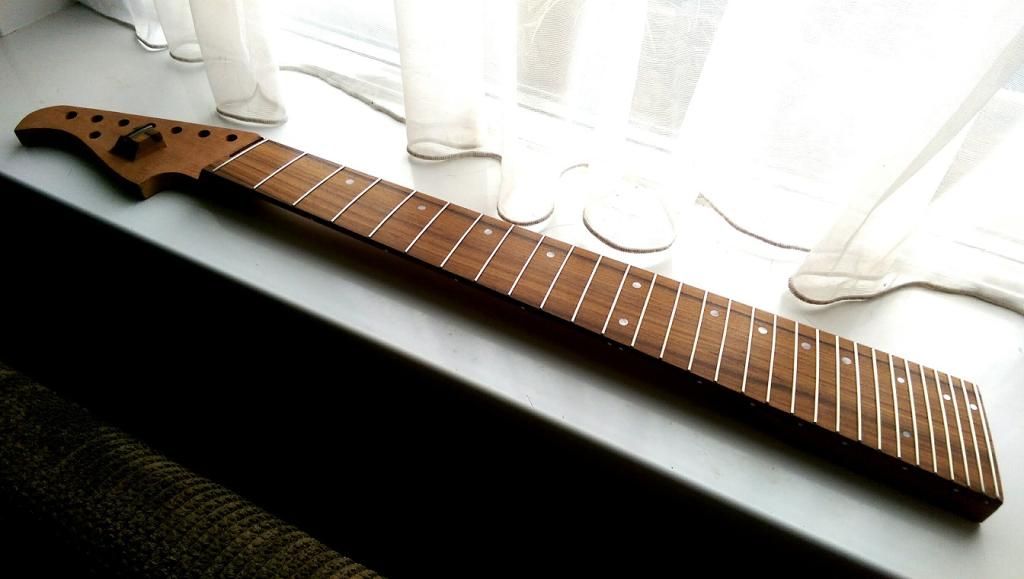
i see you have ball-end frets. how'd you make them?
do you install and then file them or do you trim + round'em up before you put them in?
cuz i tried the first method and destroyed a fretboard with that
do you install and then file them or do you trim + round'em up before you put them in?
cuz i tried the first method and destroyed a fretboard with that
Hollowway
Extended Ranger
OH MY GOD! That is the best fret job I have ever seen! Bravo!
i see you have ball-end frets. how'd you make them?
do you install and then file them or do you trim + round'em up before you put them in?
cuz i tried the first method and destroyed a fretboard with that
I do each fret first. So I use a micrometer to measure the width of the fret slot, cut the fret to that length, file the ball-ends, then install the fret. Takes ages but it feels really nice, and its so nice knowing that there's no more work needed on the fret ends once they're in
")
electriceye
Well-Known Member
Nice! I think chambering it would be a great idea anyway. Bet it will be much more resonant. Can't wait to see more!
MikeK
Well-Known Member
Great work so far man. That fret work is simply amazing.
DistinguishedPapyrus
Well-Known Member
- Joined
- Oct 1, 2012
- Messages
- 1,212
- Reaction score
- 444
I do each fret first. So I use a micrometer to measure the width of the fret slot, cut the fret to that length, file the ball-ends, then install the fret. Takes ages but it feels really nice, and its so nice knowing that there's no more work needed on the fret ends once they're in
That's cool man, I could understand the reasoning why you round them over before installing them. I never went further than just beveling the fret ends on necks I've built, too much chance to scratch up the wood after the frets are already in. I think I'm gonna try doing it this way on my next build, I don't think I'd mind if it takes longer, I'd rather it be done right than done quick.
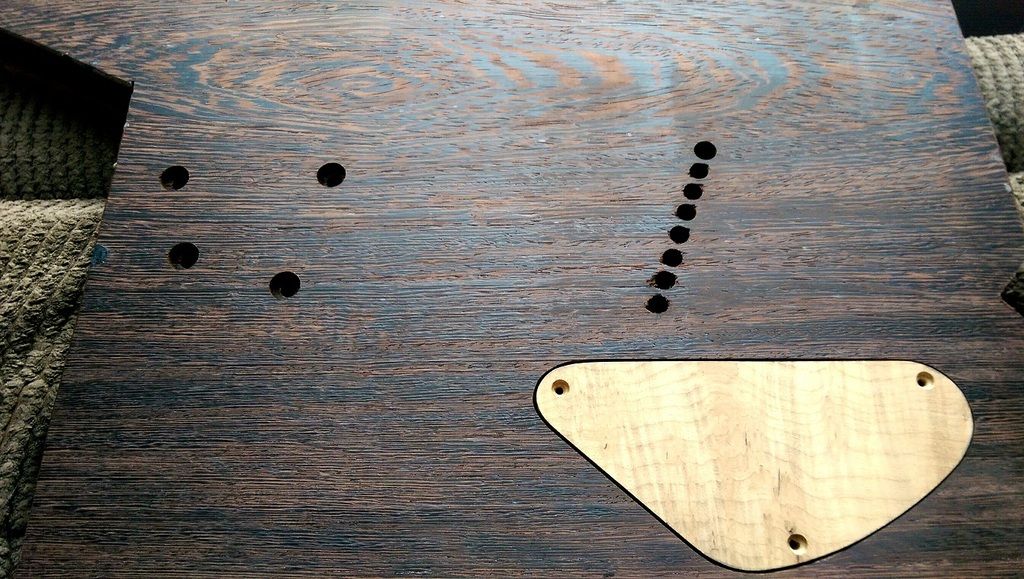
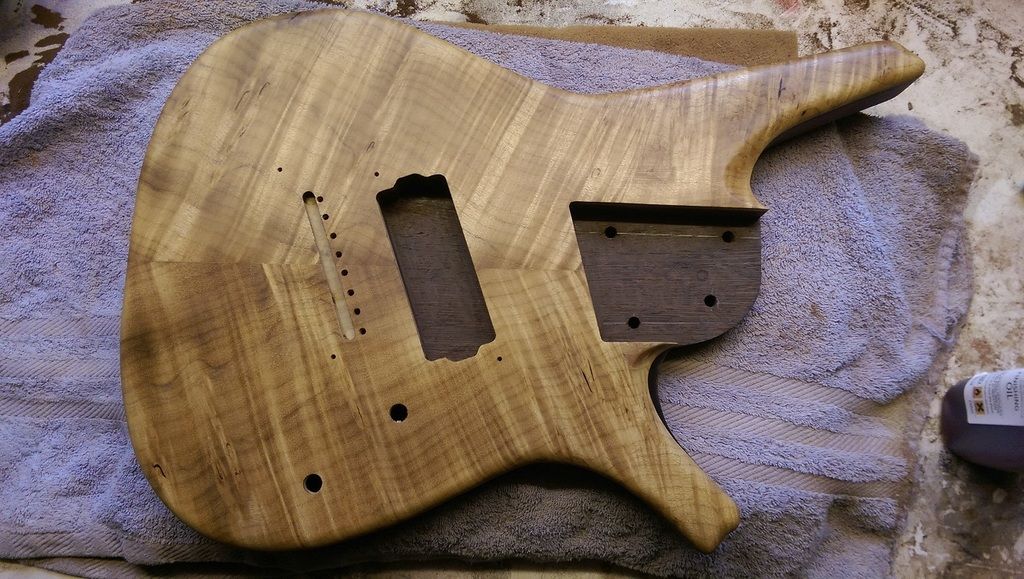
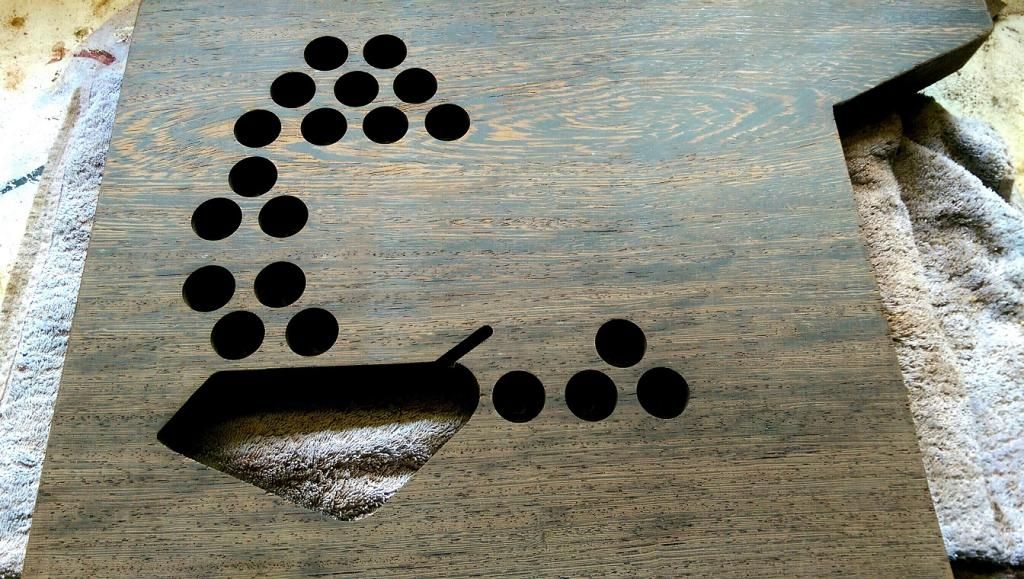
Weight relief in the one piece wenge back, and the electronics cavity (and wire channel to the pickup) cut.
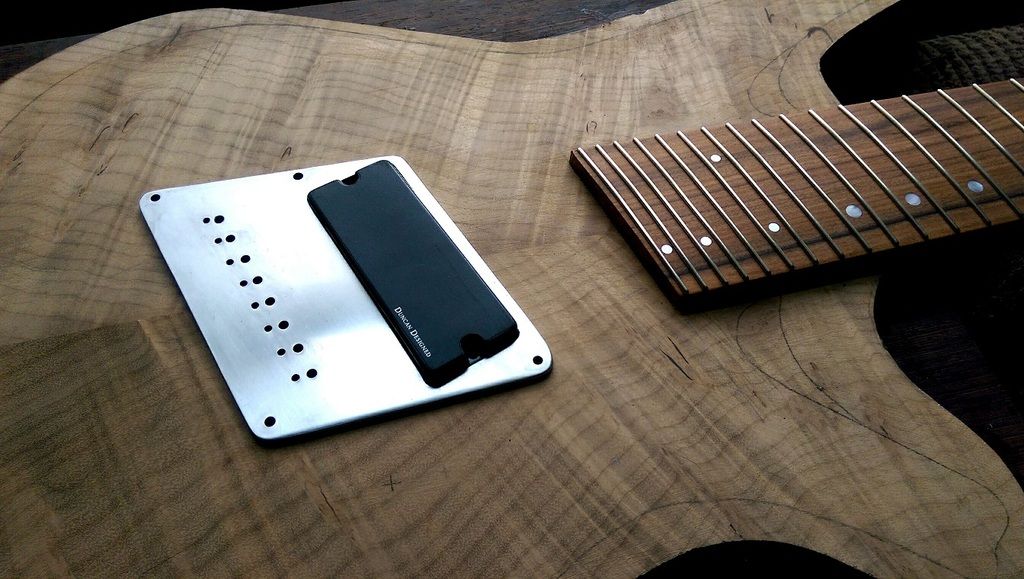
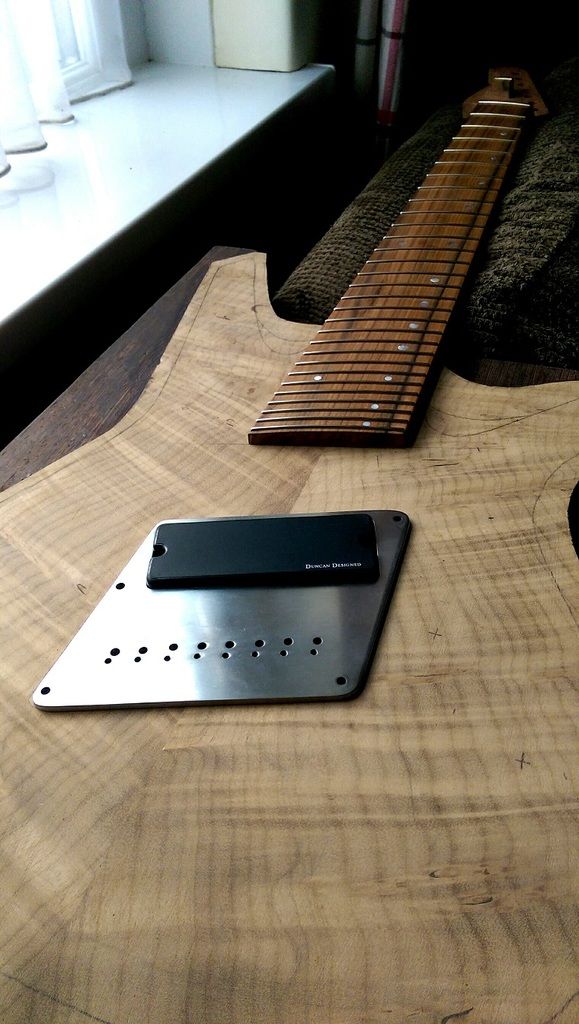
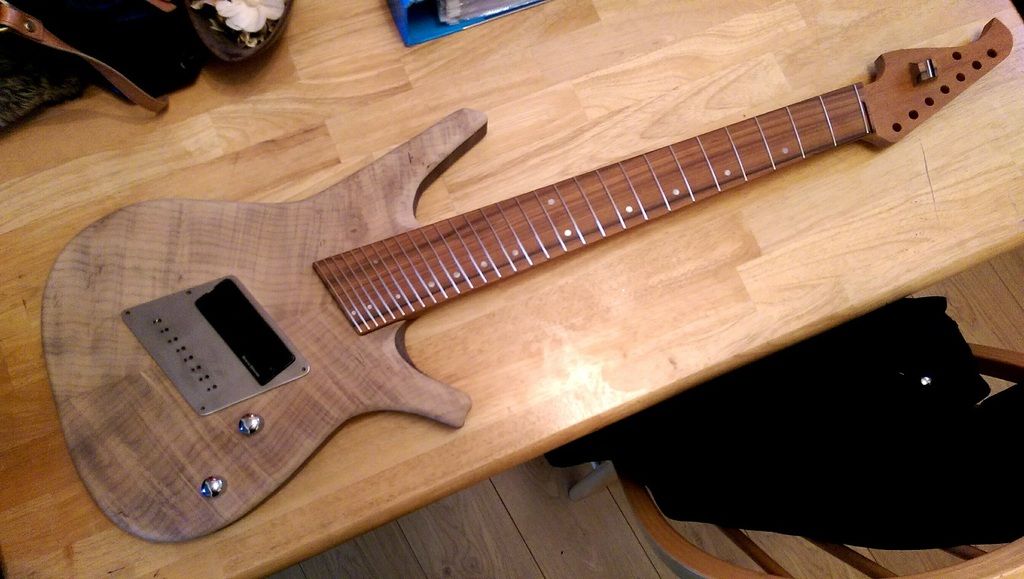
Got the top glued onto the back, and did just a rough mock up (there's no routing done yet - the neck and bridge are just sat on the top). Obviously none of the body woods are cut down to size yet - you can just see the body outline drawn on the top.
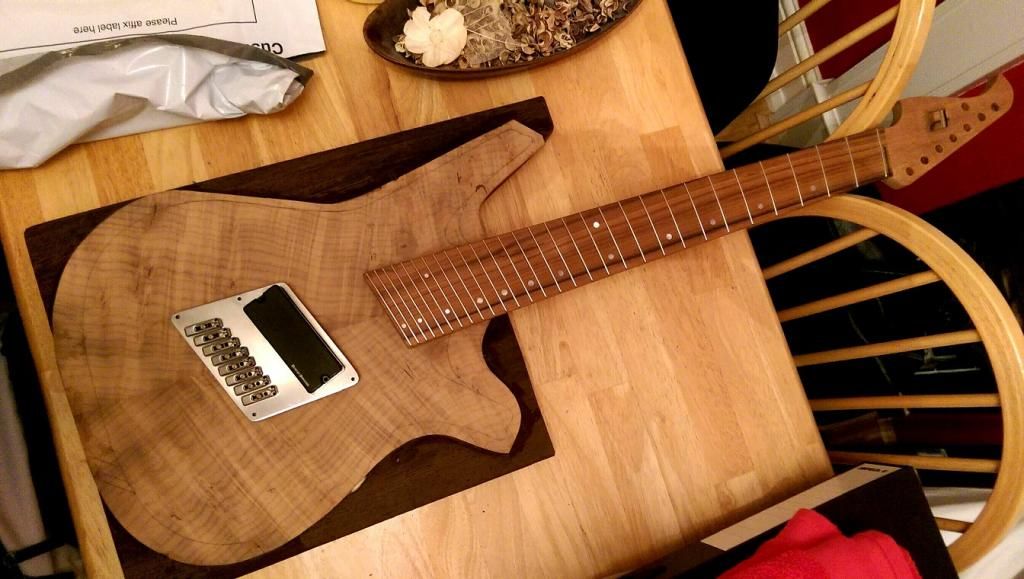
Got the top glued onto the back, and did just a rough mock up (there's no routing done yet - the neck and bridge are just sat on the top). Obviously none of the body woods are cut down to size yet - you can just see the body outline drawn on the top.
Renkenstein
Well-Known Member
Boy, you better play all dem frets nyah!
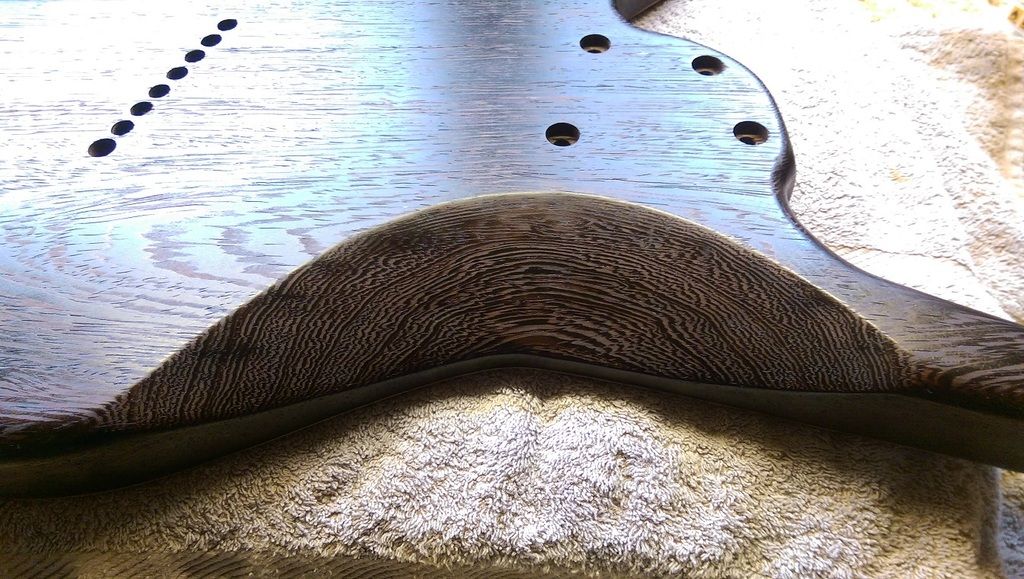
Awesome! Love that wenge back!
Awesome! Love that wenge back!
skeels
..to pay the beels
This is looking better all the time! Love those woods!
SilentCartographer
Creator as Observer
looking classy! Awesome work thus far, I'm quite the "fan" of this build
shadowlife
Contributor
Looking great so far!!!