Ape Factory
Well-Known Member
I will start off by saying I have neither the time nor the talent to pull this off on my own and have a very qualified luthier and all-around nice guy (James "Jamie" Roadman) in San Antonio helping me out (ok doing most of the heavy lifting) while I spit out the specs, wants and needs.
This project sort of started out with the Guthrie Govan Charvel model as the inspiration and I modified the specs from there including no chemicals used on the body.
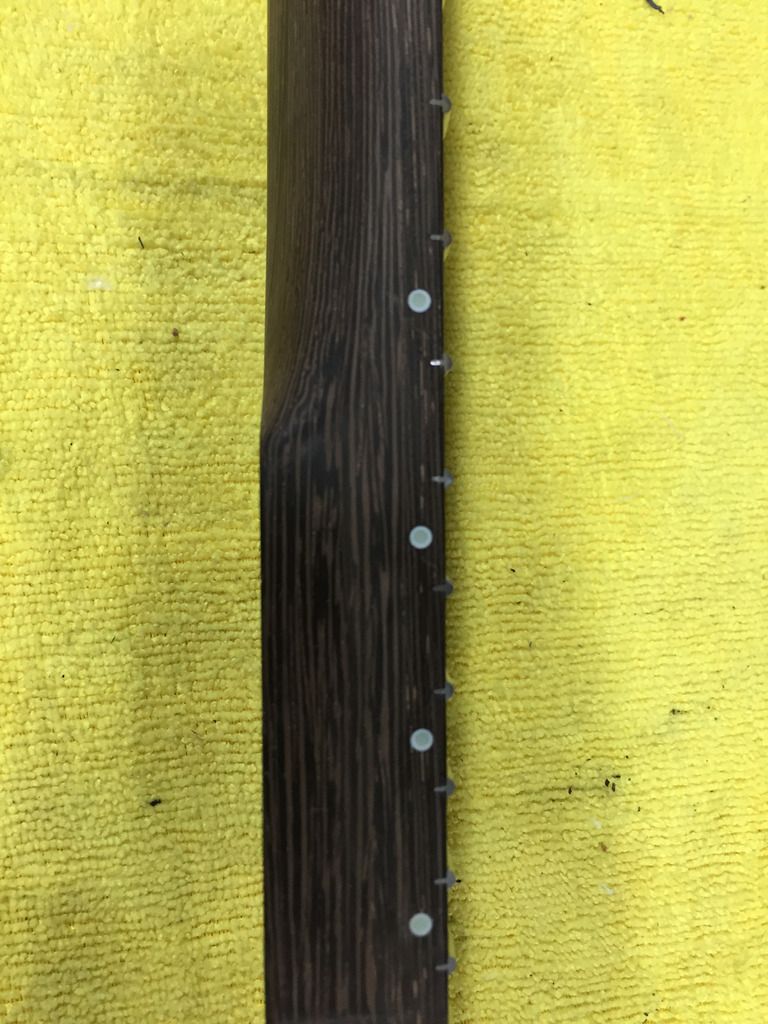
The neck is 100% wenge, board and neck shaft. It's a 13 degree tilt-back Warmoth with stainless frets. It'll be a six sided reverse headstock design with no string tree and locking tuners.
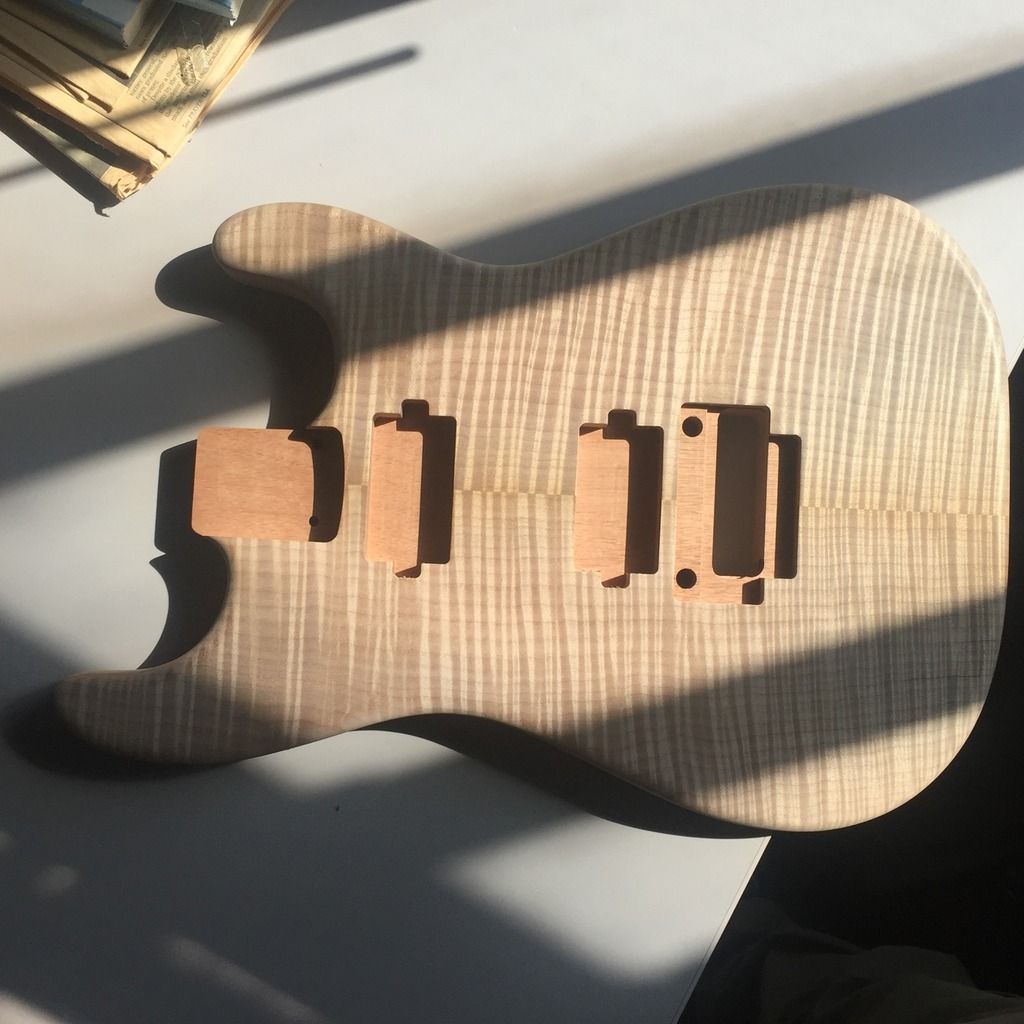
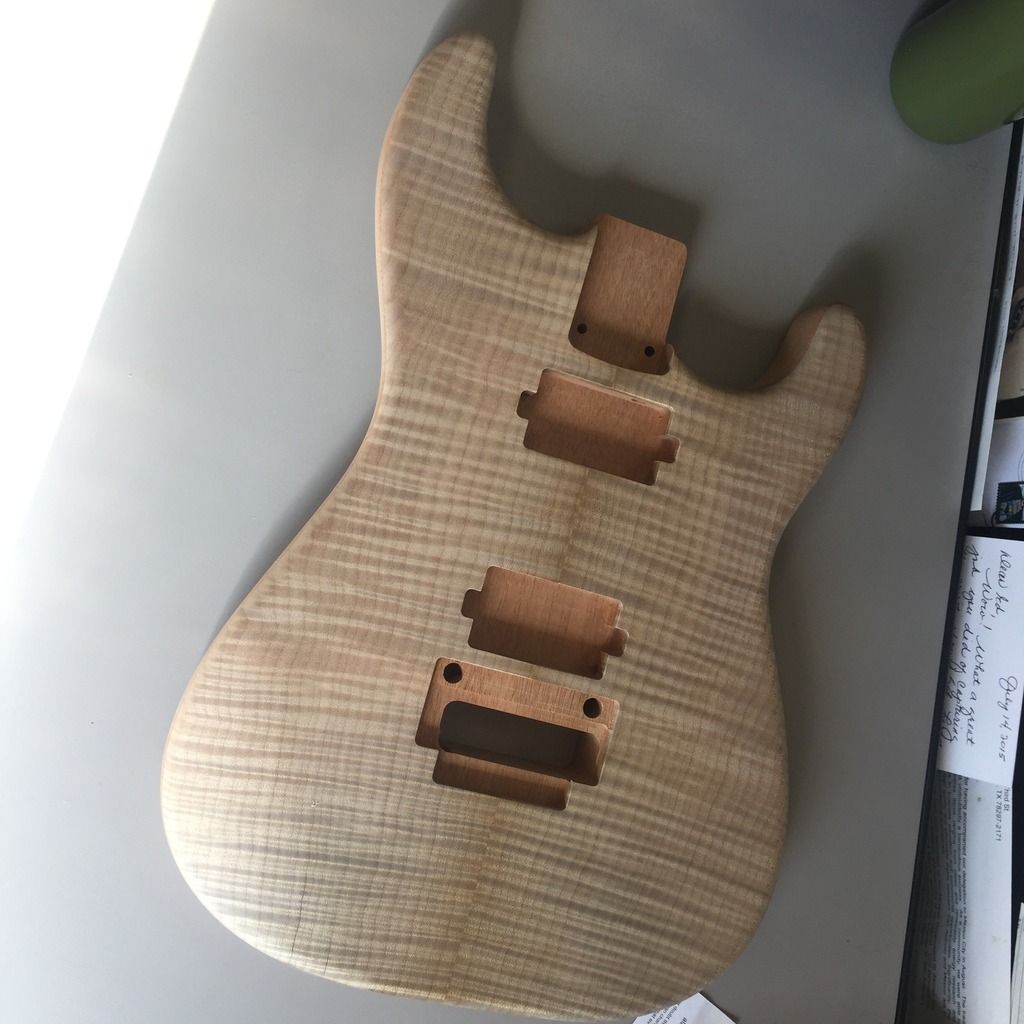
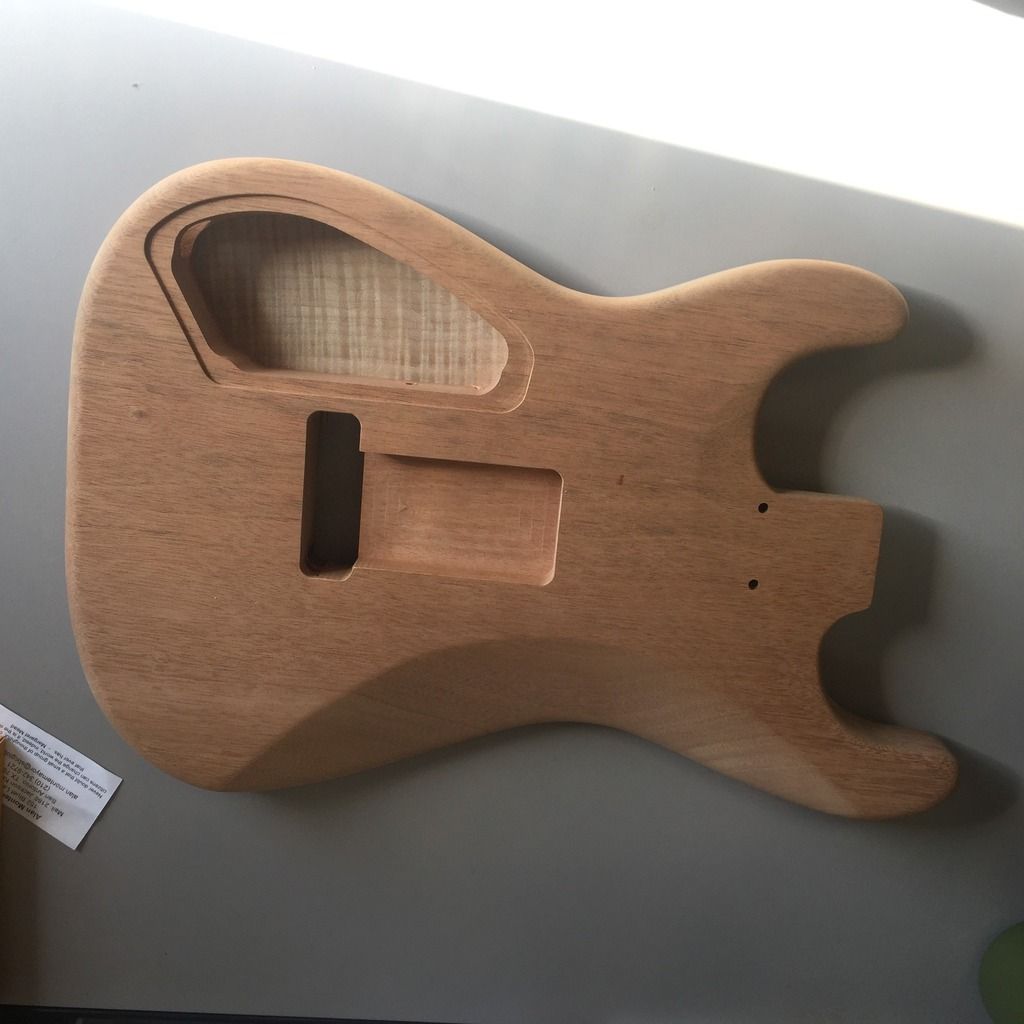
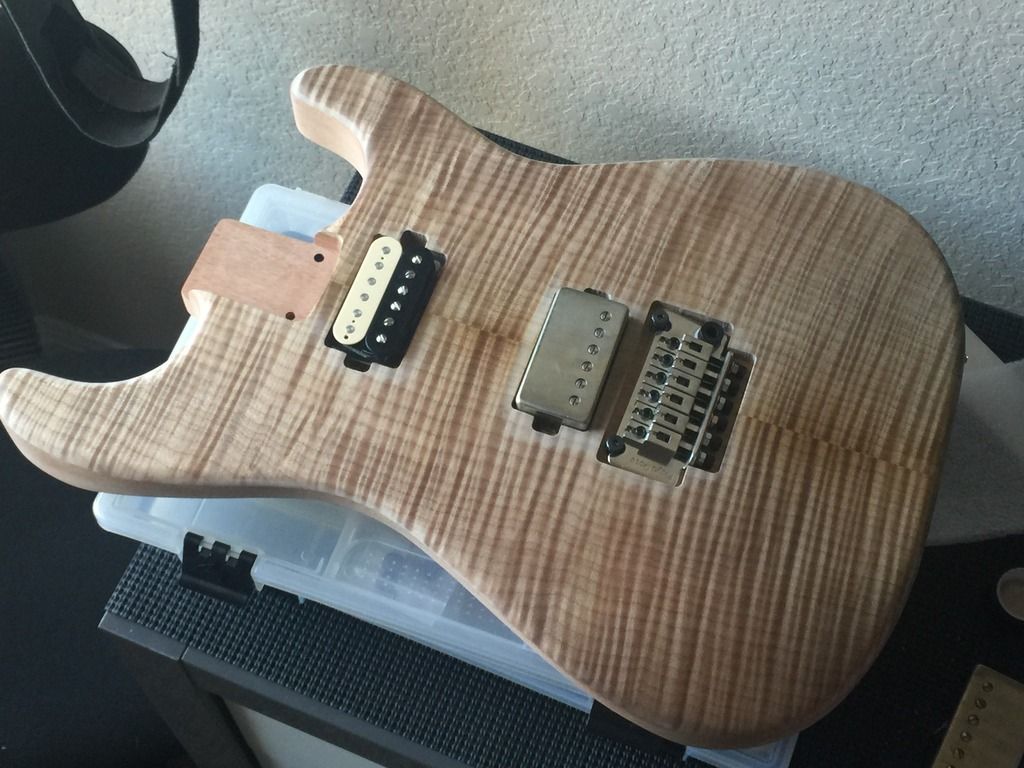
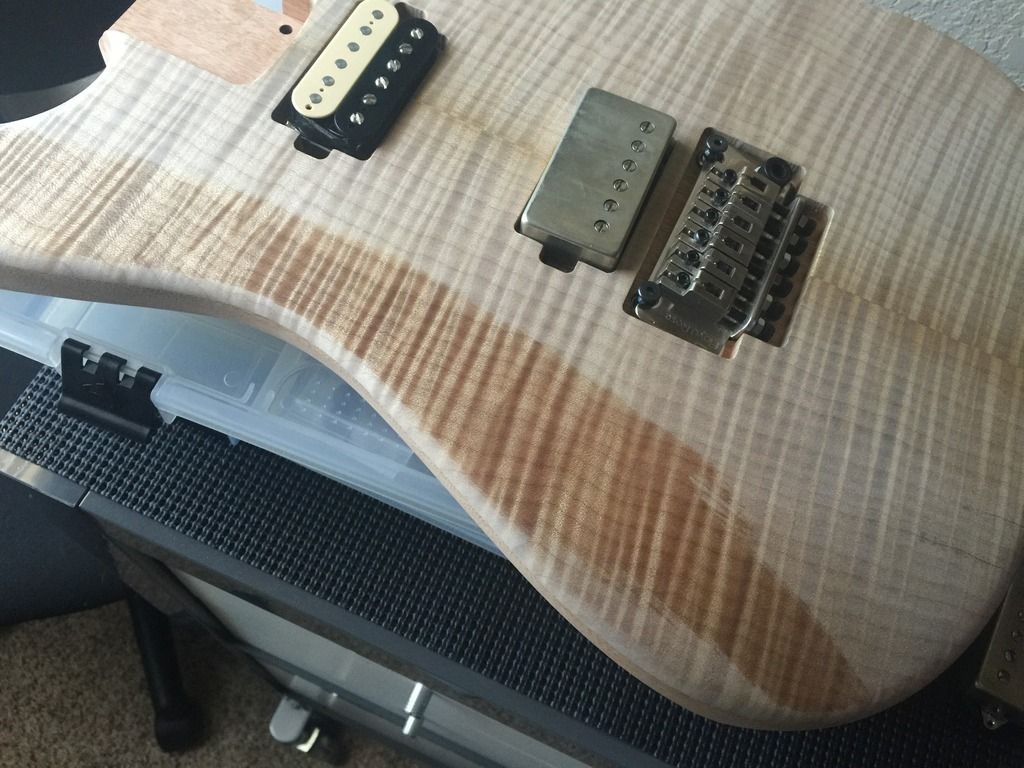
The body is a roasted Honduran mahogany back with a roasted flame maple drop top, dual hum, no middle pickup, with a Floyd no-fine-tuner route and 50's strat shape. Musikraft handled the body and I should have that by Monday or Tuesday as it's in-route. I sent them a non-fine-tuner Floyd and some titanium studs and they now have CNC measurements for it. I've been told it'll be under four pounds easily.
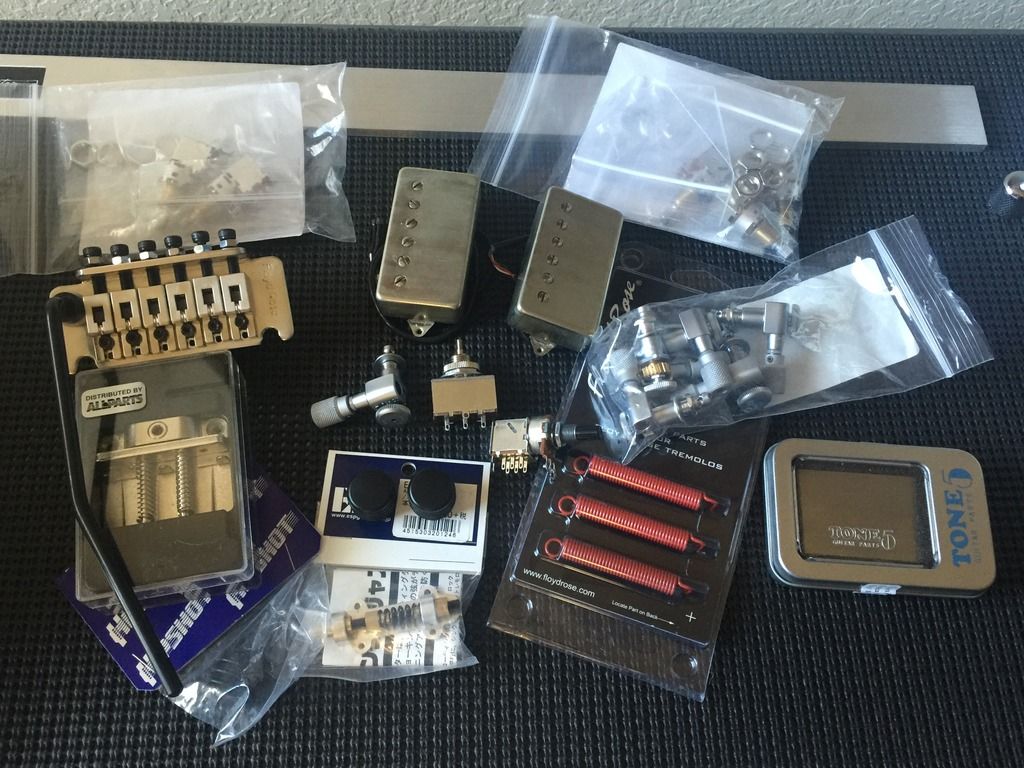
The neck came in first and I'd ordered a ton of the hard parts as well, including a rather large quantity of luminlay dots from Japan. I ordered them in two different sizes along with two different side dot sizes so I'll have a bit leftover!
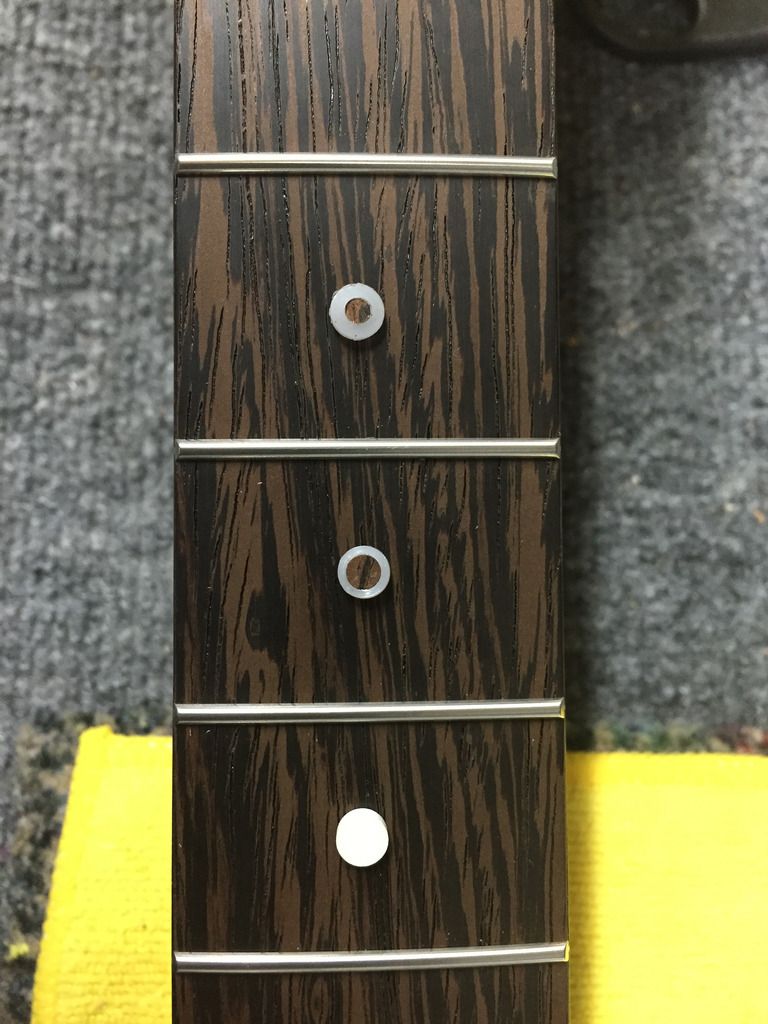
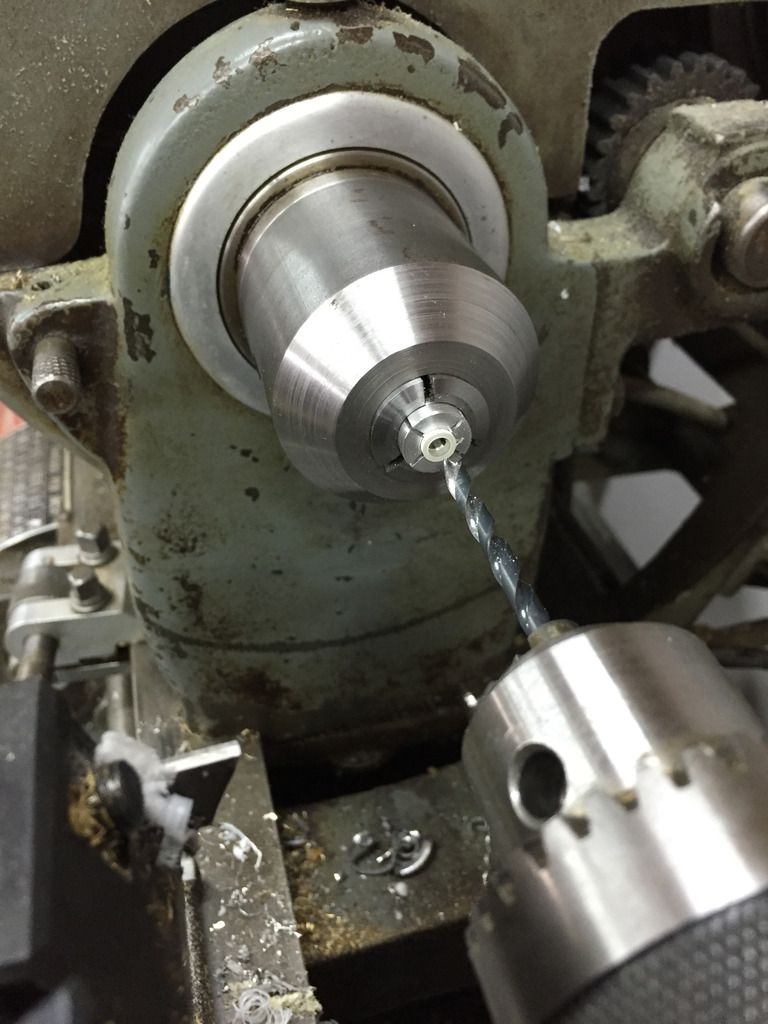
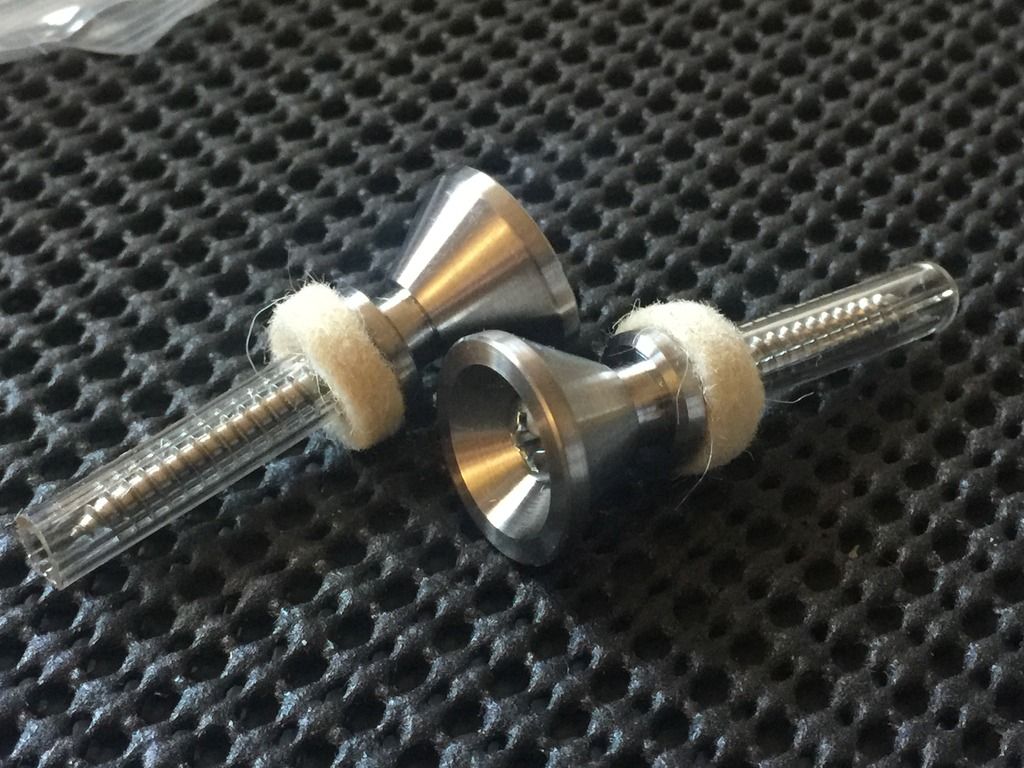
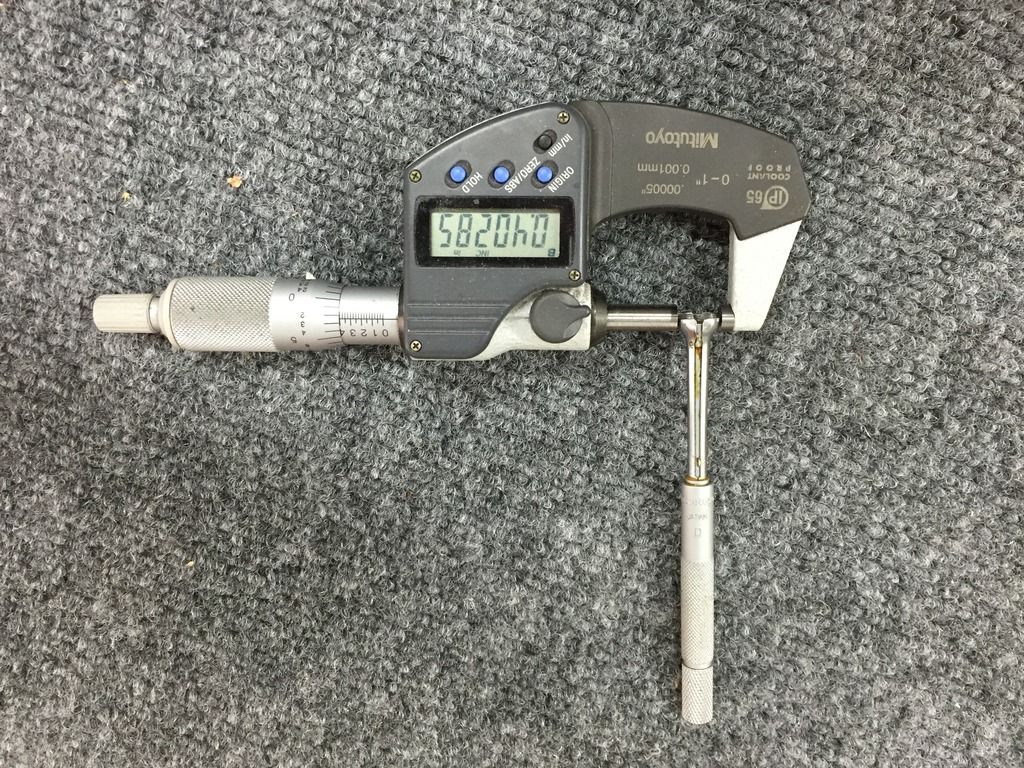
Anyway, I really wanted "hollow" dots or rings for inlays. Keeping it simple. Jamie came through by drilling out the center and placing a new piece of wenge in the middle. He found a piece that had a very similar grain structure. Using a lathe, he drilled out the center of each dot, practicing on a piece of plastic before moving on to the Luminlays. Admittedly, I was a bit skeptical especially considering it took about a month for them to arrive and they were not cheap.
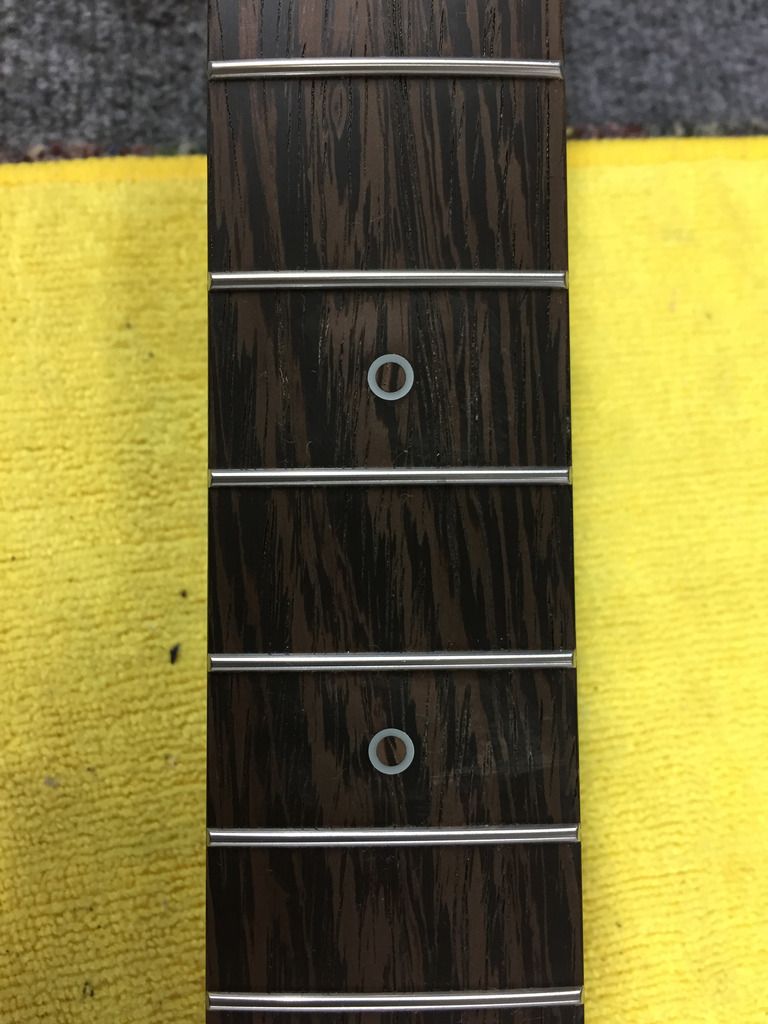
The end result looks fantastic. Couldn't be happier.
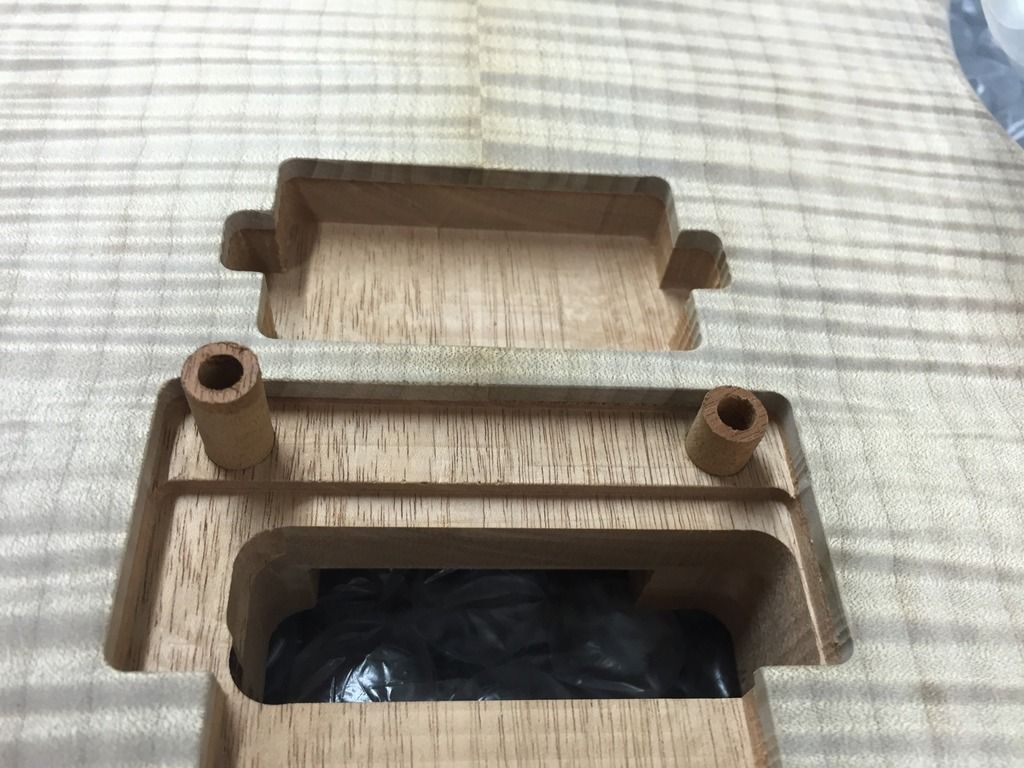
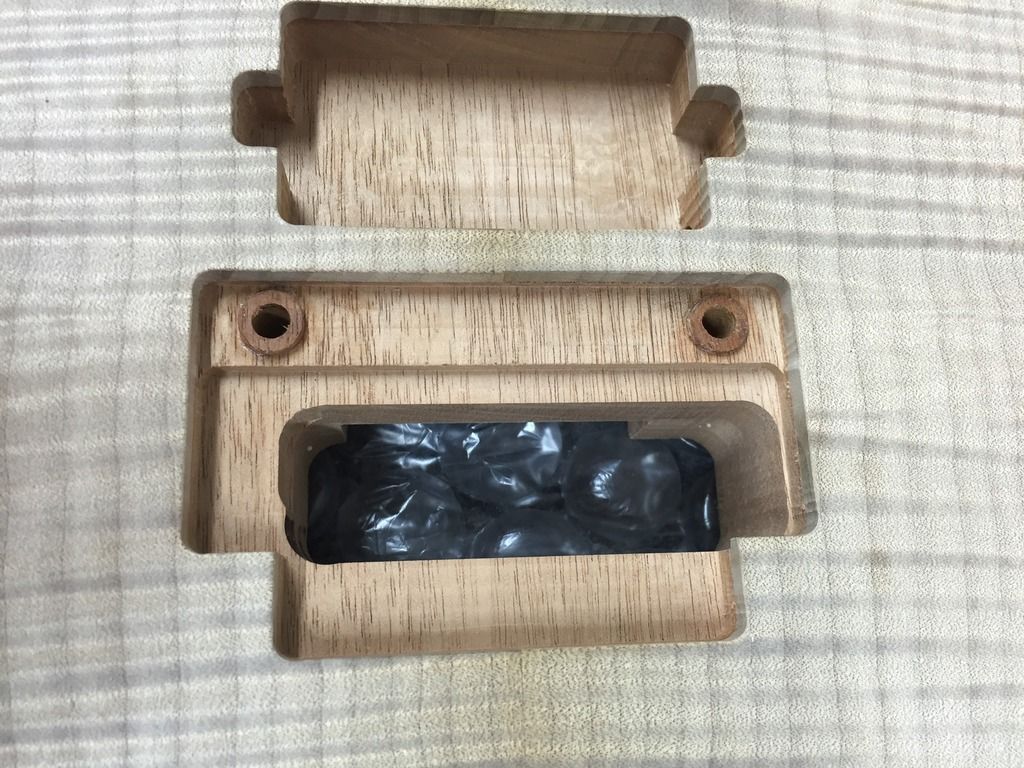
A test to see which one looks best. Real Luminlay (undrilled) at the bottom.
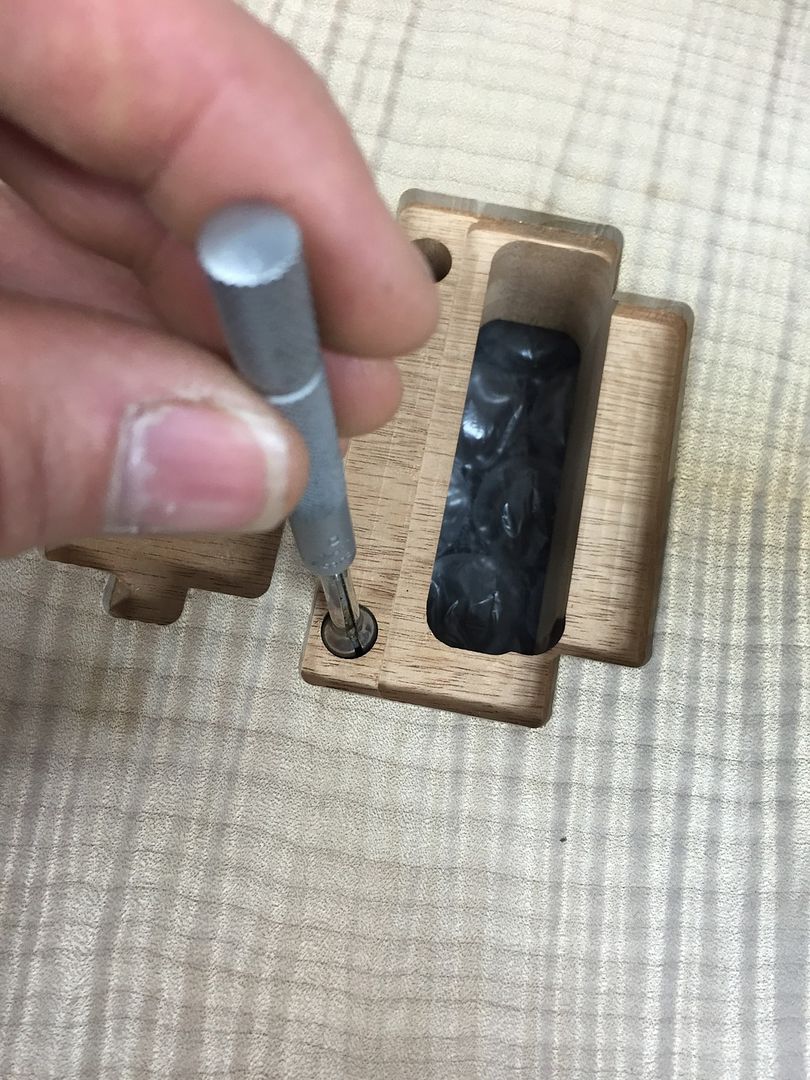
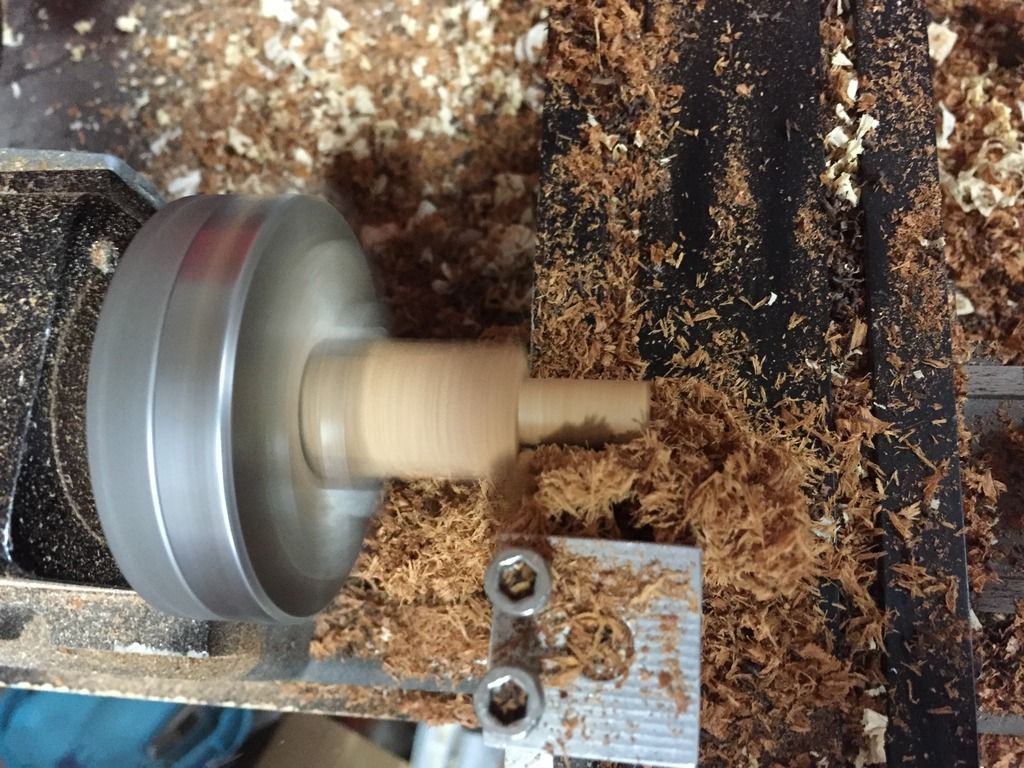
Let the drilling begin!
Done. Makes it look so easy...
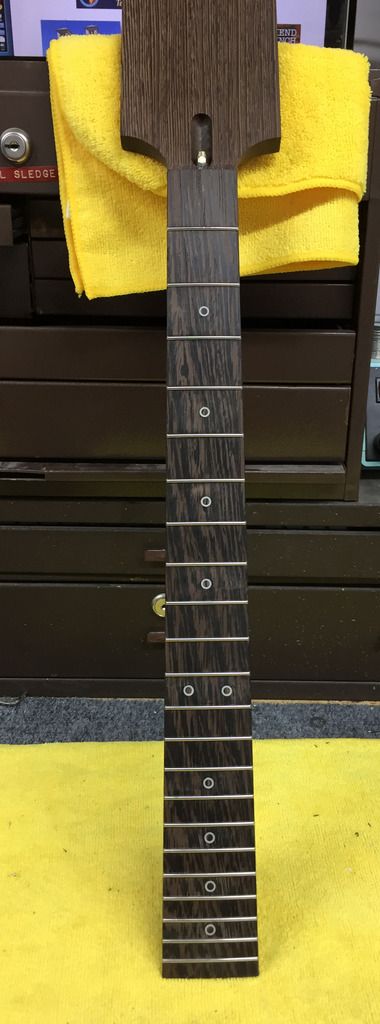
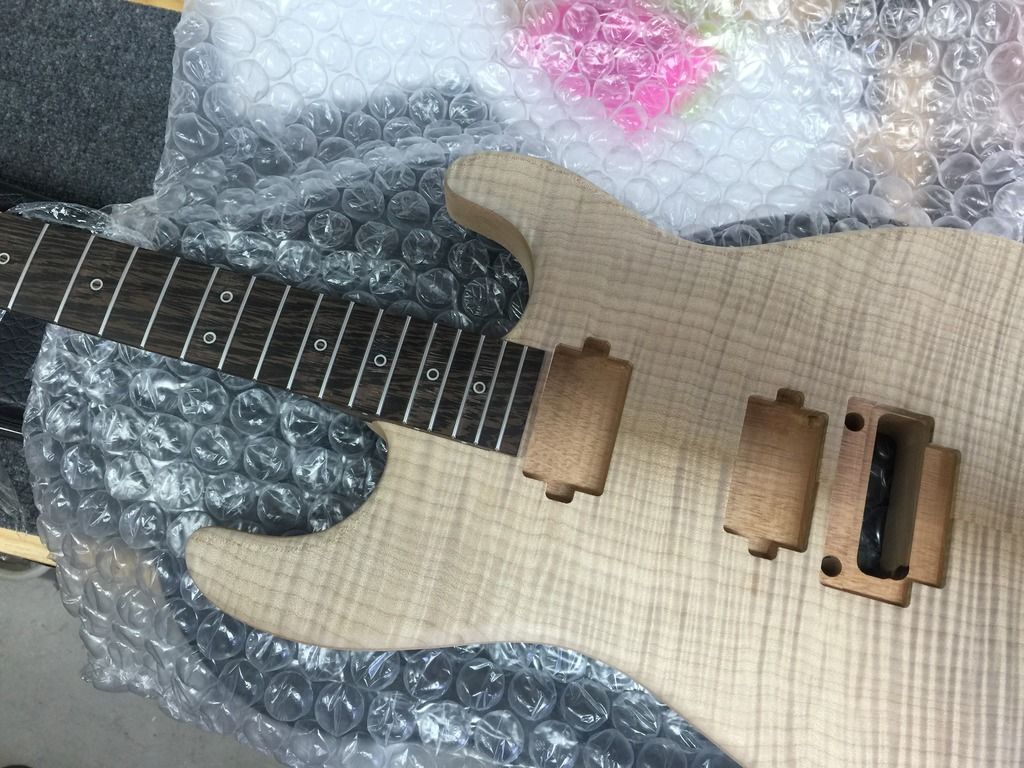
Overall shot.
Side dots (went with the bigger ones).
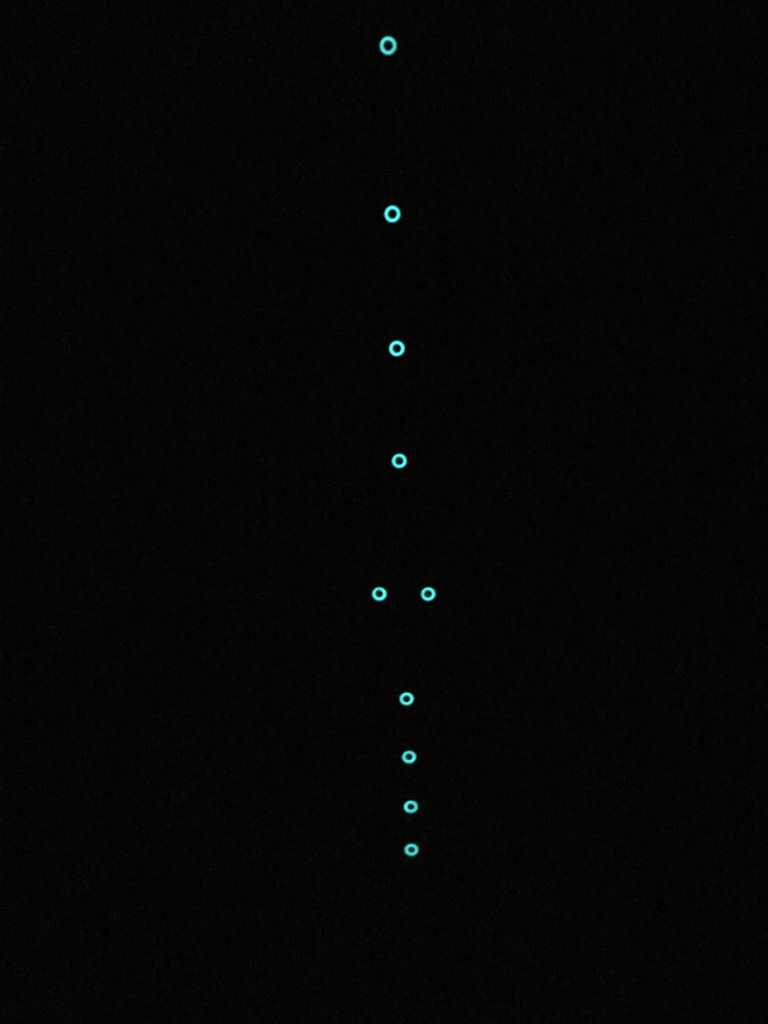
Glow in the dark.
I ordered the neck with frets and no inlays or side dots. Jamie did all of this on a fretted neck which, to my understanding, is not easy nor fun. So hats off to him.
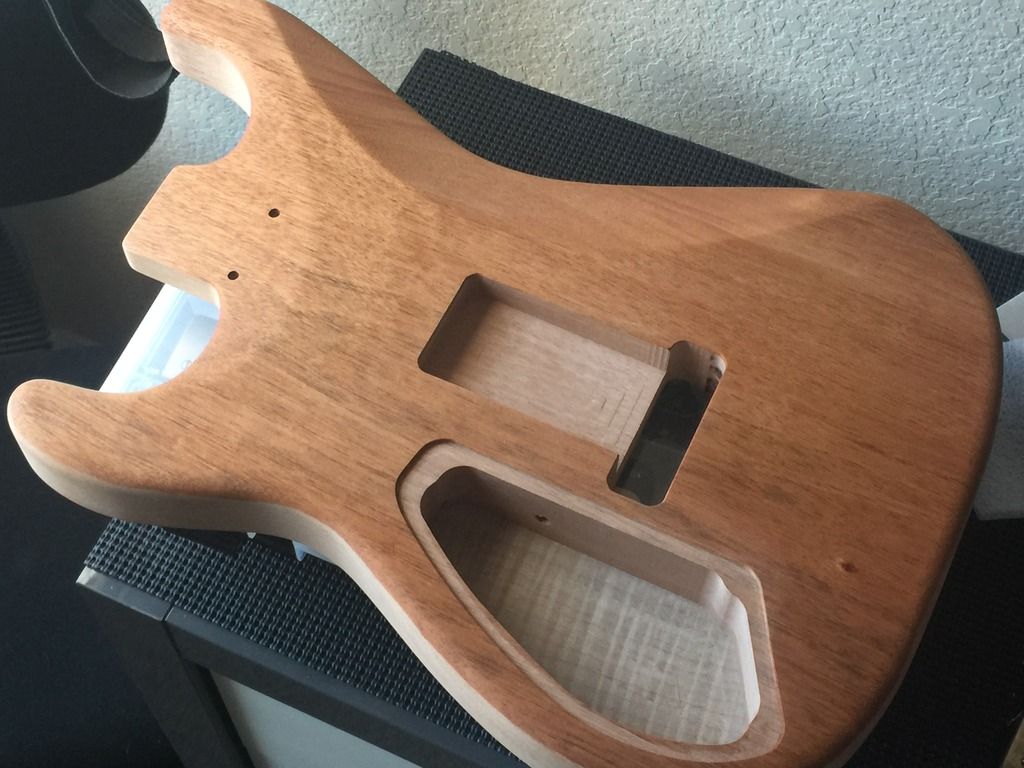
Once the body comes in, we'll use inserts in the neck. The body only has two mounting holes and we plan on sculpting the heel and using ferrules instead of a neck plate and will be free to move the top two mounting holes. The lower horn will be beveled on the back.
After that, the tuner holes will be drilled, the headstock will be cut, the frets leveled (if needed) and we'll be 99% of the way there.
The body doesn't have any of the control routes drilled so it'll be open to my interpretation. I'll be using my quick disconnect solderless pickup system and most likely a three control layout, two volume, one tone, and a three way toggle. I also have the option of doing a 5-way blade "superswitch" but I like the toggle idea as I'm always hitting a 5-way in a few of the guitars I own. Always liked a PRS DGT layout.
I'll update as more progress is made. It's a pretty low key "standard" build by some of the stuff that gets posted on here.
This project sort of started out with the Guthrie Govan Charvel model as the inspiration and I modified the specs from there including no chemicals used on the body.
The neck is 100% wenge, board and neck shaft. It's a 13 degree tilt-back Warmoth with stainless frets. It'll be a six sided reverse headstock design with no string tree and locking tuners.
The body is a roasted Honduran mahogany back with a roasted flame maple drop top, dual hum, no middle pickup, with a Floyd no-fine-tuner route and 50's strat shape. Musikraft handled the body and I should have that by Monday or Tuesday as it's in-route. I sent them a non-fine-tuner Floyd and some titanium studs and they now have CNC measurements for it. I've been told it'll be under four pounds easily.
The neck came in first and I'd ordered a ton of the hard parts as well, including a rather large quantity of luminlay dots from Japan. I ordered them in two different sizes along with two different side dot sizes so I'll have a bit leftover!
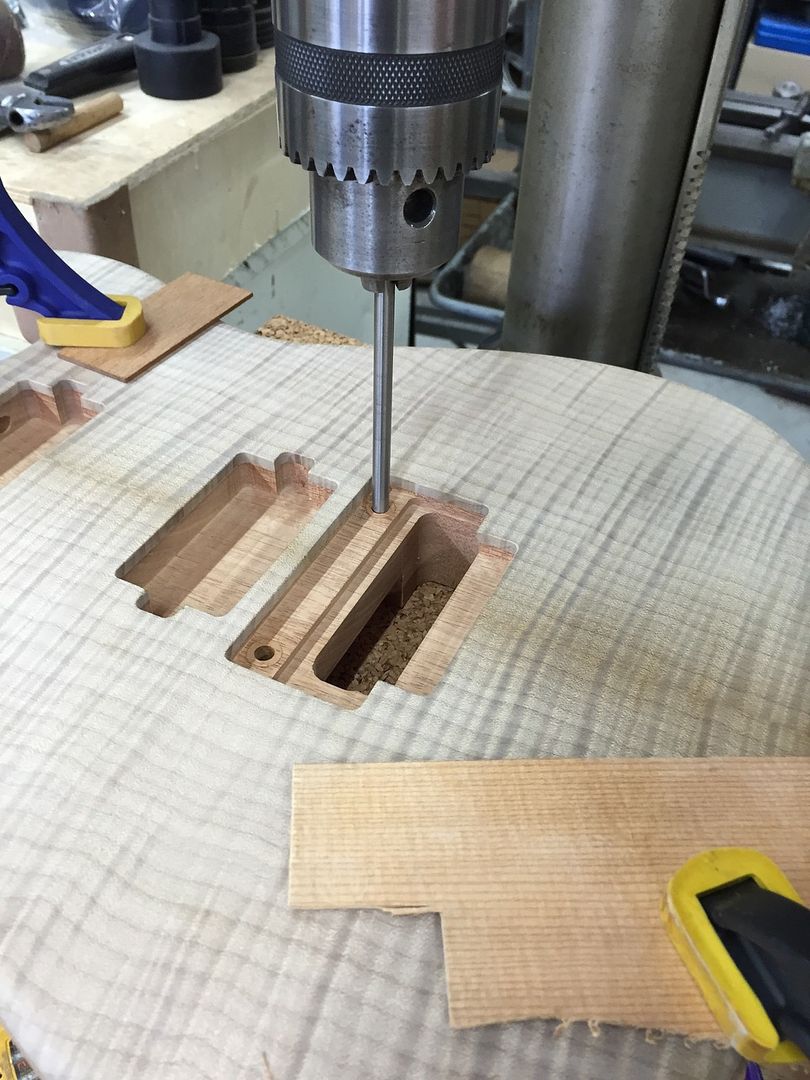
Anyway, I really wanted "hollow" dots or rings for inlays. Keeping it simple. Jamie came through by drilling out the center and placing a new piece of wenge in the middle. He found a piece that had a very similar grain structure. Using a lathe, he drilled out the center of each dot, practicing on a piece of plastic before moving on to the Luminlays. Admittedly, I was a bit skeptical especially considering it took about a month for them to arrive and they were not cheap.
The end result looks fantastic. Couldn't be happier.
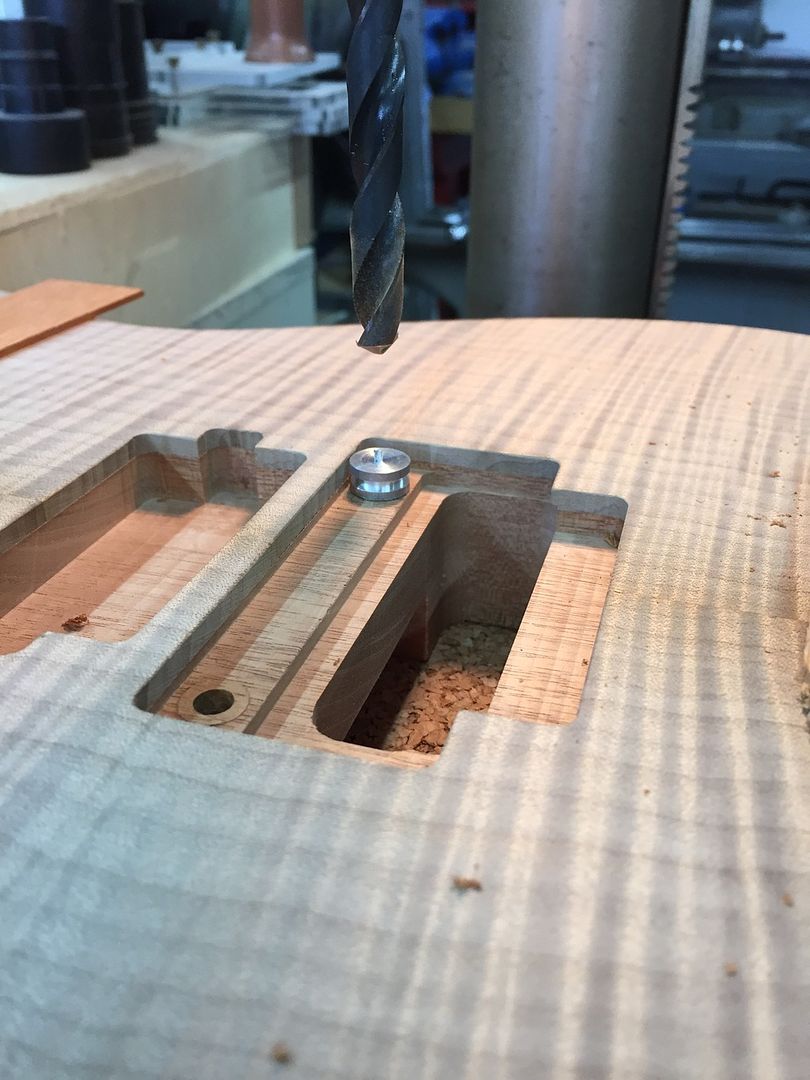
A test to see which one looks best. Real Luminlay (undrilled) at the bottom.
Let the drilling begin!
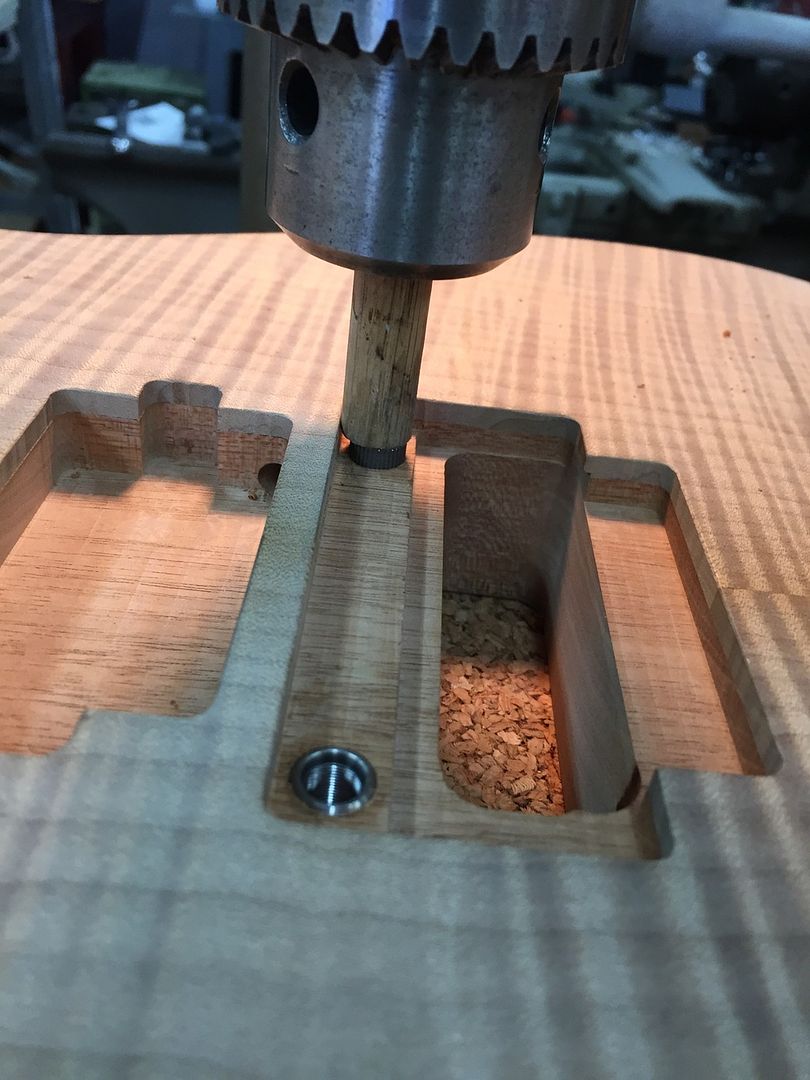
Done. Makes it look so easy...
Overall shot.
Side dots (went with the bigger ones).
Glow in the dark.
I ordered the neck with frets and no inlays or side dots. Jamie did all of this on a fretted neck which, to my understanding, is not easy nor fun. So hats off to him.
Once the body comes in, we'll use inserts in the neck. The body only has two mounting holes and we plan on sculpting the heel and using ferrules instead of a neck plate and will be free to move the top two mounting holes. The lower horn will be beveled on the back.
After that, the tuner holes will be drilled, the headstock will be cut, the frets leveled (if needed) and we'll be 99% of the way there.
The body doesn't have any of the control routes drilled so it'll be open to my interpretation. I'll be using my quick disconnect solderless pickup system and most likely a three control layout, two volume, one tone, and a three way toggle. I also have the option of doing a 5-way blade "superswitch" but I like the toggle idea as I'm always hitting a 5-way in a few of the guitars I own. Always liked a PRS DGT layout.
I'll update as more progress is made. It's a pretty low key "standard" build by some of the stuff that gets posted on here.


 )). Bushing holes must be tight as heck, because even the slightest wiggle room will snowball and make the hole into an oval eventually. That fix was necessary.